

Hifonics TPS-MR1 User Manual
Congratulations on your choice of TPS-MR1 AM/FM Bluetooth
Source Unit by Hifonics. For more detailed information about the
product, please visit our website at www.Hifonics.com
CAUTION
Always consider consulting a professional audio installer
before installing any audio components. Be careful and take
your time. Do not let wires make contact with metal edges or
hot engine components.
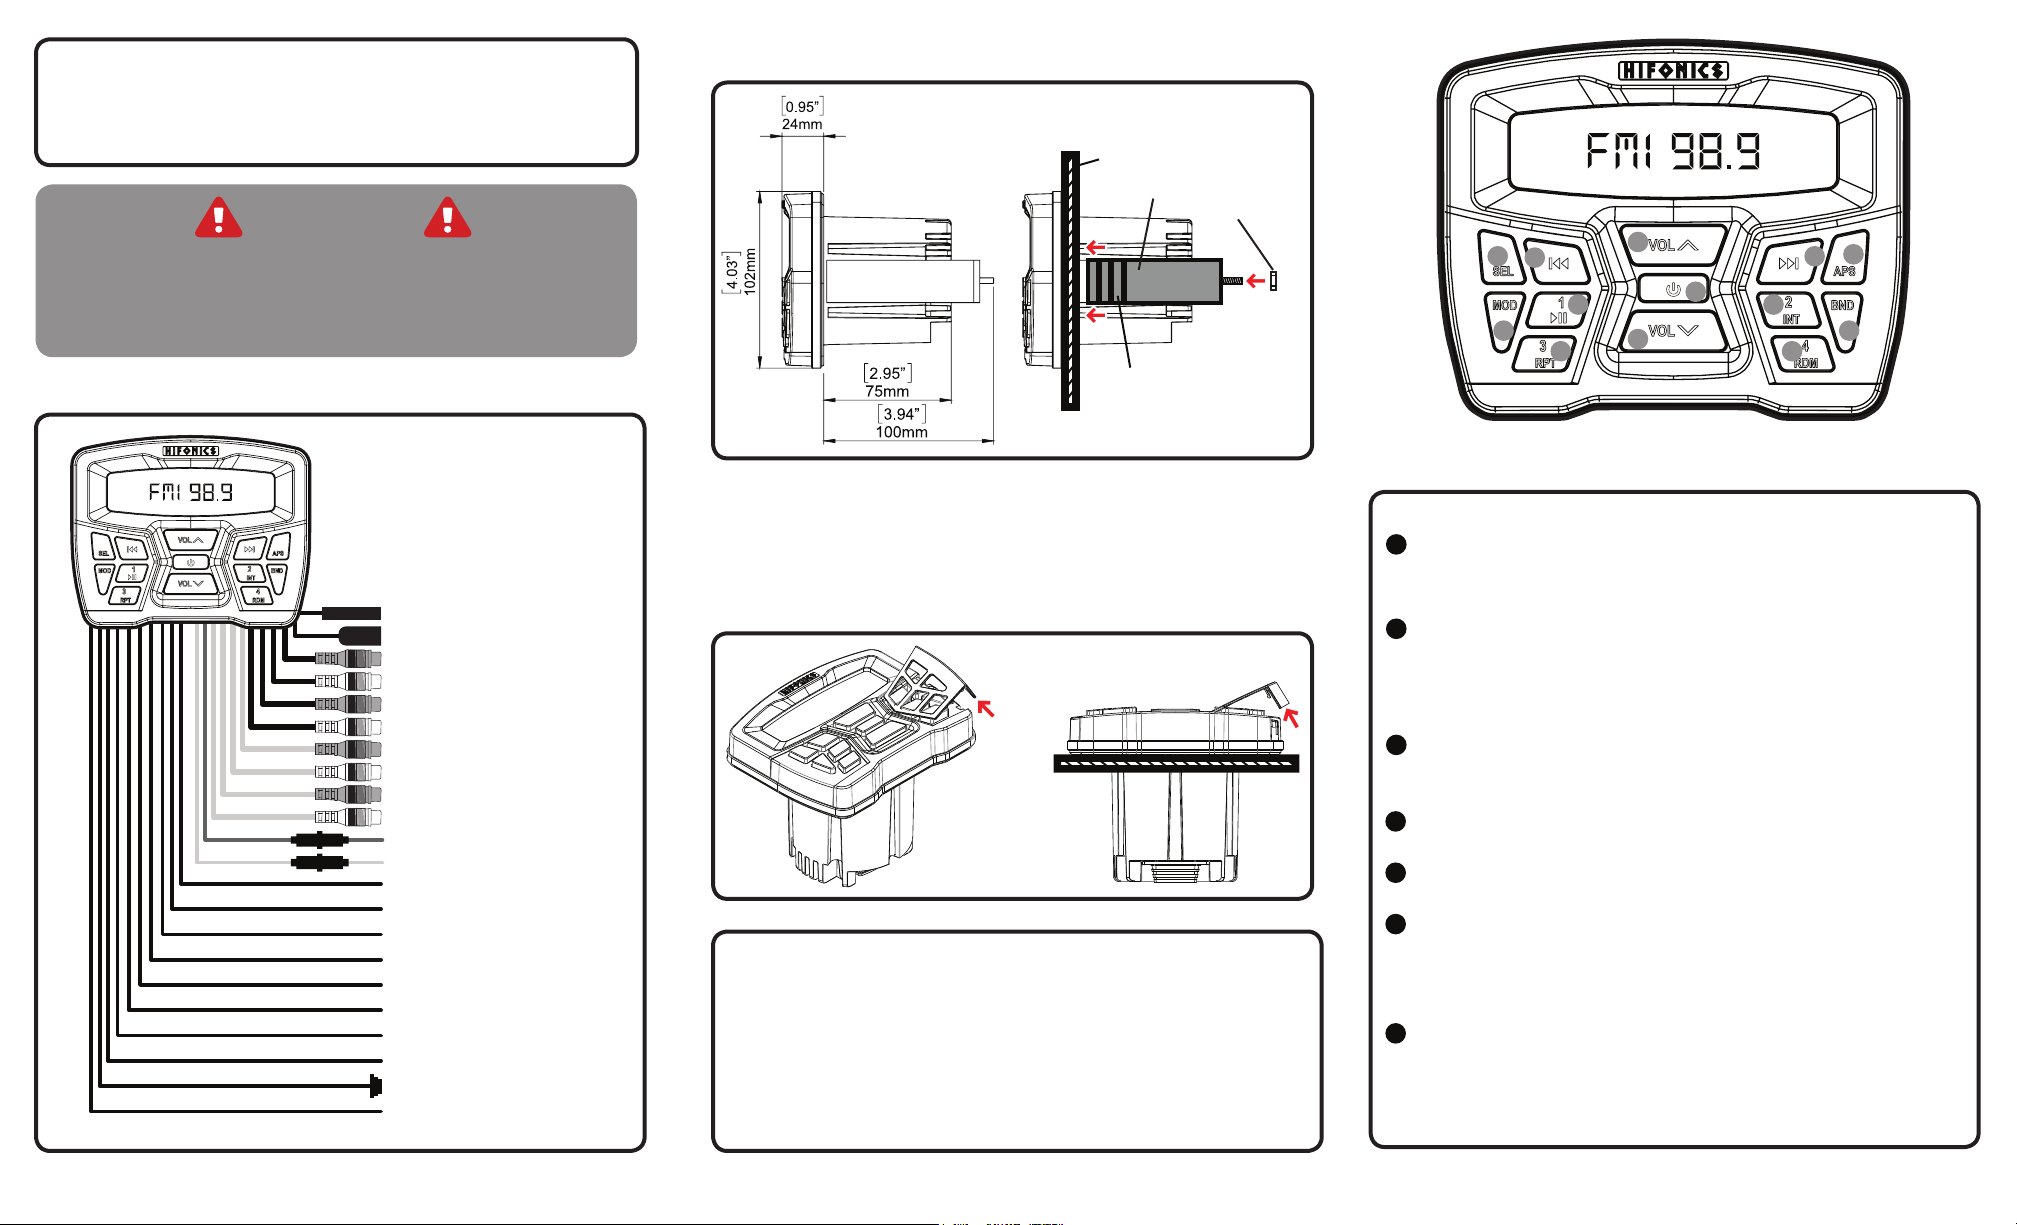
Wiring
Radio Antenna
USB Connector
Red - Front RCA Output (R)
White - Front RCA Output (L)
Red - Rear RCA Output (R)
White - Rear RCA Output (L)
Red - RCA Input (R) AUX 1
White - RCA Input (L) AUX 1
Red - RCA Input (R) AUX 2
White - RCA Input (L) AUX 2
Red - Accesory
Yellow - +12 Volts
White - Front Left (+)
White/Black - Front Left (-)
Gray - Front Right (+)
Gray/Black - Front Right (-)
Green - Rear Left (+)
Green/Black - Rear Left (-)
Purple - Rear Right (+)
Purple/Black - Rear Right (-)
Black - Ground (-)
Blue - Remote Output
U-Bracket Mounting
Mounting Surface
U-Bracket
Break Joints
Direct Screw-Type Mounting
1. Use a small at head screw driver under the edge of the button door and apply
upward pressure until the button panel’s clips release and it lifts up.
2. Pull door away from the radio until it is detached from the radios face plate.
3. Position the radio in the location that is desired.
4. Use the screws included and screw the unit in place.
5. Reinstall the button doors.
Mounting Nuts
2
7
5
9
4
11 12
5
1
10
3
8
6
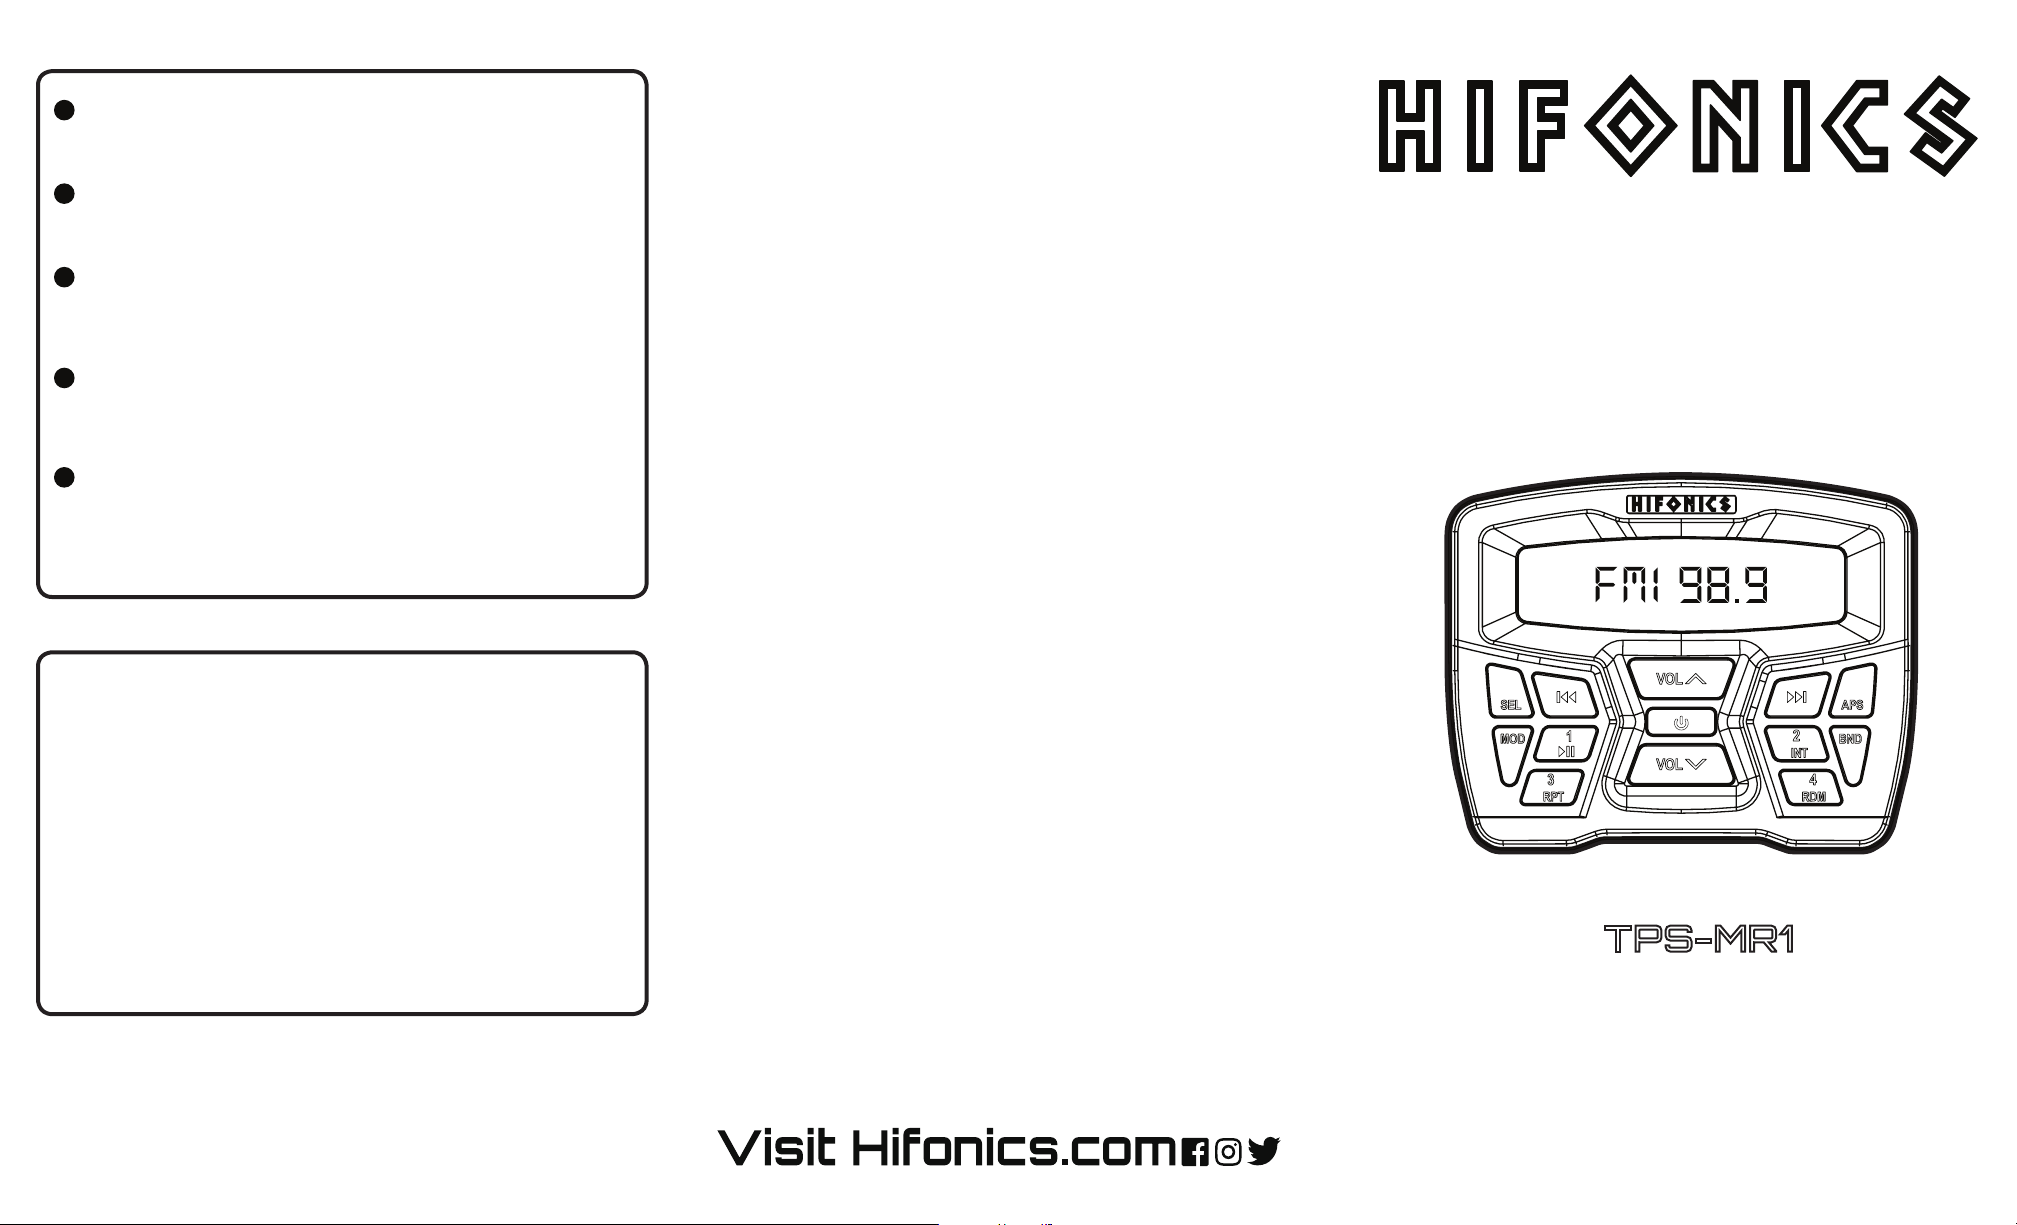
Controls
Power On / Off / MUTE – The power button is a multi-function button, depending on
1
how long you hold the button. One Quick press of the power button when the unit is
off, will turn it on. One Quick press of the power button when the unit is on will mute the
output. Press and hold turns power off.
Audio Mode – Press the button quickly, to see show ‘SEL’ on the screen. Then with
2
quick presses scroll through each of the audio functions: BASS, TRE, BAL, FAD,
LOUD, EQ, BEEP, and regional radio settings (PREA EUR/USA) under FM/AM mode.
Each function is adjusted using the # 5 button VOL Up/Down. The audible “BEEP”
mentioned is disabled when using the RCA outputs. This is intentional to avoid damage
to your speakers.
APS – In FM or AM Mode, Press the button quickly to scan stored radio stations. Press
3
and hold to automatically scan all stations programmed with a short audition of each.
Press the button again to stop the scan.
MOD – This is your input mode switch. Press to scroll through your various inputs FM,
4
BT, IPOD, USB, AUX1, and AUX2.
VOL – Volume Up / Down. Press quickly for small increments in volume, hold down for
5
quicker adjustments.
BND / Clock – This multi-function button when pressed quickly, scrolls between your
6
FM1, 2 and 3 plus AM1 and 2 banks for programmed stations.
Press and hold button 6 to enter clock mode. Press button 6 once more to enter clock
adjust mode. Pressing it once more will toggle between hours and minutes. Use the
Vol^ and Vol˅ buttons to adjust the time.
RWD / Back – This multi-function button works with your music sources. In radio mode,
7
quickly press to go back to the next strongest station.
For other sources, press quickly to go back to the beginning of the current song, press
twice to go back to the beginning of the previous track. Press and hold for fast reverse
within the current selection.
Controls
FWD / Forward – This multi-function button works with your music sources. In radio
8
mode, quickly press to go forward to the next strongest station.
For other sources, press quickly to go to the beginning of the next song. Press and hold
for fast forward within the current selection.
1 - Play / Pause – This multi-function button works in several modes. For the BT, USB,
9
Apple Device mode this is play and pause.
In FM and AM mode quickly press to select station pre-set #1.
In radio mode press and hold to store the current station to this pre-set.
2 - INT / Intro – This multi-function button works in several modes. For the USB, press
10
this to play the introduction (rst 10 seconds) of each track. Press again to turn off the
feature. (not compatible in iPod mode)
In FM and AM mode quickly press to select station pre-set #2.
In radio mode press and hold to store the current station to this pre-set.
3 - RPT / Repeat – This multi-function button works in several modes. For the USB,
11
press this button to repeat the current song. Press again to turn off the feature. (not
compatible in iPod mode)
In FM and AM mode quickly press to select station pre-set #3.
In radio mode press and hold to store the current station to this pre-set.
4 - RDM / Random – This multi-function button works in several modes. For the USB,
12
press this button allow random songs to play from that unit. The RDM will not select
random tracks from different devices, only from the unit selected.
(not compatible in iPod mode)
In FM and AM mode quickly press to select station pre-set #4.
In radio mode press and hold to store the current station to this pre-set.
Bluetooth Device Pairing
The pairing process can vary based on your particular device. Refer to the
operating instructions of your device. Below is the general process to connect.
Under the Bluetooth mode, the status indicator will ash slowly “BT music”and search
for the last paired device. If no device is located, it will ash quickly indicating it is ready
to pair to a new device.
On your Bluetooth enabled device, search for “HIFONICS” under Bluetooth settings.
Select HIFONICS, wait for the device to indicate “CONN OK.”
Music will now play through the system.
To connect to a different device while currently paired, press and hold the
PLAY/PAUSE button. This will initialize pairing mode.
Maxxsonics USA Inc. warrants this product, to the original consumer purchaser, to be free from
defects in material and workmanship for a period of one (1) year from the date of purchase.
Maxxsonics USA Inc. will, at it’s discretion, repair or replace defective products during the warranty
period. Components that prove to be defective in materials and workmanship under proper installation
and use must be returned to the original authorized Maxxsonics USA Inc. retailer from where it was
purchased. A photocopy of the original receipt must accompany the product being returned. The
costs associated with removal, re-installation and freight are not the responsibility of Maxxsonics
USA Inc. This warranty is limited to defective parts and specically excludes any incidental or
consequential damages connected therewith. To view the full warranty, please visit the website.
This equipment has been tested and found to comply with the limits for a Class B digital device, pursuant to part
15 of the FCC Rules. These limits are designed to provide reasonable protection against harmful interference in a
residential installation. This equipment generates, uses and can radiate radio frequency energy and, if not installed
and used in accordance with the instructions, may cause harmful interference to radio communications. However,
there is no guarantee that interference will not occur in a particular installation. If this equipment does cause
harmful interference to radio or television reception, which can be determined by turning the equipment off and on,
the user is encouraged to try to correct the interference by one or more of the following measures:
- Reorient or relocate the receiving antenna.
- Increase the separation between the equipment and receiver.
- Connect the equipment into an outlet on a circuit different from that to which the
receiver is connected.
-Consult the dealer or an experienced radio/TV technician for help.
WARNING: Changes or modications not expressly approved by the party responsible for compliance could void
the user’s authority to operate the equipment.
This equipment complied with FCC radiation exposure limits set forth for an uncontrolled environment. This
equipment should be installed and operated with minimum distance 20cm between the radiator & your body.
WARRANTY
FCC Notice
Operators Guide
TPS-MR1
HF TPSMR1 QSG 01 - rev8
 Loading...