

Page 1

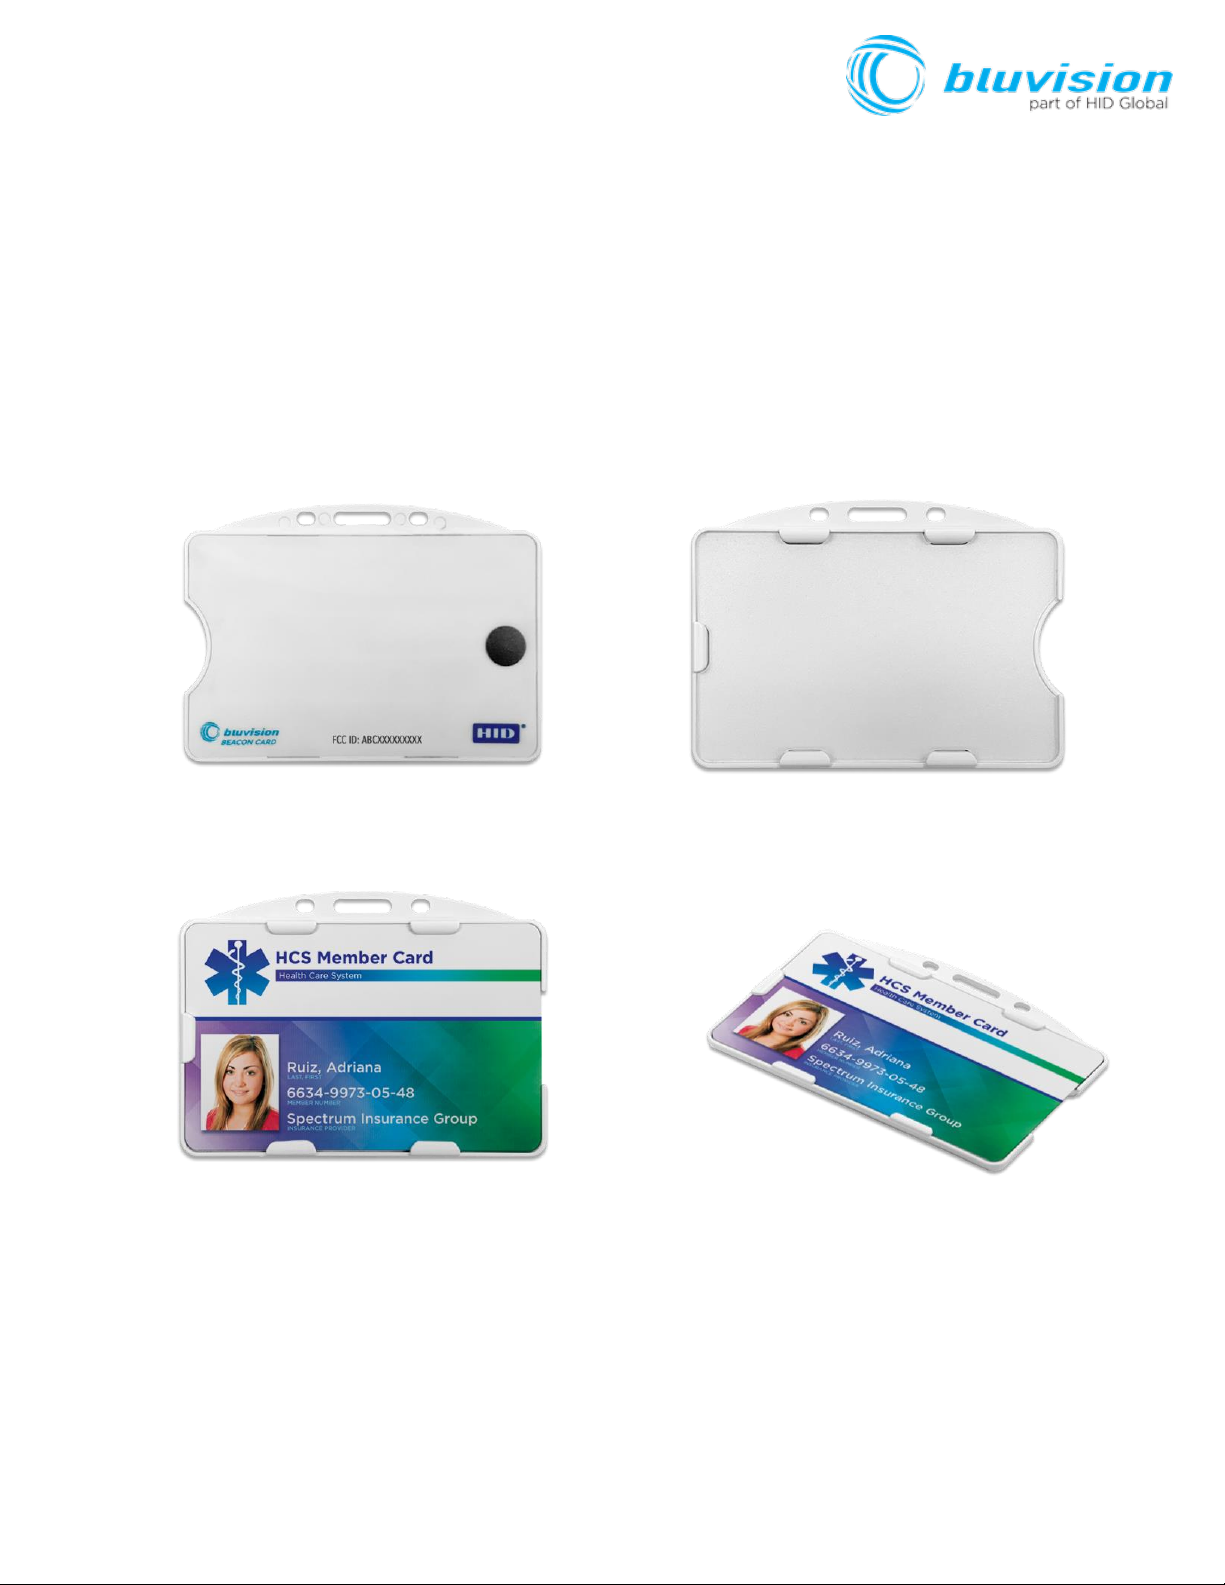
BEEKs Badge Button
USER GUIDE
Document Version: 1.2
Product ID: BVBBN4B
September 2018
Page 2

Copyright
© 2007-2018 Bluvision/HID Global Corporation/ASSA ABLOY AB. All rights reserved.
This document may not be reproduced, disseminated or republished in any form without the prior written
permission of HID Global Corporation.
Trademarks
Bluvision, HID GLOBAL, HID, the HID logo are trademarks or registered trademarks of HID Global Corporation,
or its licensors, in the U.S. and other countries.
Contacts
For additional offices around the world, see www.hidglobal.com corporate offices.
611 Center Ridge Drive Haverhill Business Park Phoenix Road
Austin, TX 78753 Haverhill, Suffolk CB9 7AE
USA England
Phone: 866 607 7339 Phone: 44 (0) 1440 711 822
Fax: 949 732 2120 Fax:44 (0) 1440 714 840
19/F 625 King’s Road
600 Corporate Dr
North Point, Island East
Hong Kong
Phone: 852 3160 9833
Suite 410
Fort Lauderdale, FL 33334
USA
Fax: 852 3160 4809
Phone: 1-866-777-7210
Links in this Document
Hyper Links are displayed in italic text.
Web Links are in underlined blue.
HID Americas and Corporate Europe, Middle East and Africa (EMEA)
Asia Pacific Bluvision
Bluvision Customer Support: bluvision.com HID Global Customer Support: support.hidglobal.com
Page 3

Getting Started
The Bluvision DC BEEKs Badge Button User Guide covers the basics of the equipment setup and
provisioning of equipment with Bluzone Cloud account and project. For a more in-depth explanation, see
Bluvision Developer web site
https://bluvision.atlassian.net/wiki/spaces/PDP/pages/13041816/04.+How-
to+Setup+BEEKs Badge Buttons
Prerequisites
This equipment requires the steps below be followed prior to provisioning your BEEKs Badge Button device.
These prerequisites are NOT covered within the installation guide below. Please complete the following steps
prior to provisioning of your BEEKs Badge Button device.
This equipment requires the user to have a registered Bluzone account at the website
o https://bluzone.io
Bluzone registration instructions are located at
o https://bluvision.atlassian.net/wiki/spaces/PDP/pages/6914122/Getting+Up+And+Running
This equipment also requires a user have a BEEKs Badge Button WiFi template setup and
configured within Bluzone. Instructions for setting up a BEEKs Badge Button WiFi template are
located at:
o https://bluvision.atlassian.net/wiki/spaces/PDP/pages/6914122/Getting+Up+And+Running#Gettin
gUpAndRunning-ConfiguringBEEKs Badge ButtonWiFiprofiles
USER
GUIDE
Page 4
Application/Service/Profile
• iBeacon support
• sBeacon support
• Eddystone support
• Fully open and easily configurable for 3rd party beacon protocol
Page 5

Page 6

How-to Provision BEEKs Badge Button
This will guide you through provisioning your BEEKs Badge Button of your Bluzone
Account and assigned project,
Step-by-step provisioning guide
There are 3 steps to the provisioning process:
1. Download Bluzone Application from Apple App Store.
2. Physically provisioning BEEKs Badge Button using the Bluzone App. This requires BLE be enabled on device.
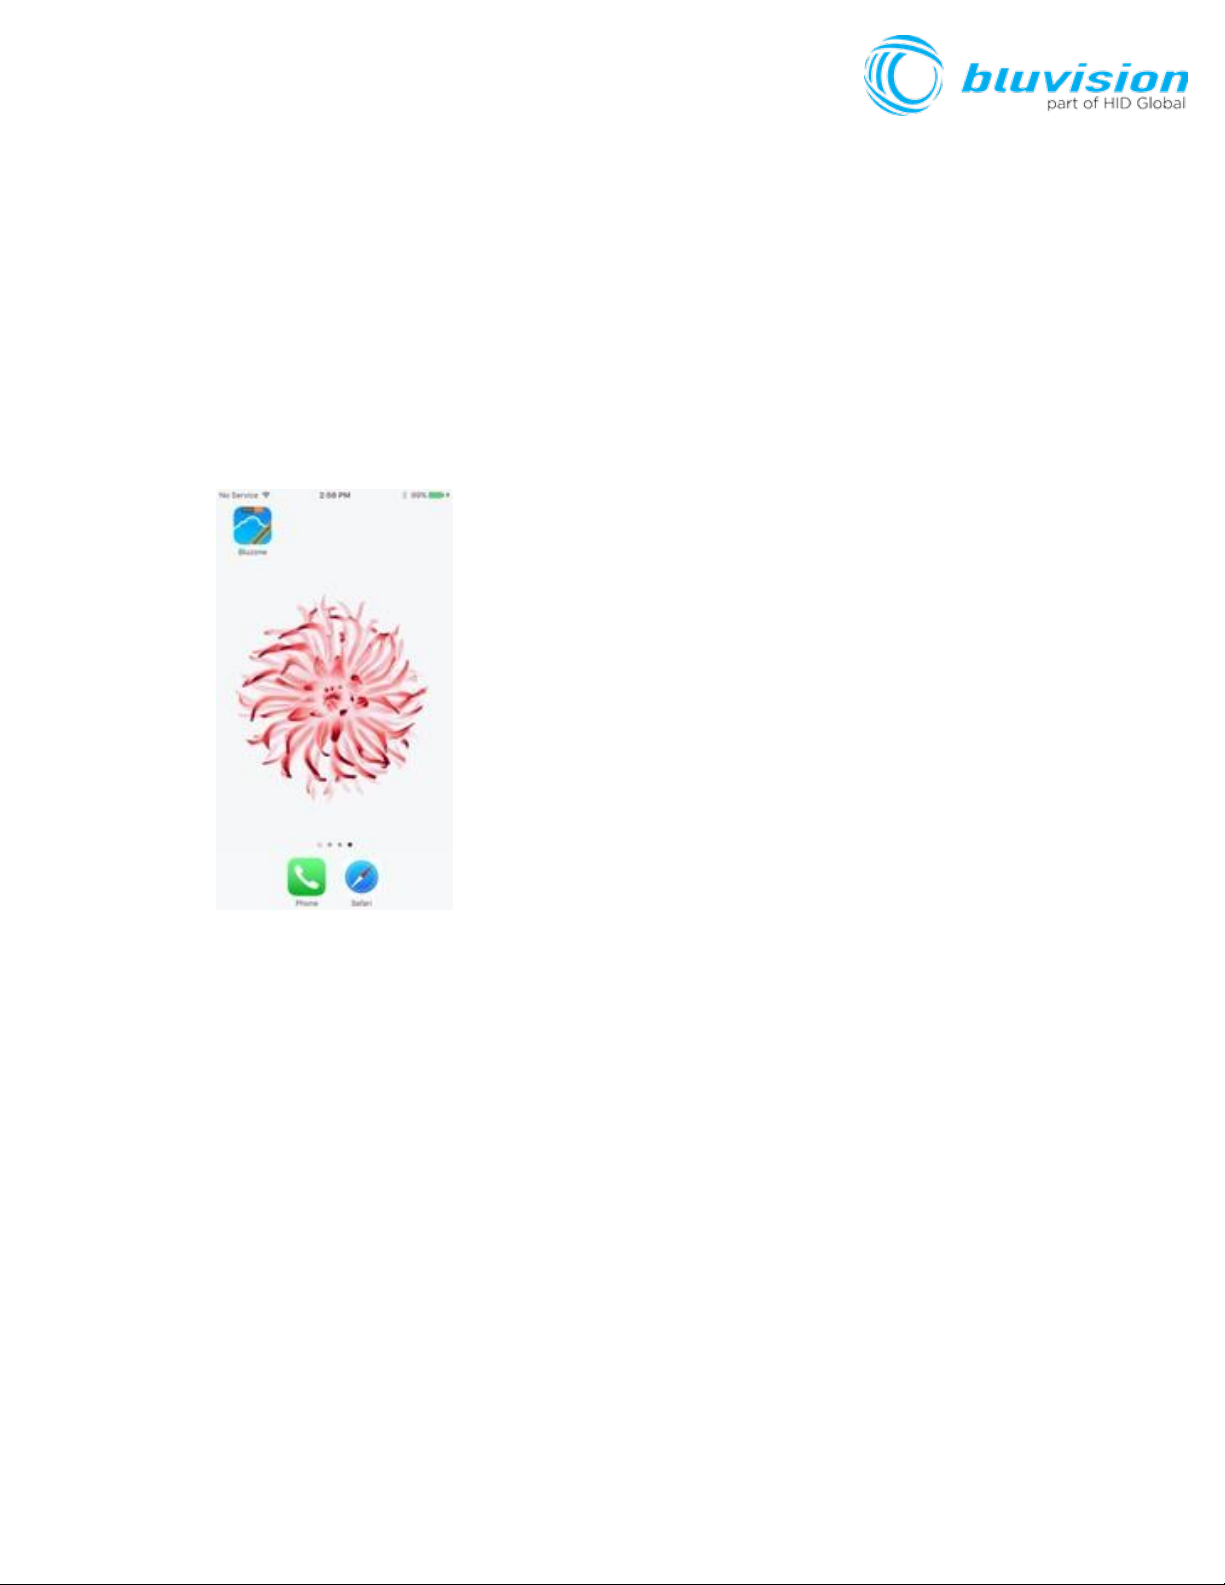
Provisioning Step 1: Download Bluzone Mobile Application
You can use the free Bluzone app with any compatible device, including:
Bluzone app (iOS) - iPhone, iPad and iPod touch running iOS 7.0 or later; certain features
may require later versions. Touch the App Store button on your iPhone, iPod touch or iPad to
download the free Bluzone app, or download the application from iTunes®. (If you download
from iTunes, you will need to sync before you see the Bluzone logo display on your device.)
Page 7
Provisioning Step 2 - Provisioning of a BEEKs Badge Button using Bluzone Mobile Application
Provisioning Steps
Step 1 - Launch the Bluzone app on your iOS device
Page 8

Step 1.1 Sign In - Sign in using your Bluzone account’s registered username and
password
Step 1.2 Select Provision Action – Click “Provision” located at bottom of screen
Page 9

Step 1.3 Select BEEKs Badge Button Provisioning – Click / Select BEEKs Badge
Button within option menu.
Step 1.4 Select Your BEEKs Badge Button
– Select the closest BEEKs Badge Button
device from all BEEKs Badge Button devices in range of mobile phone. Please make sure you are within 1 meter
of device. The BEEKs Badge Button Icon’s green color indicates the relative proximity to BEEKs Badge Button
device. The greener color displayed, the closer you are to BEEKs Badge Button device.
Page 10

Step 1.5 WiFi Template - Choose appropriate BEEKs Badge Button template. If this list
is empty, please complete the required prerequisite step of creating BEEKs Badge Button
WiFi template on https://bluzone.io in your assigned project.
Step 1.6 BEEKs Badge Button Location - Next you will be prompted to select/assign the
physical
geo location of the BEEKs Badge Button where it is being physically installed. Location is
assigned by GPS and can be changed manually by dragging the pin in order to be more
accurate. Drag the pin by holding your finger on pin located in center of screen and dragging
to appropriate location.
Page 11

Step 1.7 BEEKs Badge Button Selfie - Next you will be prompted to take a picture
of the BEEKs Badge Button. This is called a “Selfie” within Bluzone application. This is an
optional step and is recommended so that others can easily identify the location of the
BEEKs Badge Button after deployment
Step 1.8 BEEKs Badge Button Profile - Next you will be prompted to enter a name for
the BEEKs Badge Button. You may keep the default name but it is recommended to choose a
unique name that is meaningful to you. At this time you may also add Tags from the template,
or create new ones if
needed. Important: Click Provision after entering the information will submit provisioning
request to Bluzone Cloud
Page 12

Step 1.9 Provision Request – Please wait for provisioning process to complete. This will
be indicated using progress indicator / spinner located on screen.
Congratulations, you have provisioned you first Bluvision BEEKs Badge Button on Bluzone.io
Page 13

FCC Statement
This device complies with part 15 of the FCC Rules. Operation is subject to the
following two conditions: (1) This device may not cause harmful interference, and
(2) this device must accept any interference received, including interference that
may cause undesired operation.
Changes or modifications not expressly approved by the party responsible for
compliance could void the user's authority to operate the equipment.
 Loading...