

Hessaire MC37, MC61, MC18M Use & Care Manual
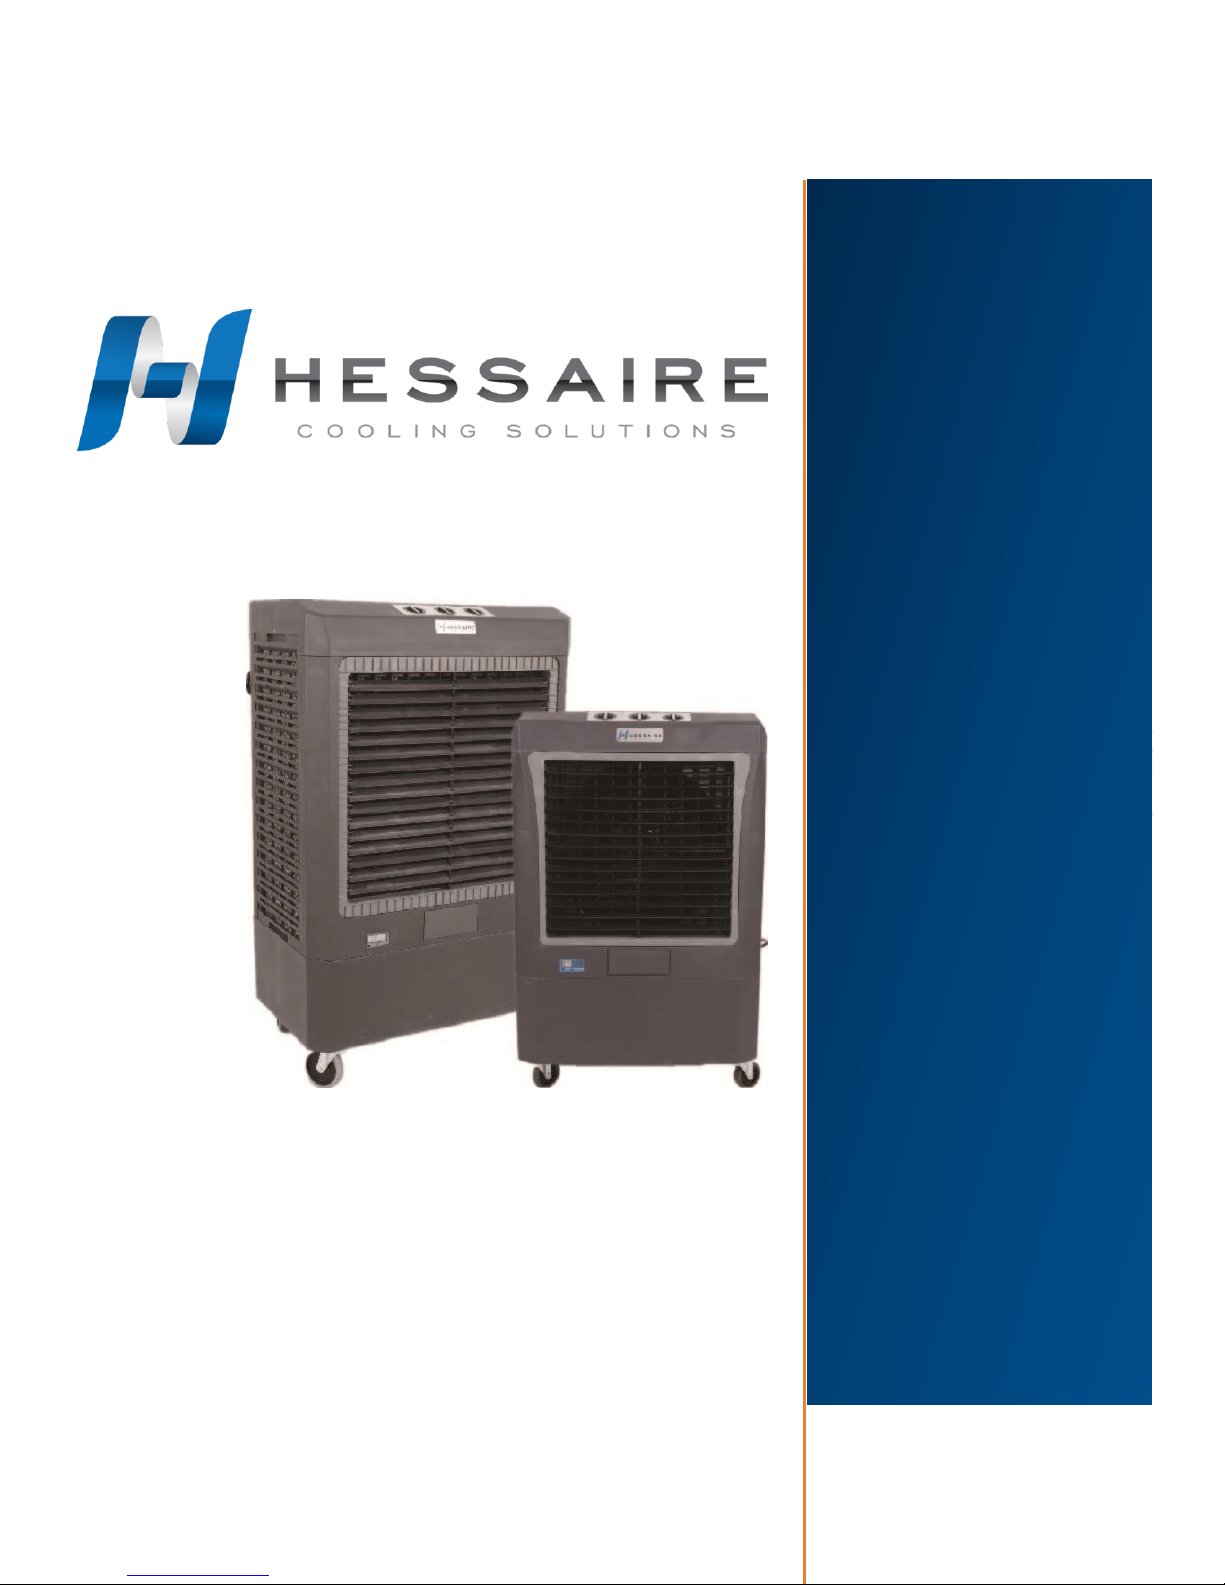
Mobile Evaporative Cooler
Use & Care Guide
MC37 / MC61
INDEX
Safety Rules..............…1
Quick Start............….…2
Features........................3
Maintenance.........….....4
Cooler Parts........……...5
Warranty.............……...6
Trouble Shooting……....7
Safety Rules
1. Read and follow all instructions, cautions,
and warnings. Failure to do so could result in
personal injury, death or property damage.
2. Unit must be in the OFF position and
UNPLUGGED from power receptacle before
performing any maintenance.
3. Make sure the electrical power source
conforms to the requirement of the evaporative
cooler(s) as well as local codes.
4. To reduce the risk of fire or electrical shock,
do not expose electrical connections to water.
5. Do not touch electrically live components.
6. Assure that all power cords do not meet any
sharp edges, hot surfaces or chemicals.
Immediately replace any damaged parts.
CAUTION: BEFORE CLEANING OR SERVICING DISCONNECT POWER SUPPLY
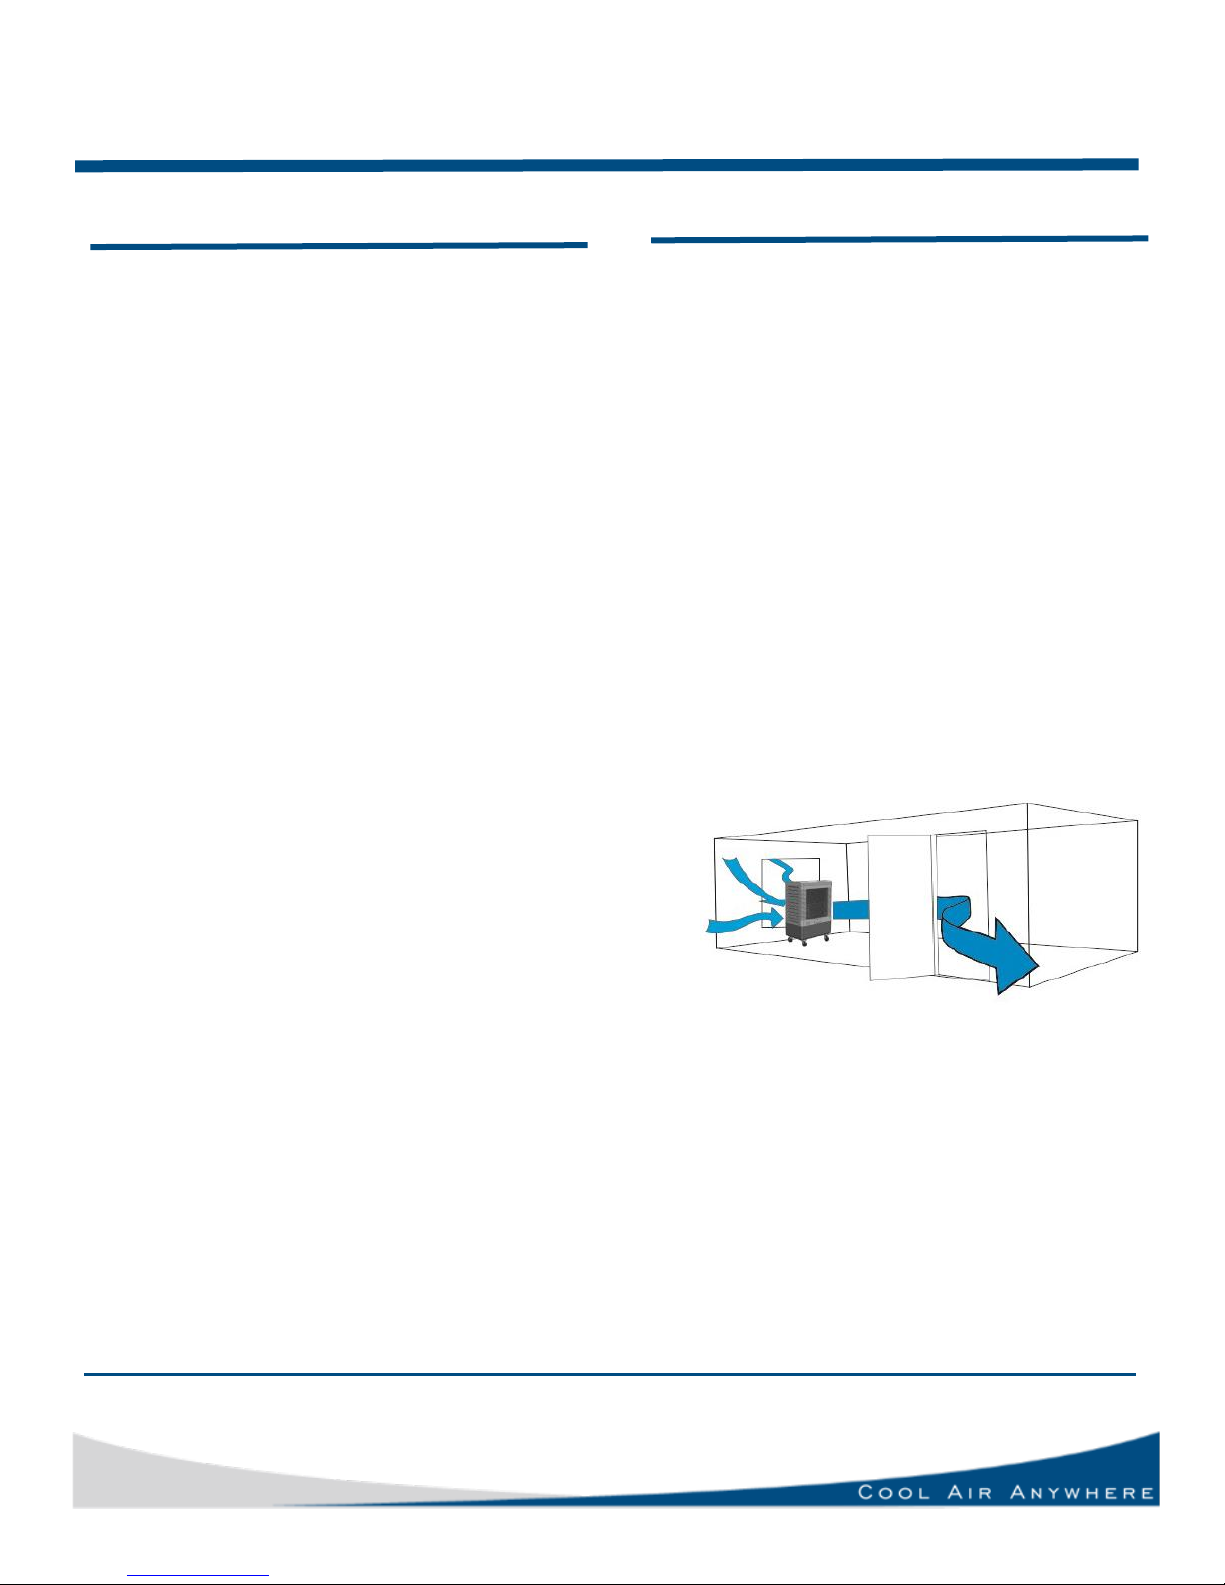
Safety
Key Operational Points
Your cooler must be positioned in front of an
open window or door if it is to operate effectively.
(see below picture)
1. Always ensure that there is another open
window or door through which the air can
exhaust from the room.
2. Ensure the rigid media is kept clean
throughout the use of your cooler.
3. At the end of each day run your cooler on
FAN ONLY for 30 minutes to dry out the
rigid media.
4. Prior to putting your cooler away for
winter, always:
a. Drain the tank and wipe clean.
b. Clean the rigid media.
c. Reassemble and run on FAN
ONLY for 30 minutes to dry out the rigid
media.
Indoor Use
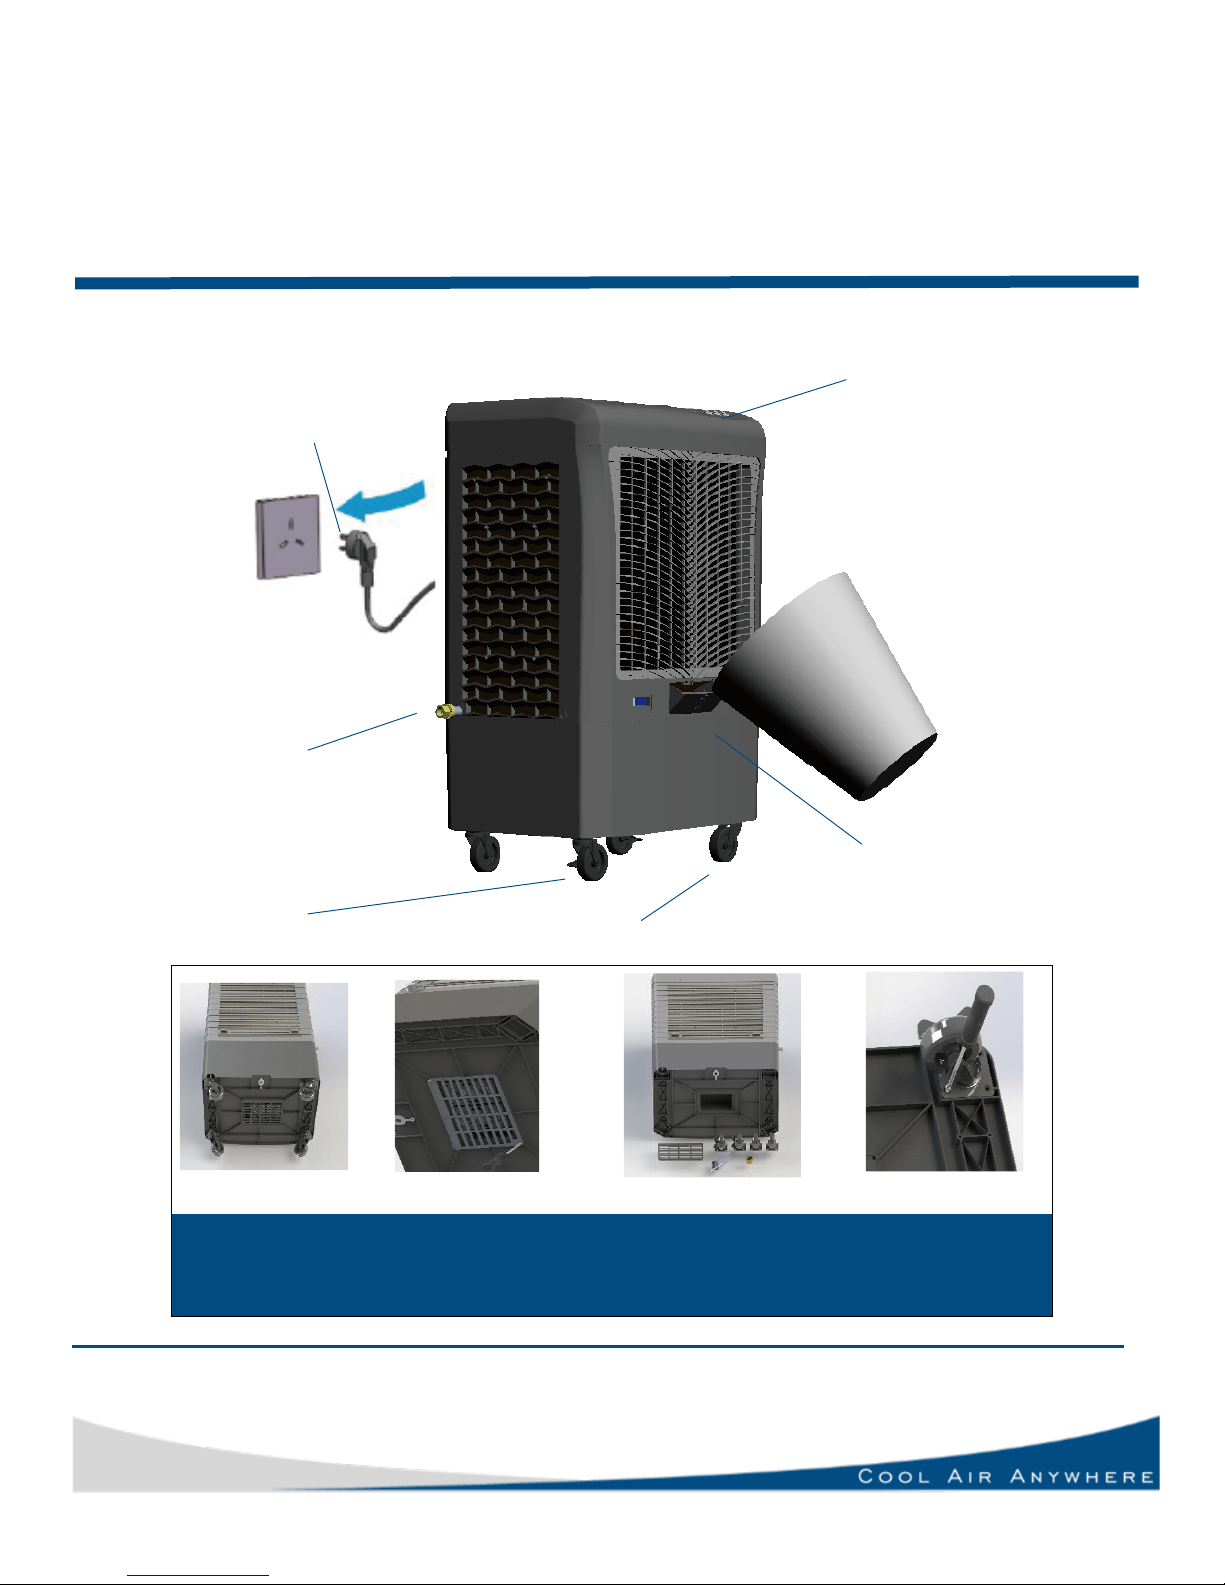
Quick Start
A B C
D
Lay the cooler
down
Unscrew the two
screws, remove
the bottom panel
Taks out: Casters x4
Screws x16
Garden Hose adaptor x1
Install 4 Casters
1 Install Casters and Front caster with lock
4 Fill cooler by
using bucket or hose
5 Turn the cooler
On and ENJOY
3 Connect to any
power supply
2 Install Garden
hose adapter
After unpacking your evaporative cooler, carefully inspect for any damage that may have occurred
during transit. Inspect for loose, missing or damaged parts.
Contents: Evaporative cooler (1), Hardware Bag (1), Casters (4)
Tools / Materials Needed: Drill with #2 Phillip’s bit or Phillip’s head screwdriver
 Loading...