

HERO PW3540-AC User Manual

H.E.R.O. Industries
a division of Middlefield Bancorp Limited
Phone: ( 604 ) 420-6543 Fax: ( 604 ) 420-8725
E-mail: sales@hero.ca Website: //www.hero.ca
H.E.R.O. Industries PW-3540-AC Pressure Washer Owners Manual
U.S. mail: P.O. Box 75, Custer, WA 98240-0052
2719 Lake City Way,
Burnaby, B.C., Canada
Toll Free: 1-800-494-4376
Page 1
Table of Contents
Safety Instructions
Important Operating / Maintenance Precautions
Start-Up
Shutting Down
Nozzle Selection
Trouble Shooting
Pump Schematic & Parts List
Unloader and Injector Control Schematic & Parts List
Chassis Parts, Gun, & Hose
Pump Service
Accessories
Repair Kits
3
4
4 – 5
5
6
7
8 – 10
11 - 13
14
15
16
16
This product is warranted to be free from defects in materials and workmanship under normal
use and service, for a period of two years from the date of purchase, when operated and
maintained in accordance with the Maintenance and Operation Instructions supplied with the
unit. The warranty does not cover misuse or negligence.
This warranty is extended only to the original purchaser. Hoses, spray guns, wands and other
accessories are warranted for 30 days. Warranty is void if repairs are attempted by anyone other
than an Authorized Service Center.
H.E.R.O. Industries liability under warranty is limited to repair of product and /or replacement
of parts, and is given to the purchaser in lieu of all other remedies including incidental and
consequential charges. There are no expressed warranties other than those specified herein.
H.E.R.O. Industries PW-3540-AC Pressure Washer Owners Manual
WARRANTY
Page 2
IMPORTANT SAFETY PRECAUTIONS
This book has important information for the use and safe operation of this
machine. Read and understand all warnings before you start working.
WARNING - WHEN USING THIS MACHINE:
Read all the instructions before using machine
To reduce risk of injury, close supervision is necessary when the machine
is used near children
Know how to sto p the machine and bleed pressure quickly. Be quite
familiar with the S tay alert! Watch what you are doing.
Keep operating area clear of all persons.
Follow the maintenance instructions specified in the manual.
Do not operate the machine when fatigued or under the influence of alcohol
or drugs.
Do not overreach or stand on unstable support. Keep good footing and
balance at all times.
To prevent fire hazard, do not use with or near inflammables such as;
gasoline, grain dust, s olve nt s and th inn ers.
Never add gaso line to a hot engine as this can result in a fire or explosion.
Never direct spray at pre ssure washer unit.
Do not direct discharge stream at persons or animals. The high
pressure water stream can cause injury or death!
H.E.R.O. Industries PW-3540-AC Pressure Washer Owners Manual
Warning
Risk of injection or injury.
Page 3
IMPORTANT OPERATION / MAINTENANCE PRECAUTIONS
Change oil in pump after the first 50 hours, then every 500 hours.
Use SAE30 Non-Detergent Motor oil.
Change engine oil as specified by the Honda. See Honda owners manual.
Do Not run washer longer than 3 minutes with gun closed, as this can result in damage to the
seals. Heat generated by the re-circulating water can damage seals.
Avoid freezing pump. Drain unit prior to storage, or run an antifreeze solution through pump.
Ensure the pump and hoses are completely bleed of all liquid.
ST AR T -UP AND OPERATION INTRODUCTION
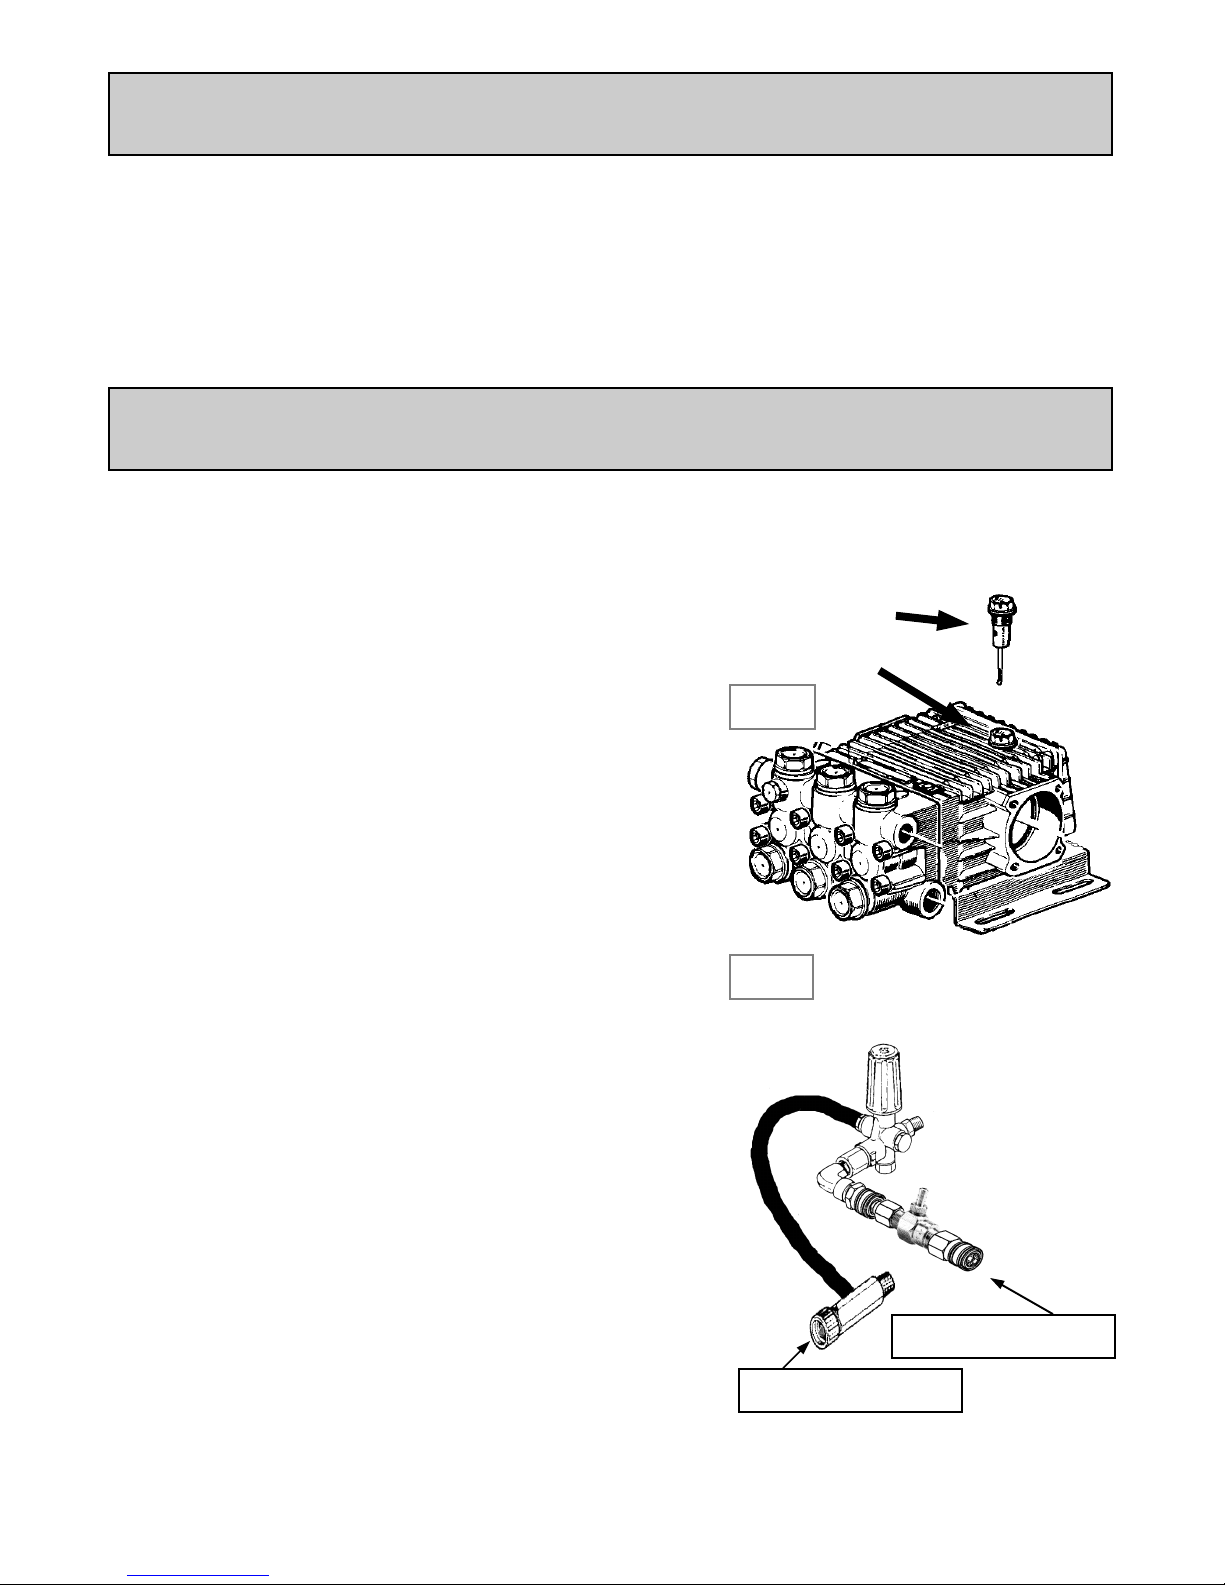
1. Verify that the vented YELLOW dip stick is installed in
pressure washer pump. Remove the RED shipping plug
( if present ) from top of the pump and replace it with the
YELLOW oil level dipstick provided. Fig. 1
2. Before first use, check engine and pump oil levels.
Note: For shipping purposes, engine oil has not been
added.
Before each use, check engine oil level by unscrewing
the oil dipstick. Add motor oil (consult Honda manual
for correct grade) as required to bring to proper level,
approximately mid-way on dipstick.
3. Check water suppl y volume. To operate correctly, the unit
requires a water supply 25% greater than the units output.
( i.e. Model PW-3540-AC = 5 GPM, of water flow ).
To test water supply output;
a) Turn water flow to full maximum output.
b) Place a 5 gallon pail or container under water flow for
exactly 1 minute ( 60 seconds).
c) Measure contents to determine water flow.
4. Connect a standard garden hose to the water inlet or
bottom connection on the pump head ( Female hose
connector ). Fig. 2.
5. Connect the high pressure hose to the water “Outlet”
or upper connection on the pump head.
( Male quick connect nipple). Fig. 2.
6. Turn the unload er knob on top of the pump head counter clockwise to reduce the pressure prior to starting the
machine.
Fig. 1
Fig. 2
Attach Garden Hose
Yellow
Red
Attach Pressure Hose
H.E.R.O. Industries PW-3540-AC Pressure Washer Owners Manual
Page 4
ST AR T -UP AND OPERATION INTRODUCTION
7. Select the desired tip for the job. Insert tip into wand ( quick-connect fittings ). See page 6.
RED-0º, Narrow Fan, Direct or Concentrated Cleaning.
YELLOW - 15º, Medium Fan, General Use.
WHITE - 40º, Wide Fan, Soft Pattern, For Rinsing.
BLACK - 65º, Chemical Injector Tip. Must be used when operating chemical injector
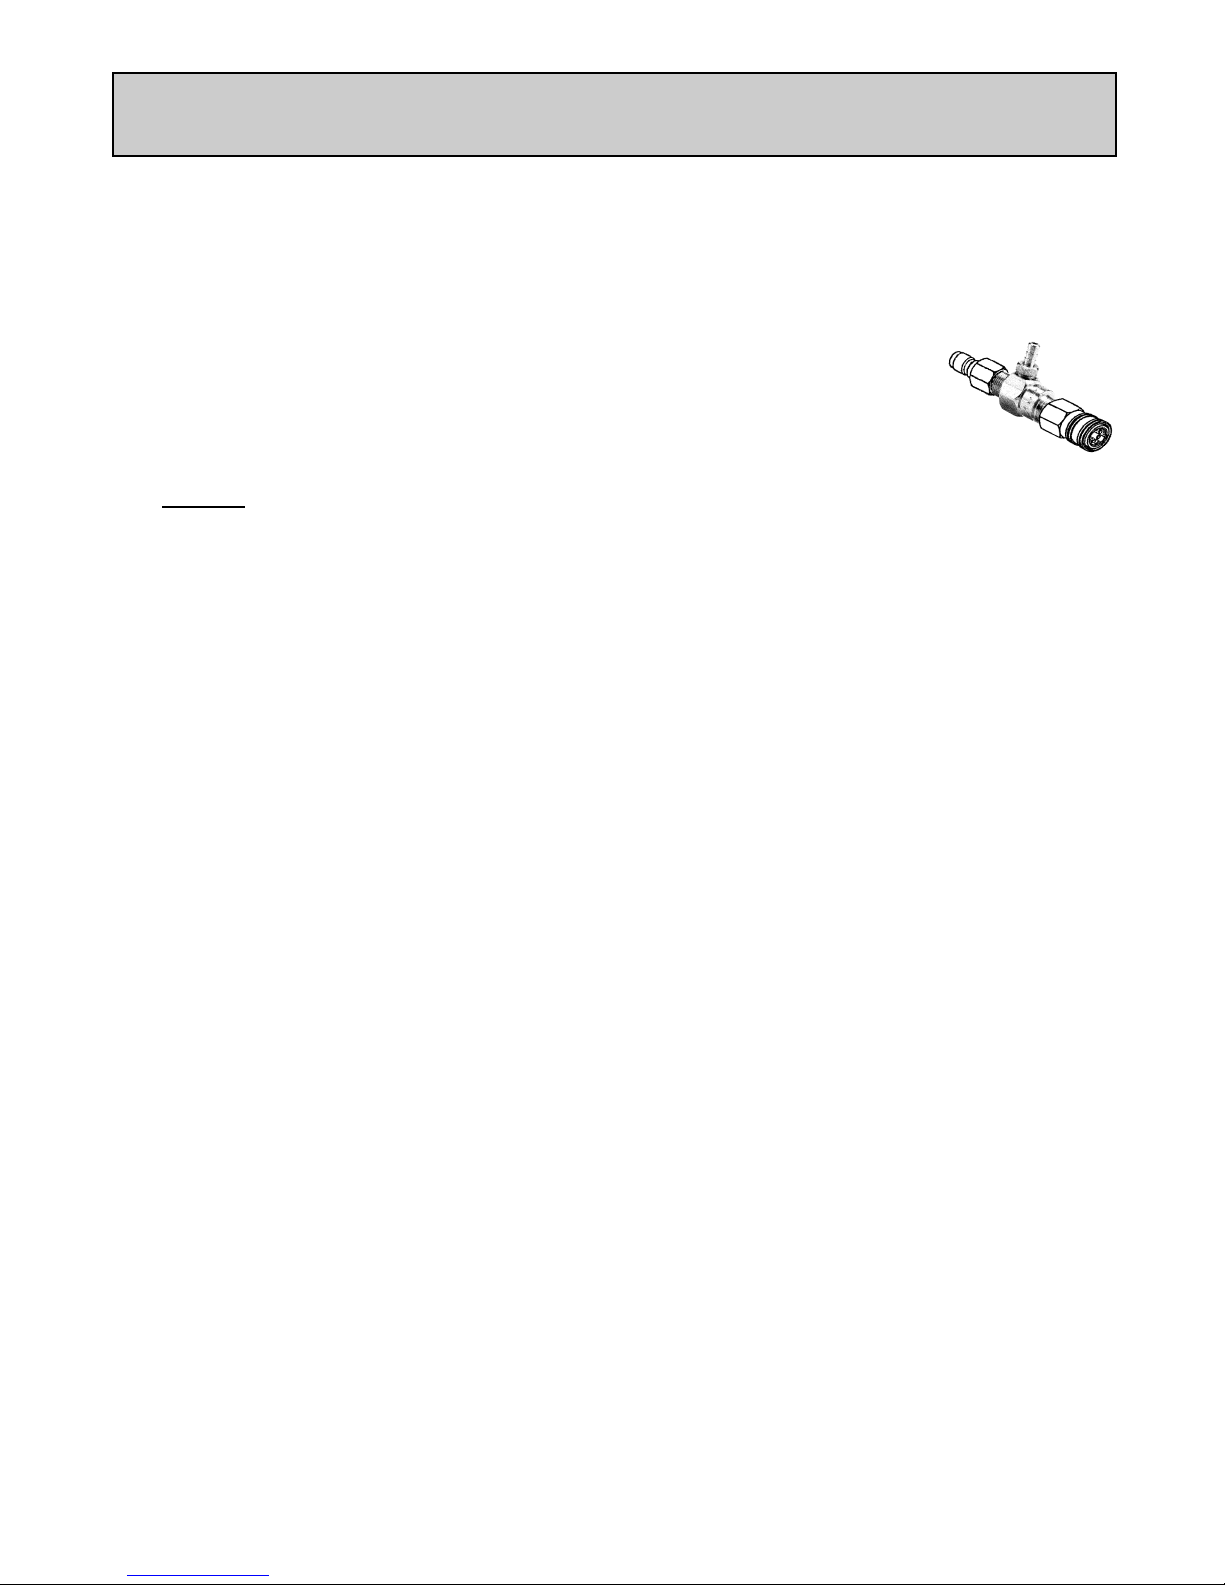
8. If you are not going to be using injector system, remove the injector components
from the out put side of the unloader. All components feature quick release
fittings. Store for future use.
9. Turn on the water suppl y and trigger the spray gun to purge all air from the system, PRIOR to starting engine.
10. Start the engine by following this procedure:
- Turn the ON/OFF switch to ON.
- Turn the GAS to ON.
- Turn the CHOKE to FULL.
- Push the THROTTLE lever to the ON position.
- Pull the STARTING cord.
- Once the engine has started, reduce the CHOKE until it is OFF, and open the THROTTLE to
full ON. Use these instructions in conjunction with instructions provided in the Honda manual.
11. At this point, the gun is triggered to evacuate any remaining air in the system. Then trigger the
gun and begin turning the BLACK unloader knob in a clockwise direction as far as it will turn.
You should now have full pressure.
12. To introduce chemicals/detergent to the spray,
- Turn unit off, and trigger gun to relieve all internal fluid pressure.
- Re-connect the chemical injector components as removed in step 8.
- Connect the detergent/chemical suction line to the fitting marked “Injector” and place the filter
end into the chemical/detergent jug.
- Install “Black” injector tip into gun. VERY IMPORTANT.
- Re-start pump and set pressure to low.
Injector siphoning is best at very low pressure. Once the injector material stream has been
established, the pump operating pressure can be increased.
SHUTTING DOWN THE MACHINE AFTER USE
H.E.R.O. Industries PW-3540-AC Pressure Washer Owners Manual
Page 5
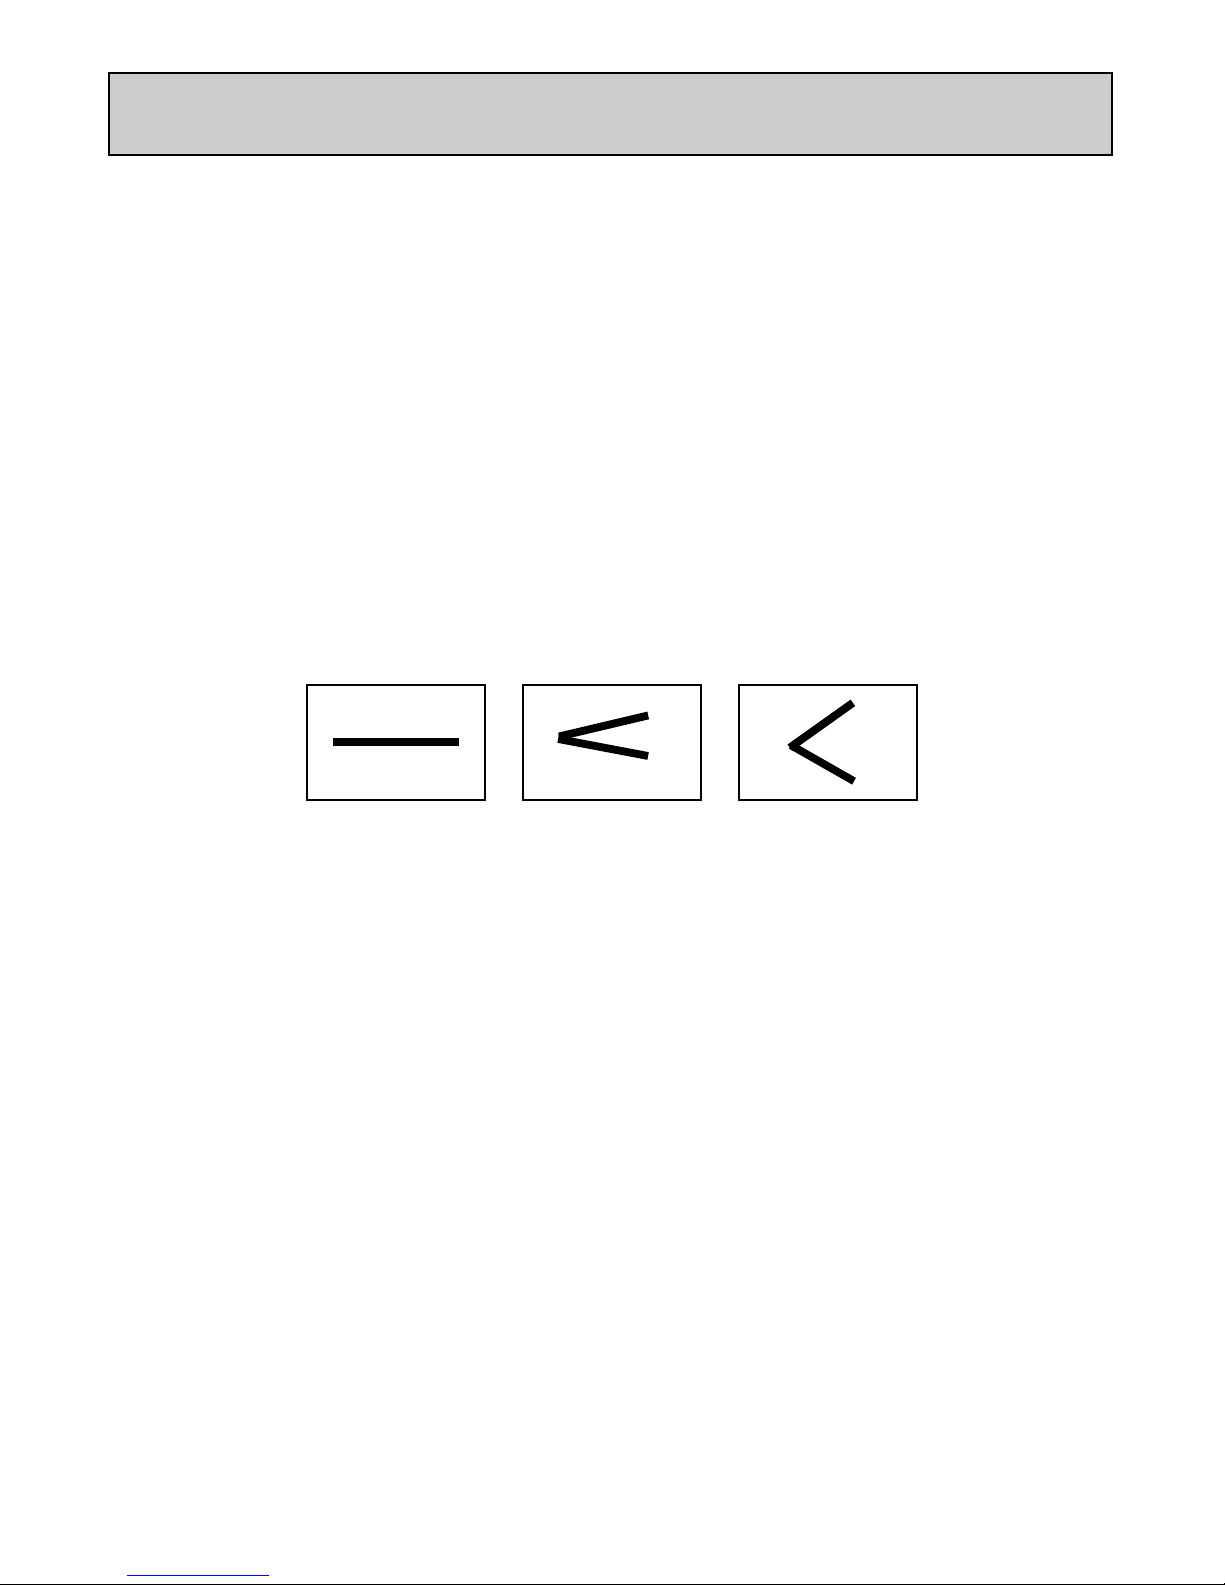
NOZZLE SELECTION
For your convenience, we have provided a selection of nozzles to choose from.
Your machine is equipped with a 0°, 15°, 40°, and a chemical nozzle.
If you require a different cleaning action, we suggest selecting the correct tip for the job.
1. RED = 0° Angle - High impact, solid stream.
2. YELLOW = 15° Angle - Narrow width spray pattern.
3. WHITE = 40° Angle - Wide width spray pattern.
4. BLACK = Chemical Injector
0° Angle 15° Angle 40° Angle
H.E.R.O. Industries PW-3540-AC Pressure Washer Owners Manual
Page 6
 Loading...