

Page 1
Y
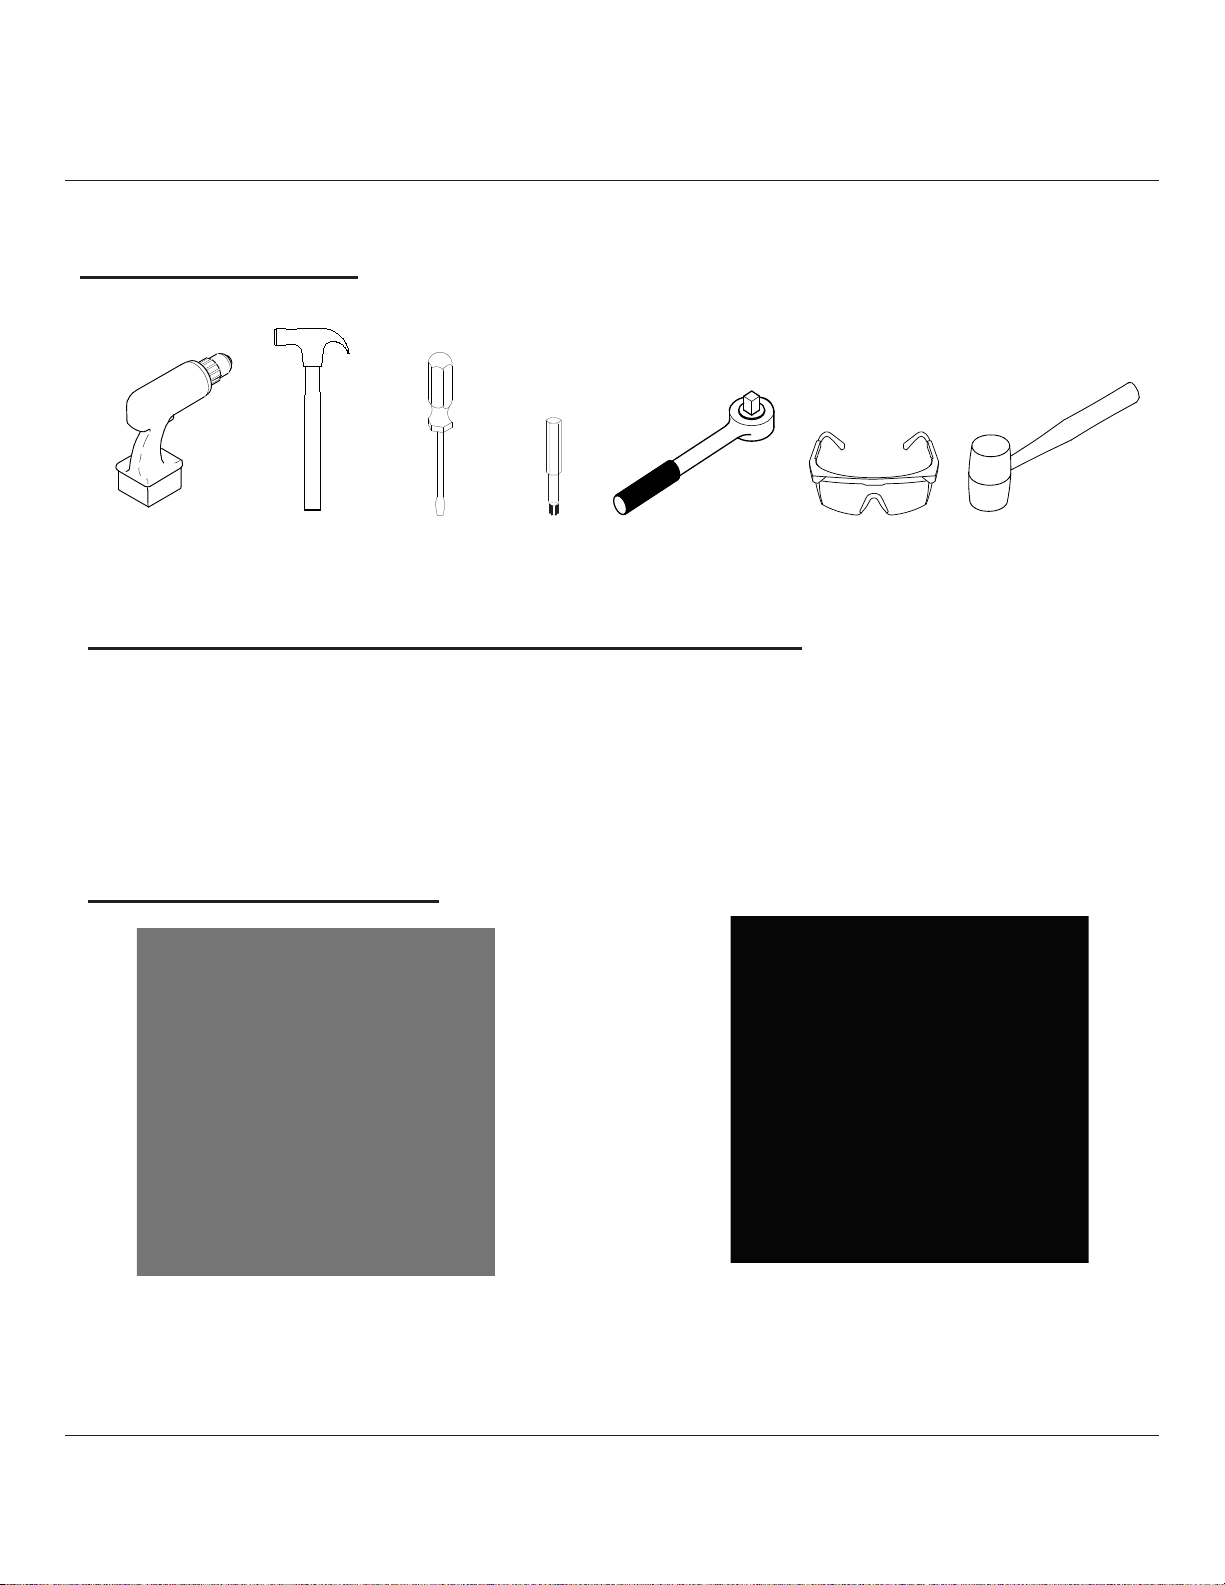
Tools Required:
Mirra® Disassembly for Recycling
Power Driver Safety Glasses Rubber MalletRatchetT-40
2 lbs Hammer
Flat Blade
Screwdriver
Torx Bits
Materials Identication and Segregation:
Where possible, plastic components are marked with ASTM recycling codes.
Use these codes to identify material type for recycling. Non marked components
should be treated as mixed plastic. Ferrous metals can be identied using a small
magnet for recycling. Non-ferrous metals should be separated and recycled
separately.
Disassembly Steps:
1. Using T-40 torx bit, remove
both hip pivot bolts securing
seat assembly to arm support
stems.
Z
Z
© 2012 Herman Miller, Inc. Zeeland, Michigan. Printed in the U.S.A.
® Y, Z, Mirra, Co/Struc and Embody are among the registered trademarks of Herman Miller, Inc.
TM
Sense, Setu, Tu and SAYL are among the trademarks of Herman Miller, Inc.
Illustrations and specifications are based on the latest product information available at the time of publication.
The right is reserved to make changes in design and specifications at any time, without notice, and also to discontinue products.
2. By hand, pull seat assembly
forward to disengage seat from
chair tilt mechanism.
Part no. 1b9rtg rev B.
1
Page 2

3. Using at blade screwdriver
4. Using at blade screwdriver
pry up gently to remove seat ring.
pry up gently to remove pellicle.
5. Remove seat front cushion. 6. Remove screws of ears
Z
Z
© 2012 Herman Miller, Inc. Zeeland, Michigan. Printed in the U.S.A.
® Y, Z, Mirra, Co/Struc and Embody are among the registered trademarks of Herman Miller, Inc.
TM
Sense, Setu, Tu and SAYL are among the trademarks of Herman Miller, Inc.
Illustrations and specifications are based on the latest product information available at the time of publication.
The right is reserved to make changes in design and specifications at any time, without notice, and also to discontinue products.
ip seat assembly.
Part no. 1b9rtg rev B.
2
Page 3

7. Using Powerdriver remove
8. Pry up gently using at blade
both bolts of front seat adjustment
mechanism.
9. Using Powerdriver remove
screwdriver to disengage the
frame exible seat.
10. Remove screw of arm pad
both screws of seat adjustment
frame structure.
Z
Z
© 2012 Herman Miller, Inc. Zeeland, Michigan. Printed in the U.S.A.
® Y, Z, Mirra, Co/Struc and Embody are among the registered trademarks of Herman Miller, Inc.
TM
Sense, Setu, Tu and SAYL are among the trademarks of Herman Miller, Inc.
Illustrations and specifications are based on the latest product information available at the time of publication.
The right is reserved to make changes in design and specifications at any time, without notice, and also to discontinue products.
using Powerdriver.
Part no. 1b9rtg rev B.
3
Page 4

11. Remove arm pad.
12. Using T-20 torx bit remove
Repeat for opposite side.
13. Remove pad support
both screws.
14. Remove both chair arms
assembly.
Z
Z
© 2012 Herman Miller, Inc. Zeeland, Michigan. Printed in the U.S.A.
® Y, Z, Mirra, Co/Struc and Embody are among the registered trademarks of Herman Miller, Inc.
TM
Sense, Setu, Tu and SAYL are among the trademarks of Herman Miller, Inc.
Illustrations and specifications are based on the latest product information available at the time of publication.
The right is reserved to make changes in design and specifications at any time, without notice, and also to discontinue products.
from arm stems by sliding off.
Note: To remove xed arm from
chair simply slide arm up off arm
stem.
Part no. 1b9rtg rev B.
4
Page 5

15. Remove both slide inserts
16. By hand, pull adjustable
from arm stem by pulling out
on inserts. Set inserts and arm
assembly aside.
17. With ngers, grasp bottom
arm stem cover loose from right
side cover and slide cover off
arm stem.
Allen key engaged
on yoke
18a. Using ratchet wrench and
of access cover and carefully
pull out on access cover until
retaining tabs release.
Z
Z
© 2012 Herman Miller, Inc. Zeeland, Michigan. Printed in the U.S.A.
® Y, Z, Mirra, Co/Struc and Embody are among the registered trademarks of Herman Miller, Inc.
TM
Sense, Setu, Tu and SAYL are among the trademarks of Herman Miller, Inc.
Illustrations and specifications are based on the latest product information available at the time of publication.
The right is reserved to make changes in design and specifications at any time, without notice, and also to discontinue products.
13mm socket and10mm allen
key, remove both M10 bolts
from mounting stem.
Note: Chairs built after 4/29/2011
Part no. 1b9rtg rev B.
5
Page 6

18b. Using ratchet wrench and
19. Pry up gently to remove
13mm socket, remove both bolts
from mounting stem.
Note: Chairs built before 04/29/2011
20. Remove two screws that
T-nuts from spine.
21. Lift off chair back assembly
attaches the bottom of the seat.
Z
Z
© 2012 Herman Miller, Inc. Zeeland, Michigan. Printed in the U.S.A.
® Y, Z, Mirra, Co/Struc and Embody are among the registered trademarks of Herman Miller, Inc.
TM
Sense, Setu, Tu and SAYL are among the trademarks of Herman Miller, Inc.
Illustrations and specifications are based on the latest product information available at the time of publication.
The right is reserved to make changes in design and specifications at any time, without notice, and also to discontinue products.
to remove.
Part no. 1b9rtg rev B.
6
Page 7

22. Using T-40 torx head bit
remove torx head screws.
23. Remove back from the yoke.
24. Using at blade screwdriver
gently pry off fabric trim from
seat back. If required.
Z
Z
© 2012 Herman Miller, Inc. Zeeland, Michigan. Printed in the U.S.A.
® Y, Z, Mirra, Co/Struc and Embody are among the registered trademarks of Herman Miller, Inc.
TM
Sense, Setu, Tu and SAYL are among the trademarks of Herman Miller, Inc.
Illustrations and specifications are based on the latest product information available at the time of publication.
The right is reserved to make changes in design and specifications at any time, without notice, and also to discontinue products.
25. Remove the screw that
attaches lumbar mount to the
yoke.
Part no. 1b9rtg rev B.
7
Page 8

26. Remove lumbar adjustment
knob by removing the T-40
Torx screw and by pulling knob
straight off by hand.
27. Remove lumbar bow.
28. By hand, separate right side
cover from left side cover. Some
force and slight twisting of cover will
be necessary to disengage S-clips
holding covers together. Repeate
same step for opposite side.
Z
Z
© 2012 Herman Miller, Inc. Zeeland, Michigan. Printed in the U.S.A.
® Y, Z, Mirra, Co/Struc and Embody are among the registered trademarks of Herman Miller, Inc.
TM
Sense, Setu, Tu and SAYL are among the trademarks of Herman Miller, Inc.
Illustrations and specifications are based on the latest product information available at the time of publication.
The right is reserved to make changes in design and specifications at any time, without notice, and also to discontinue products.
29. Pull up on hinged top at
center, to disengage retaining
loops and open hinged top.
If required.
Part no. 1b9rtg rev B.
8
Page 9

30. Remove wire clip from
31. Grasp tilt tension control
tilt tension knob assembly.
32. Using hammer and punch,
knob and pull out.
33. Grasp paddle on tilt limit
drive tilt limit control shaft free
of grommet on right side of tilt
assembly and remove.
Z
Z
© 2012 Herman Miller, Inc. Zeeland, Michigan. Printed in the U.S.A.
® Y, Z, Mirra, Co/Struc and Embody are among the registered trademarks of Herman Miller, Inc.
TM
Sense, Setu, Tu and SAYL are among the trademarks of Herman Miller, Inc.
Illustrations and specifications are based on the latest product information available at the time of publication.
The right is reserved to make changes in design and specifications at any time, without notice, and also to discontinue products.
control assembly and pull out.
Part no. 1b9rtg rev B.
9
Page 10

34. Remove rear tilt limit
35. Pull up on hinged top at
handle from tilt assembly.
36. Using small at blade
center, to disengage retaining
loops and open hinged top.
If required.
37. Grasp front cover along
screwdriver, loosen both “S”
clips. Make sure “S” clips stay
in place on tilt housing.
If required.
Z
Z
© 2012 Herman Miller, Inc. Zeeland, Michigan. Printed in the U.S.A.
® Y, Z, Mirra, Co/Struc and Embody are among the registered trademarks of Herman Miller, Inc.
TM
Sense, Setu, Tu and SAYL are among the trademarks of Herman Miller, Inc.
Illustrations and specifications are based on the latest product information available at the time of publication.
The right is reserved to make changes in design and specifications at any time, without notice, and also to discontinue products.
lower edge, near pneumatic
cylinder. Pull front cover forward
to remove.
Part no. 1b9rtg rev B.
10
Page 11

38. Locate wire clip for tilt tension
39. Grasp the cable and push
knob. Slide at blade screwdriver
under cable collar. Pry up gently
it forward to release ball end
from cylinder.
until cable collar is free.
40. Lay chair on back. 41. Grasp and pull to remove
Z
Z
© 2012 Herman Miller, Inc. Zeeland, Michigan. Printed in the U.S.A.
® Y, Z, Mirra, Co/Struc and Embody are among the registered trademarks of Herman Miller, Inc.
TM
Sense, Setu, Tu and SAYL are among the trademarks of Herman Miller, Inc.
Illustrations and specifications are based on the latest product information available at the time of publication.
The right is reserved to make changes in design and specifications at any time, without notice, and also to discontinue products.
casters from the base.
Part no. 1b9rtg rev B.
11
Page 12

42. Hold base legs rmly and
strike the bottom of cylinder
with a rubber mallet until base
comes loose.
43. Remove base.
44. Hit the bottom of the chair
with rubber mallet until cylinder
separates from chair.
Z
Z
© 2012 Herman Miller, Inc. Zeeland, Michigan. Printed in the U.S.A.
® Y, Z, Mirra, Co/Struc and Embody are among the registered trademarks of Herman Miller, Inc.
TM
Sense, Setu, Tu and SAYL are among the trademarks of Herman Miller, Inc.
Illustrations and specifications are based on the latest product information available at the time of publication.
The right is reserved to make changes in design and specifications at any time, without notice, and also to discontinue products.
45. Pull out the cylinder from
assembly.
Part no. 1b9rtg rev B.
12
 Loading...