

Page 1
Phone (816) 796-2900
Email [email protected]
HEMCO Corporation
711 S. Powell Road
Independence MO, 64056
MM-CCANOPY-10.15
Visit www.HEMCOcorp.com Call Toll Free: (800) 779-4362
Lab Planning Solutions
HEMCO
R
Other HEMCO Products
UniFlow LE
UniFlow SE AireStream
High Performance
Energy Effi cient
Laboratory Fume Hoods
UniFlow CE
UniFlow LE FM
Safety Equipment
NSPE
Scientifi c Equipment
and Furniture Association
SEFA
ASME
American Society of
Mechanical Engineers
National Fire
Protection Association
NFPA
AEE
Association of
Energy Engineers
Made
In The
U.S.A.
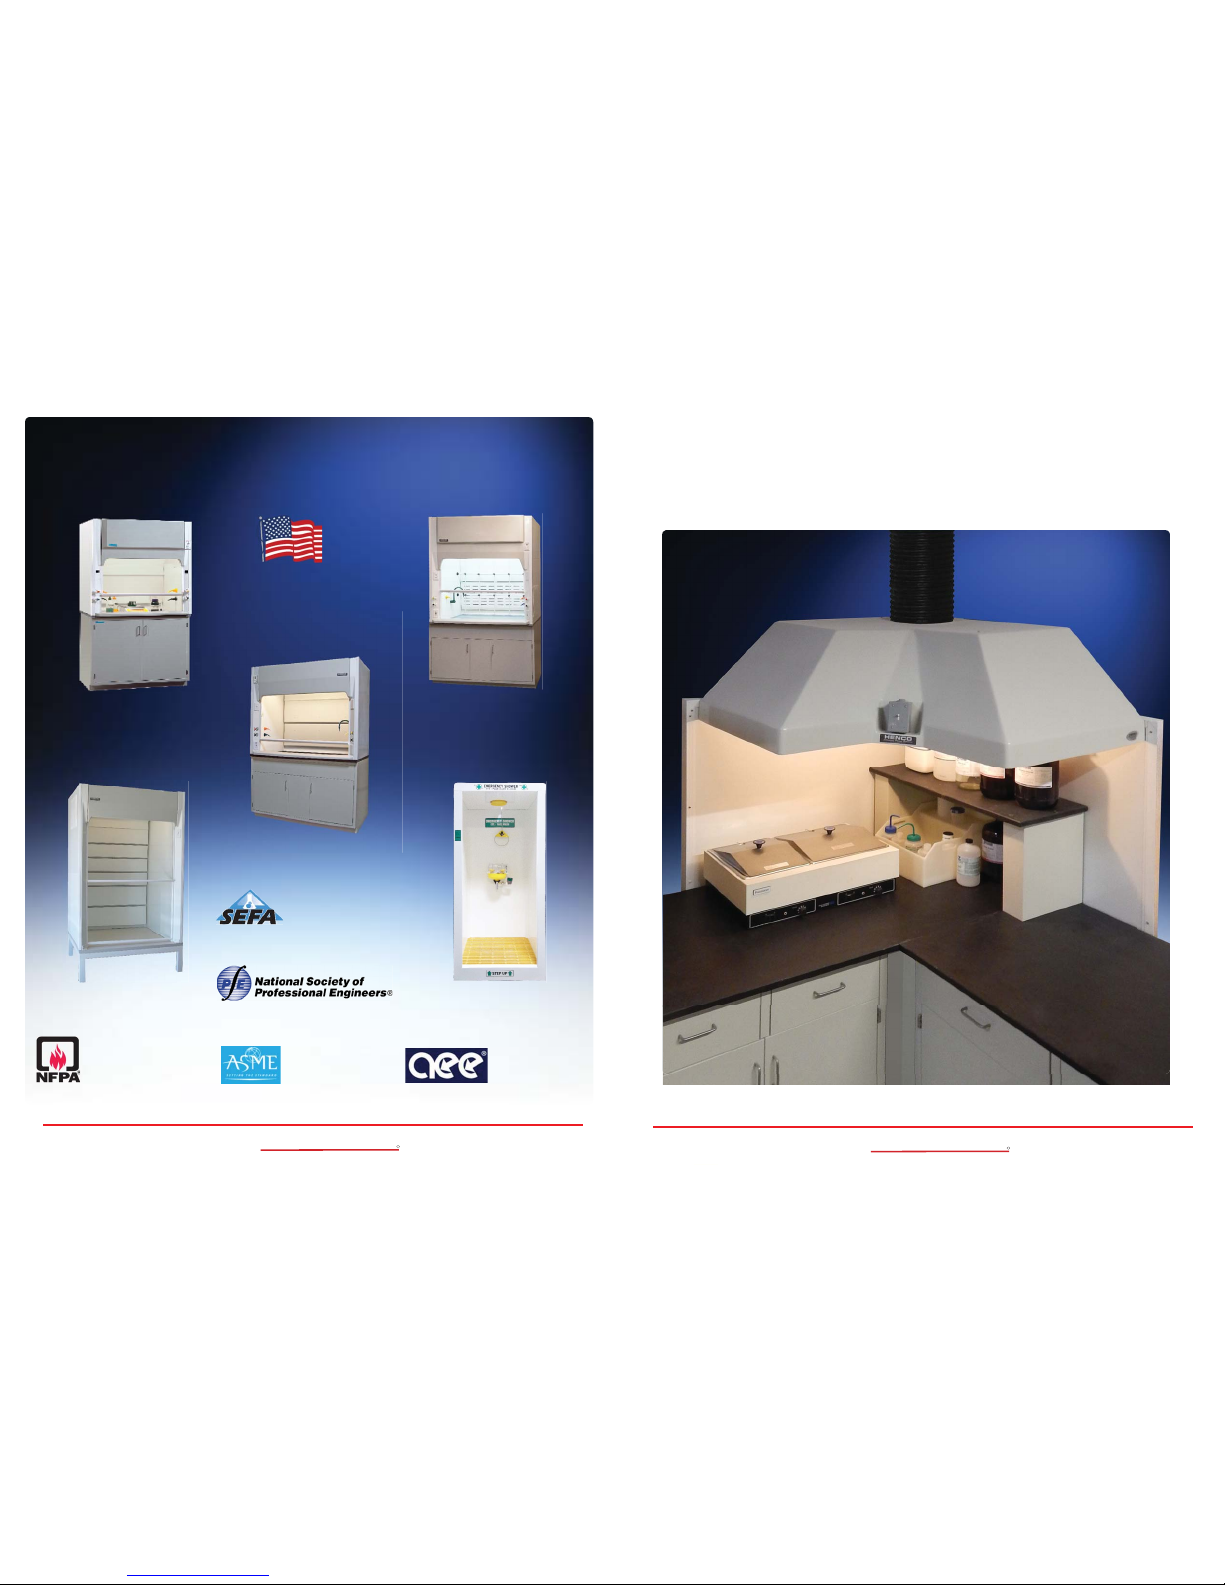
Corner Canopy Hoods
Model Number 13000
Installation, Operation, Maintenance Manual
Phone (816) 796-2900
Email [email protected]
HEMCO Corporation
711 S. Powell Road
Independence MO, 64056
Visit www.HEMCOcorp.com Call Toll Free: (800) 779-4362
Lab Planning Solutions
HEMCO
R
Page 2

2
Upon Receiving Canopy Hood
The HEMCO Corner Canopy hoods are shipped in cartons and wrapped for maximum protection and
ease of handling. If damaged call the adjuster for the delivering carrier promptly and notify HEMCO at
(816) 796-2900.
• Carefully unpack the hood from the shipping carton.
• Check for any interior or exterior damage incurred during shipping.
Installation of hood shall be performed by qualifi ed professional who has read and understands these
instructions and is familiar with proper safety precautions. Read this manual thoroughly before
installing this equipment.
SITE PREPARATION
1. Provide clearance around installation site to safely rig and lift equipment into its fi nal position.
2. For proper exhaust range, install unit within 10-12’ of external exit point.
3. Thoroughly review plans showing engineered placement.
4. Verify no interferences to keep exhaust ducting straight and without bends or twists.
5. Determine that enough room above hood is available for any duct or electrical connections.
It is important to check with local authority having jurisdiction to determine that the installation method
is satisfactory to meet their requirements prior to installing the equipment.
Avoid any obstruction while raising hood so as to not scratch or damage hood while being hoisted.
• A Corner Canopy Hood can be mounted to the wall or attached to optional side wall panels.
Wall Mounting Kits are included.
• Canopy Hoods typically are mounted 30” to 36” above the work surface by locally accepted
installation guidelines.
• Keep in mind the closer the position the better the capture of fumes.
• Where connected to ceiling support should be as engineered at a structurally supportive
location and approved by contractor.
• It is recommended to not locate the canopy hood along a high traffi c aisle. Contaminated air
can potentially be pulled out from underneath the canopy when someone passes by.
• Remember, airfl ow patterns are different with canopy hoods than traditional bench top fume
hoods. Canopy hoods pull lighter than air gases up and out Fume hoods pull light and
heavier than air hazardous fumes back and up and out.
• Unlike a bench-top fume hood, Face Velocity is not measured across the vertical front opening
of a canopy hood. Generally air is being pulled from 3 to 4 sides. CFM is based on the square
foot area of the bottom of the canopy.
• To ensure the proper exhaust fl ow, the length of the ductwork and the number of 90° elbows
needs to be known to calculate a total static pressure or resistance to size an exhaust fan.
7
HEMCO
Laboratory Planning Solutions
www.HEMCOcorp.com
Fax (816) 796-3333
Tel (816) 796-2900
HEMCO Corporation
711 South Powell Road
Independence, MO 64056
R
1 Year Limited Warranty
(Effective 05.1.2014)
HEMCO warrants Canopy Hoods, for materials, and workmanship. HEMCO’s warranty shall
be for a period of (1) year from the date of sale to the original purchaser. HEMCO Corporation will repair or replace products found to be defective in materials or workmanship within
the period set forth above, provided that:(a) the product has not been subjected to misuse,
contamination, neglect, accident, incorrect wiring, improper installation or servicing, or used
in violation of instructions furnished by HEMCO Corporation. And (b) as to any defects in
materials or workmanship covered by this warranty, the product has shall be repaired or altered by anyone authorized by HEMCO Corporation, and (c) the serial number has not been
removed, defaced or other wise changed, and (d) HEMCO Corporation, does not assume
the costs of removal and/or installation of the product or any other incidental costs of removal
and/or installation of the product or any other incidental costs which may arise as a result of
any defect in material or workmanship, and (e) upon discovery of defect, Buyer shall notify
HEMCO Corporation.
Any Warranty implied by law, including warranties of merchantability or fi tness, is in effect
only for the duration of the expressed warranties set forth above, no person is authorized
to give any other warranty, or to assume for HEMCO Corporation any other liability in connection with the sale of it’s products; HEMCO Corporation shall not be liable for the loss of
use, revenue, or profi t or for any injury, or for any other consequential or incidental damages,
buyer is not relying on seller’s judgement regarding original buyer particular requirements,
and has had an opportunity to inspect the product to original buyer satisfaction.
This Warranty is in lieu of all other expressed or implied Warranties
This warranty gives you specifi c legal rights, and you may also have other rights, which vary,
from state to state.
Page 3

6
Notes:
3
Corner Canopy Hood Installation
DO NOT ALLOW ANY PERSONNEL TO STAND ON TOP OF HOOD.
THIS HOOD IS NOT MANUFACTURED OR ENGINEERED TO SUPPORT EXCESSIVE WEIGHT.
Tools Materials Required, Corner Canopy Kit
Suitable fastener(s) for type of wall material / construction
Tool(s) for fastener type
Step Ladder
Two Persons
Select a wall fastener suitable for your wall construction and
the weight of the canopy.
1. Installation
• Mark a level line at the desired mounting height, Figure 1
Note: On wood or metal framed stud walls it is recommended to
align or move the mounting holes in the lower mounting bracket to
be centered on wall studs for a more secure mounting.
• Drill a pilot hole that is compatible with fastener type.
• Lift the canopy and align to line from Figure 1.
• Attach Canopy to wall with fasteners.
2. Installation of Exhaust and Electrical
Connect Exhaust Ducting to top exhaust collar
• Per local codes and standards.
Connect Electrical, If Required
• Per local codes and standards.
It is recommended that protective sheeting remain on the installed hood until any area construction is
complete.
If you have any questions, call HEMCO Corporation at (816) 796-2900
Figure 1
Work
Surface
30” to 36”
Wall
Page 4

4
Safety considerations require that a schedule of inspections and documentation be set up for every
canopy hood.
An inspection record should be maintained. This record may be in the form of a label attached to the
fume hood or a log maintained by the laboratory director or safety offi cer.
Inspection procedures should include instrument verifi cation of fume hood face velocity
performance and usage by observations and interview.
Procedures should consist of a physical examination of liner condition and cleanliness, baffl e and
sash operation and condition, sash cable and guide wheels, and service fi xture function.
All results should be recorded and reported to the proper authority for any required action.
Consult your company safety department for recommendations covering the materials you plan on
using.
Cross-drafts, created by the room ventilation system or from an open window or corridor, if located
adjacent to the hood, can drastically disturb the fl ow of air entering the fume hood face and even
cause a reverse fl ow of air out of the front of the hood. Room conditions such as these should be
avoided. The velocity of the cross drafts should not exceed 20 percent of the fume hood face velocity.
Your Laboratory Safety Plan and Company Procedures should combine to create a safe and
healthful work environment.
MAINTENANCE
To preserve looks, periodic cleaning with mild detergent is usually suffi cient.
Corner Canopy Hood Operation
5
Notes:
 Loading...