

Helo MAGMA, SKLA, MAGMA 181, MAGMA 210, MAGMA 260 Instructions For Use And Installation
...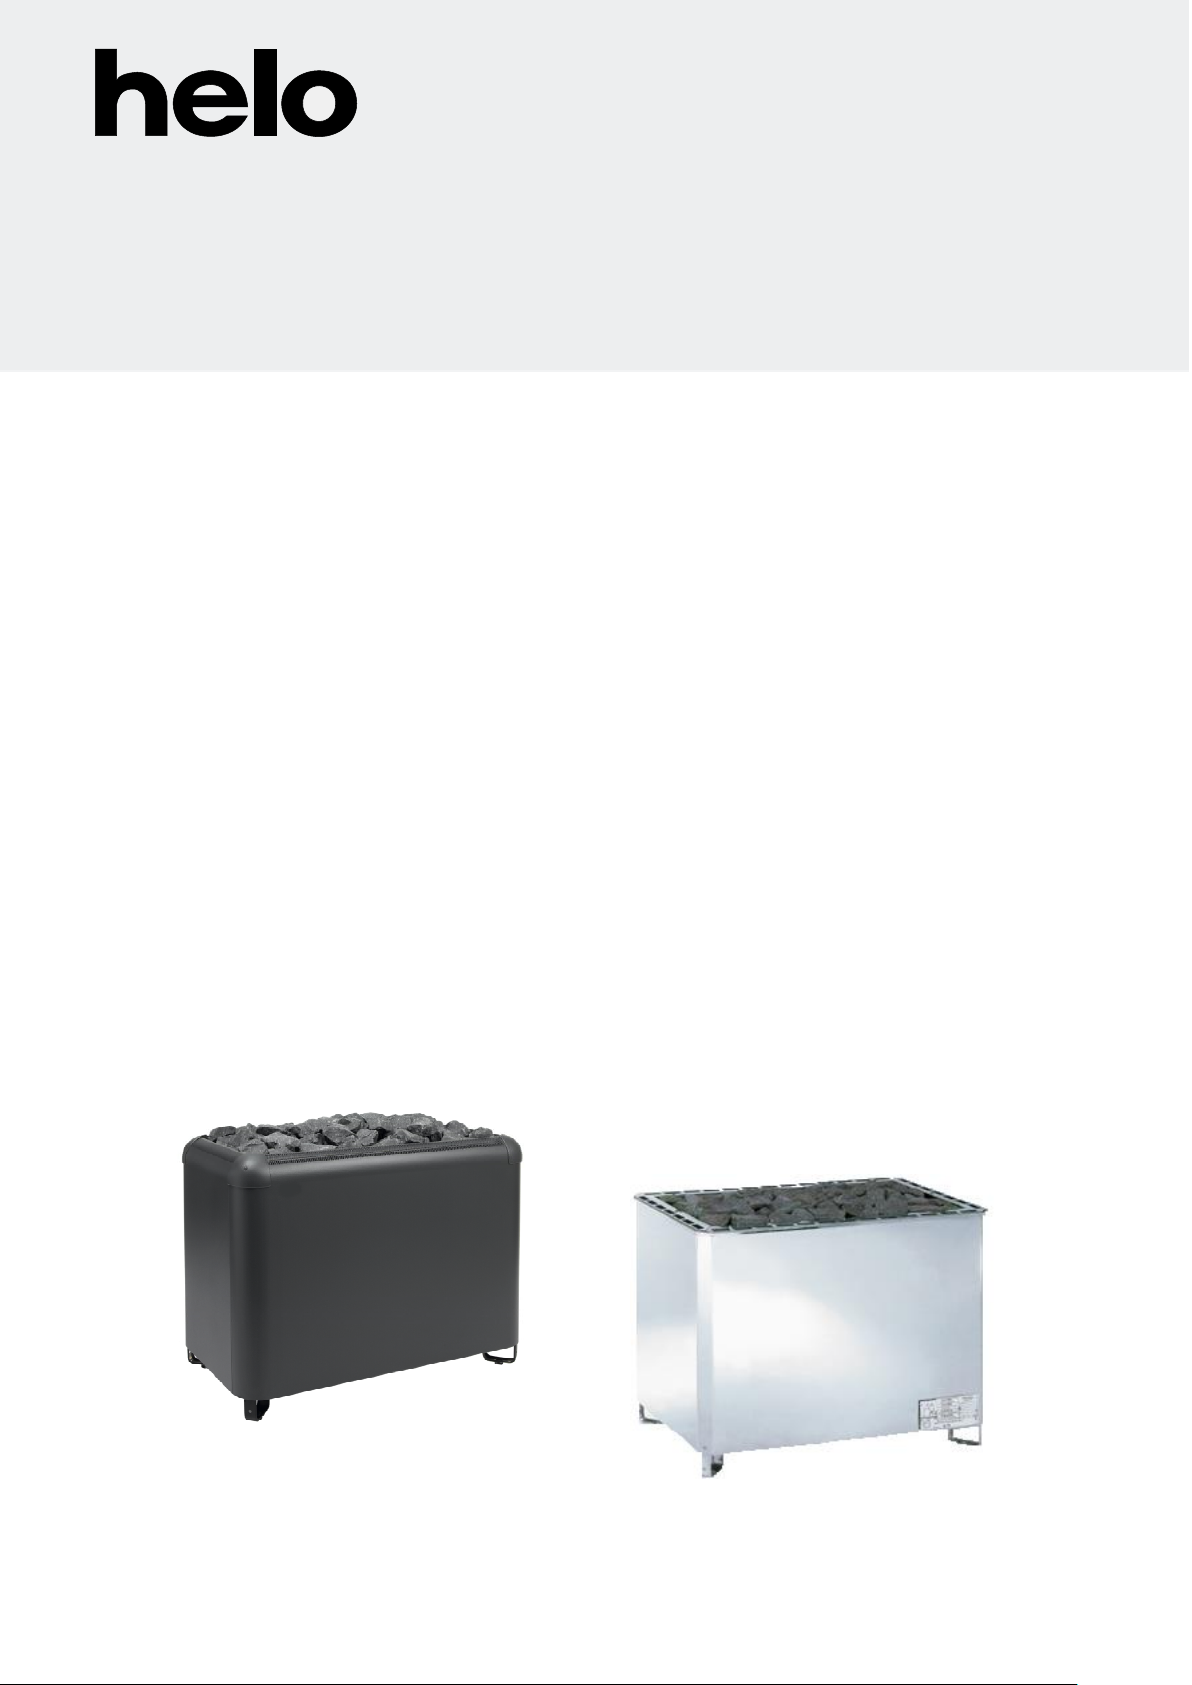
SAUNA HEATER
1101 – 181
1101 - 210 400V 3N~
1101 - 262
CONTROL PANEL + CONTACTOR BOX
1418-22-1517-3 + 2005-1
1418-22-1517 + 2005-1
SAUNA HEATER
1101 – 181
1101 - 210 400V 3N~
1101 - 260
CONTROL PANEL + CONTACTOR BOX
1601-12 + 2005-5
1601-13 + 2005-5
7014102 314 SKLA 54 J
SKLA
MAGMA
Instructions for use and installation MAGMA and SKLA
REWARD YOURSELF
USING.
Before you start to install and use the sauna heater check the following:
- that you have got all the parts needed.
- check that the voltage of the heater and the control box is the right one and that the control box suits your heater.
- chech that the effect of the heater suits your sauna. You must not exceed or go below the volumes mentioned in table 1.
- look at the installation distances in fig. 1. You have to follow these, otherwise it can cause a burn.
- study these installation- and using instructions carefully.
NOTE! Prior to switching the heater on, ensure that the sauna room is ready for heating
HOW TO CHOOSE THE EFFECT OF THE HEATER.
Noticing the volume of the sauna you choose the effect of the heater according to table 1. The volumes mentioned in table 1
are valid under the assumption that the sauna is well insulated. If there are walls of bricks or concrete in the sauna you have
to add to the volume about 1,2m3 for every brick- or concerete wall m2 and then you choose the effect of the heater
according to the composed volumes.
MOUNTING OF THE SAUNA HEATER
The sauna heaters are freestanding models and these heaters must be firmly fastened to the floor by screwbolts through
two of the feet. When fastening the heater to the floor please follow the requirements about the minimum distances to
combustible material indicated on the name plate of the heater and in table 1 and fig. 1. Do not protect the wall behind the
heater with for instance asbest- or eternite plates, as these may cause a too high temperature increase in the wall.
Do not place the sauna heater in a nisch, and you must not have a compact quard rail around the heater. Draught from door,
vents etc. should be avoided as this effects the thermostat.
QUARD RAIL
If you put a quard rail around the heater you have to note the minimum distances mentioned in table 1.
MOUNTING OF THE CONTROL BOX
The control box must be installed in a suitable place outside the sauna room. The sensor unit should be fastened to the wall
in the sauna according to fig 1. please follow the measurements mentioned in fig 1. otherwise it may cause a burn.
CONNECTION
The electrical installation of the sauna heater and the control panel must be made by a qualified electrician according to the
requirements. The principal connection will be made in accordance with fig. 1. The required wiring diagrams are inside the
heater and the control panel. The heater can be connected by using a rubber wire HO7RN-F, table 1. The connection box
must be a splash water proof construction and its height from the floor may not be higher than 500mm.If the connection - and
installationwires come inside the sauna or inside the walls of the sauna higher than 1000mm from the floor they must loaded
take at least 170 OC (for instance HO7SS-K4G) All electrical appliances that are installed higher than 1000mm from the sauna
floor must be accepted for use in 125 OC surrounding temperatures (marking T 125).
INSTALLATION OF THE CONTROL UNIT AND SENSOR ELEMENTS
The control unit is electrically connected via a cable to the contactor box. The control unit is intended for installation outside
the sauna room. Check the control unit location from the control unit installation and user instructions.The sensor is fixed to
the wall of the sauna, directly on the middle line of the heater, 40mm from the ceiling. Any deviation from the given installation
measurements will cause a risk of fire.
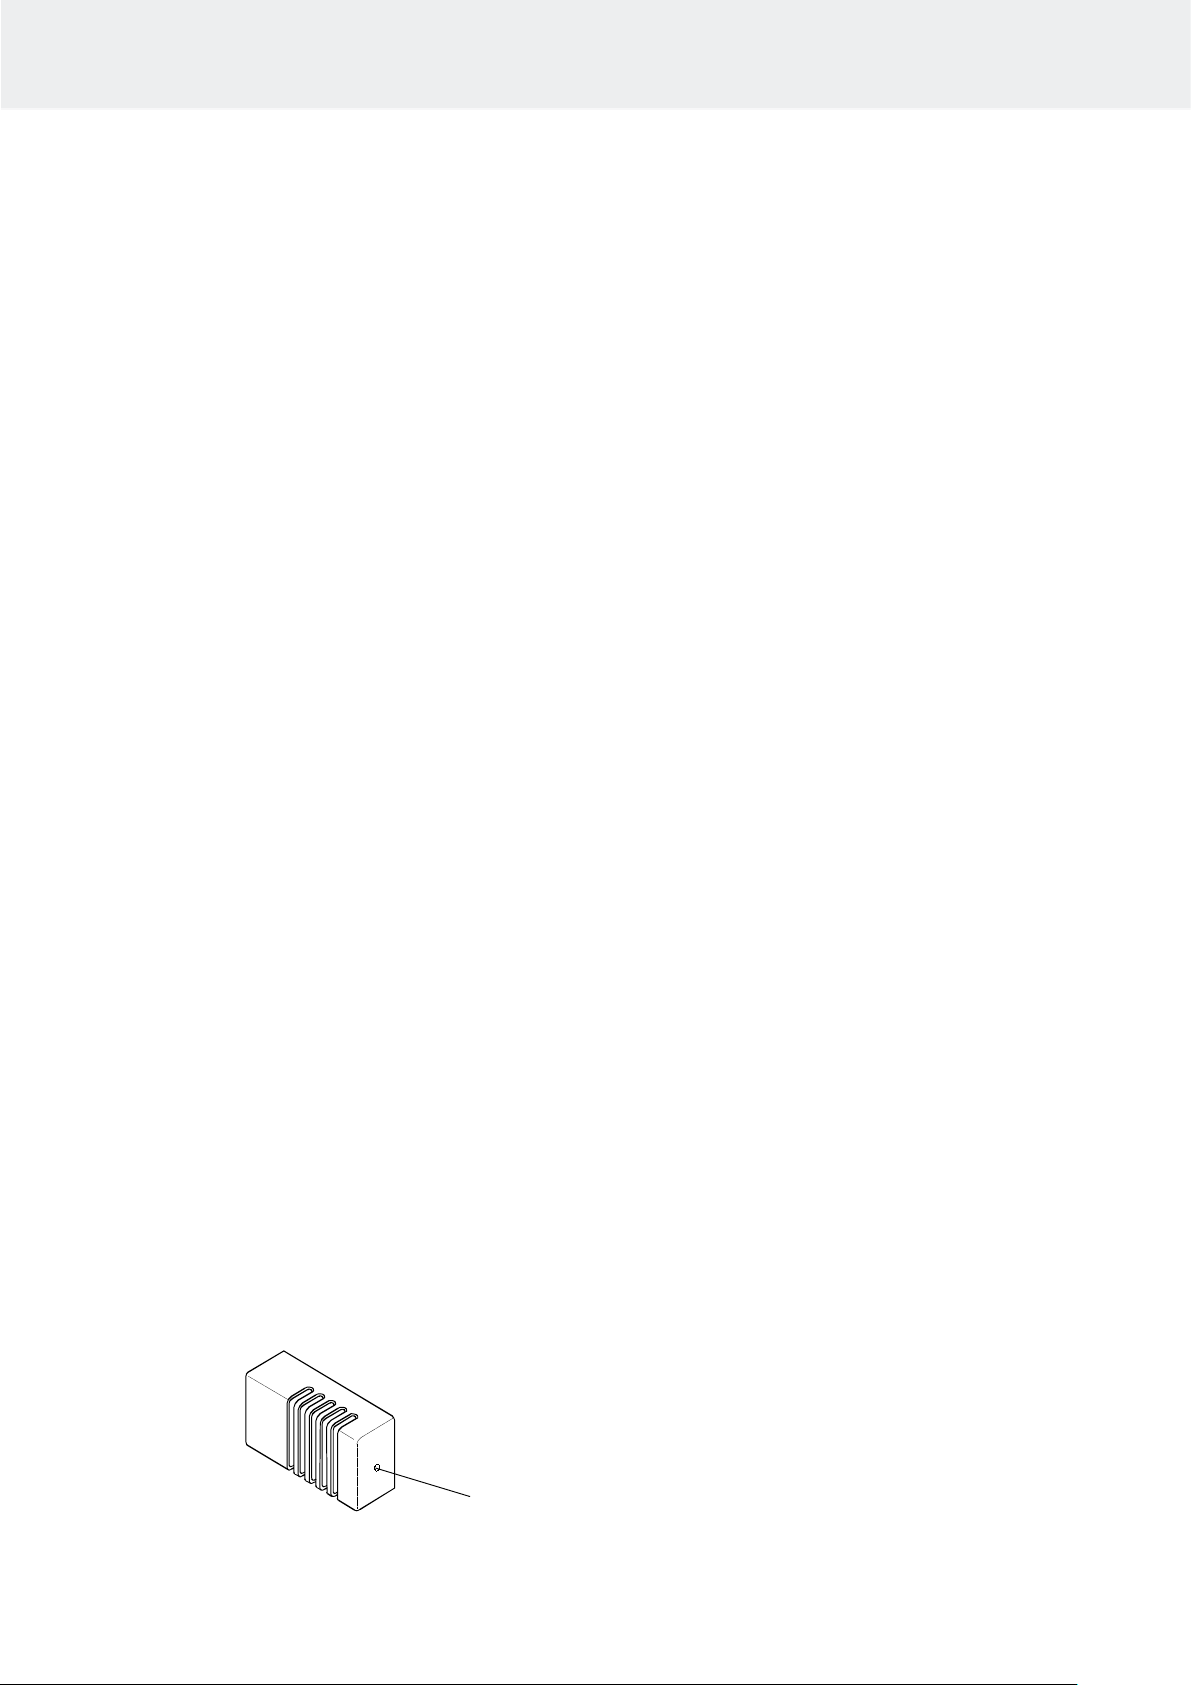
The temperature limiter in the sensor element cuts off all the electricity to the heating elements if the heater temperature
increases to a level where it causes a danger to the wooden parts of the sauna. Once the temperature is reduced the limiter
can be restored by pressing the reset button.
Before pressing the reset button, the reason for the triggering of the temperature limiter must always be clarified!
Restore
Instructions for use and installation MAGMA and SKLA
2
Sensor
SAUNA HEATER STONES
Quality stones meet the following requirements:
- Sauna stones should withstand heat and heat variation caused by vaporisation of the water thrown
on the stones.
- Stones should be rinsed before use in order to avoid odour and dust.
- Sauna stones should have an uneven surface to supply a larger surface for the water to evaporate
from.
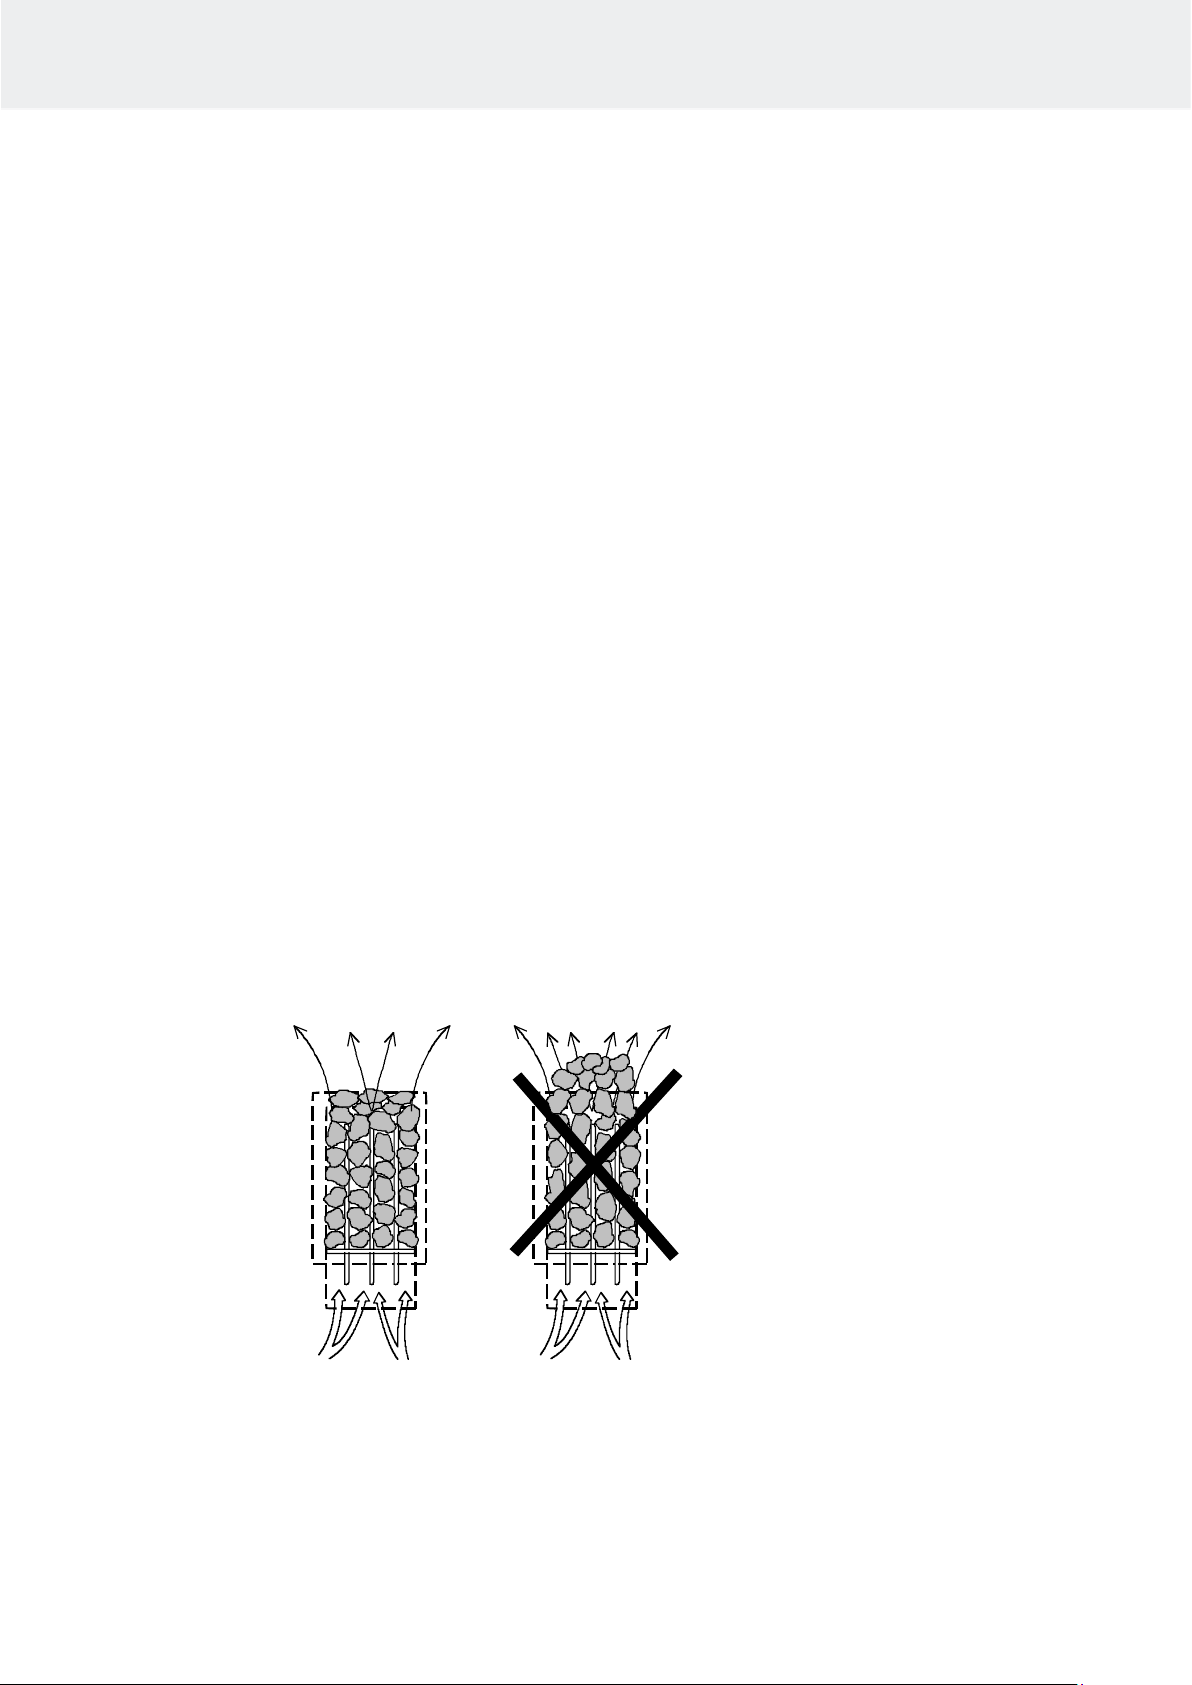
- Sauna stones should be large enough, measuring about 80–120 mm to allow good ventilation
between the stones. This extends the useful life of the heating elements. The maximum rocks
capacity is about 80kg
- Sauna stones should be piled sparsely in order to enhance ventilation between the stones. Do
not bend the heating elements together or against the frame.
- Rearrange the stones regularly (at least once a year) and replace small and broken stones
with new, larger stones.
- Stones are piled so that they cover the heating elements. Do not, however, pile a large heap of
stones on the heating elements. Any small stones in the package of stones must not be piled on
the sauna heater.
- The warranty does not cover defects resulting from poor ventilation caused by small and tightly
packed stones.
- Structural clay tiles are not allowed. They may cause damage to the sauna heater that will not
be covered by the warranty.
- Do not use soapstone as sauna rocks. Any damages resulting from this will not be covered by
the stove warranty.
- Do not use lava stone as sauna rocks. Any damages resulting from this will not be covered by
the stove warranty.
- DO NOT USE THE HEATER WITHOUT STONES.
Instructions for use and installation MAGMA and SKLA
3
 Loading...