

Helo CAVA DET, ROXX DET Installation And User Manual
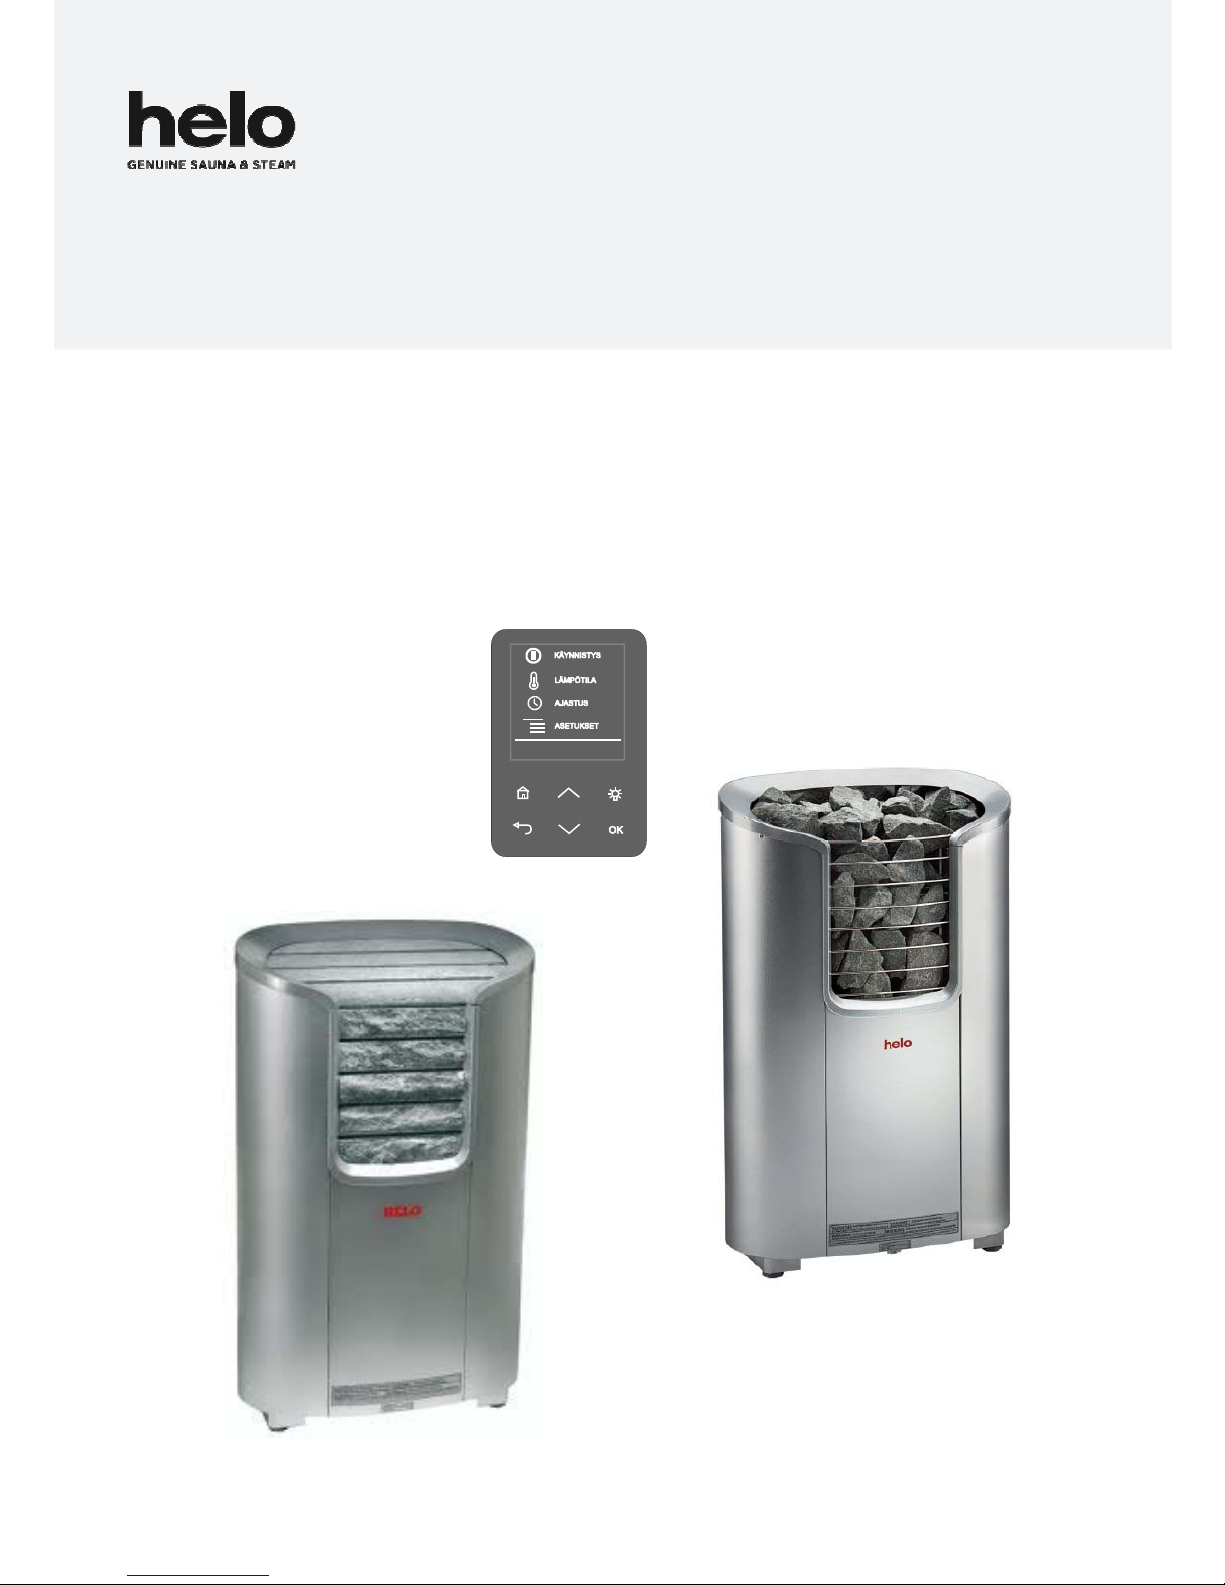
ELECTRIC SAUNA HEATER:
1118 – 60 – 040518 (Helo Cava DET)
1118 – 90 – 040518 (Helo Cava DET)
1118 – 600 – 040518 (Helo Roxx DET)
1118 – 900 – 040518 (Helo Roxx DET)
CONTROL PANELS:
1601-27 ( T-1 )
314 SKLT 53-3 A
Installation and User Manual HELO CAVA / HELO ROXX DET
Helo Roxx
Helo Cava

Contents
1. Quick instructions for use of the sauna heater 3
1.1. Check before taking a sauna bath 3
1.2. Operation of the sauna heater controls 3
2. Information for users 3
2.1. Sauna room 3
2.2. Recommended sauna room ventilation 3
2.3. Heating the sauna 3
2.4. Sauna heater stones 4
2.5. If the sauna heater will not heat up 5
3. Instructions for the installer 5
3.1. Preparing for sauna heater installation 5
3.2. Installation 5
3.3. Various stages of the installation 6
3.3.1. Mounting the sauna heater to the wall 6
3.3.2. HELO CAVA – Assembly instructions for the heater soapstones 7
3.4. Recommended sauna room ventilation 10
3.5. Connection of the sauna heater to the mains 10
3.6. Electric heating toggle 11
3.7. Sauna heater safety clearances 11
3.8. Locating the connecting box for the connection cable in the sauna room 12
3.9. Switch diagram 14
4. Helo CAVA / Helo ROXX DET spare part list 15
5. ROHS 16
Images and tables
Image 1 Mounting the sauna heater to the wall 6
Image 2 installation of the soapstones 7
Image 2.1 installation of the soapstones 8
Image 2.2 installation of the soapstones 9
Image 3 Recommended sauna room ventilation 10
Image 4 Safety clearances 11
Image 5 Location for the connection box 12
Image 6 Principle image 13
Image 7 Switch diagram for the sauna heater 14
Table 1 Safety clearances 11
Table 2 Connection cable and fuses 12
Installation and User Manual HELO CAVA / HELO ROXX DET
2

1. Quick instructions for use of the sauna heater
1.1. Check before taking a sauna bath
1. The sauna room is suitable for taking a sauna bath.
2. The door and the window are closed.
3. The sauna heater is topped with stones that comply with the manufacturer's recommendations, the heating elements are
covered with stones, and the stones are piled sparsely.
NOTE! Ceramic rocks are not allowed.
A pleasant, smooth sauna bath temperature is about 70 °C degrees.
Rearrange the sauna stones at least once a year and replace any weathered stones. This enhances air circulation between the
stones, which extends the useful life of the heating elements.
If you encounter any problems, please contact the manufacturer's warranty service shop.
For additional information about enjoying a sauna bath, please visit our website at www.helo.fi
1.2. Operation of the sauna heater controls
The main switch is located on the side of the sign at the bottom of the sauna heater.
The sign shows the position of the switch. ( 0 I )
Refer to the specific control panel operating instructions.
2. Information for users
Persons with reduced physical and mental capacity, sensory handicap, or little experience and knowledge about how the device
is operated (e.g. children), should only operate the device while supervised or according to instructions given by the persons in
charge of their safety.
Make sure that children aren't playing with the sauna heater.
2.1. Sauna room
The walls and ceiling of a sauna room should be thermally well insulated. All surfaces that store heat, such as tiled and
plastered surfaces must be insulated. It is recommended to use wooden panel cladding inside the sauna room. If there are heat
storage elements in the sauna room, such as decorative stone, glass etc., note that these elements may extend the pre-heating
period even though the sauna room is otherwise well insulated (see page 5, section 3.1. Preparing for sauna heater installation).
2.2. Recommended sauna room ventilation
Please refer to the ventilation instructions on page10.
2.3. Heating the sauna
Before turning the sauna heater on, make sure the sauna room is suitable for taking a sauna bath. When heated for the first
time, the sauna heater may emit some odour. If you detect any odour while the sauna heater warms up, disconnect the sauna
heater briefly, and air the room. Then you can turn the sauna heater on again. The heating of a sauna should be started roughly
an hour before you plan to take a sauna bath, so that the stones have time to heat up properly and the air warms up evenly in
the sauna room.
Do not put any objects on the sauna heater. Do not dry clothes on the sauna heater or anywhere in its vicinity.
Installation and User Manual HELO CAVA / HELO ROXX DET
3
2.4. Sauna heater stones
Quality stones meet the following requirements:
1. Sauna stones should withstand heat and heat variation caused by vaporisation of the water thrown on the stones.
2. Stones should be rinsed before use in order to avoid odour and dust.
3. Sauna stones should have an uneven surface to supply a larger surface for the water to evaporate from.
4. Sauna stones should be large enough, measuring about 50–80 mm to allow good ventilation between the stones. This
extends the useful life of the heating elements.
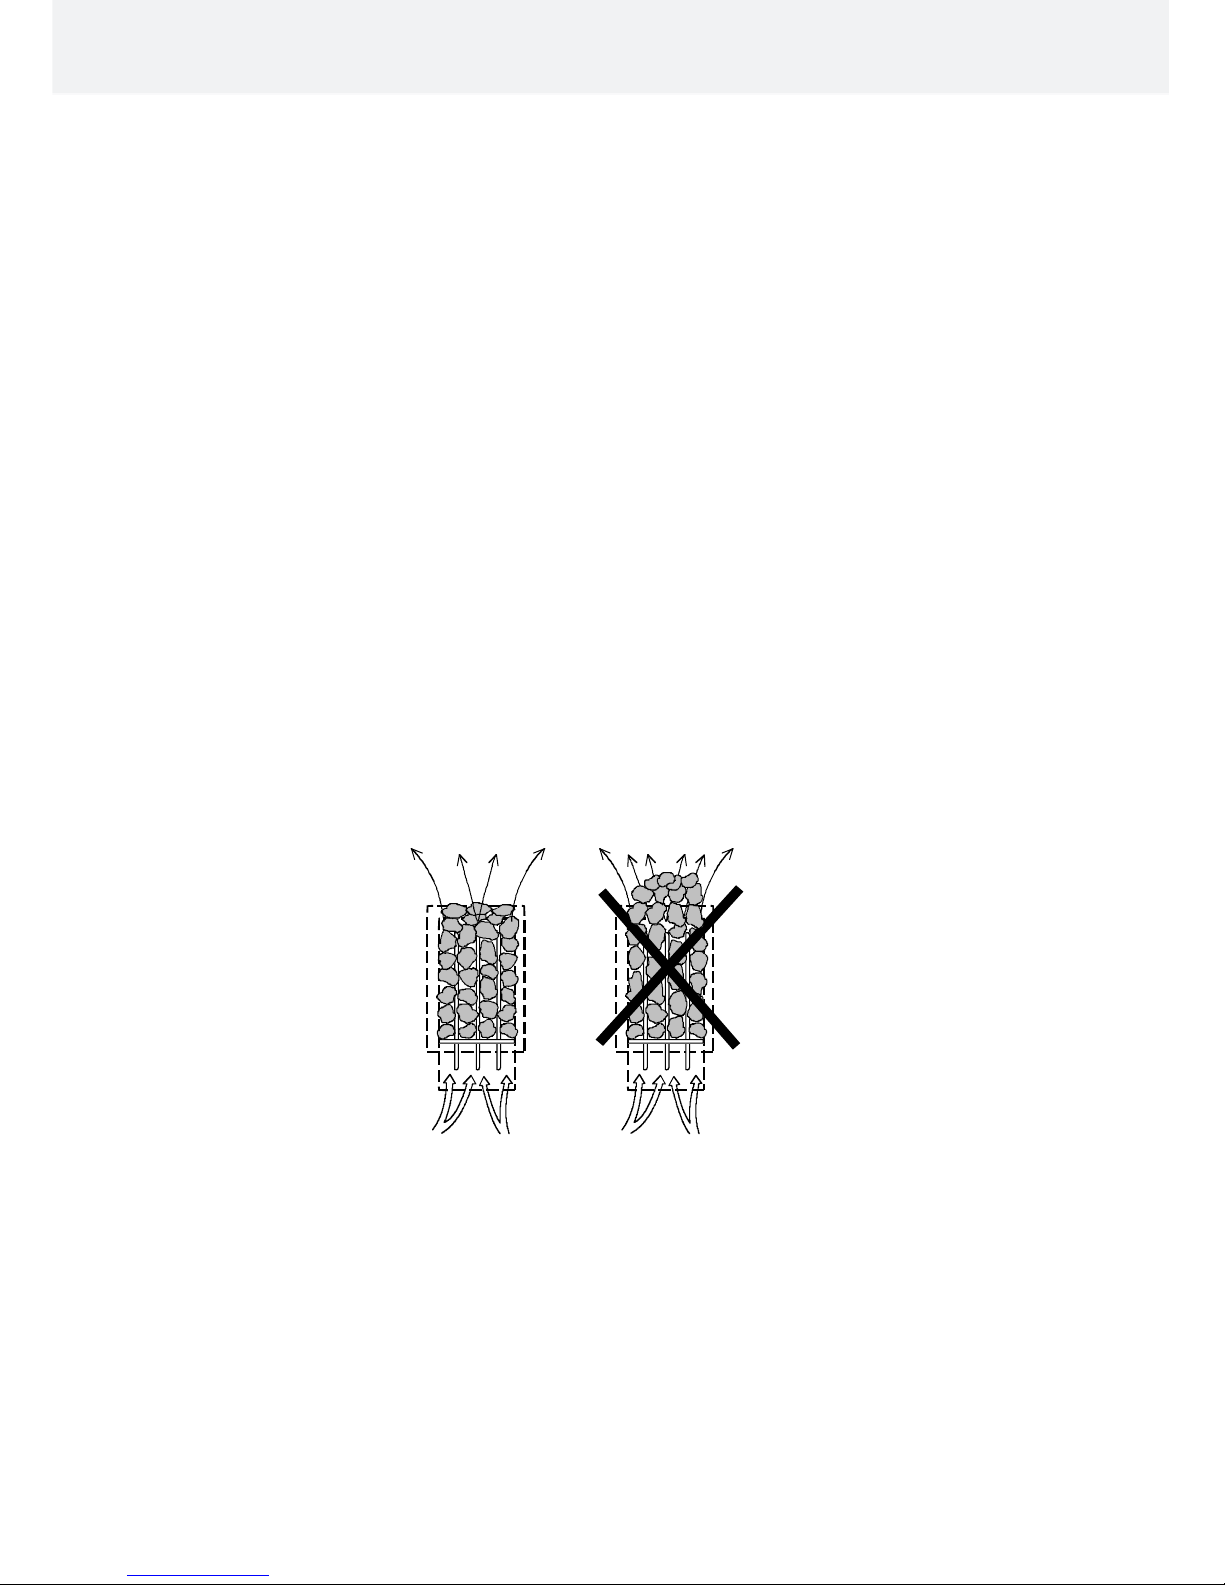
5. Sauna stones should be piled sparsely in order to enhance ventilation between the stones. Do not bend the heating
elements together or against the frame.
Rearrange the stones regularly (at least once a year) and replace small and broken stones with new, larger stones.
Stones are piled so that they cover the heating elements. Do not, however, pile a large heap of stones on the heating elements.
For a sufficient amount of stones refer to Table 1 on page 11. Any small stones in the package of stones must not be piled on
the sauna heater.
The warranty does not cover defects resulting from poor ventilation caused by small and tightly packed stones.
Ceramic rocks are not allowed. They may cause damage to the sauna heater that will not be covered by the warranty.
Installation and User Manual HELO CAVA / HELO ROXX DET
4

2.5. If the sauna heater will not heat up
If the sauna heater will not heat up, please check that:
- the power is on;
- the main fuses of the sauna heater are intact;
- is there any error messages on the control panel. In case of an error message on the control panel, please refer to the control
panel instructions.
3. Instructions for the installer
THE PERSON INSTALLING THE SAUNA HEATER SHOULD LEAVE THESE INSTRUCTIONS AT THE PREMISES FOR THE
FUTURE USER.
3.1. Preparing for sauna heater installation
Check the following before installing the sauna heater.
1. The ratio of the heater's input (kW) and the sauna room's volume (m
3
). Volume recommendations are presented in the table 1
on page 11. The minimum and maximum volumes must not be exceeded.
2. The sauna room height must be a min. of 1900 mm.
3. Uninsulated and masonry stone walls extend the preheating time. Each square metre of plastered ceiling or wall surface adds
1.2 m
3
to the sauna room's volume.
4. Check page 12 Table 2 for a suitable fuse size (A) and the correct diameter of the power supply cable (mm²) for the sauna
heater in question.
5. Conform to the specified safe clearance around the sauna heater. Please refer to table 1 on page 11.
6. There should be enough room around the sauna heater for maintenance purposes. Also a doorway can be considered as a
maintenance area.
3.2. Installation
Follow the safety clearance specifications on page 11 when installing the sauna heater. A thin panel is not a suitable mounting
base; the mounting base must be reinforced with timber behind the panel. The minimum clearances specified on page 11 must
be followed even if the sauna room wall materials are incombustible.
Walls or ceilings must not be clad with fibre-reinforced plaster board or other light-weight cladding, because they may cause a
fire hazard.
Install the sauna heater so that the sign and the warnings can be read even after the installation.
The control panels are installed outside the sauna room with the exception of the Midi controller which is installed on the wall
beside the sauna heater. Refer to more detailed installation instructions in the installation and operation guide of the control
panel.
Only a single sauna heater is allowed per sauna room
Installation and User Manual HELO CAVA / HELO ROXX DET
5
 Loading...