

Page 1
559-734-7451 800-367-5480 FAX 559-734-7460
INSTALLATION INSTRUCTIONS
REAR STABILIZER BAR
(2007+ ) 2X4 & 4x4 EXPEDITION
WITH REAR COIL SPRINGS
Thank you for purchasing a quality Hellwig Product.
PLEASE READ THIS INSTRUCTION SHEET COMPLETELY BEFORE STARTINGYOUR INSTALLATION
7688 ( R-7688 ) 06/03/2007
Page 2

559-734-7451 800-367-5480 FAX 559-734-7460
TORQUE TABLE
BOLT SIZE: 3/8” = 20-30 ft. lbs. – 7/16” = 35-45 ft. lbs. – ½” = 50-70 ft. lbs. – 9/16” =70-90 ft. lbs.
SAFETY: BEFORE STARTING YOUR INSTALLATION, BE SURE TO SET PARKING BRAKE AND CHOCK TIRES.
NOTE: THIS ANTI-SWAY BAR IS DESIGNED TO REPLACE THE FACTORY INSTALLED SWAY BAR USING THE
FACTORY SUPPLIED U-PLATE BOLTS AND END LINKS.
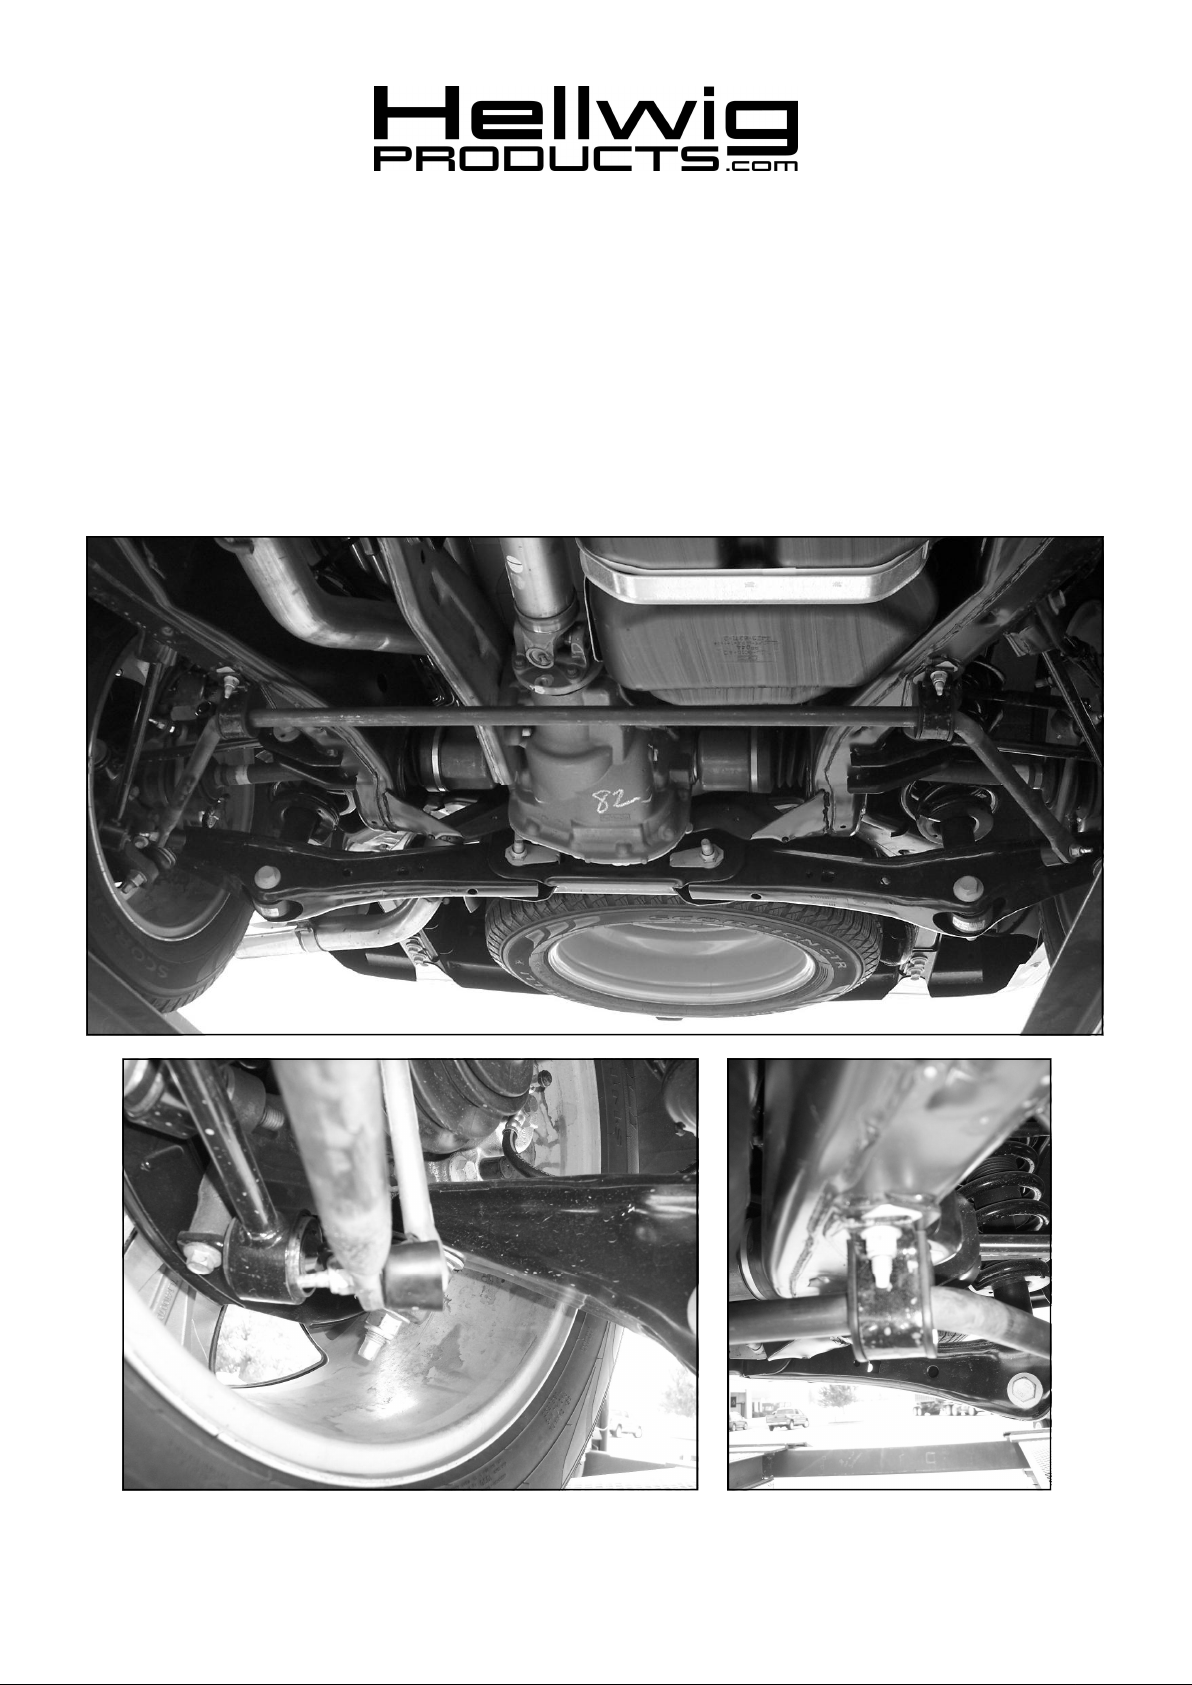
1. Remove the factory installed rear anti-sway bar from factory mounts and end links. (DO NOT DISCARD
THE FACTORY U-PLATE MOUNTING BOLTS AS YOU WILL REUSE THEM TO INSTALL THE
NEW SWAY BAR AS WELL AS THE FACTORY END-LINKS).
2. Lubricate the D-shaped poly bushings and install on the sway bar in approximately the same location as the
factory mounts. To ease installation of bushing, use coined end of sway bar to spread bushing at split and
slide bushing onto bar. Install using supplied U-plates and the factory supplied nuts. LEAVE LOOSE AT
THIS TIME . Attach the factory end link assemblies using factory supplied nuts. Torque all mounting
hardware and end links to factory specifications.
3. Remove the factory installed D-shaped bushings and U-plates from the FRONT SWAY BAR, (save the
hex nuts as you will reuse them later). Lubricate the new D-shaped poly bushing and install them on the
factory sway bar using supplied U-plates and factory hex nuts that were removed earlier. Torque nuts to the
factory specifications.
4. Recheck your installation on a regular basis thereafter.
ATTENTION INSTALLER: BE SURE THAT THE CUSTOMER RECEIVES THIS INSTRUCTION SHEET,
ALL IMORTANT NOTE CARDS AND THE WARRANTY FORM
7688 ( R-7688 ) 06/03/2007
 Loading...