

Page 1
Heli-Max™ 1SQ Trouble Shooting
and Repair Tech Sheet:
The Heli Max™ 1SQ is very strong for its
weight. It takes quite a bit of abuse but
can from time to time get “tweaked” and
will need to be checked over to keep it in
top flying condition.
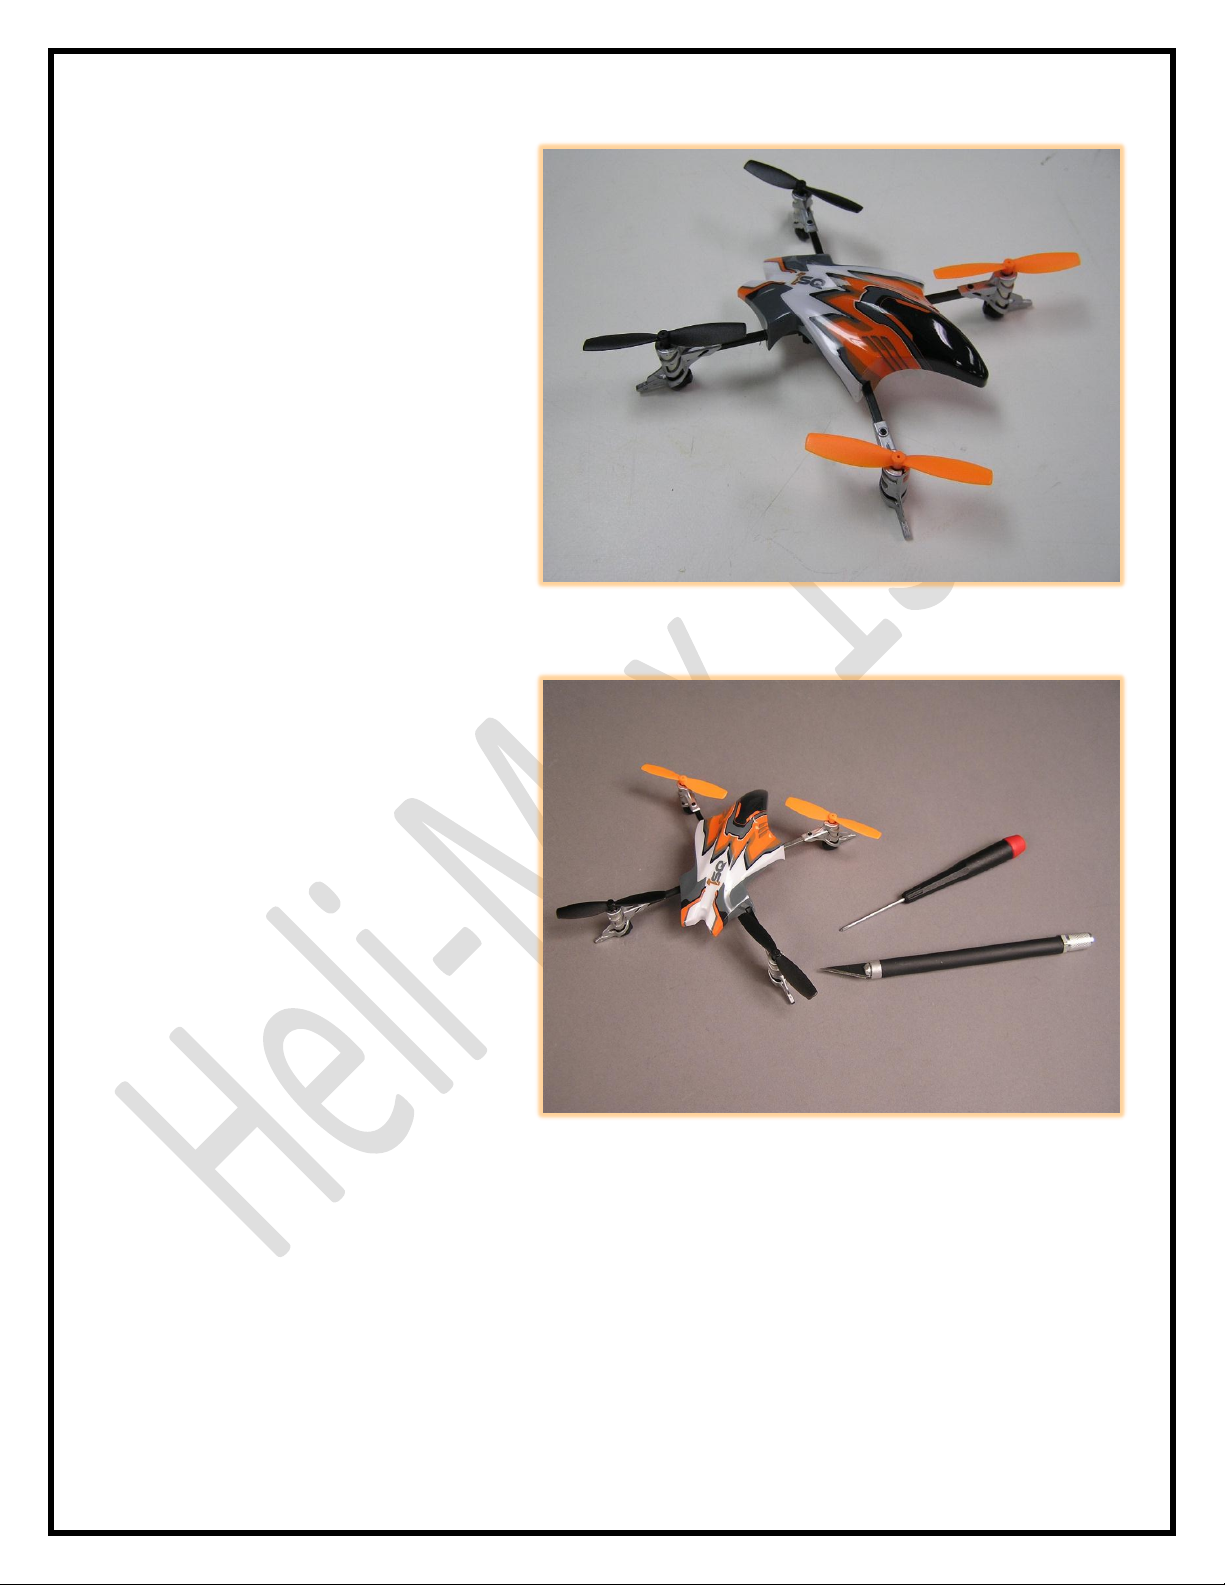
The Heli-Max™ 1SQ is very easy to work
on and repair. Only simple tools like the
included Phillips screwdriver (or any
Number 1 Phillips screwdriver) and an
additional hobby knife are needed to
keep it in top flying shape.
The most common questions are:
My 1SQ pulls in one direction, why does it do that?
One of my motors does not spin free like the others, why is this?
Both of these conditions are typically the result of an impact to a hard surface. What can happen is, one
or more of the propellers or motors can “jam” as a result of the impact. Below we list the way to check
and adjust for this as well as how to replace the motor arm if needed.
Page 2
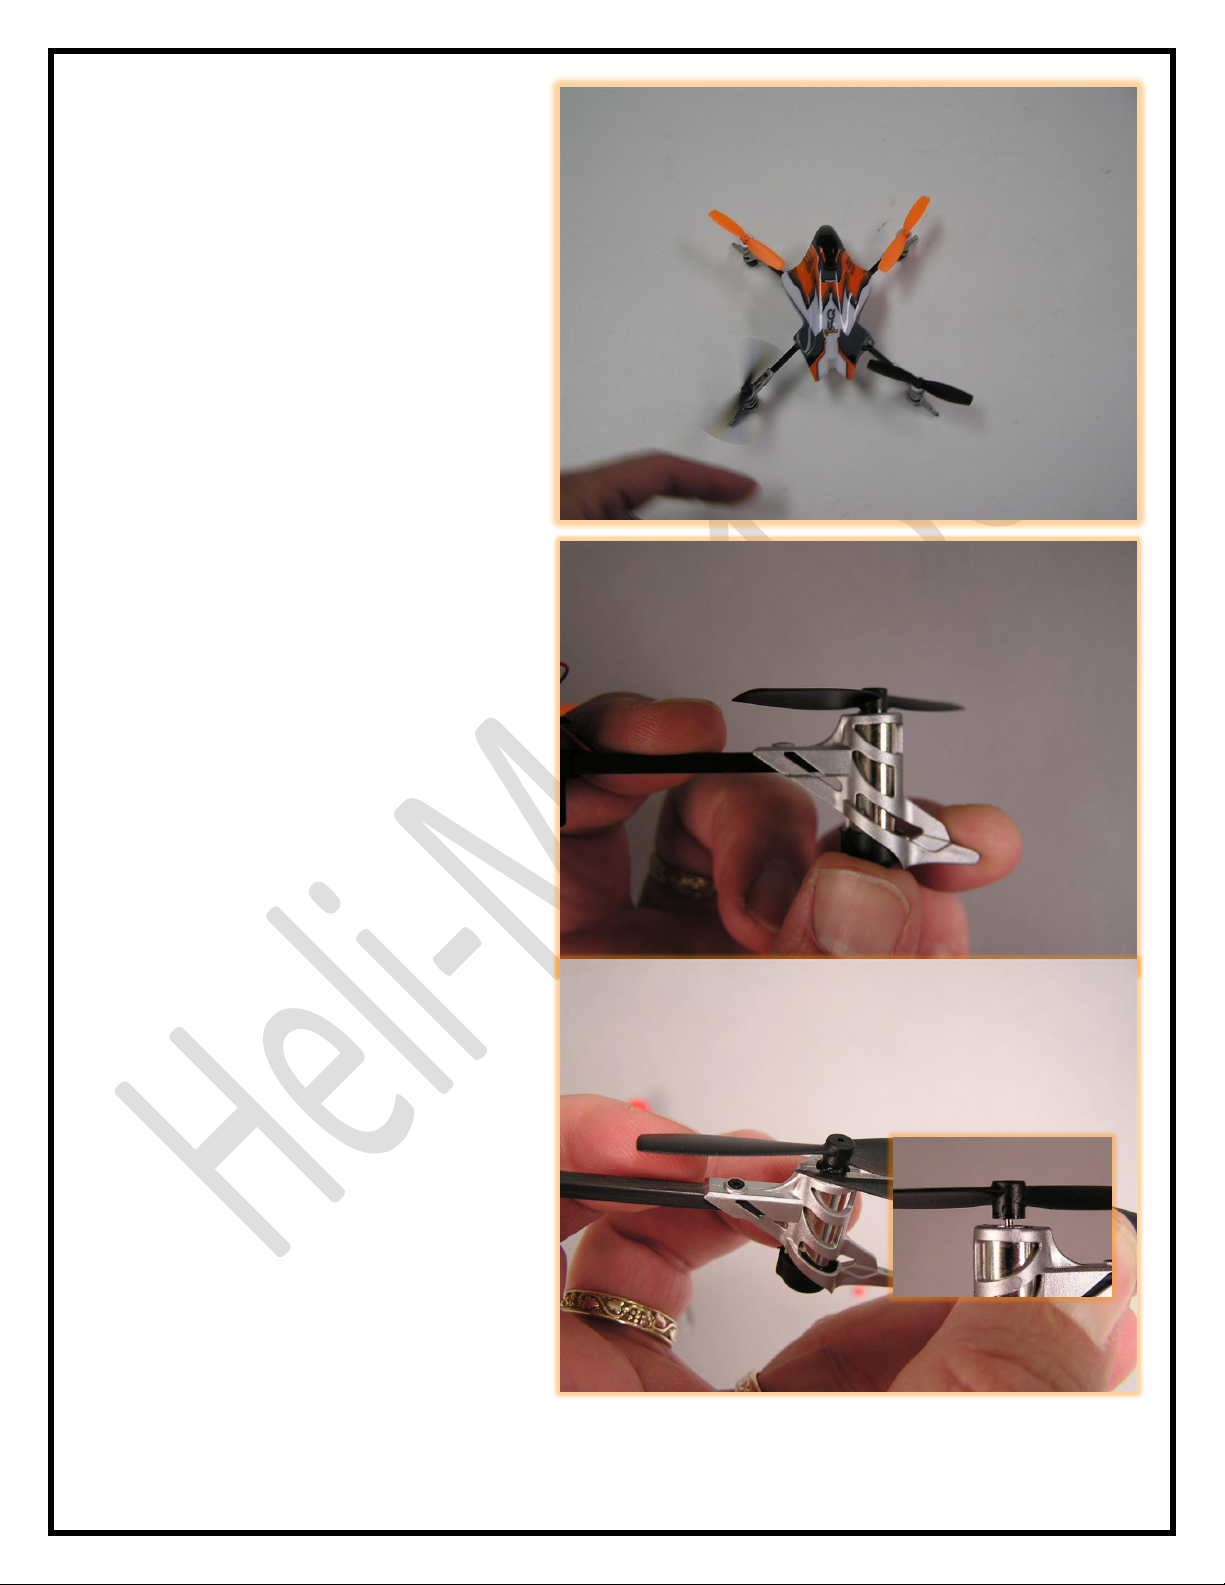
Let’s start by checking each of the
propellers.
1: With the 1SQ on your work bench give
each of the propellers a spin. They should
all spin freely and rotate 3 to 4
revolutions. NOTE: It’s a good idea to
check this after each hard crash! If you
find one (or more) propellers that do not
spin freely, here are the steps to help
determine what might be causing this.
2: Push up on the bottom of the motor to
make sure the motor is fully seated upward
in the mount. In the event of a crash the
motor can shift downward in the mount,
pinching the propeller against the motor
mount.
3: The propeller can slide down the shaft
pinching the propeller against the motor can.
After following step two it’s best to check the
clearance of the parts. We have found that
the best distance between the prop and the
motor mount is about 1mm, or the width of a
hobby blade. You can use your hobby knife to
pry the blade away from the motor mount if
needed.
Page 3

4: Remove the little red rubber cap from
the bottom of the motor. You can pry the
cap off with your fingernail or hobby
knife. Using your included screwdriver,
insert it into the hole and lightly push.
When done remember to replace the
rubber cap! In some cases the impact can
be severe enough to shift the motor end
bell. This step helps re-seat the part.
5: Re-spin the prop as you did in the beginning. It should spin freely. It’s also a good idea to check to see
if you might have bent a motor shaft; having said this, the propeller should spin straight and true.
NOTE: If one motor does not spin as freely as the others, go ahead and give a quick test fly. Although
this is not going to give you the very best performance it might get you flying. Just remember, the
motor should not be tight or bound up or you WILL damage your Quadcopter.
To replace the motor arm:
If you find your propeller still does not spin freely you might want to replace the part. Here is a quick
and simple guide on how to do this.
1: Start by removing the body. Simply pry
up on one corner to release it, then do the
same with the other three corners.
Page 4

2: Un-plug the connector to the motor
arm you wish to change.
3: Using your Phillips screwdriver loosen,
but do not remove, the screw located on
the top of the control board. You only need
to turn it out about three turns or so to free
up the arm.
4: Grasp the arm and pull it from the main
chassis.
Install the new arm and re-tighten the
screw. DO NOT OVER TIGHTEN. Plug in the
power wire to the motor and replace the
body.
Happy flying from the Heli-Max™ team!
 Loading...