

Hearth & Home FBG-4832-EDGE, FBIN-4432-EDGE Installation Instructions Manual
Cutting Edge Insert Surround
FBG-4832-EDGE, FBIN-4432-EDGE
- Installation Instructions -
HANDLING
Treat this surround with the same care you would any
marble, tile, slate or other natural material. Although the
material is robust, it is susceptible to chipping or cracking
if not handled with the proper care. Try to manipulate the
surround by holding on to the metal brackets and lifting
from the center of the surround.
SAFETY
CAUTION: Dust raised when cutting and sanding this
material contains crystalline silica (Quartz-CAS #14808-60-
7), which has been classified by the International Agency for
Research on Cancer (IARC) as a probable Carcinogen (Class
2A). Other Hazardous Ingredients- Aluminum Silicate
CAS#1302-78-9 and Fibrous Glass CAS#65997-17-3.
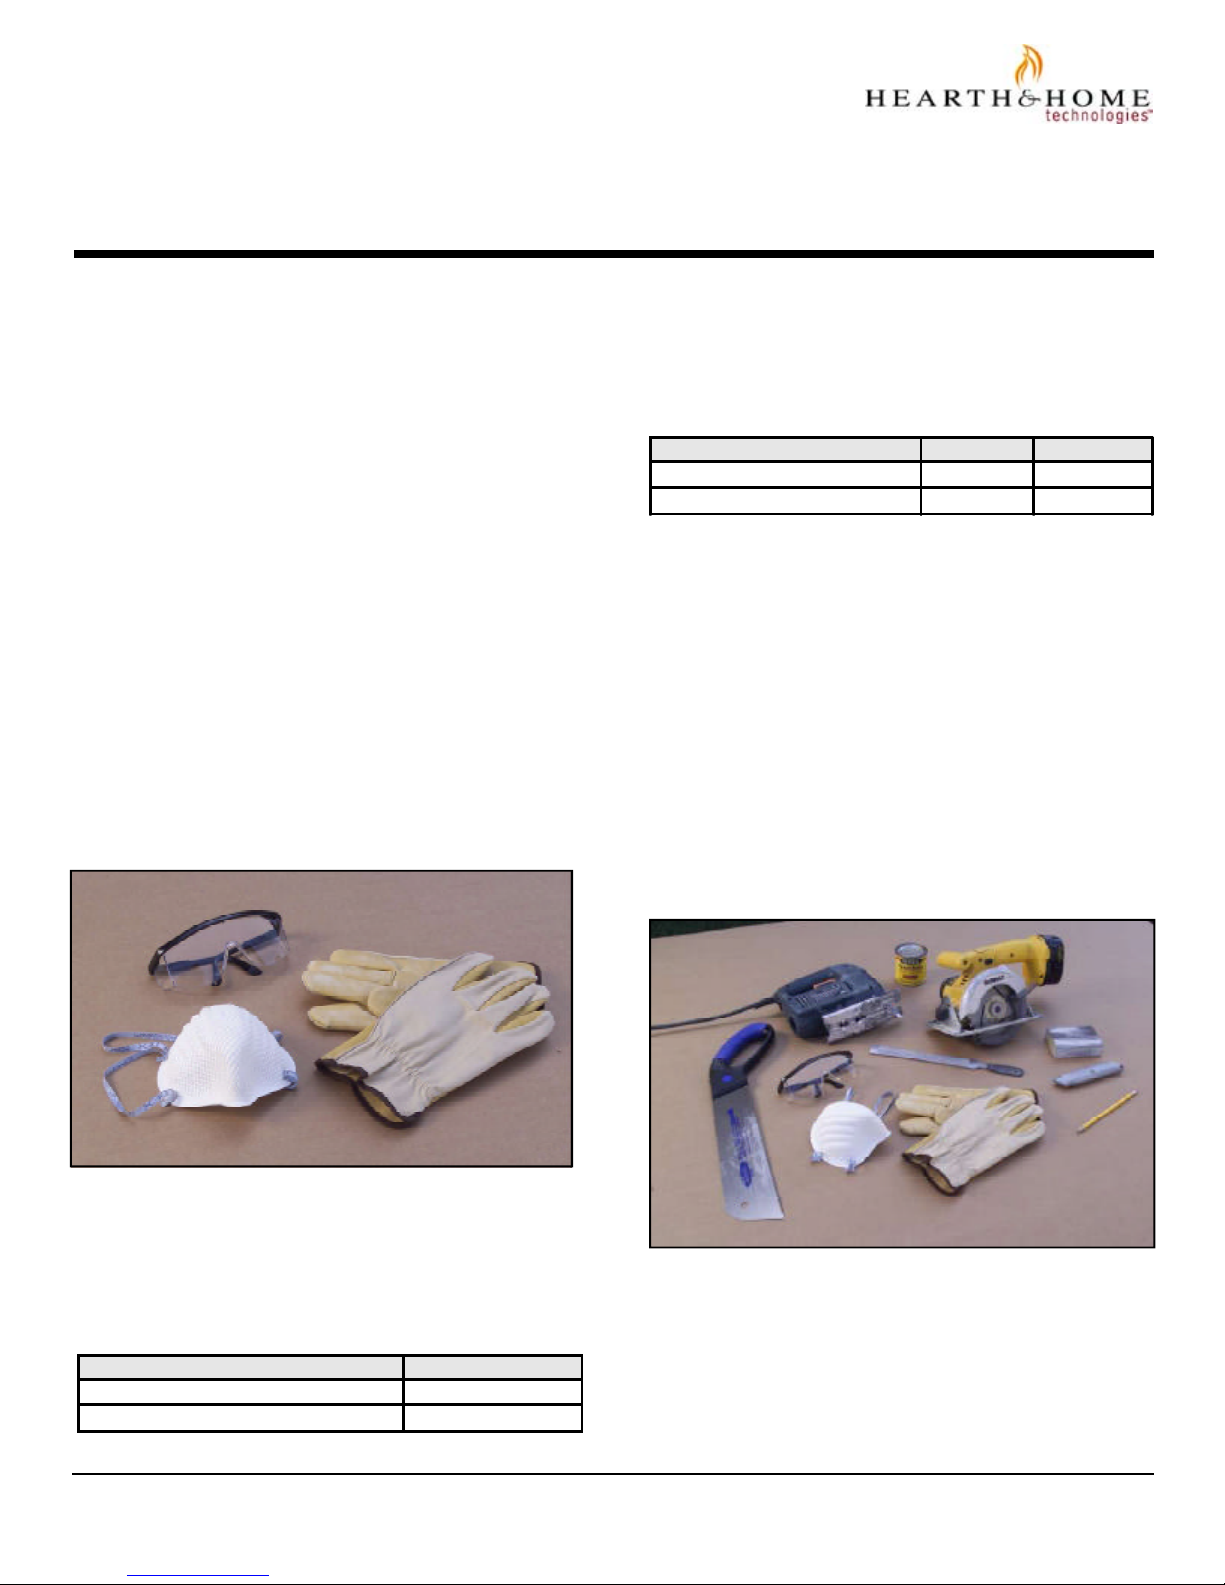
When sawing or cutting this material, wear a properly fitted dust mask or respirator, safety glasses or goggles,
and gloves (see Figure 1). Whenever possible, cutting or
sanding of this material should be done outdoors. If cutting or sanding indoors, provide mechanical ventilation and
dust collection to keep dust levels down.
FIREPLACE SIZE
The minimum fireplace opening that this surround can
be used on is slightly larger than if a metal surround were
used.
Insert Surround Width Height
FBG-4832-EDGE 37" 27-1/2"
FBIN-4432-EDGE 32-1/4" 24-1/4"
Do not cut the surround smaller than these dimensions.
TOOLS NEEDED
When trimming the surround for an inside or custom fit,
some or all of the following tools will be needed (see Figure 2).
• Safety Equipment as noted above
• Pencil or marker for tracking
• Masking tape
• Utility knife to cut template to correct size and shape
• Cutting tool: jig saw, circular saw or hand-saw
• Finishing tool: file or sanding block for minor adjustments
• Finish: stain or paint if finish/color change is desired
Figure 1
If dust from sanding or cutting comes in contact with the
eyes, flush eyes with water to remove dust. If irritation
persists, seek medical attention.
Service Parts List
Description Part No.
Template 2009-952
ON/OFF Rocker Switch 060-511
Printed in U.S.A. Copyright 2003
Hearth & Home Technologies Inc.
20802 Kensington Boulevard, Lakeville, MN 55044 2009-900 6/03
Figure 2

SURROUND PREPARATION
This surround can be used in the same manner that a
conventional metal surround is used, or it can be custom
cut to fit inside the opening of your existing fireplace or to
another desired shape.
For Outside Fit:
If staining or painting is desired, it should be done prior to
installation. See the Finishing section.
For Inside Fit:
Use the included template to both determine and verify
the desired size and shape of your surround. Tape the
template over the existing fireplace opening, making sure
that it is centered on the opening and the bottom of the
template is flush with the fireplace opening (see Figure 3).
Using a utility knife, cut the template to the shape that you
just traced.
Fit the cut template into your fireplace opening to verify
that your tracing and cutting are accurate. Make any
necessary adjustments to the template including retracing
and cutting with a new template if needed (see Figure 5).
Figure 5
Cutting:
Cutting and trimming should be done outdoors to reduce
the mess and the possible inhalation of airborne particles.
Figure 3
With a pen or marker, reach through the opening of the
template and carefully trace the fireplace opening onto the
back of the template (see Figure 4). The template is marked
for two sizes of surrounds. Make sure the correct size is
noted in the upper, right hand corner.
Figure 4
Place the surround, face up, on the hexacomb material
included in the packaging, supported at a comfortable
working height.
Tape your template to the inside perimeter of the surround.
Proper positioning is critical. Note that the template should
be face up on the face of the surround.
Use the template as your guide for cutting, or trace the
perimeter of your template on to the surround for a guide.
Figure 6
 Loading...