

Page 1
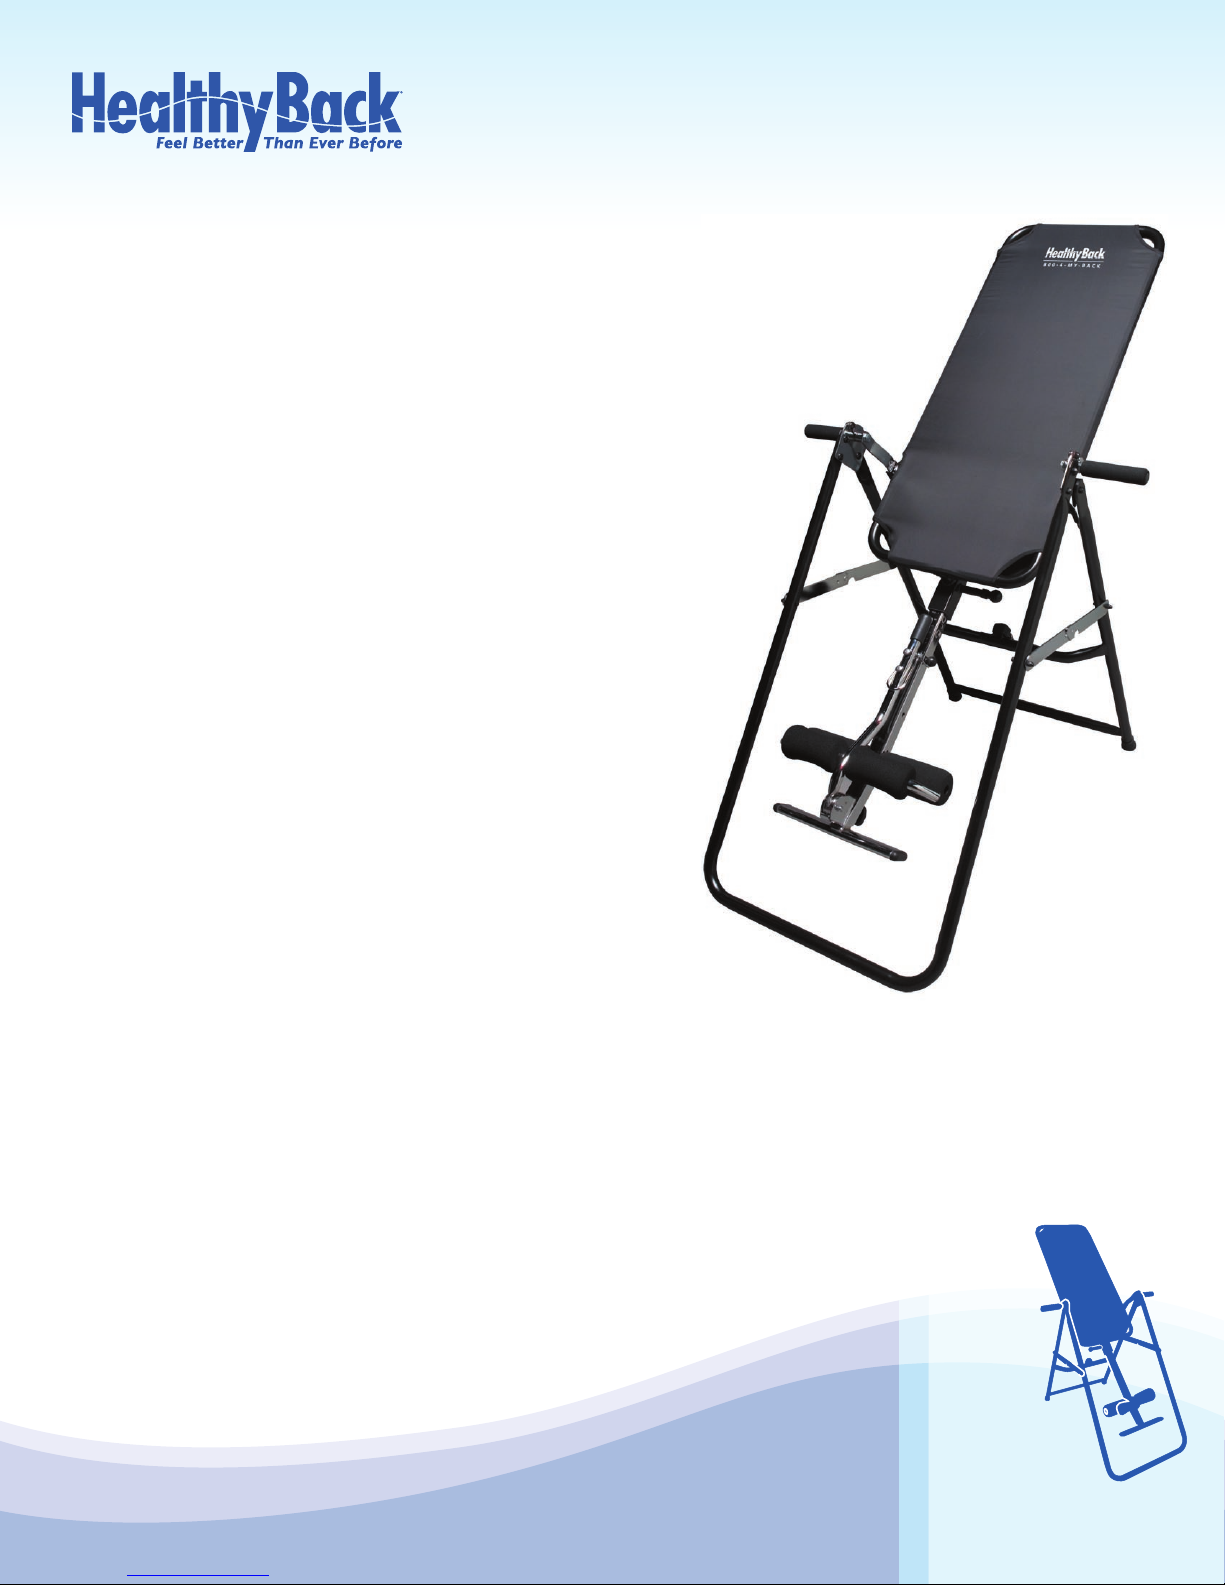
Inversion Table
Congratulations on
purchasing the Healthy
Back Inversion Table!
You have most likely purchased your
Healthy Back Inversion Table with
the hope that it will help relieve back
pain and pressure. Inversion helps to
decrease pressure on inter-vertebral
discs, stretch and relax your muscles
and temporarily relieve back pain.
OPE RAT ING INST RUCT IONS
Caution:
Do not invert without a licensed physician’s
approval. A list of contra-indications for inversion is
as follows: (This is not a complete list, it is intended
only for reference)
• Pregnancy
• Hiatal Hernia, Ventral Hernia
• Glaucoma, retinal detachment or conjunctivitis
• High blood pressure, hypertension, recent stroke or
transient ischemic attack
• Heart or circulatory disorders for which you’re being
treated
• Spinal injury, Cerebral Sclerosis, and acutely swollen
joints
• Bone weakness (osteoporosis), recent unhealed
fractures, medullary pins, and surgically implanted
orthopedic supports
• The use of anticoagulants, including high doses of
aspirin
• Middle ear infection, and extreme obesity
*If you have one or more of the above conditions, you may still be able to invert. However, you must first obtain approval from
you licensed physician.
WARNING: Weight limitation is 300 lbs. The Healthy Back Inversion Table is intended for adult use only.
INSTRUCTIONS FOR USE:
A. Before Mounting:
Before using the table, insure that the bed will rotate to the fully inverted point and back. Only use the table
on a level surface.
1. Select Your hand grip setting. The three adjustment holes are
located on the hand grip attachment. Position 1 is the hole
closest to the hand grip. Position 2 is the hole in the middle, and
Position 3 is the hole that is the furthest from the hand grip. The
adjustment you select will be determined by the weight of your
body and the aggressiveness of the rotation you desire. If you are
a first time user or are wanting to partially invert use Position
1 for people weighing from 80 to 120 lbs. Use Position 2 if you
weigh from 120 to 220 lbs, and use Position 3 if you weigh from
220 to 300 lbs. If you are looking to fully invert, use Position 1 for
people weighing from 80 to 220 lbs, and use Position 2 for people
weighing 220 to 300 lbs.
2. Adjust height of foot platform so that the ankle clamps are low
on the ankle. This is done by unscrewing the knob (Part J) on the
back of the foot platform bar (Part D). There are 4 holes on the
tube. Select the best height for you and screw the knob into the
appropriate hole. This will reduce body slide as you invert.
3. Set tether strap to stop rotation if you don’t want to fully invert.
Set at 20º or less if you are a first time user.
Page 1
Page 2
Inversion Table
OPE RAT ING INST RUCT IONS
4. Select the setting for user height:
• Pull out the height selector locking pin.
• The height adjuster needs to be set at the correct height
setting. The setting will depend on the way your weight is
distributed. You should always start with the height setting
above your actual height. By starting above your height, you
can insure that the rotation is not too aggressive.
WARNING: The hand grip groove must slide under the hooked bracket at the top of the A-frame. Lock into
place with the lever on each side. Failure to do so could result in injury.
B. Mounting:
1. Step on either side of the height adjuster tube and place feet
in foot platform inside ankle clamps and lean hips back against
bed.
2. Compressing ankle clamp against ankles, flip the retaining loop
over the end of the handle and over the 2 stops mounted on the
shaft of the handle.
3. Release handle and ankles should stay firmly secured in ankle
bracket.
WARNING: You must fully engage the ankle clamp or you could fall and injure yourself when the table inverts.
C. Balancing:
The Healthy Back Inversion Table is like a balancing beam. The goal
is to ensure that your weight is distributed properly by selecting the
correct height setting for the user.
We strongly suggest you have a friend stand by to steady the
table when you perform the balancing & inverting.
1. Make sure the ankle clamps are securely locked into place.
2. Lay your head on the bed and your arms by your side. Place your
arms straight with your hands down below your waist.
3. Move your arms from your side and place them on your stomach.
You may have to adjust the height setting to get the correct
balance setting.
• If you are laying on the table and your head is lower than your
feet, lengthen your height setting by 1 inch and repeat until you
reach the correct setting.
• If you are laying on the table and the table is still down against
the stop, then you need to shorten your height setting by 1 inch
and repeat until you reach the correct height setting.
• The optimal height setting is when your feet are a few inches
off of the stop.
Setting your arm movements will allow you to rotate the table
backwards and forwards smoothly and slowly. Once you find your
best setting, it will stay the same as long as your weight does not
change substantially.
Do not use the hand grips to rotate the table. They are for
mounting and dismounting; they are not a substitute for finding
your correct balance.
Never lift your head or try to sit up while inverting!
Page 2
Page 3
Inversion Table
OPE RAT ING INST RUCT IONS
D. Partial Inverting:
1. To partially invert, begin by rasing one of your arms slowly up
over your head. Moving your arm up and down will control the
rotation of the table.
2. Once you find the angle you prefer, rest your arms in the
position you desire. To increase the aggressiveness of rotation,
lift both arms together.
3. Bring your arm back from over your head to return to the
upright position. You may have to bend your knees and reposition
your body weight in order to return to the full upright position.
E. Full Inversion:
You should not attempt full inversion until you have become
comfortable with partial inversion.
1. Place the hand grips in Position 1 to lock the table while inverted.
For people weighing over 220 lbs, place the hand grips in
2.
Position
2. The tether strap will have to be disconnected to fully invert.
3. Lift both hands above your head to rotate upside down. You
may have to help with the last degrees of rotation by pushing
against the floor or frame.
F. To Bring a Fully Inverted Table Back to Normal,
Upright Position:
1. Using one of your hands, grasp the back edge of the table
directly over your head and pull torso snugly against bed. While
holding onto the bed, lower your other arm to your side. The
bed will then rise slightly out of inverted position.
2. Release hand holding the back edge of table and bring it down
to your side. This will rotate the table out of the inverted position
and bring your feet down and your head up.
Please Note: Since your body has shifted during inversion, you
may have to bend your knees and reposition your body weight
to bring the table down.
Do not lift your head or try to sit up while you are getting
the table to return from the inverted position. This will work
against the normal operation of the table and thus prevent the
user from returning to the normal upright position.
G. Storage of your Inversion Table:
1. Remove the locking pin and push the main shaft as far as it will
go.
2. Move the bed the opposite direction until it will rest on the
main frame.
3. Fold the legs of the main frame together until it is laying flat.
Page 3
Page 4
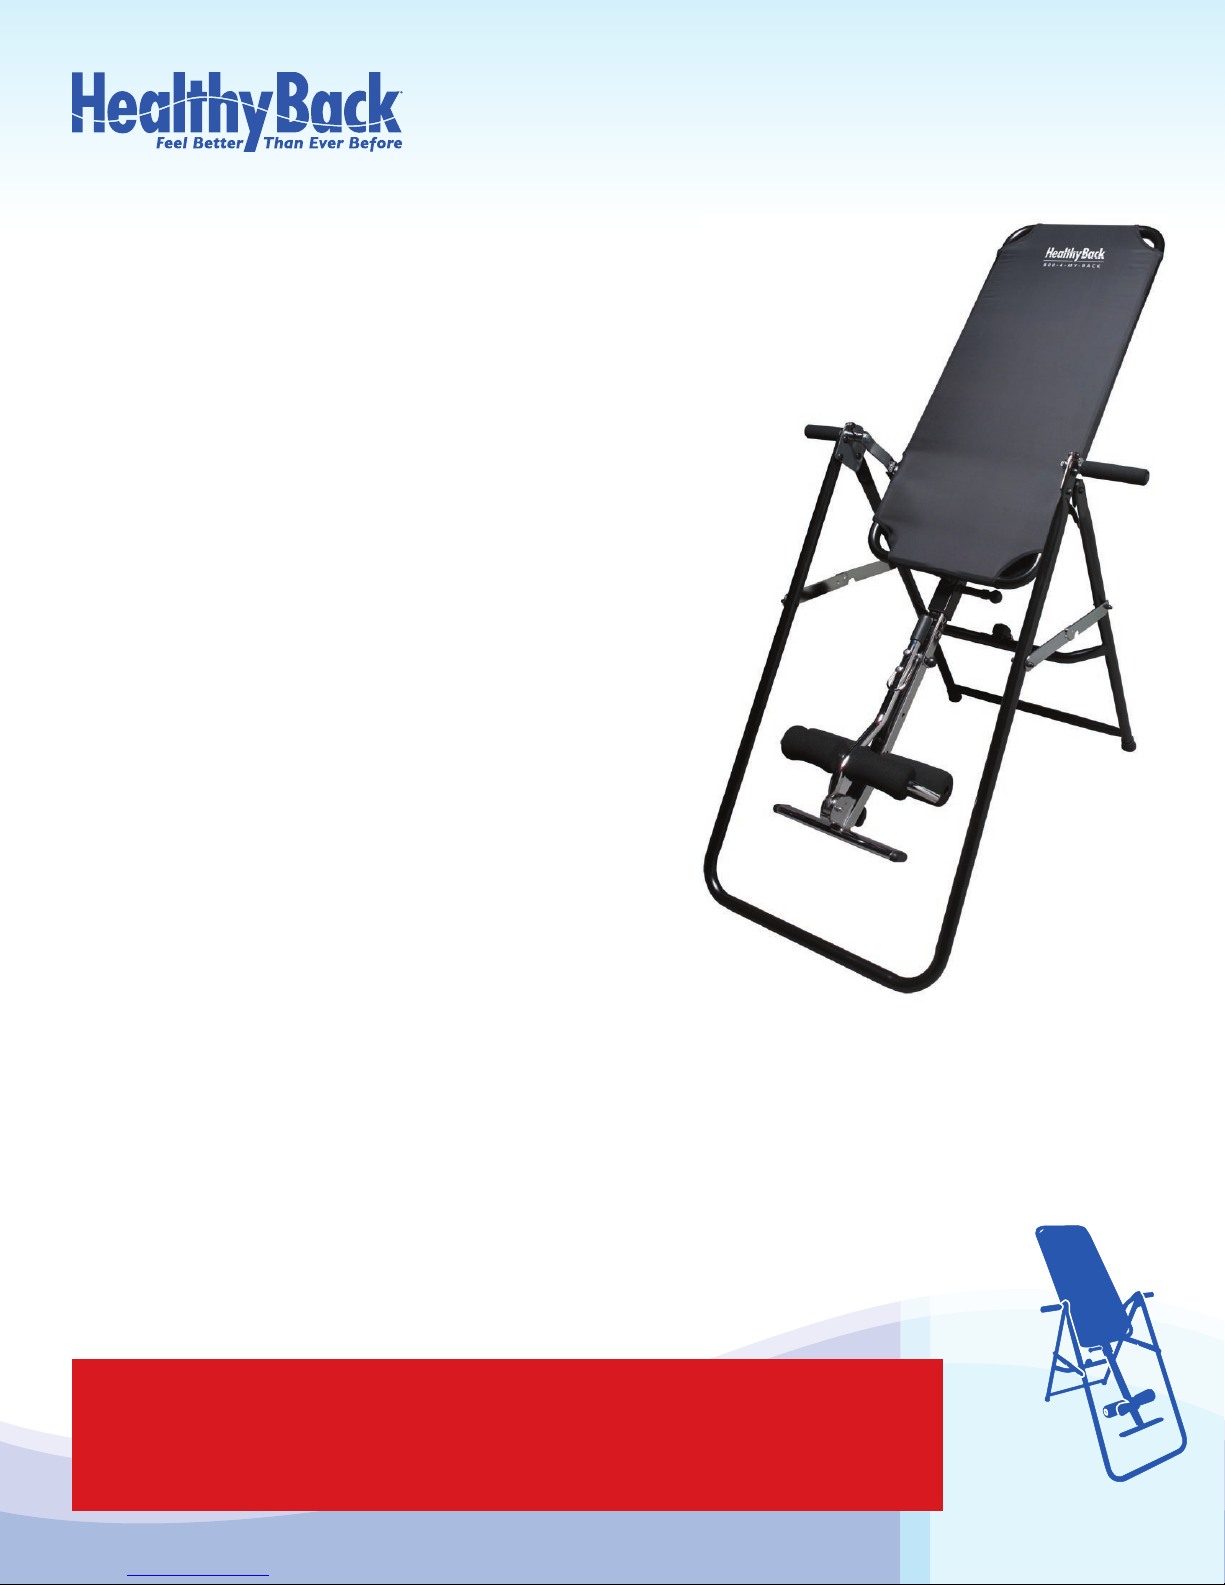
Inversion Table
OPE RAT ING INST RUCT IONS
Helpful Suggestions for good use of your
Inversion Table:
Level #1: Getting Acquainted With Your Table:
Beginners
• Recommend only partial inversion until comfortable with arm
balancing motion.
• 30 seconds for the first time inverting.
• Increase to one minute within the first week.
• Have someone with you when you are finding your correct height
setting.
• Be sure to come out of inversion slowly be raising one arm at a
time slowly to allow your body to adjust.
Level #2: Knowledgeable on Balance Motion of Table
• The angle should be increase only if it is comfortable with arm
balancing motion.
• Inverting to as little as 25 degrees for even a few minutes can
help.
• Increase only a few degrees at a time. You can gain all the benefits
of inversion without ever inverting beyond 60 degrees.
• You can increase your routine over a period of time.
Safety & Caution: Listen to what your body is saying:
• Every user is different and your body will let you know what is
right for you.
• Others may be inverting longer, do what your body tells you is
right for you.
• Each session can vary depending on your body that day.
• Do not invert right after eating or drinking — wait a minimum
time for your body to absorb.
• Beginning users may become nauseous or light headed when
inverting, remember for some users it takes time for their inner ear
and body to become accustomed to inverting.
• Inversion should follow the general rule: The greater the angle
of inversion, the shorter the amount of static inversion time. The
same holds true in reverse. Above all, pay attention to your body.
When you feel like you’ve had enough, stop.
Exercising: For Experienced Users Only:
• To make inversion a more comfortable experience, try moving
while being inverted.
• Slow, gentle rotation and movement can add benefits to your
inversion experience. This can also help realign joints and stretch
muscle.
• Gentle stretching and light exercising can be added once you are
comfortable with inverting.
• When exercising, do slowly until you have established what is the
correct routine for you.
Inverting Regularly:
• We suggest inverting for two or three spaced sessions everyday.
WARNING: The inversion table is rated at a capacity of 300 lbs. HOWEVER,
please confine all inverted activities to smooth movements. Aggressive
exercises which involve a lot of body movement can cause the table to tip
over and cause possible serious injuries.
Page 4
 Loading...