

Healthrider HRCR9155.0 User Manual
Model No. HRCR9155.0
Visit our website at
www.healthrider.com
new products, prizes,
fitness tips, and much more!
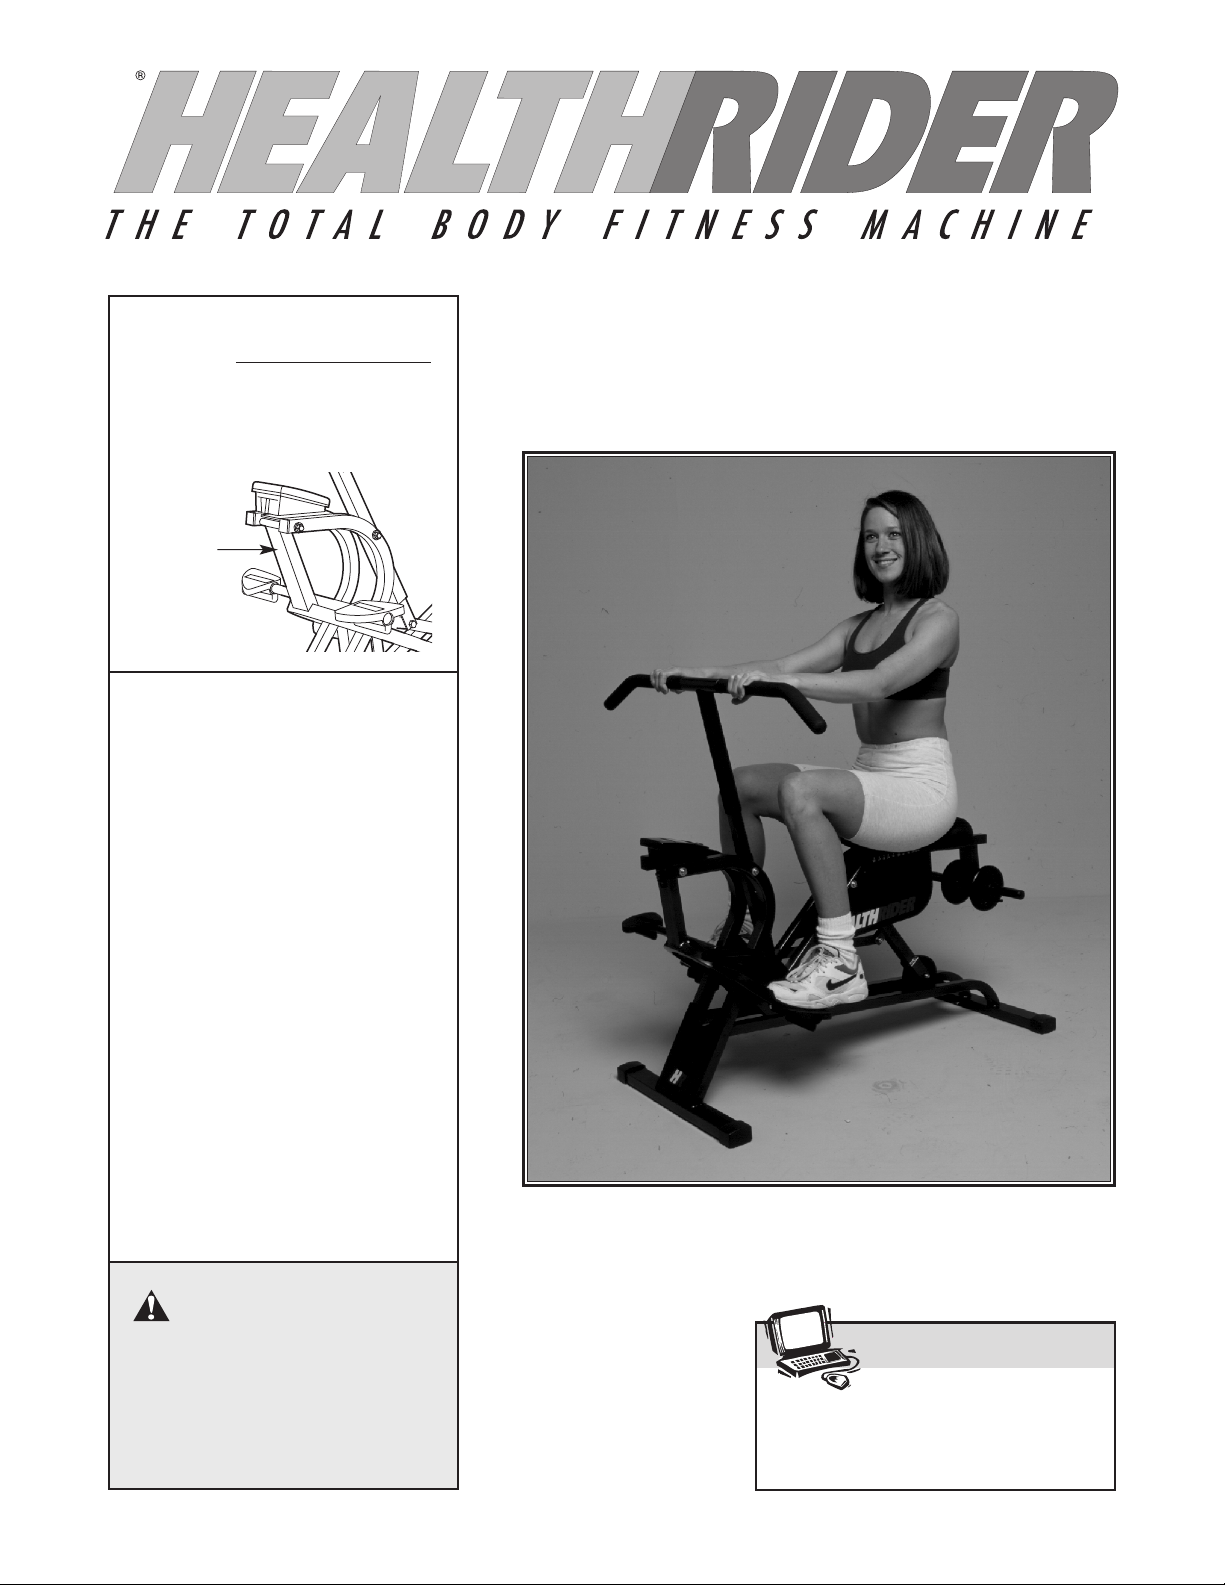
Serial No.
The serial number is found in the
location shown below. Write the
serial number in the space above.
Serial
Number
Decal
QUESTIONS?
As a manufacturer, we are committed to providing complete
customer satisfaction. If you
have questions, or if parts are
damaged or missing, PLEASE
CONTACT OUR CUSTOMER
SERVICE DEPARTMENT
DIRECTLY.
USER'S MANUAL
CALL TOLL-FREE:
1-888-922-4222
Mon.–Fri., 6 a.m.–6 p.m. MST
ON THE WEB:
www.healthriderservice.com
CAUTION
Read all precautions and
instructions in this manual
before using this equipment.
Keep this manual
reference.
for future
Note: W
eights are not included

TABLE OF CONTENTS
IMPORTANT PRECAUTIONS . . . . . . . . . . . . . . . . . . . . . . . . . . . . . . . . . . . . . . . . . . . . . . . . . . . . . . . . . . . . . . . .2
BEFORE YOU BEGIN . . . . . . . . . . . . . . . . . . . . . . . . . . . . . . . . . . . . . . . . . . . . . . . . . . . . . . . . . . . . . . . . . . . . . .3
ASSEMBLY . . . . . . . . . . . . . . . . . . . . . . . . . . . . . . . . . . . . . . . . . . . . . . . . . . . . . . . . . . . . . . . . . . . . . . . . . . . . . . .4
ADJUSTMENT AND OPERATION . . . . . . . . . . . . . . . . . . . . . . . . . . . . . . . . . . . . . . . . . . . . . . . . . . . . . . . . . . . . .8
AINTENANCE AND TROUBLESHOOTING . . . . . . . . . . . . . . . . . . . . . . . . . . . . . . . . . . . . . . . . . . . . . . . . . . . .11
M
CONDITIONING GUIDELINES . . . . . . . . . . . . . . . . . . . . . . . . . . . . . . . . . . . . . . . . . . . . . . . . . . . . . . . . . . . . . . .12
PART LIST . . . . . . . . . . . . . . . . . . . . . . . . . . . . . . . . . . . . . . . . . . . . . . . . . . . . . . . . . . . . . . . . . . . . . . . . . . . . . .14
EXPLODED DRAWING . . . . . . . . . . . . . . . . . . . . . . . . . . . . . . . . . . . . . . . . . . . . . . . . . . . . . . . . . . . . . . . . . . . .15
ORDERING REPLACEMENT PARTS . . . . . . . . . . . . . . . . . . . . . . . . . . . . . . . . . . . . . . . . . . . . . . . . . .Back Cover
LIMITED WARRANTY . . . . . . . . . . . . . . . . . . . . . . . . . . . . . . . . . . . . . . . . . . . . . . . . . . . . . . . . . . . . . .Back Cover
IMPORTANT PRECAUTIONS
WARNING: To reduce the risk of serious injury, read the following important precau-
tions before using the HealthRider exerciser.
1. Read all instructions in this manual and all
warnings on the HealthRider exerciser before
using the HealthRider exerciser.
2. It is the responsibility of the owner to ensure
that all users of the HealthRider exerciser are
adequately informed of all precautions.
3. The HealthRider exerciser is intended for
home use only. Do not use the HealthRider
exerciser in a commercial, rental, or institutional setting.
4. Keep the HealthRider exerciser indoors,
away from moisture and dust. Place the
HealthRider exerciser on a level surface, with
a mat beneath it to protect the floor or carpet. Make sure that there is enough clearance around the HealthRider exerciser to
mount, dismount, and use it.
5. Regularly inspect and tighten all parts of the
HealthRider exerciser.
6. The HealthRider exerciser should not be
used by persons weighing more than 250
pounds. The total weight of the user and
added weights (not included) should not
exceed 300 pounds.
7. Keep children under the age of 12 and pets
away from the HealthRider exerciser at all
times.
8. When exercising, do not wear loose clothes
that could become caught on the HealthRider
exerciser. Always wear athletic shoes to protect your feet.
9. Use the HealthRider exerciser only as
described in this manual.
10. The decal shown on page 3 has been placed
on the HealthRider exerciser. If the decal is
missing, or if it is not legible, please call the
toll-free telephone number on the front cover
of this manual and order a free replacement
decal. Apply the decal in the location shown.
WARNING: Before beginning this or any exercise program, consult your physician.
This is especially important for persons over the age of 35 or persons with pre-existing health problems. Read all instructions before using. ICON assumes no responsibility for personal injury or
property damage sustained by or through the use of this product.
HealthRider is a registered trademark of ICON IP, Inc.
2
BEFORE YOU BEGIN
hank you for selecting the new HealthRider
T
er. The HealthRider exerciser offers a unique form of
low-impact exercise that uses both the upper body and
the lower body for greater cardiovascular benefits and
increased toning.
For your benefit, read this manual carefully before
you use the HealthRider exerciser.
questions after reading this manual, see the front
cover of this manual. To help us assist you, please
note the product model number and serial number
before calling. The model number is HRCR9155.0.
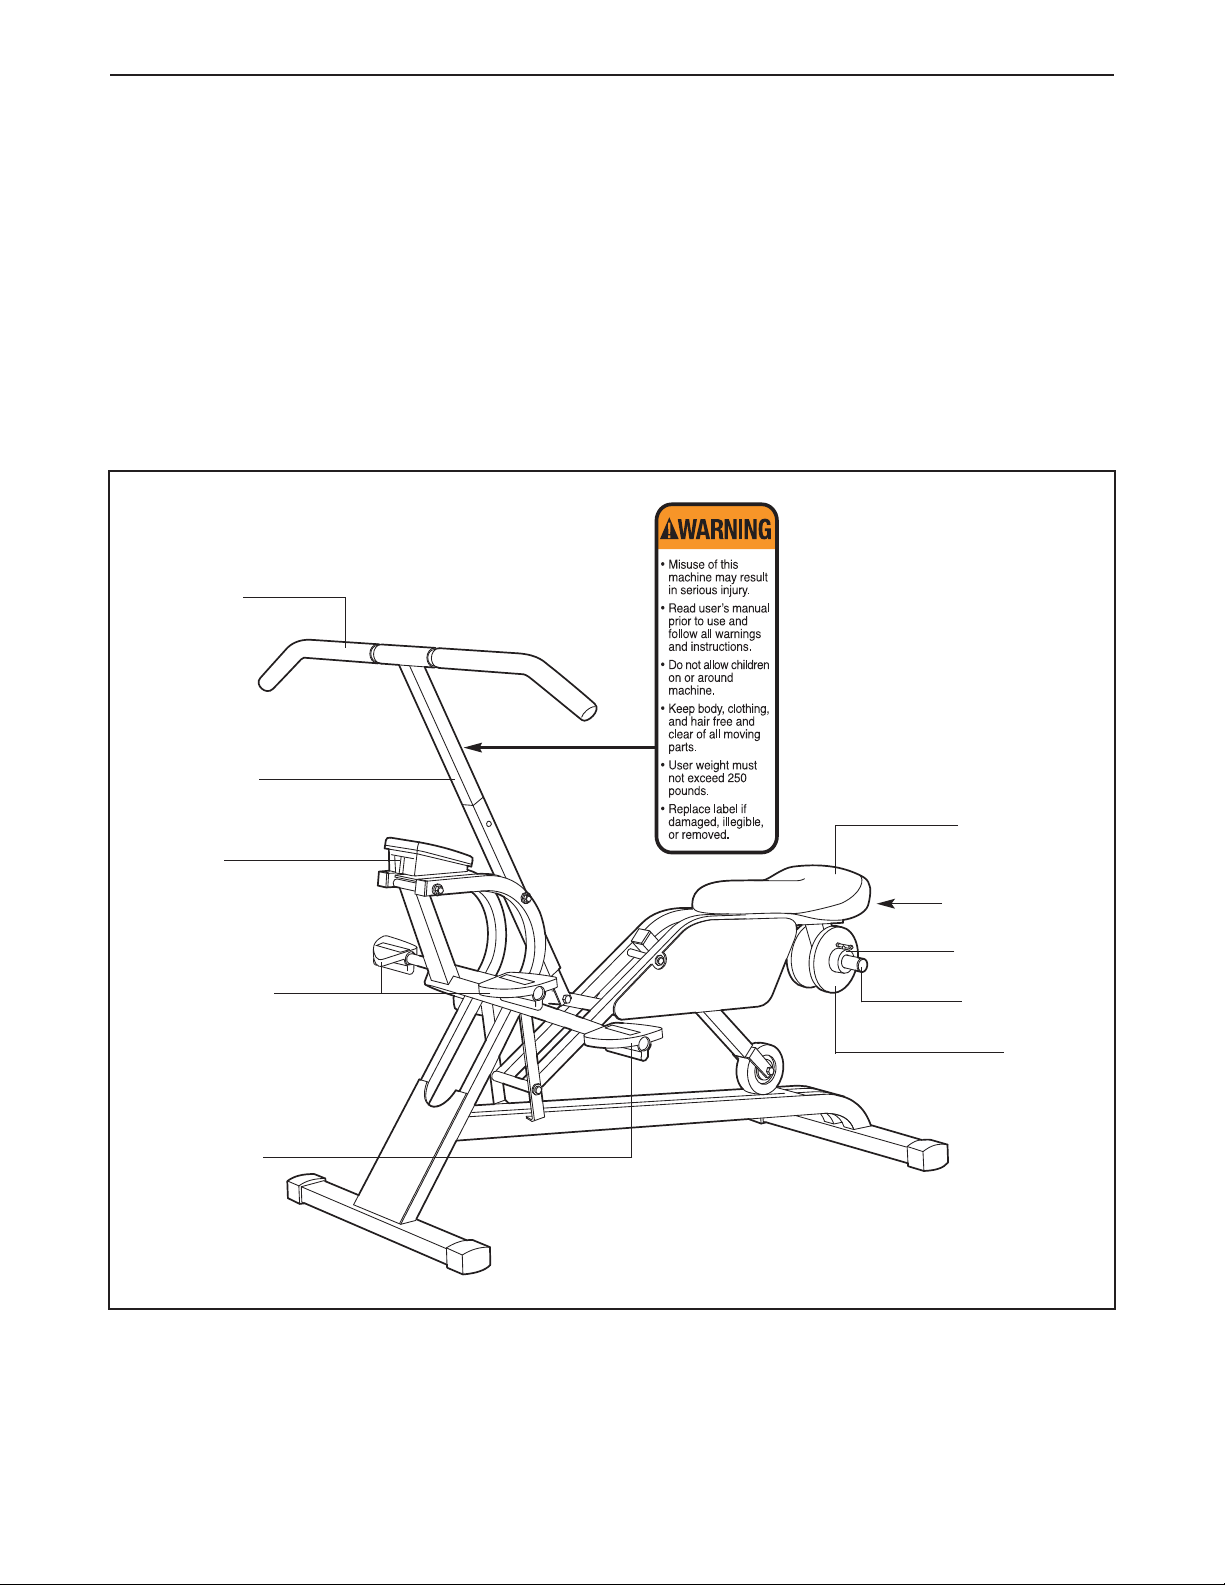
Handlebar
If you have
®
e
xercis-
he serial number can be found on a decal attached
T
to the HealthRider exerciser (see the front cover of this
manual).
To avoid a registration fee for any service needed
under warranty, you must register the HealthRider
exerciser at www.healthriderservice.com/registration.
Before reading further, please familiarize yourself with
the parts that are labeled in the drawing below.
Center Post
Console
Upper Pedals
Lower Pedal
Padded Seat
Seat Knob
(beneath Seat)
Weight Collar
Weight Tube
Weight*
*Weights are not included
3
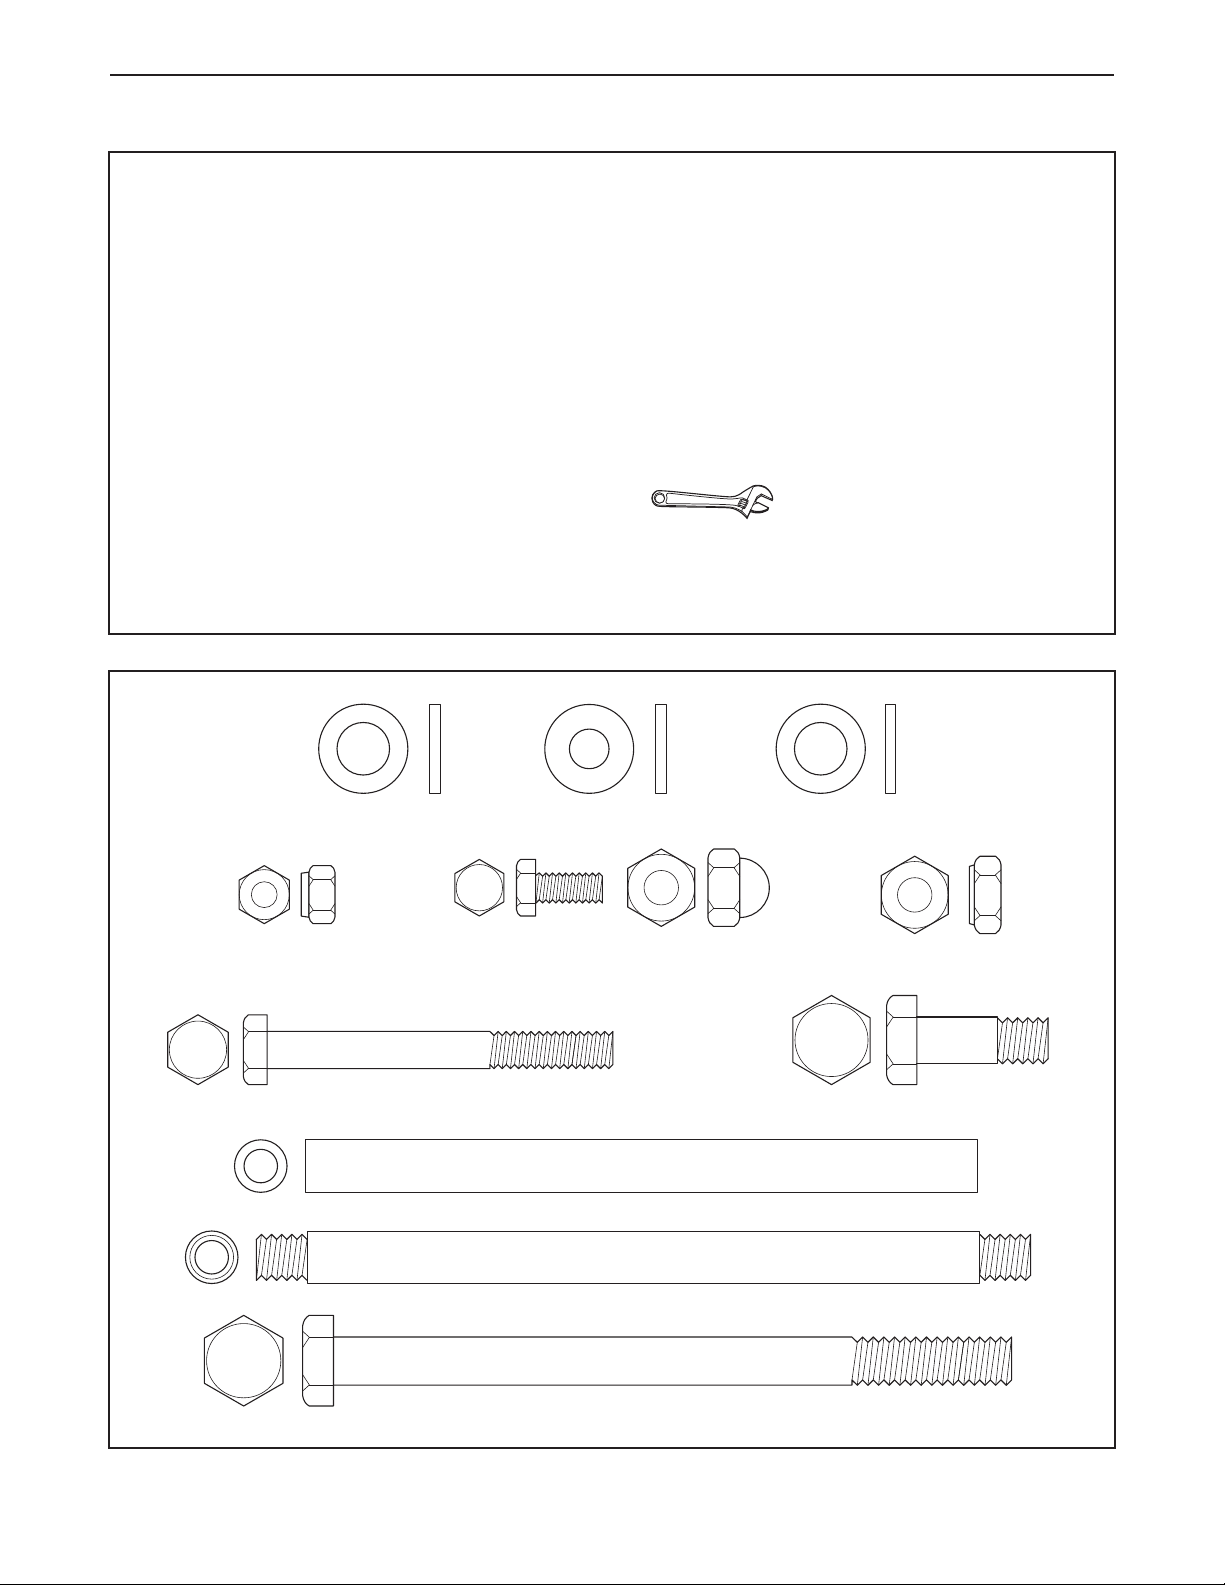
ASSEMBLY
Rubber Washer (51)–4
Frame Axle (13)–2 (External Thread)
M8 Nylon Jam Nut (7)–2
M6 Flat Washer (55)–4
M8 x 35mm Bolt (17)–1
M6 x 62mm Bolt (53)–4
Plastic Washer (49)–2
T
M8 x 120mm Bolt (52)–1
Axle Fastener (56)–4
(either Bolts OR Acorn Nuts)
OR
Frame Axle (13)–2 (Internal Thread)
M6 Nylon Locknut (54)–4
To hire an authorized service technician to
assemble the HealthRider exerciser, call toll-free
1-800-445-2480.
Before beginning assembly, carefully read the
following information and instructions:
• Assembly requires two persons.
• Place all parts in a cleared area and remove the
packing materials; do not dispose of the packing
materials until assembly is completed.
• Read each assembly step before you begin.
• To identify small parts, see the part identification
drawings below. The number in parentheses
below each drawing is the key number of the
part, from the PART LIST on page 14. The number after the parentheses is the quantity needed
for assembly.
een pre-attached. If a part is not in the parts
b
bag, check to see if it has been pre-attached.
• Tighten all parts as you assemble them, unless
instructed to do otherwise.
• Make sure that all parts are oriented as shown in
the drawings.
• Assembly requires two adjustable wrenches
• Assembly will be more convenient if you have a
rubber mallet and a socket set or a set of openend or closed-end wrenches.
Note: Some parts may have
(not included).
4
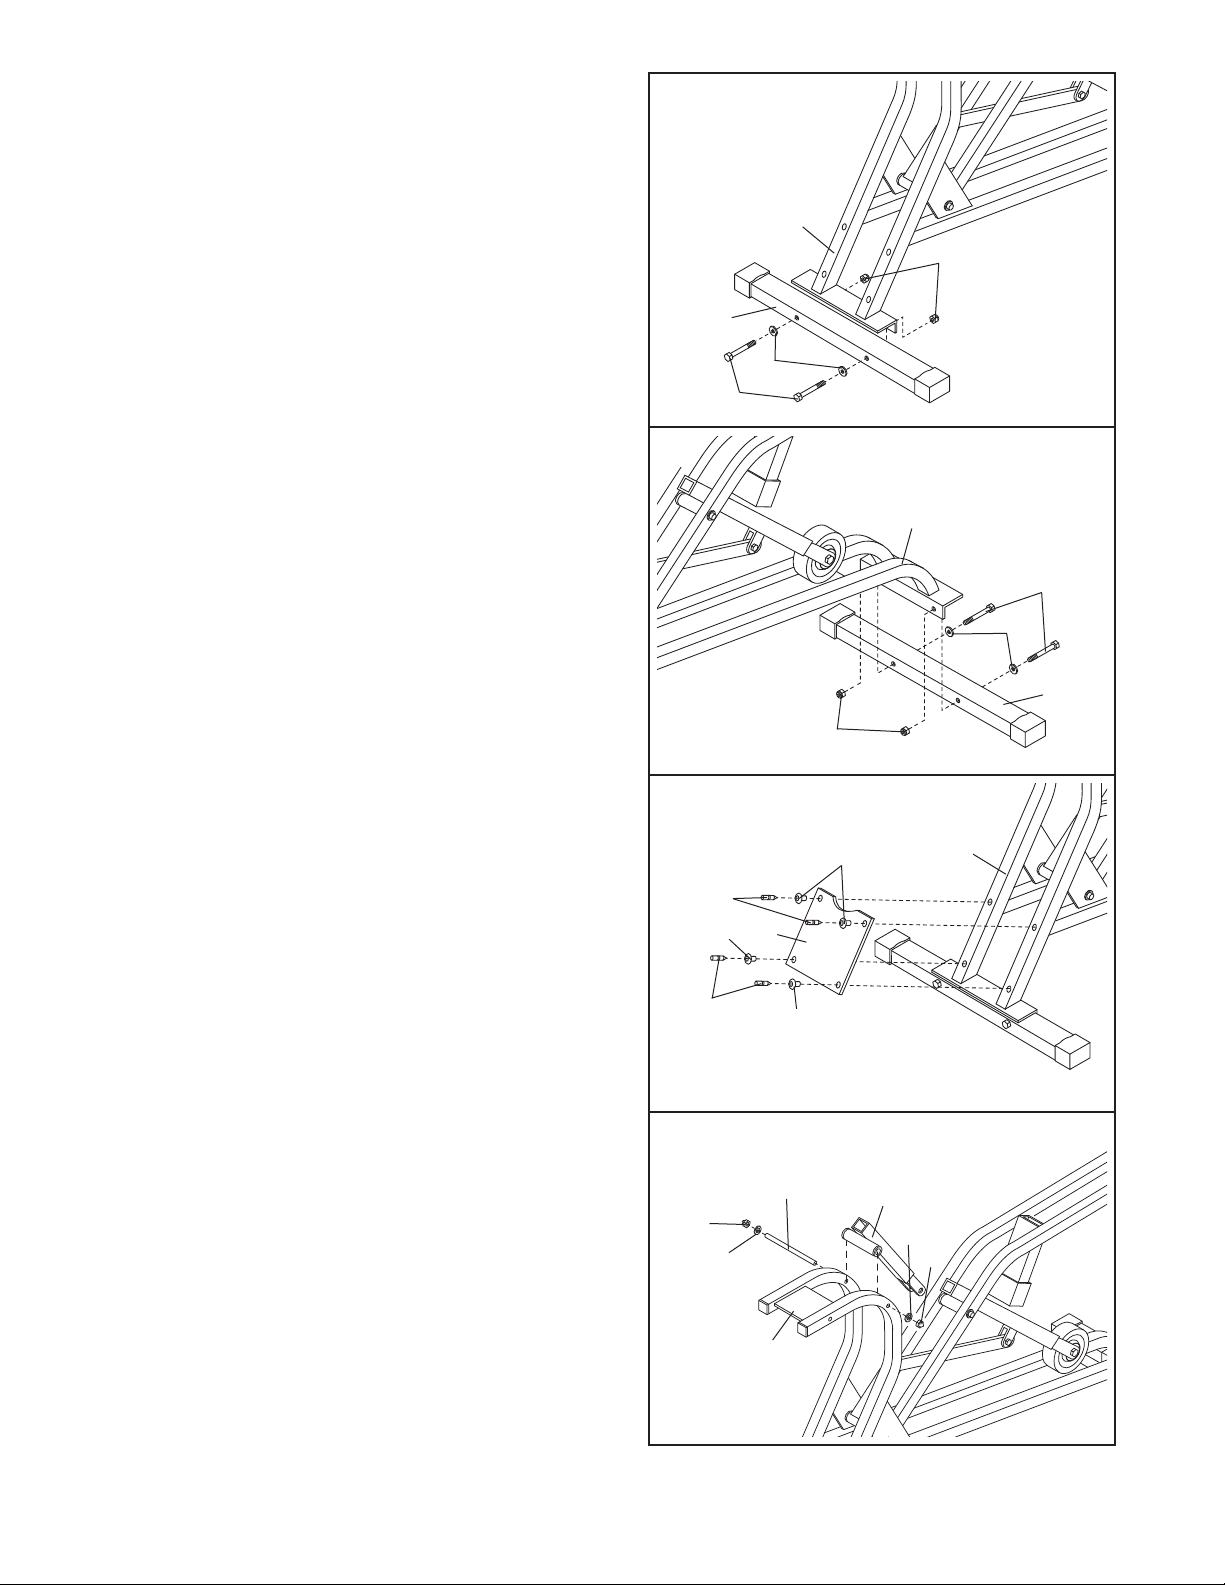
1. Before beginning assembly, make sure that you
have read and understand the information on
age 4.
p
Attach one of the Stabilizers (31) to the Main Frame
(1) with two M6 x 62mm Bolts (53), two M6 Flat
Washers (55), and two M6 Nylon Locknuts (54).
not tighten the Nylon Locknuts yet.
Do
1
1
54
31
55
53
2. Attach the other Stabilizer (31) to the Main Frame
(1) with two M6 x 62mm Bolts (53), two M6 Flat
Washers (55), and two M6 Nylon Locknuts (54).
Tighten the four Nylon Locknuts used in steps 1
and 2.
3. Hold the Front Cover Panel (34) against the Main
Frame (1) in the indicted location. Press four
Fastener Bases (45) and four Fastener Pins (57)
into the Front Cover Panel and the Main Frame.
2
1
53
55
31
54
3
1
57
57
45
45
34
45
4. Lubricate a Frame Axle (13). Attach the Handlebar
Swing Arm (5) to the Main Frame (1) with the
Frame Axle, two Rubber Washers (51), and two
Axle Fasteners (56).
Note: If the ends of the Frame
internally threaded, the Axle Fasteners (56) will
be bolts; if the ends are externally threaded, the
Axle Fasteners will be acorn nuts (see the part
identification chart on page 4).
Axles (13) are
4
13
Lubricate
56
51
—
1
5
51
56
5
 Loading...