

HDX 1501HDX, 1502HDX Use And Care Manual
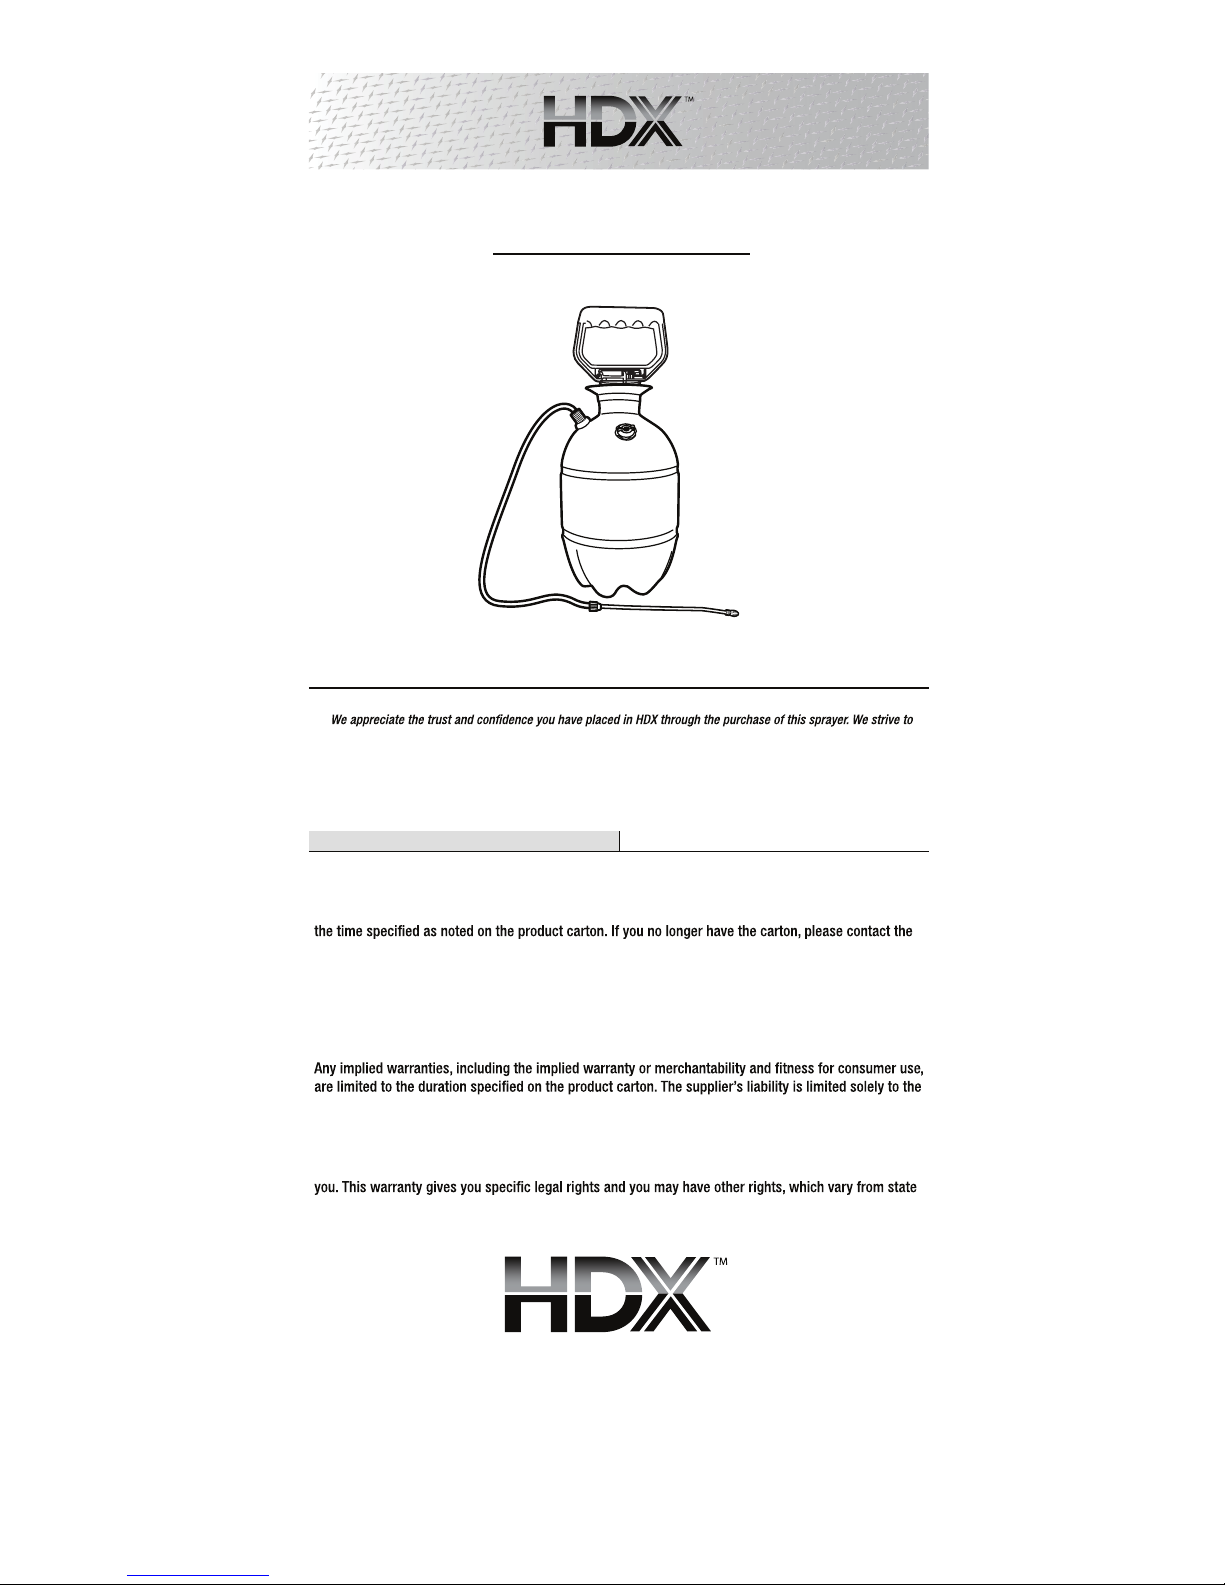
THANK YOU
continually create quality products designed to enhance your home. Visit us online to see our full line of products
available for your home improvement needs. Thank you for choosing HDX!
Warranty
WHAT IS COVERED
The supplier warrants to the original purchaser only that the product purchased will continue to function
as intended if used in accordance with operating instructions (under NORMAL CONSUMER USE) for
Customer Service Team at 1-800-514-6729 or visit www.HomeDepot.com and they will determine the
length of the warranty. If the product fails to function as intended—DO NOT RETURN IT TO THE STORE—
call our Consumer Service Team at 1-800-514-6729 for fast service. We will, at our option, repair or
replace any non-functioning parts without charge (shipping and handling charges will apply). This
warranty does not apply to damage resulting from accident, misuse, neglect, alterations, operation not in
accordance with instructions, commercial use, or normal wear of O-rings, seals, or gaskets.
repair or replacement of the non-functioning product or part. The supplier excludes liability under this
warranty for any and all incidental and consequential loss or damage.
Some states do not allow limitations on how long an implied warranty lasts, or the exclusion or
limitation of incidental or consequential damages, so these limitations or exclusions may not apply to
to state.
Contact the Customer Service Team at 1-800-514-6729 or visit www.HomeDepot.com.
Questions, problems, missing parts? Before returning to the store,
call HDX Customer Service
8 a.m. - 6 p.m., EST, Monday - Friday
1-800-514-6729
HOMEDEPOT.COM
971-627
USE AND CARE GUIDE
LAWN AND GARDEN SPRAYER
Model #1501HDX
1502HDX
Safety Information
WARNING: This product is designed to spray
chemicals that may be harmful and could cause
serious personal injury if inhaled or brought into
contact with the user. Failure to read and follow
these instructions before use and/or misuse
of this product could result in explosive failure
with major injuries.
WARNING: Always test the sprayer before
each use.
WARNING: Always wear long sleeve shirts,
long pants, goggles, gloves, and durable shoes
when using this product.
WARNING: Always read and follow the label
instructions for the chemicals to be applied.
WARNING: After each use, release the
pressure and clean the sprayer.
WARNING: Always release the pressure in the
sprayer before servicing.
WARNING: Do not alter the sprayer or any
components.
WARNING:
(i.e. acids, chlorines and bleach), corrosive,
heated, or self-heating solutions with this
sprayer.
WARNING: Do not store liquids in the sprayer.
WARNING:
line on the tank.
Care and Cleaning
□ Do not store chemicals in the tank. If the chemical is stored in the tank, it can clog the system as
it dries and destroys the seals and other components.
□ To prolong the life of the sprayer, clean the sprayer after each use. After using water-based
□ After spraying solvent or oil- based products, follow the chemical manufacturers’ recommended
followed by clean water.
□
control) from the tank.
□
□ Loosen the pump assembly, but leave in the tank when storing.
□ Store all components in a clean, dry area.
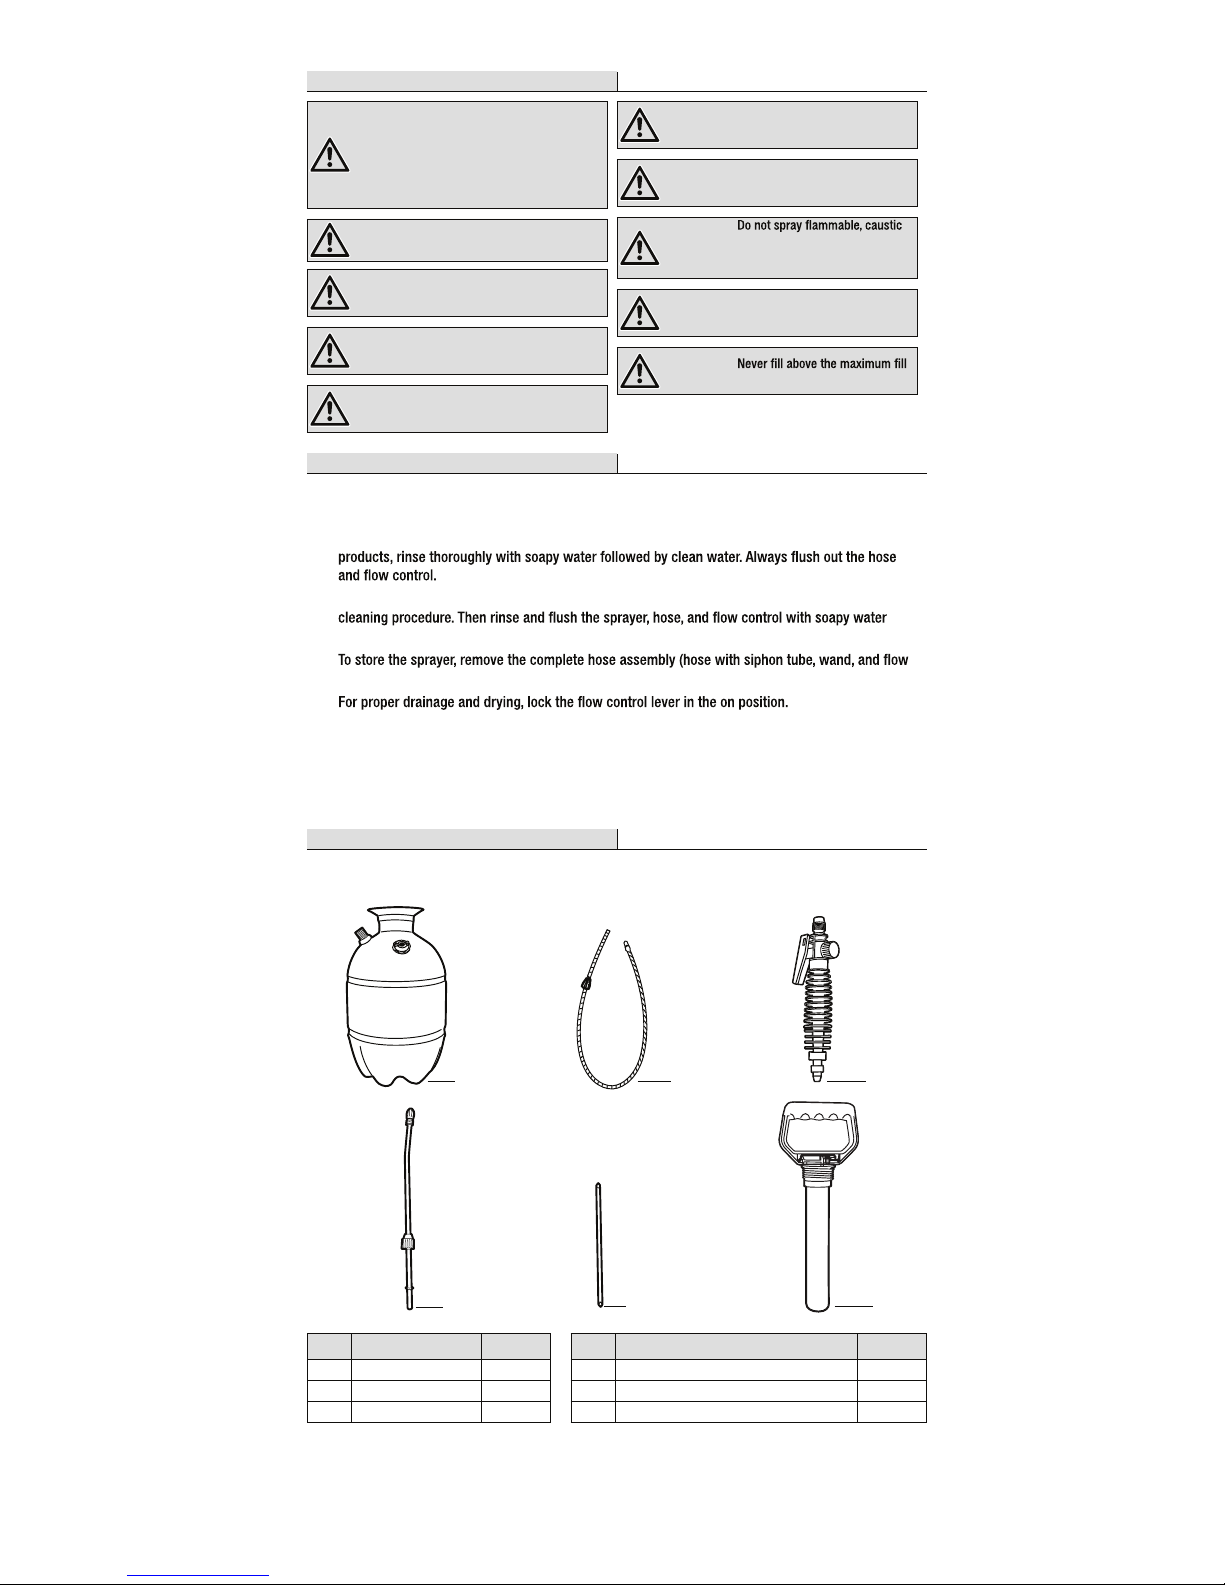
Pre-Assembly
PACKAGE CONTENTS
A
E
D
F
CB
Part Description Quantity Part Description Quantity
A Tank 1 D Wand 1
B Hose 1 E Pink siphon tube 1
C Flow control 1 F Pump assembly 1
Assembly
1
Attaching the hose to the tank
Insert the pink siphon tube (E)
approximately ½ in. into the pink hose
insert (1) otherwise sprayer will spray only
air.
Lubricate the black o-ring (2) on the pink
hose insert (1) and then push into the
threaded tank nipple (3) on the tank (A) until
fully seated.
Screw the hose nut (4) onto the threaded
tank nipple (3). Firmly hand tighten and pull
to ensure a tight connection.
A
3
1
2
4
E
2
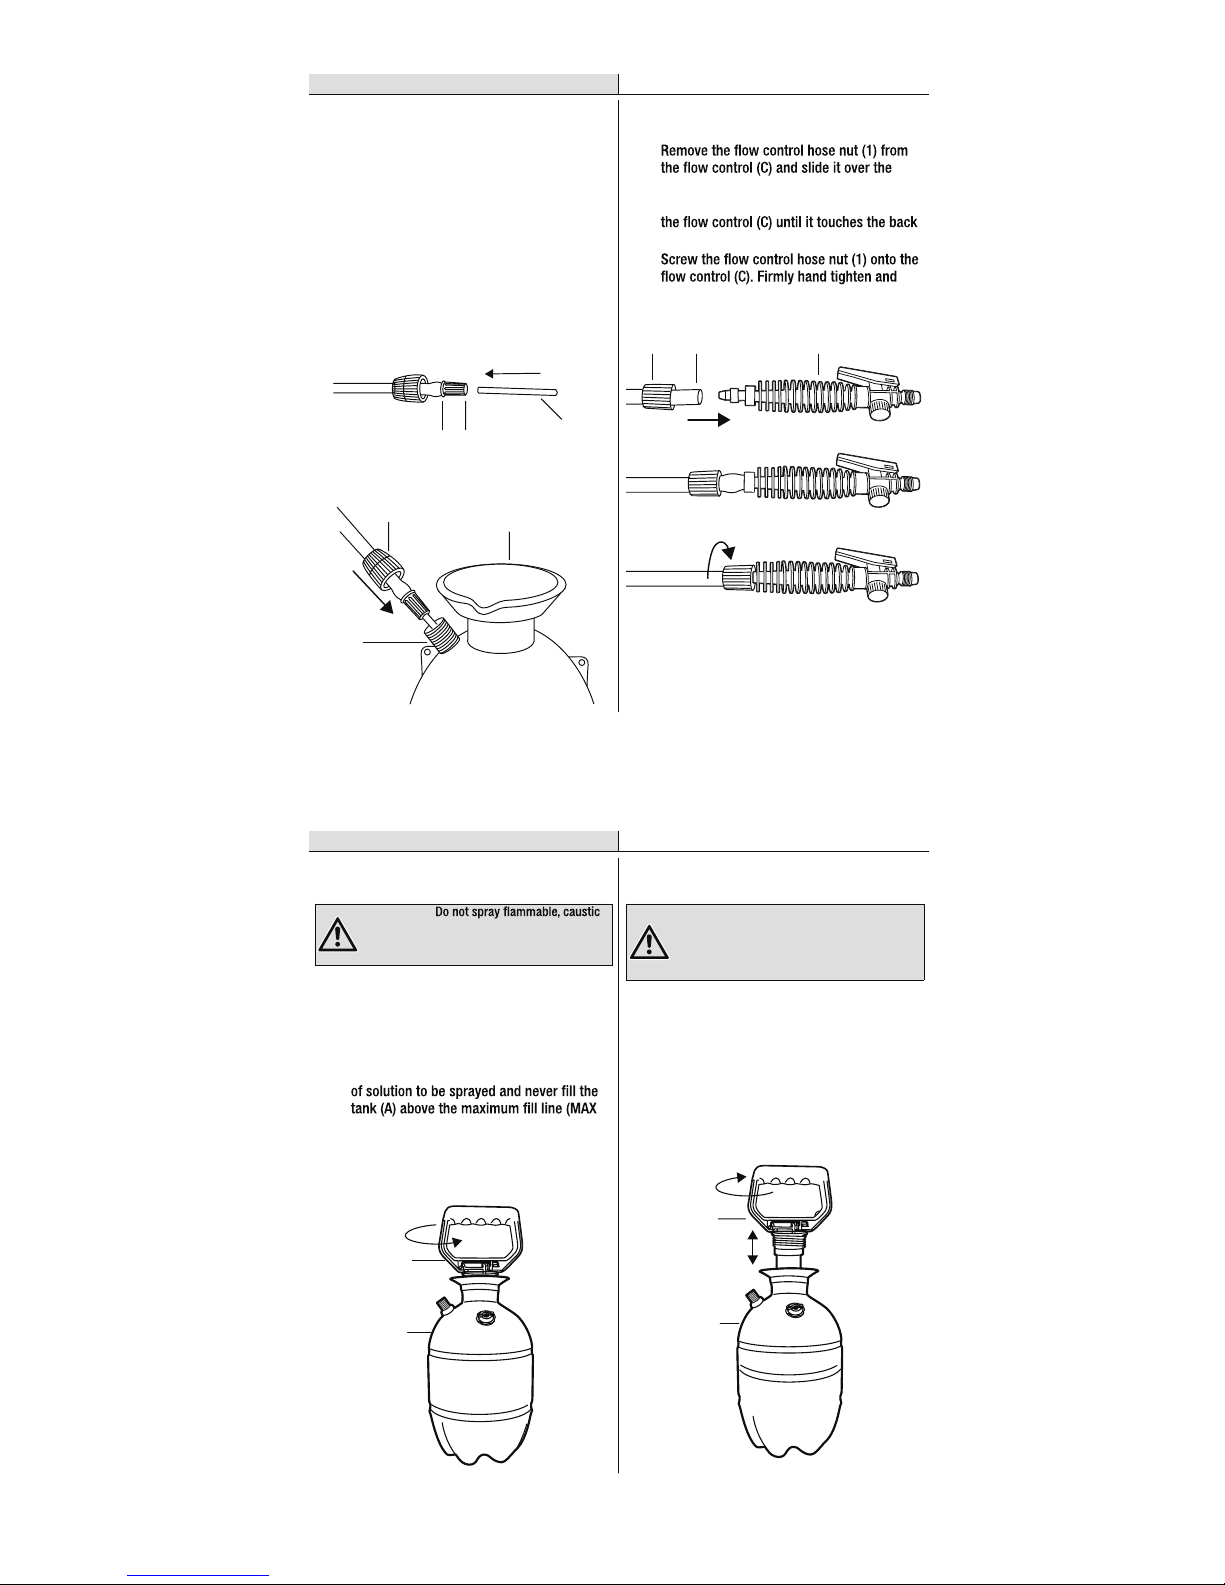
Attaching the flow control to the hose
hose (B).
Push the hose (B) over the pointed end of
of the threads.
pull to ensure a tight connection.
1 CB
Operation
1
Filling the sprayer
WARNING:
(i.e. acids, chlorines and bleach), corrosive,
heated, or self-heating solutions with this
sprayer.
Remove the pump assembly (F) from the
tank (A) by locking the pump handle down,
then turning counterclockwise.
Prepare the spray solution following
the instructions listed on the chemical
manufacturers’ label. Mix only the amount
FILL LINE).
Screw the pump assembly (F) back into the
tank (A) by turning clockwise. Firmly hand
tighten.
F
A
2
Pressurizing the sprayer
WARNING: To prevent the ejected pump
assembly and/or solution from striking and
injuring you, never stand with your face or body
directly over the top of the tanks when pumping
or loosening the pump.
To operate the pump (F), unlock the pump
handle by turning counterclockwise. Be
careful not to loosen the pump (F) from the
tank (A).
To create pressure, move the pump handle
up and down until it is hard to pump.
Lock the pump handle back into the pump
assembly (F) by turning clockwise.
F
A
 Loading...