

Page 1

Contents
Features
Getting Started
Step 1: Checking the packing contents
Step 2: Setting up the Base Unit
Step 3: Preparing the battery pack
Registration
Options
Adjusting the ringer and earpiece volume
Basics
Making a Call
Call transfer
Receiving a Call
Redialing a Call
Traveling out -of-range
Key lock/unlock
Telephone Features
Memory dialing
Storing phone numbers and names
Making calls with memory dialing
Chain dialing
Editing a stored name and/or phone number
Erasing a stored name and phone number
Paging
Handset to Handset communication
Caller ID Features
Caller ID
When the telephone rings
Viewing the Caller ID Message list
Name tagging
Deleting information from the Caller ID list
Using the Caller ID list
Additional Information
Belt clip installation
Headset installation
Note on power sources
Maintenance
1 / 16
Page 2

Features
. 900MHz Digital Spread Spectrum Technology
. Multi -Handset operation
. Call ID Function
. 60 Number Caller ID Memories
. Lighted Keypad
. 3-Line, 16 Character Backlit Handset Display
. 29 Enhanced Memory Dial Locations
. 32 Digit Redial
. 3 Redial Memories
. Flash
. Pause
. 10 Days Standby Battery Life
. 4.5 Hours Talk Time
. Handset Earpiece and Ringer Volume Control
. Hearing Aid Compatible
2 / 16
Page 3

Checking the Package Contents
Make sure you have received the following items in the package.
l Base unit
l Handset
l Rechargeable battery
l AC/DC adapter
l Belt clip
l Telephone line cord and plug
l Owner’s manual
Setting up the Base Unit
Do the following steps.
l Choose the best location
l Connect th e base unit
Choose the best location
l After installing the battery pack in the handset, charge your handset at least 12 hours before using the
phone. Once the handset battery pack is fully charged, connect the telephone line cord to the base and
telephone wall outlet.
l The location should be close to both a phone jack and a continuous power outlet, which is not switchable.
l Keep the base and handset away from sources of electrical noise such as motors and fluorescent
lighting.
l Be sure there is sufficient space to raise the base antenna to a vertical position.
Connect the base unit
1. Connect the telephone line cord to the TEL LINE jack and to a telephone outlet.
2. Connect the AC adapter to the DC IN 9V jack and to a standard 240V AC wall outlet.
3. Set the base unit on a desk or tabletop and place the handset on the base unit as shown. Then raise the
antenna to a vertical position.
Note Use only the supplied ??? AC adapter. Do not use any other AC adapter.
Note Connect the AC adapter to a continuous p ower supply.
Note Place the base unit close to the AC outlet so that you can unplug the AC adapter easily.
Preparing the Battery Pack
Charge the battery pack for at least 12 hours before you start using your phone.
1. Press in the battery cover release and slide the cover down until it comes off.
2. Connect the battery pack connector with the correct polarity (black and red wires), then correct polarity
(black and red wires), then insert the battery pack into the battery compartment.
3 / 16
Page 4

3. Securely close the battery compartment cover by sliding it up until it snaps into place.
Register As
4. Place the handset on the base as shown.
5. Make sure that the status LED lights. If the LED doesn’t light, check to see that the AC adapter is
plugged in and that the handset makes good contact with the base charging contacts.
Note Use only the Uniden Battery (???) supplied with your phone. Replacement batteries are also available
through the Uniden Parts Department.
Battery use time (per charge)
From fully charged
l Four and hal f hours continuous use.
l Ten days when the handset is in the standby mode.
When the battery charge becomes low
When the battery pack is very low and needs to be charged, the phone is programmed to eliminate functions
in other to save power. If the phone is not in use, “ Low Battery” flashes and none of the keys will operate. If
the phone is in use, “Low Battery” flashes and the handset beeps. Complete your conversation as quickly as
possible and return the handset to the base unit for charging.
Note The built-in memory backup can hold numbers and names stored in the memory even if the battery
pack is completely discharged.
Low Battery
Cleaning the battery contacts
To maintain a good charge, it is important to clean the battery contacts on the handset and base un it with a
dry cloth or a pencil eraser about once a month.
Do net use any liquids or solvents.
Registration
The digital security code is an identification code used to connect the handset and the base unit.
In the rare situation that you suspect another cordless telephone is using the same security code, you can
change the code.
1. Remove the handset from the base unit.
2. Press and [flash] + handset No.(1~7).
3. Place the handset on the base unit.
Handset #
When registration is completed, confirm tone will sound.
4 / 16
Page 5
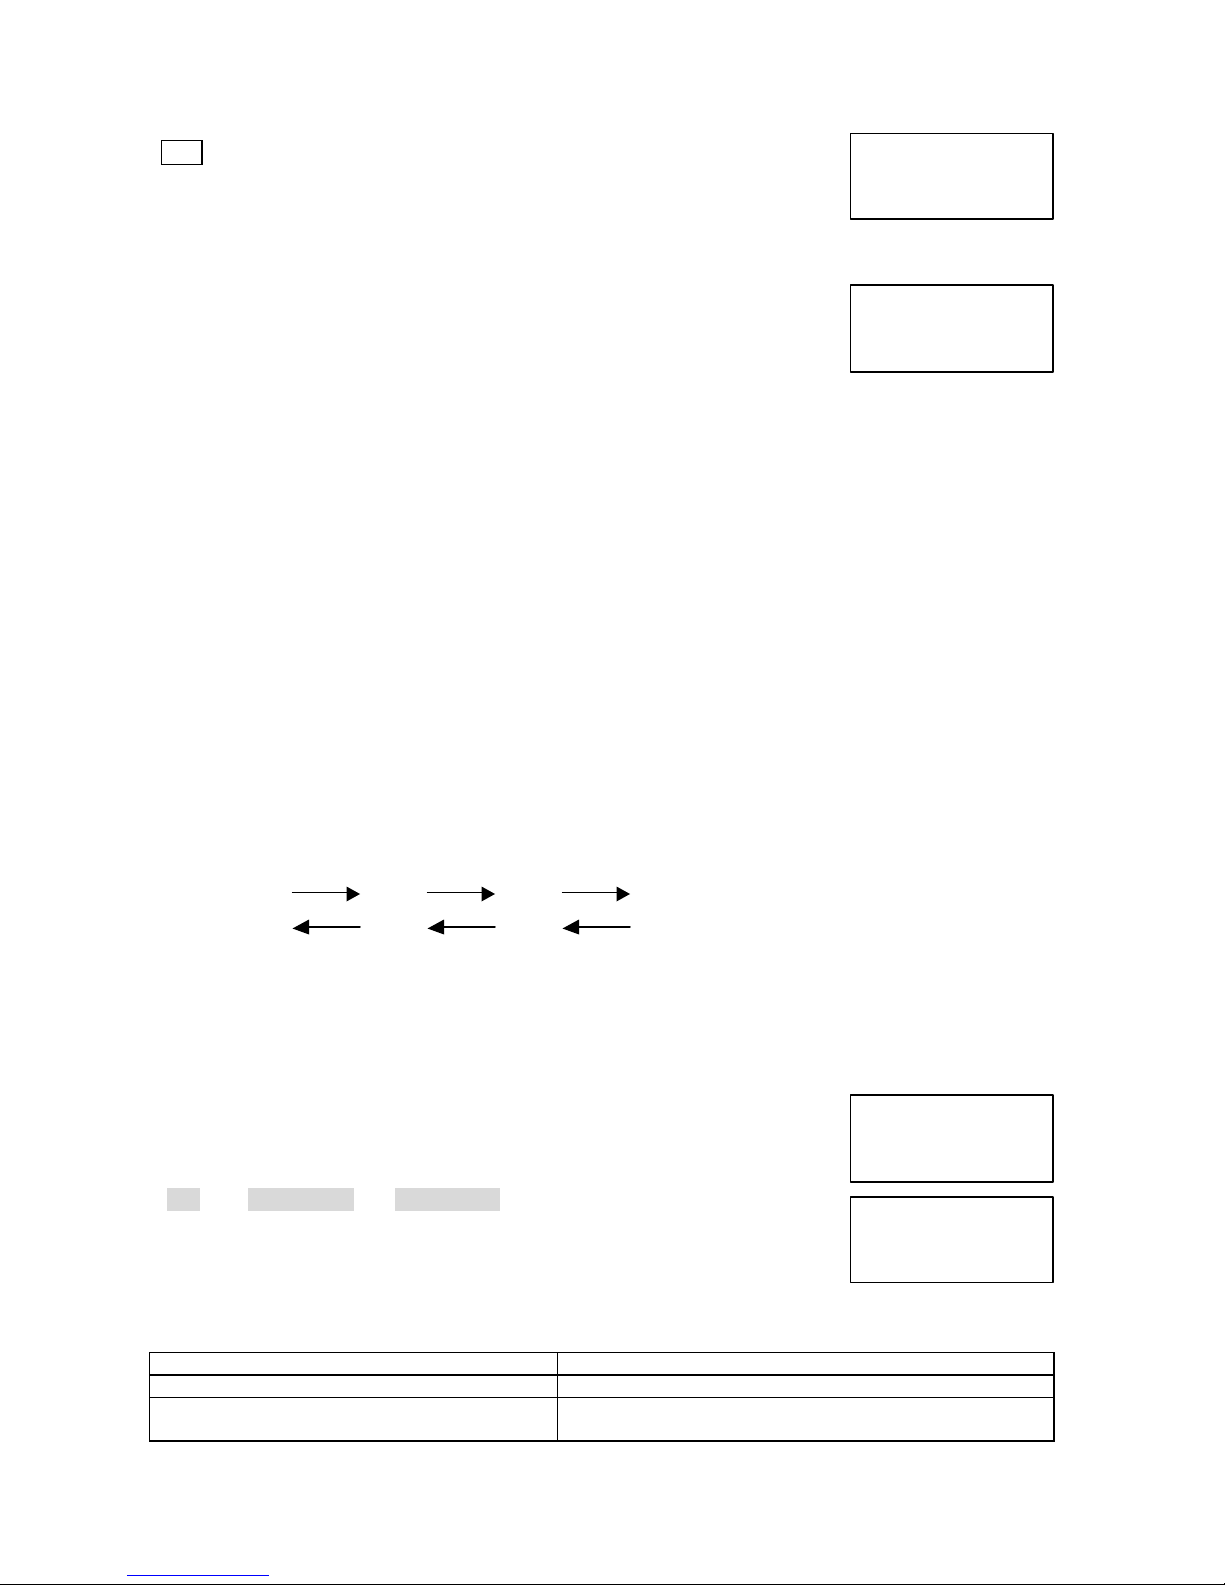
Note If user want to change the ID as handset No. is 1, then other handsets
Talk Mid 1
Register As
have to register again.
Handset #
Reg others next
Options
1. Press [options]. The following screen appears.
2. When you wish to enter dial prefix, Then press [select] key and enter Dial
Prefix(1 digit) by using the numeric key(0~9).
4. After entering the Dial prefix, press [select] key.
5. After you have made your selections, press [options] and return the handset to the base.
Dial prefix : If caller’s phone is connected to PSTN via a Private Branch Exchange(PBX), Caller have to dial
one digit(Dial Prefix) to connect to PSTN. When the phone is connected to PSTN the phone sound the DIAL
TONE and caller can dialing.
Dial prefix:
Adjusting the Ringer and Earpiece Volume
Ringer tone and volume
The phone has four ringer tone and volume combinations.
In the standby mode, press [] or [] on the handset repeatedly.
The display shows the setting.
Earpiece volume
Pressing [] or [] during a call will change the earpiece volume of the handset. This setting will remain in
effect afte r the telephone call has ended.
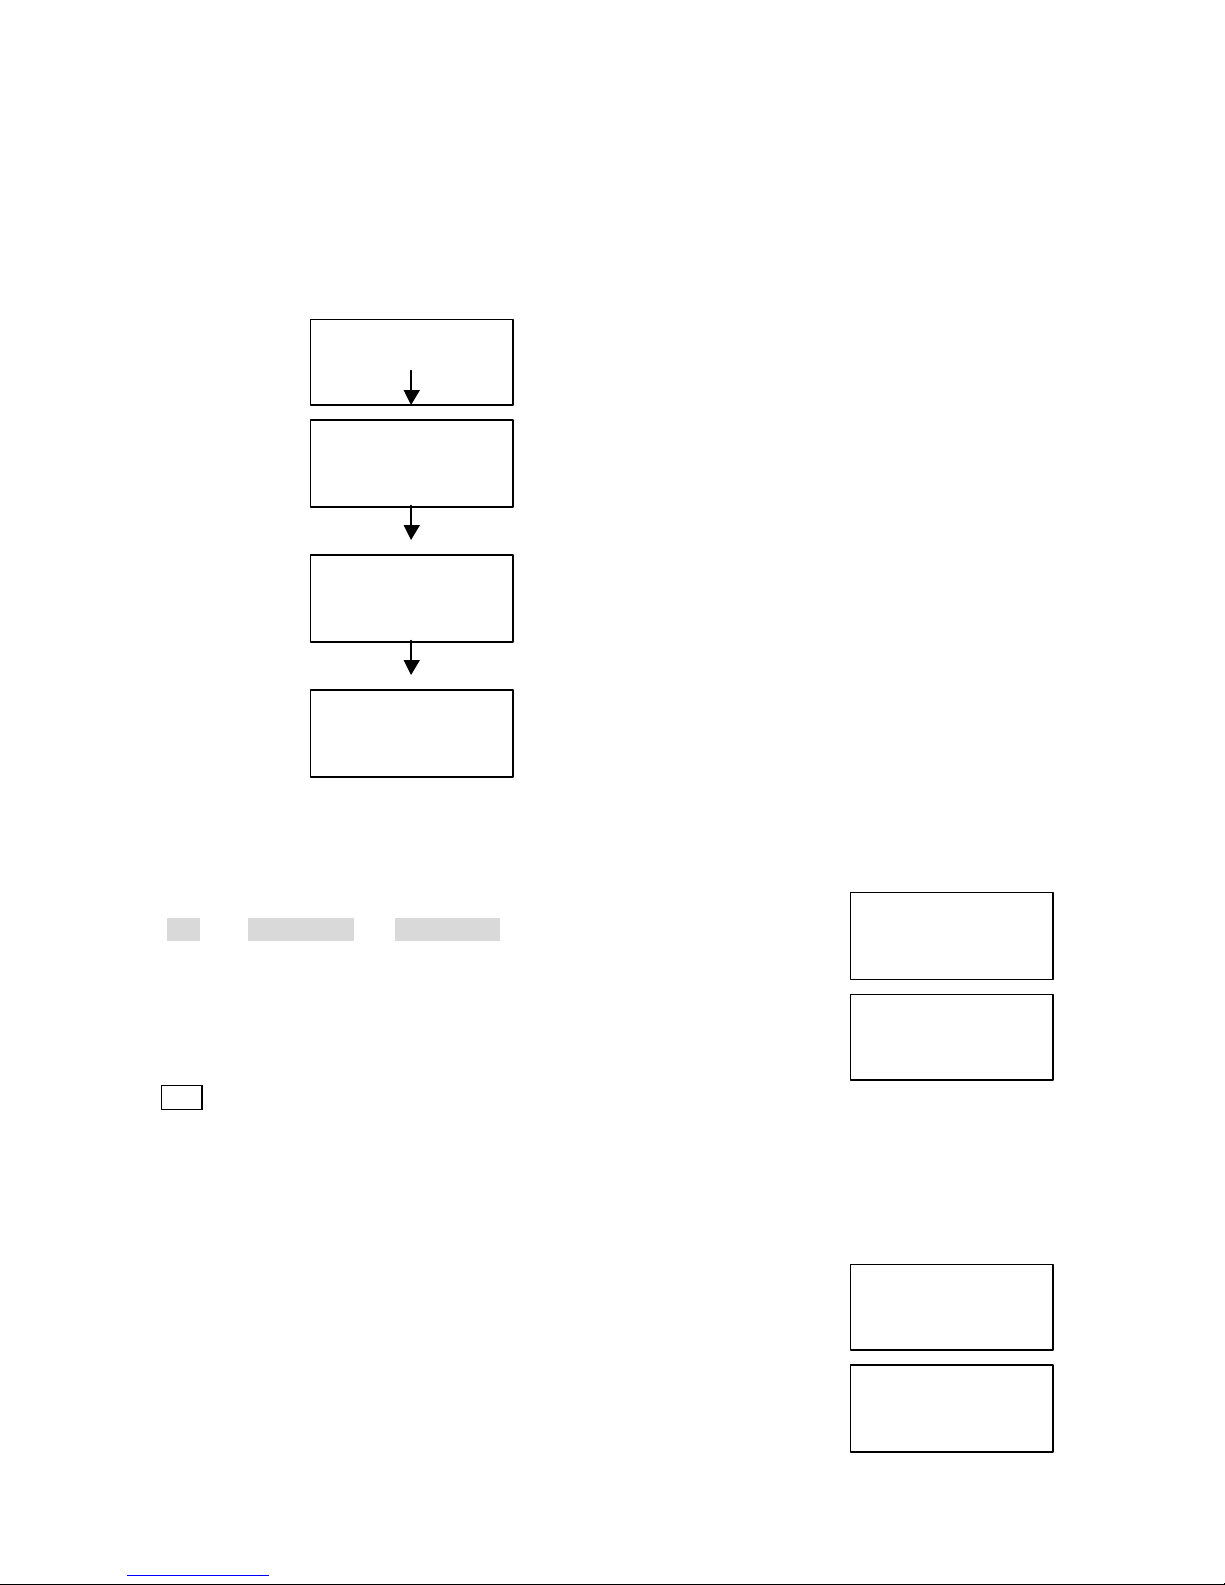
<Loud> [] <High> [] <Mid> [] <Low>
<Loud> [] <High> [] <Mid> [] <Low>
When you press [] in Loud mode or press [] in Low mode, the error tone sounds.
Making a Call
Dialing from standby
1. Enter the phone number. (Up to 32 digits.)
Example: Enter 95979035
2. Press [talk].
“Talk” and Volume level and Handset No. appears on the display.
Example: Volume level Mid, handset No. 1
3. To hang up, press [talk] or place the handset on the base.
Other Operations
To Do this
To adjust the earpiece volume Press [] or [] during a call.
To enter a pause within the dialing sequence Press [redial/p]. “P” appears in the display
which represents a pause.
95979035
95979035
5 / 16
Page 6

Dialing from talk mode
Talk Mid 1
Talk Mid 1
Talk Mid 1
Transfer to
1. Press [talk].
“Talk” and Volume level and Handset No. appears on the display.
Example : Volume level Mid and Handset No. 1
2. Dial the phone number.
Example: Enter 95979035
3. To hang up, press [talk] or place the handset on the base.
Call transfer
When the phone is talk mode, you can transfer the call to another handset.
1. Press [delete/page] + handset No. + [talk] key continuously.
_
95979035_
2. Called handset rings.
3. Press [talk] key on called handset then call transfer is completed.
(Auto talk and Any key answer are available)
Note If called handset is not answer during 20 seconds, the call will back to original handset.
Hand
Receiving a Call
From the handset
1. The phone rings. “ Incoming call” appears on the display.
2. Press [talk].
“Talk” and Volume level and Handset No. appears on the display.
3. Talk with the caller.
4. To hang up, press [talk] or place the handset on the base.
AutoTalk when ringing
When the phone is ringing and the handset is on the base unit, simply lift the handset from the base unit to
answer the phone.
Incoming Call
_
AutoTalk: Allows you to answer the phone without pressing [talk]. If the phone rings, simply remove the
handset from the base and the phone automatically answers the call. Or, if the handset is not on the base,
press any key to answer the call.
Any key answer when ringing
When the phone is ringing and the handset is off the base, press numeric keys(0~9) or [*],[#] key or [talk] key
of handset to answer the incoming call.
Redialing a Call
The last three phone numbers dialed can be quickly redialed.
6 / 16
Page 7
Redial from standby
<Redial 1>
<Redial 2>
<Redial 3>
Talk Mid 1
Talk Mid 1
1. Press [redial/p].
The phone number that was last dialed appears on the display.
2. Press [redial/p] will display one of the last three numbers dialed.
Most recent
95979035_
[redial/p]
Standby mode
3. Press [talk]. The number will be dialed.
96348578_
[redial/p]
0293953360_
[redial/p]
Redial from talk mode
1. Press [talk].
“Talk” and Volume level and Handset No. appears on the display.
2. Press [redial/p].
The last number dialed will be displayed and redialed.
3. To hang up, press [talk] or place the handset on the base.
Note Only the last number dialed c an be accessed after talk has been pressed.
_
95979035_
Traveling Out-of-Range
During a call, as you begin to move your handset too far from your base unit, noise increases. If you pass the
range limits of the base unit, your call will terminate within 30 seconds.
Key lock/unlock
When the handset is in the ST/BY mode, press and hold [flash] key,
then sound confirm beep and display "Key Locked".
During Key Locked condition, all keys do not operate until incoming
call or press and hold [flash] key again and display “Key Unlocked ”.
Key Locked
Key Unlocked
7 / 16
Page 8
Storing Phone Numbers and Names
Memory Store
Store Name
>Edit Memory01
Store Number
Store Number
01 ALEX SONG
Memory Store
Memory Dialing allows you to dial a number using just a few key strokes. You can store up to 29 phone
numbers in the memory.
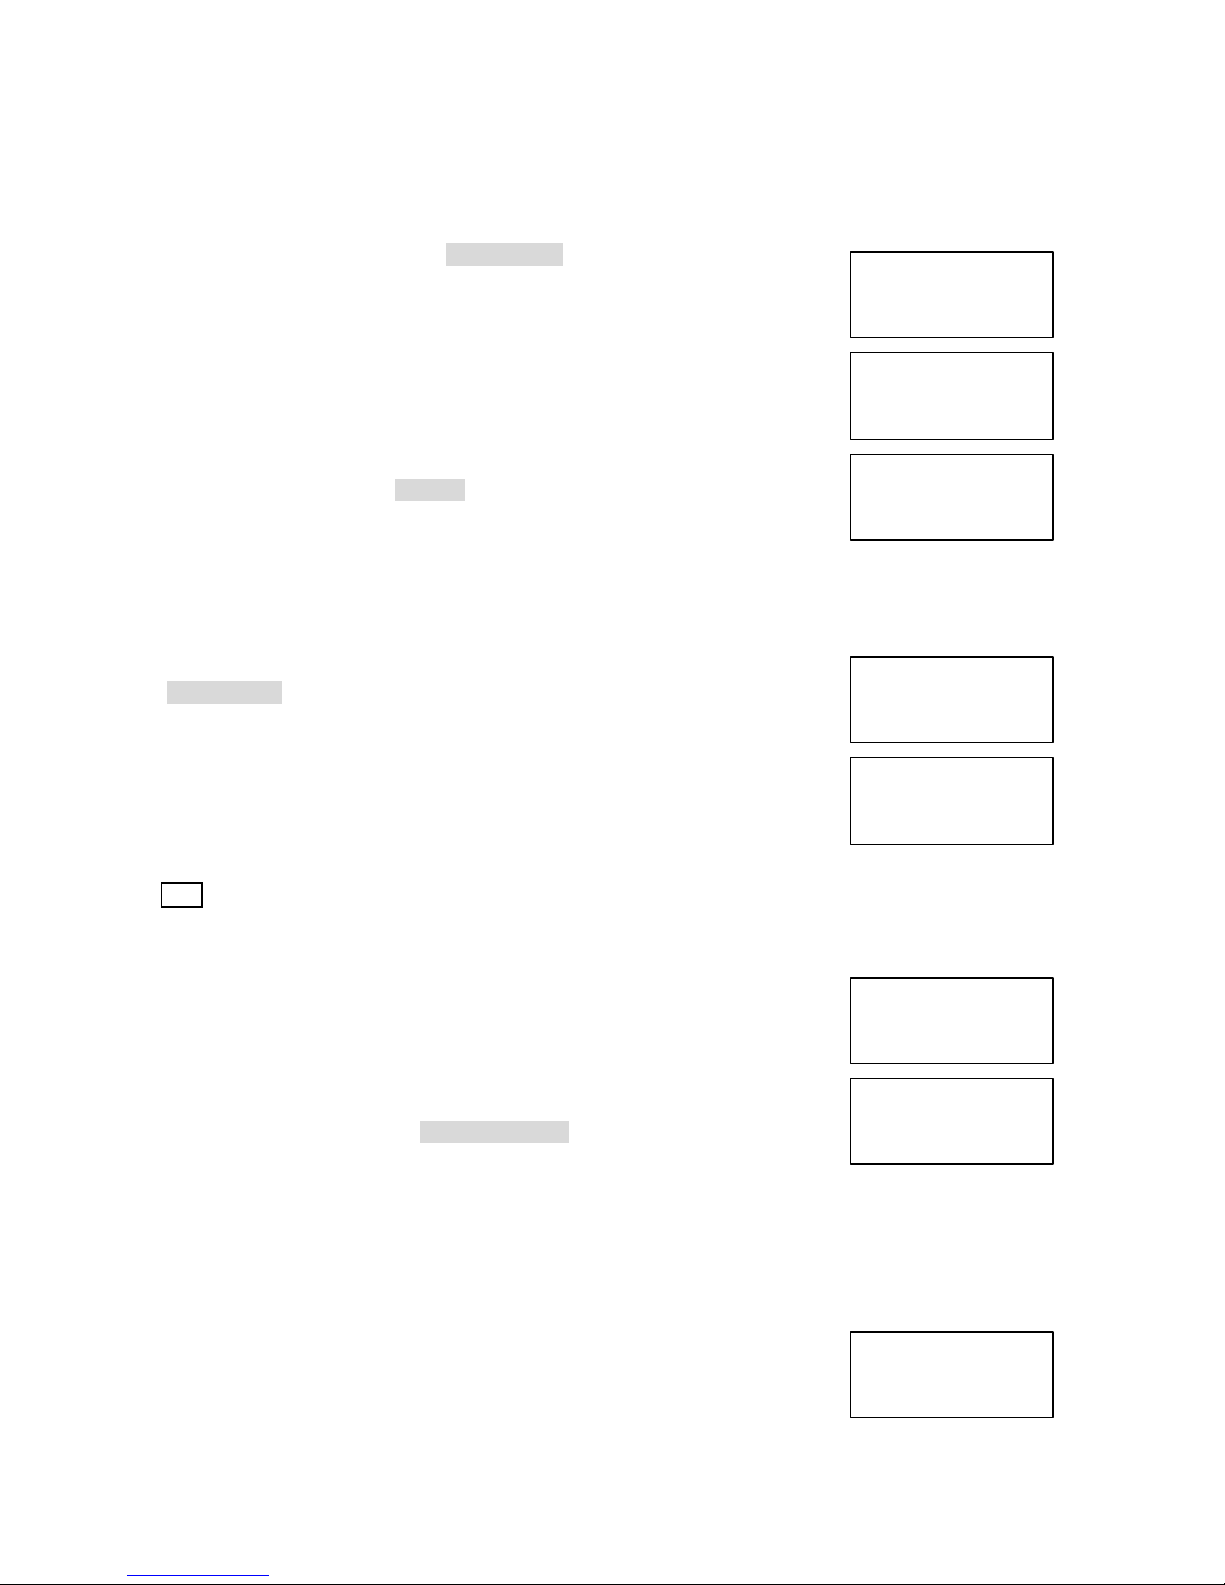
1. Press and hold [memory] until “Memory Store” is displayed.
2. Press [] / [] or enter a two-digit number (01-29) to select the memory
location where you would like to store the number.
3. Press [select].
The following screen appears and a cursor flashes indicating that the display is
ready for the name to be entered. If this screen appears, the selected memory
location is already stored, Then you must either change the entry in this location,
clear the location, or select “Go Back” to choose another location.
4. Use numeric key and [*],[#] key, or [delete/page] to enter the name.
The name cannot exceed 13 characters.
l Use [#] and [* ] to move the cursor to the desired location.
l Use [delete/page] to delete characters as needed.
5. Press [select]
“Store Number ” is displayed. The cursor flashes indicating that the display is
ready for the number to be entered.
6. Use the number keypad to enter the phone number. The phone number
cannot exceed 24 digits.
l Use [redial/p] to enter a pause in the display shows a “P”. Each pause
counts as one digit and represents one and half second delay in time between digits.
Note The pause feature is useful for long distance calling, credit card dialing, or sequences that require a
01>
02
Delete Memory01
Go Back
95979035
pause between digits.
l Use [delete/page] to delete digits as needed.
7. Press [select].
The handset beeps and displays the confirmation screen.
Memory storage is complete.
For example, if you store a name and number into memory location
number 07, the display shows “Memory07 Stored”
After about 2 seconds, “Memory Store” is displayed.
8. Press [memory] to return to standby mode.
Making Calls with Memory Dialing
Memory dialing from standby
1. Press [memory].
The handset displays your programmed memory locations.
2. Press [] and [] or enter a two-digit number (01-29) to select the memory
location you would like to dial.
Memory01 Stored
01>ALEX SONG
02 MURRY WILD
02 MURRY WILD
03>MOM AND DAD
8 / 16
Page 9
3. Press [talk]. “Talk” and Volume level and Handset No. appears on the display.
01 ALEX SONG
04 Empty
Talk Mid 1
Talk Mid 1
Memory Store
>Edit Memory01
01 95979035
Talk Mid 1
Then the displayed number is dialed.
Display a Programmed Number
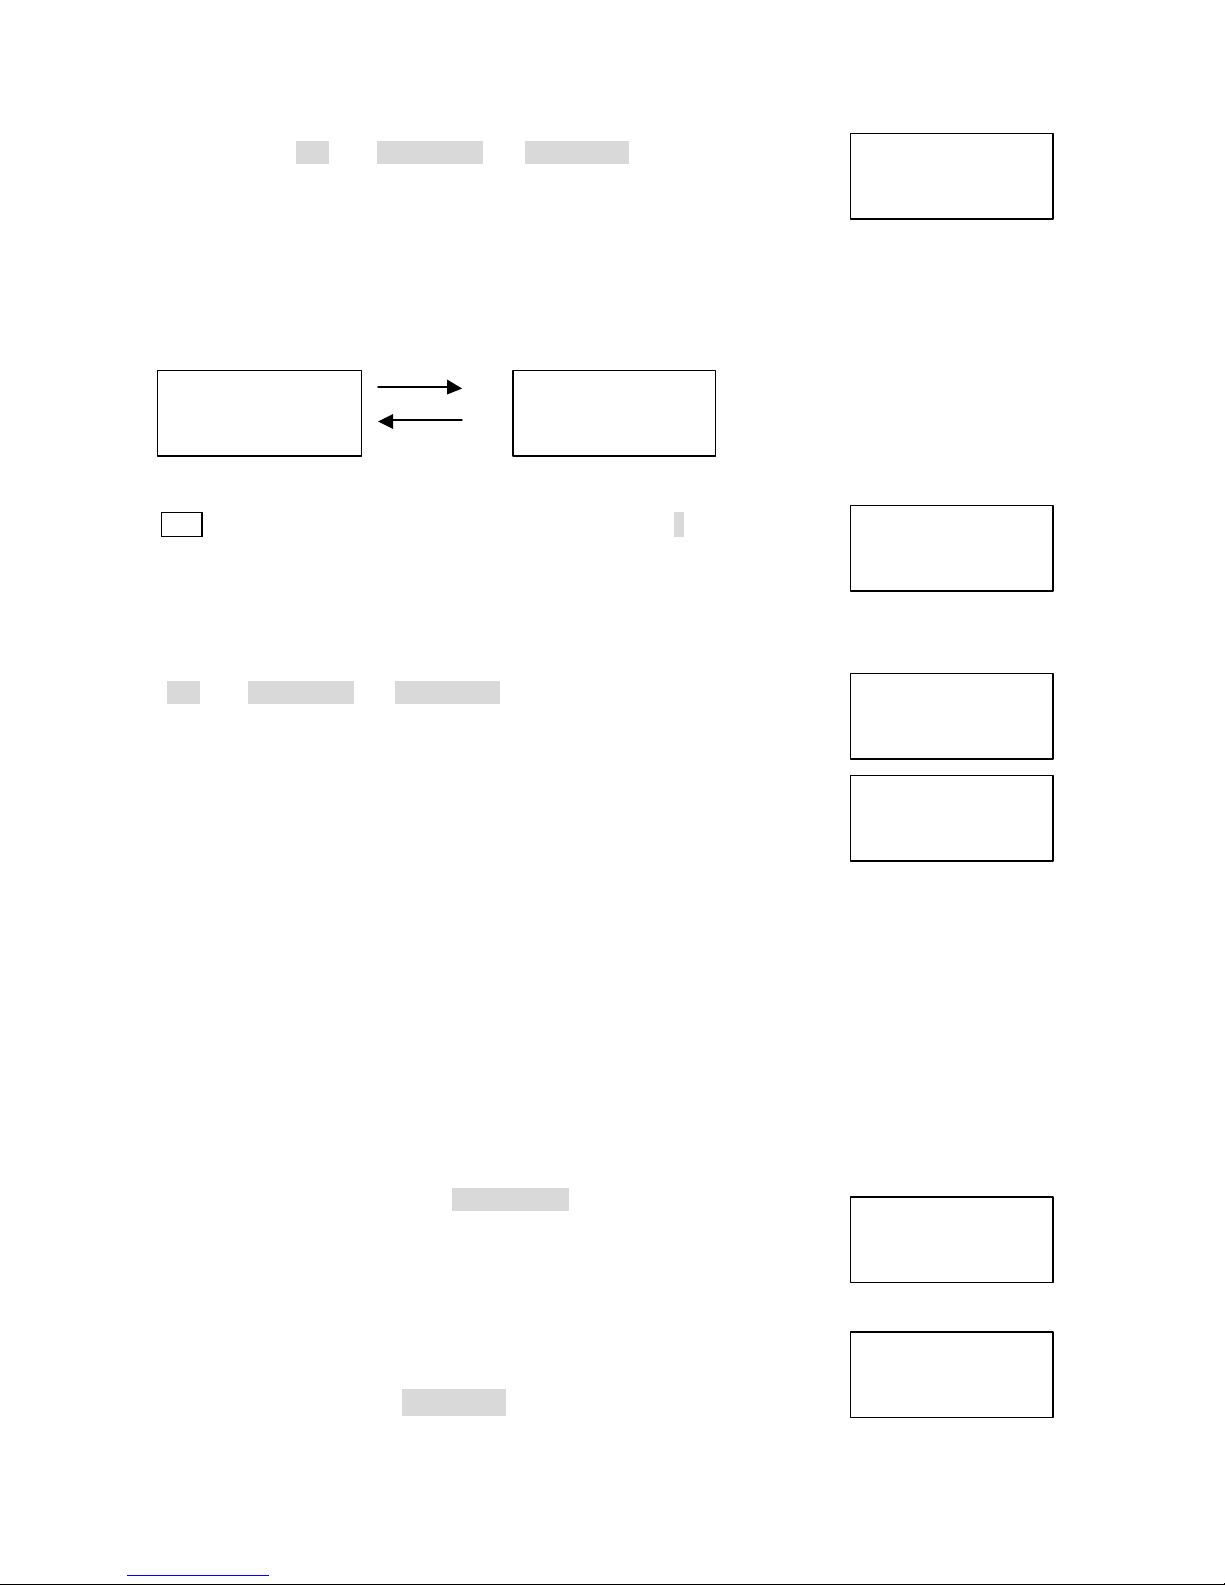
Use [#] and [*] to toggle between the names display and the numbers display.
Program name Program number
[#]
02>MURRY WILD
[*]
03 MOM AND DAD
Note When the stored phone number has 14 or more digits, “+’ is displayed
next to the 12th digit. ress [#] to see the extra digits and [*] to return.
02>97538642
03 0123456789
Memory dialing from talk mode
1. Press [talk].
“Talk” and Volume level and Handset No. appears on the display.
2. Press [memory].
3. Enter a two-digit number (01-29) to select the memory location of the desired
0123456789_
05 96348587
06>001823266344
_
phone number. The selected phone number is displayed.
Then the number is dialed.
00182326634488_
Chain Dialing
On certain occasions after dialing a number, you may be requested to enter an access code, such as your
account number. You can enter this number into a memory location for later use by doing the following:
1. Store the access code into one of the memory locations (01-29) following the steps STORING PHONE
NUMBERS AND NAMES
2. Dial the party or service main number.
3. When you need to enter the special number, p ress [memory] followed by the memory location (01-29)
Editing a Stored Name and/or Phone Number
1. Press and hold [memory] until “ Memory Store” is displayed.
2. Press [] and [] or enter a two-digit number (01-29) to select the memory
location you w ould like to edit.
3. Press [select].
The following screen appears with the memory location number that you have
selected in the display.
4. Press [] or [] to select “Edit Memory”, then press [select].
The following screen appears.
01>ALEX SONG
02 MURRY WILD
Delete Memory01
Go Back
9 / 16
Page 10
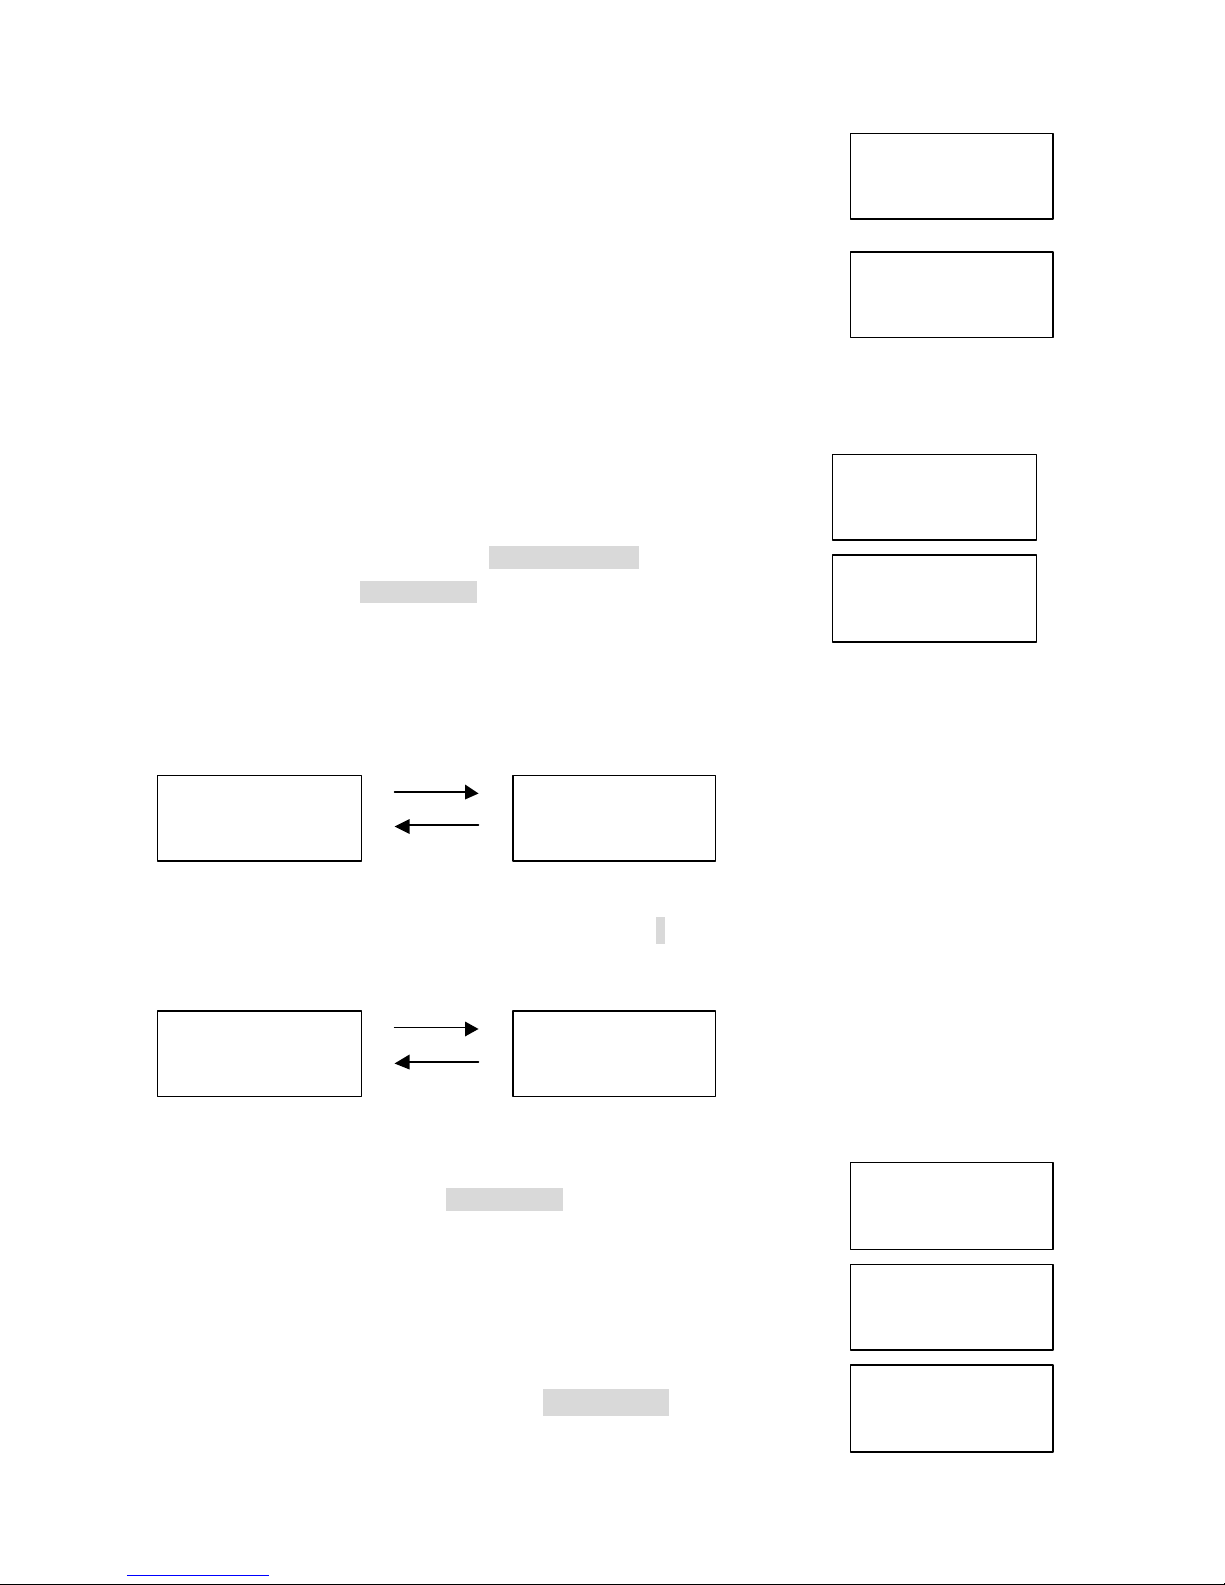
The cursor flashes indicating that the display is ready for the name to be edited.
Store Name
Store Number
Memory Store
Memory Store
Memory Store
Memory Store
Memory Store
Memory Store
>Edit Memory02
Edit Memory02
When a name has not been stored, the cursor appears at the beginning of the
second line.
5. Press [], [], [#], [*], or [delete/page] to edit the name.
To edit only the phone number, skip this step.
6. Press [select]. The following screen appears.
The cursor flashes indicating that the display is ready for the number to be edited.
7. Use the number keypad, [redial/p] or [delete/page] to edit the phone number.
The phone number cannot exceed 24 digits. If you don’t want to change the phone number, skip this step.
8. Press [select].
The handset beeps and displays the confirmation screen. The memory storage
is complete. For example, if you store a name and number into memory
location number 01, the display shows “Memory01 Stored ”.
ALEX SONG
95979035
Memory01 Stored
After about 2 seconds, “Memory Store” is displayed.
9. Press [memory] to return to standby mode.
01>ALEX SONG
02 MURRY WILD
Display a Programmed Number
Use [# ] and [#] to toggle between the names display and the numbers display.
Program name Program number
01>ALEX SONG
[*]
02 MURRY WILD
l When the stored phone number has 14 or more digits, “+” is displayed next to the 12th digit. Press [#] to
see the extra digits and [*] to return,
05 96348587
[*]
06>001823266344
[#]
01 95979035
02>97538642
[#]
05 96348587
06>+88
Erasing a Stored Name and Phone Number
1. Press and hold [memory] until “Memory Store” is displayed.
2. Press [] and [] or enter a two-digit number(01~29) to select the memory
location you would like to edit.
3. Press [select].
The following screen appears with the memory location number that you have
selected in the display
01 ALEX SONG
02>MURRY WILD
Delete Memory02
Go Back
4. Press [] to move the pointer down to the “Delete Memory” command line.
5. Press [select]. The following confirmation screen appears.
>Delete Memory02
Go Back
10 / 16
Page 11
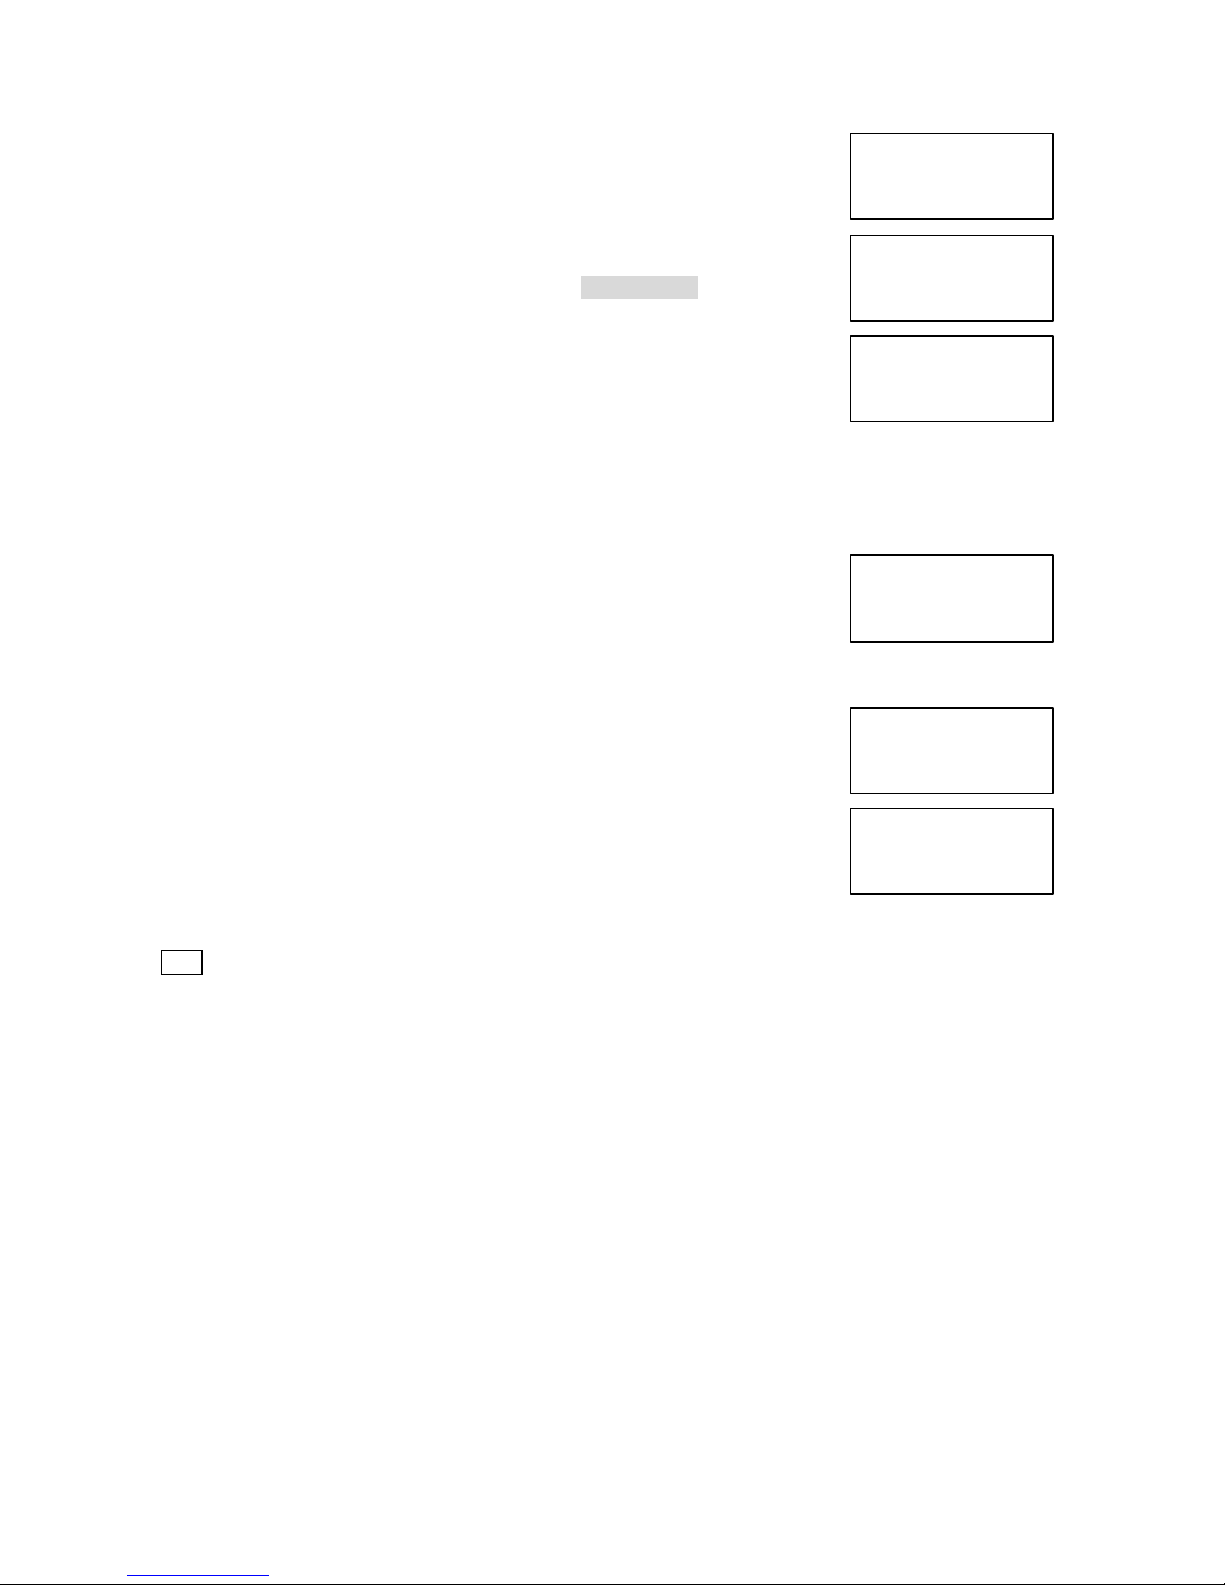
6. Press [] to move the pointer to “Yes”.
Delete Memory02?
Memory Store
7. Press [select] or [delete/page].
There is a confirmation tone and the entry is deleted.
The following screen appears.
8. After a few seconds the display returns to the “Memory Store” screen.
You may select another number to delete (return to step 2) or press [memory]
to return to standby.
Paging
From base unit to the handset
1. Press [page] on the base.
Yes
> No
Memory02 Deleted
02>Empty
03 MOM AND DAD
2. The handset beeps for 60 seconds. The following screen appears;
3. Press [delete/page] key on the handset to end the page.
Paging
From handset to the handset
1. Press [page] + handset No.(1~7) on the handset.
2. The paged handset beeps for 20 seconds.
3. Press [delete/page] key on the handset to talk each other.
4. To end the intercom, press [delete/page] key again.
5. Both handset go to standby.
Note When an incoming call is received during paging, paging is canceled and the telephone is switched to
the incoming call.
Paging Hand 5
Intercom
Caller ID
You must subscribe to Caller ID service to use this feature.
When the telephone rings, the Caller ID feature allows you to view the caller’s name and phone number on
the display before you answer the phone. The handset displays the phone number of the incoming call, the
name, time, and the number of calls. Additionally, you can dial the displayed number and store the
information for memory dialing.
When the Telephone Rings
When the Caller ID message is received, the display shows the caller’s phone number along with the date
and time. The incoming call information is stored in the Caller ID record. If the Caller ID service included the
caller’s name, the caller’s name appears on the display (up to 15 letters).
11 / 16
Page 12
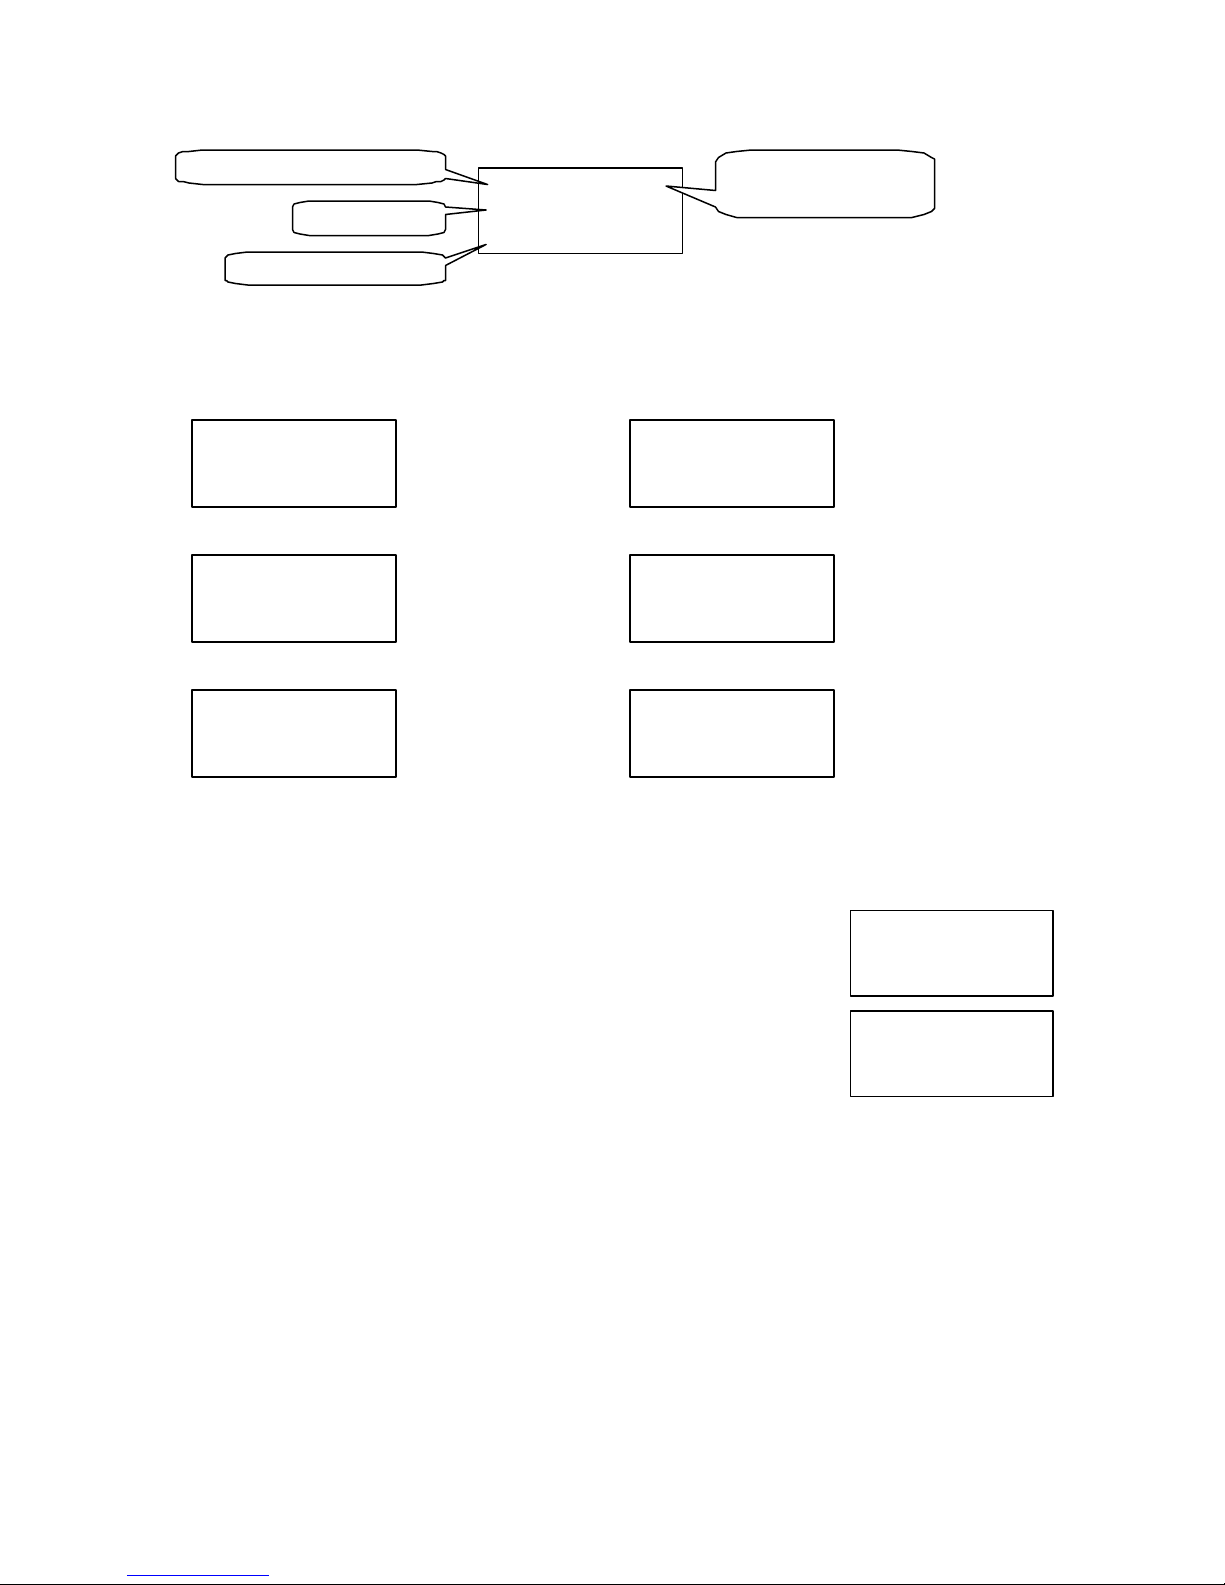
5/11 12:30 pm 01
The date and time received
Caller’s name
Caller’s phone number
Number of calls from
5/11 12:30 pm 01
5/11 12:30 pm 01
5/11 12:30 pm 01
5/11 12:30 pm 01
5/11 12:30 pm 01
5/11 12:30 pm 01
Here are some typical displays;
When the phone number
and name date are received When invalid data is received
ALEX SONG
95979035
When a private name is received When a private number is received
Private
95979035
When an unknown name is received When an unknown number is received
Unavailable
95979035
ALEX SONG
95979035
Incomplete Data
ALEX SONG
Private
ALEX SONG
Unavailable
the same Caller ID
Viewing the Caller ID Message List
The Caller ID list stores information for up to 60 incoming calls-even unanswered calls.
1. Press [cid].
The summary screen appears.
The screen shows the number of new messages and total messages.
2. Press [] to display the latest Caller ID message.
3. Press [] to see the next message, or press [] to see previous message.
4. Press [cid] to retu rn to standby.
NEW: 01
TOTAL: 03
ALEX SONG
95979035
Name tagging
If CID message dial number is same as stored memory dial number, then display the Name and Number
from stored memory.
Deleting Information from the Caller ID List
The DS815 stores up to 60 messages. If the phone receives the 61st message, the oldest one in the list is
automatically deleted. Caller ID data can also be deleted manually.
12 / 16
Page 13
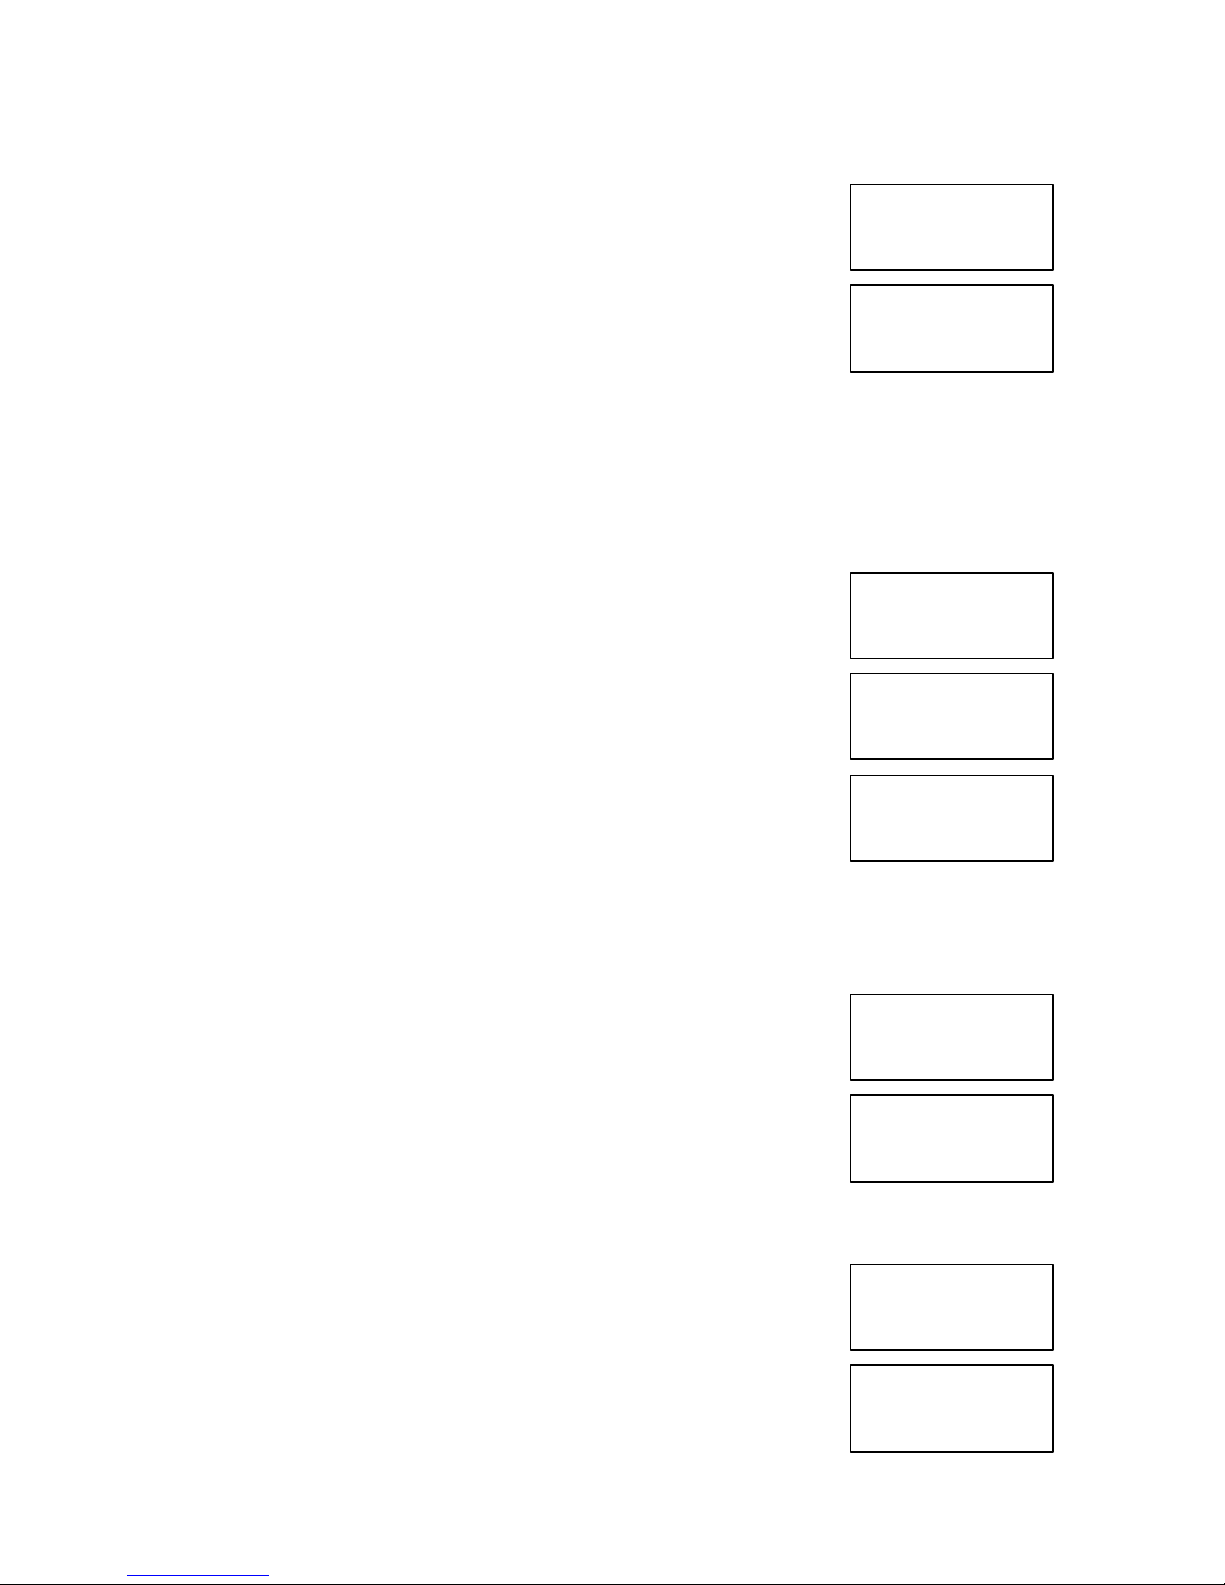
Deleting a Caller ID message
5/11 12:30 pm 01
Delete Message?
Delete All?
5/11 12:30 pm 01
Talk Mid 1
5/11 12:30 pm 01
Select Location
1. Press [cid].
Display the message to deleted from the Caller ID list by pressing [] or [].
2. Press [delete/page].
3. Press [] or [] to select “Yes” or “No”.
4. Press [select] or [delete/page].
When the pointer is at “Yes”;
A tone sounds and the Caller ID message is deleted. The next Caller ID message is then displayed.
When the pointer is at ”No”;
The display returns to the Caller ID display.
ALEX SONG
95979035
Ye s
>No
Deleting all Caller ID names/numbers
1. Press [cid]
2. Press [delete/page].
3. Press [] or [] to select “Yes” or “No”
4. Press [select] or [delete/page].
When the pointer is at “Yes ”:
A tone sounds and all stored Caller ID messages are deleted.
When the pointer is at “No”:
The display returns to the summary screen.
NEW: 01
TOTAL: 03
Yes
>No
TOTAL: 00
Using the Caller ID List
Calling a party from the Caller ID list
You can place a call from the Caller ID list.
The DS815 stores up to 60 messages.
1. Press [cid].
Select the phone number that you want to dial by pressing [] or [].
2 Press [talk].
The displayed phone number will be dialed automatically.
Storing Caller ID messages in Memory dialing
The phone number of the party on the Caller ID list can be stored in memory dialing.
1. Press [cid].
Select the phone number to be stored from the Caller ID list by pressing [ ] or [].
2. Press [memory].
3. Press [] and [] or enter a two-digit number (01-29) to select the memory
location.
4. Press [select].
ALEX SONG
95979035
95979035_
ALEX SONG
95979035
01>ALEX SONG
02 MURRY WILD
13 / 16
Page 14

A confirmation tone will sound.
5/11 12:30 pm 01
Replace Memory?
The number is stored in memo ry, and the display returns to the Caller ID list.
Note If a message has already been stored in the selected memory number
location, a confirmation screen is displayed. Press [] to select “Yes ”.
Press [select] to overwrite. The display returns to the Caller ID list.
ALEX SONG
95979035
Yes
>No
Belt clip Installation
To attach the belt clip
Insert the belt clip into the holes on each side o f the handset. Press down until it clicks.
To remove the belt clip
Pull both sides of the belt clip to release the tabs from the holes.
Headset Installation
Your phone may be used with an optional headset, the Uniden DS815. To use this feature, simply plug the
headset plug into the headset jack. Your phone is ready for hands -free conversation.(Headsets may be
purchased by calling the Uniden Parts Department or visiting the website. See page 5)
Note on Power Sources
Battery replacement and handling
When the operating time becomes short, even after a battery is recharged, please replace the battery.
With normal usage, your battery should last a bout one year. Please contact your place of purchase or the
Uniden Parts Department for a replacement battery.
RECYCLING NICKEL-CADMUIM BATTERY
Nickel-cadmium cells are used in the battery pack. Please take your used nickel-cadmium battery packs to a
store that recycles nickel-cadmium batteries.
Power Failure
During the period that the power is off, you will not be able to make or receive calls with the telephone.
Caution
. Use the specified battery pack.
. Do not remove the battery from the handset to charge it.
. Never throw the battery into a fire, disassemble it, or heat it.
. Do not remove or damage the battery casing.
14 / 16
Page 15

Maintenance
When slightly dirty
Wipe with a soft, dry cloth.
When very dirty
Wipe with a soft cloth that has been dampened with diluted, neutral detergent. Dry with a dry cloth.
When the charging terminals become dirty
Wipe with a dry cloth or a pencil eraser, if necessary.
Caution
Do not use paint thinner, benzene, alcohol, or other chemical products.
Doing so may discolor the surf ace of the telephone and damage the finish.
15 / 16
Page 16

FCC RF Radiation Exposure Statement.
This equipment complies with FCC RF radiation exposure limits set forth for an
uncontrolled environment.
This equipment should be installed and operated with a minimum distance
of 2.5 centimeters between the radiator and your body.
Important Note.
Use only the supplied antenna. Unauthorized antenna, modifications, or
attachments could damage the transmitter and may violate FCC regulations.
HC TELECOM.
16 / 16
 Loading...