

HCL U2 User Manual
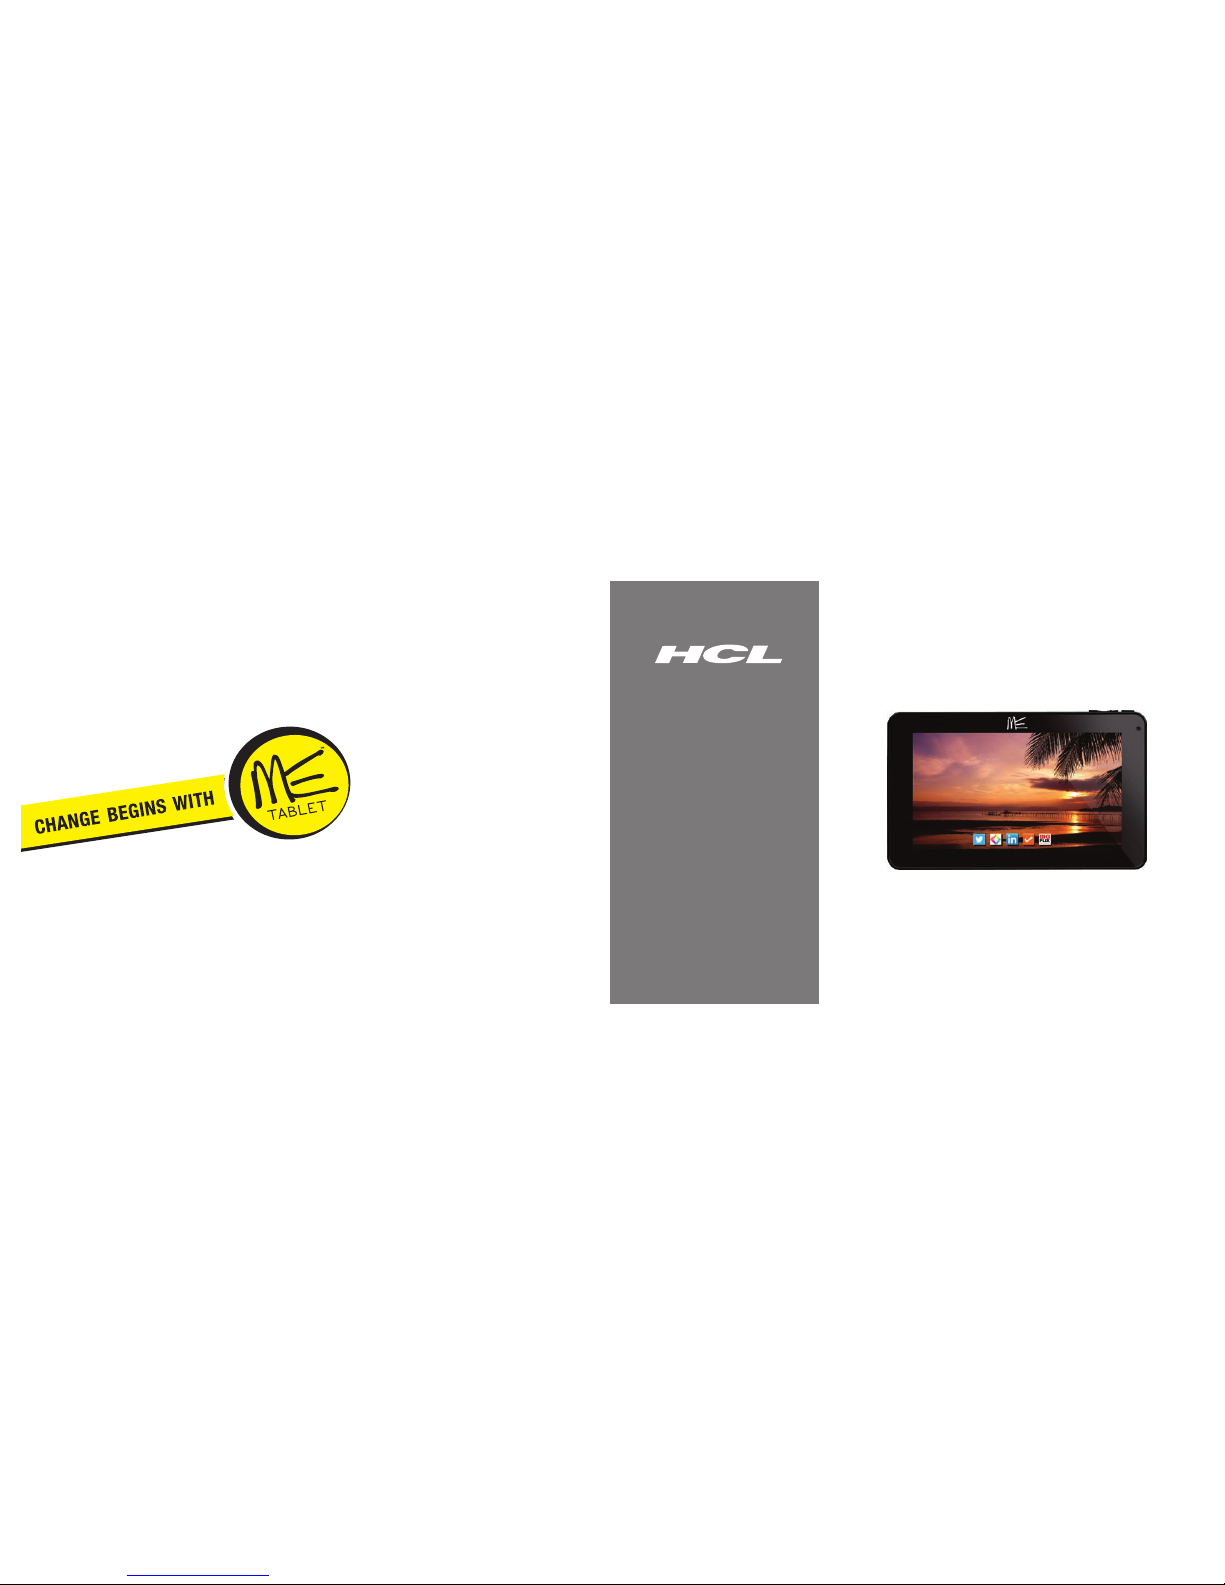
ME Tablet U2
User Manual
Please read carefully before use
For Series:
U2
Ver 1.0
Page 1 Page 2
Product image of U2 Table Of Contents
Table of Contents
THANK YOU...............................................................................................................................4
Features......................................................................................................................................4
KNOW YOUR ME TABLET..........................................................................................................5
About the Touchscreen......................................................................................................7
Protective Film.................................................................................................................7
Touchscreen Actions................................................................................................................7
About the Orientation Sensor.............................................................................................8
Charging the Tablet.................................................................................................................9
Inserting a Memory Card.............................................................................................9
GETTING STARTED...................................................................................................................11
Turning the Tablet On and Off.........................................................................................11
Turning the Screen On and Off (Standby)......................................................................12
Unlocking the Screen........................................................................................................12
Home Screen at a Glance..................................................................................................13
Menu.......................................... ......... ......... .............................................. ......... .14
About Notifications...............................................................................................................14
CONNECTING TO THE INTERNET...........................................................................................15
Requirements.........................................................................................................................15
Connect to a Wi-Fi Network..................................................................................................15
ME Tablet U2

Page 4
Thank You
Page 3
Table Of Contents
Browse the web, watch videos , check
e-mail, and more on a generous 7.0"LCD
screen
Intuitive touchscreen controls powered
by Android OS
Connect to the Internet with high-speed
networking support (Wi-Fi 802.11 b/g/n)
Play popular video, music, and photo
formats
View pages in portrait or landscape with
automatic orientation detection
Ex pand abl e m emor y w ith op tion al
microSD card
Rechargeable lithium-polymer battery
Congratulations on your purchase of a ME Tablet.
This guide is provided to help you get started quickly
with your Tablet; please read it carefully and save it for
future reference.
Disclaimer
Specifications and information found in this guide
are subject to change without notice. Any changes
therefore will be incorporated in future editions. The
manufacturer assumes no responsibility for errors or
omissions in this document. Actual product may vary
from photos shown in this guide. Menu screen and its
application shown in the picture may vary from actual
product.
Trademarks
All brand and product names are trademarks or
registered trademarks of their respective companies.
Thank You
Features
CONNECTING TO PROXY SERVER THROUGH WI-FI ..........................................................17
BROWSING THE WEB..............................................................................................................22
MAIL CONFIGURATION ........................................................................................................24
OPTIONAL CONNECTIONS................................................................................................25
Connecting to a Computer.............................................................................................25
Connecting Earphones......................................................................................................26
Accessing USB Drive and Micro SD Card.......................................................................27
SETTING THE SYSTEM OPTIONS..............................................................................................28
Connecting USB 2G/3G Dongle..........................................................................................31
SPECIFICATIONS.....................................................................................................................32
HCL 24 X 7 SUPPORT.............................................................................................................33
BASIC TROUBLE SHOOTING.................................................................................................34
IMPORTANT HANDLING INSTRUCTIONS..............................................................................35
Page 5
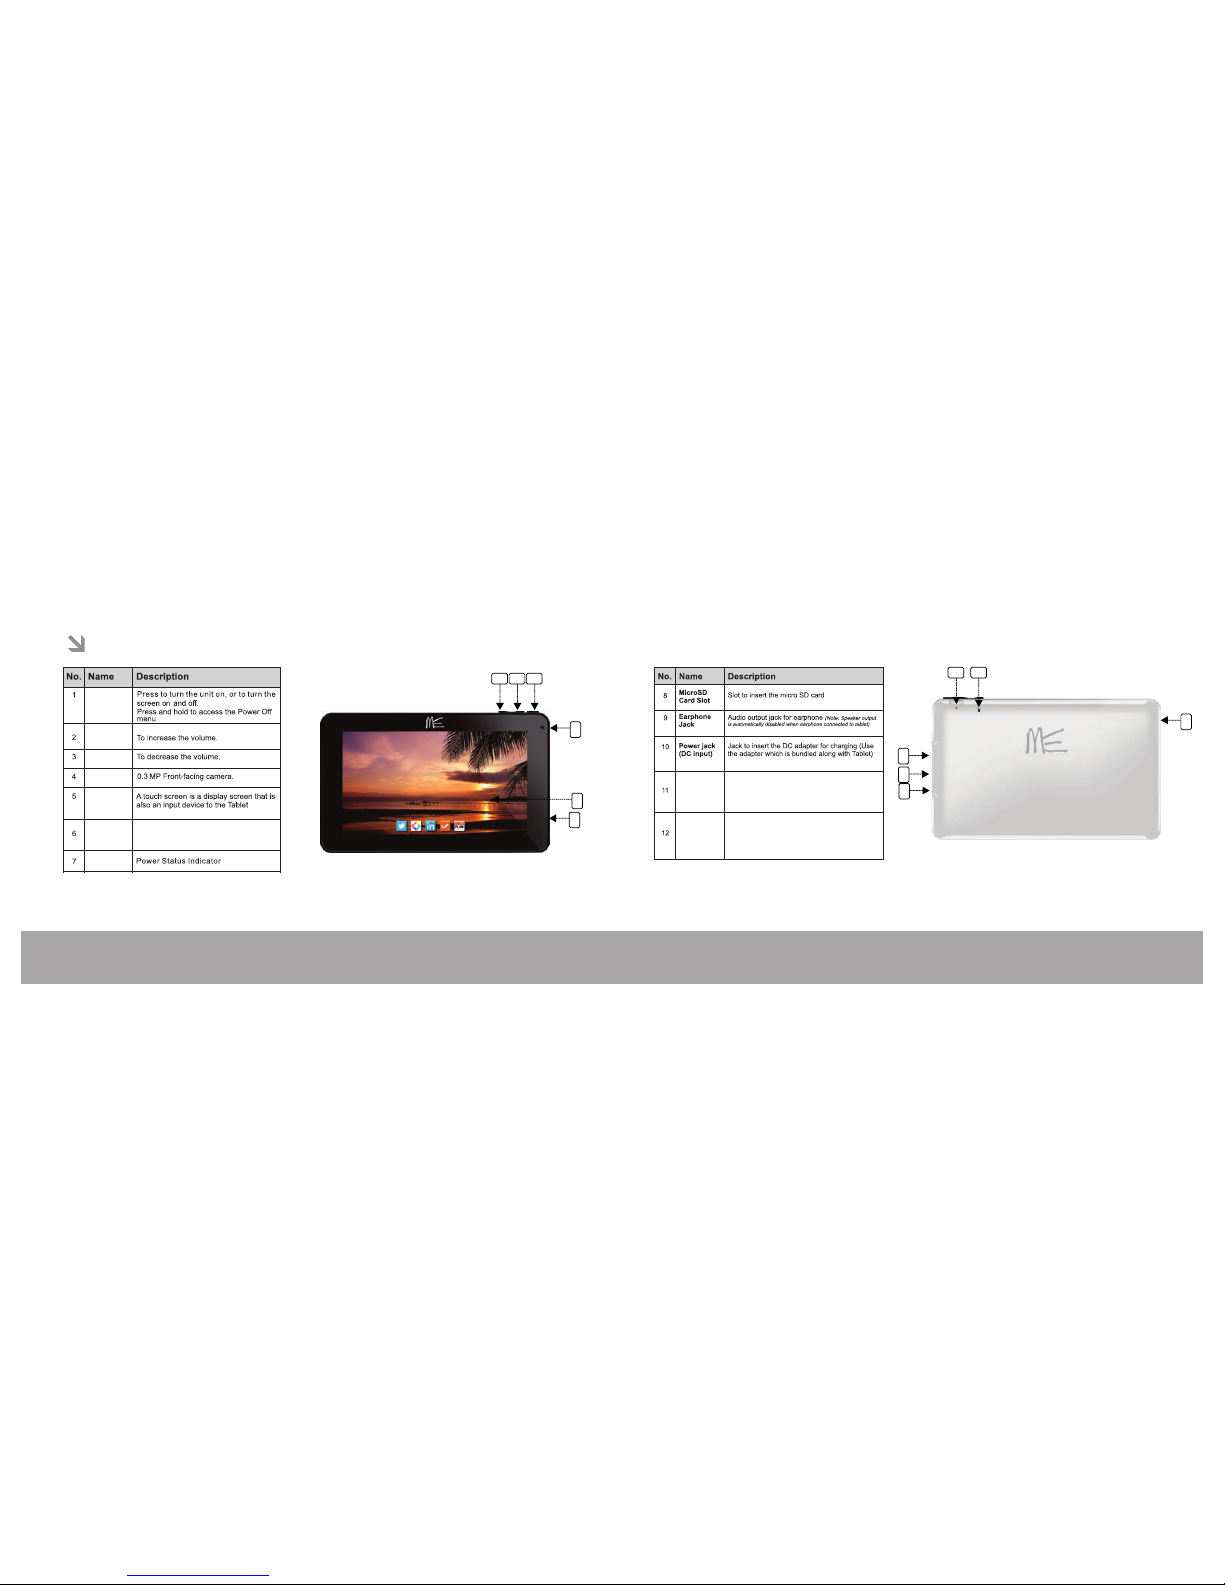
Know your ME Tablet
Page 6
Know your ME Tablet
Know your ME Tablet
342 1
5
7
10
11
8 6
12
9
Mini HDMI
Micro USB 2.0
Hi-speed
port
Connect to external display (Monitor/TV)
Camera
MIC
LED
VOL+
Power key
VOL-
Touch
screen
LCD
Microphone used for audio chatting and
sound recorder
Using Micro-USB to USB data cable Tablet can be
connected to the computer as device
Page 8Page 7
Know your ME Tablet
Know your ME Tablet
About the Orientation Sensor
(G-Sensor)
The table t contain s a sensor th at will
automatically change the orientatio n of most
screens as you rotate the tab let. The s ensor
works bes t when the tab let is rotat ed
perpendicular to the gro und (i.e., w hen the
tablet is held uprigh t and not flat on its back).
The orientati on sensor can be turned on and
off in the Display settings menu.
You can perform the foll owing act ions on the
touchs creen usi ng your finge rtip.
TOUCH:
TOUCH
AND
HOLD:
DRAG:
SWIPE:
Doubletap:
About the Touchscreen
Your tablet comes equipped with an easy-touse touchscreen which allows access to the
tablet's functions. Use your finger tip to touch
the area of the screen where a control icon is
displayed. If you touch and hold the screen, it
will register as a continuous button press.
Protective Film
A t hin f ilm h as b een a pp li ed t o t he
touchscreen to protect it d uring shi pping. The
protective f ilm should be r emoved before use.
To remove it,simply take a corner of the f ilm
and peel it away from the screen.
Touchscreen Actions
You can c ontrol the f unctions of the tab let by
using the touchscreen. To cont rol the tablet
with the touchscre en, use your fin ger to
manipulate icon s, buttons, menu items , the
on sc reen ke y-bo ard, an d o ther it ems
displayed on the screen.
!
To avoid damaging the screen, do not touch it with
excessive force or with any object other than your
finger. For best response, make sure your hands
are clean before using the touchscreen controls.
!
Note: All screens may not support screen
orientation feature and also screen orientation
depends upon apps too.
To activate an on-screen item (e.g.,
application ico ns, buttons, menu
items, and the let ter/symbols o f the
on-screen keyboard), simply touch
them with your finger.
Swipe u p/down o n the screen to
scroll th rough a li st. On some
screens, you may be able to swipe
left/right to change the v iew. To
swipe, touch the screen and the n
quickly m ove your finger across the
screen withou t lifting your finger. Do
not pause on the screen with your
finger at the initial point of contact
or yo u may accident ally drag an
item instead.
Quickly tap the screen twice on a
webpage or other application screen
to zoom (the application must support
the double-tap/zoom function). Within
the bro wser, d oub le-ta pping a
webpage section will cause the
browser to zoom and fit that section
to the width of the screen.
Some on-screen items have an
alternate action if you touch and
hold it (e.g., openi ng an alternate
menu , or to ac tivate the drag
function). to touch and hold an item,
touch the item and do not lif t your
finger until the action occurs.
Drag an o n-screen item to chan ge
its position (e.g., an app lication icon
on the home screen). To drag an
item, touch and hold it for a moment,
then without lift ing your finger, move
your finger on t he screen until t he
item reaches its target destination.

Page 10Page 9
Know your ME Tablet
Know your ME Tablet
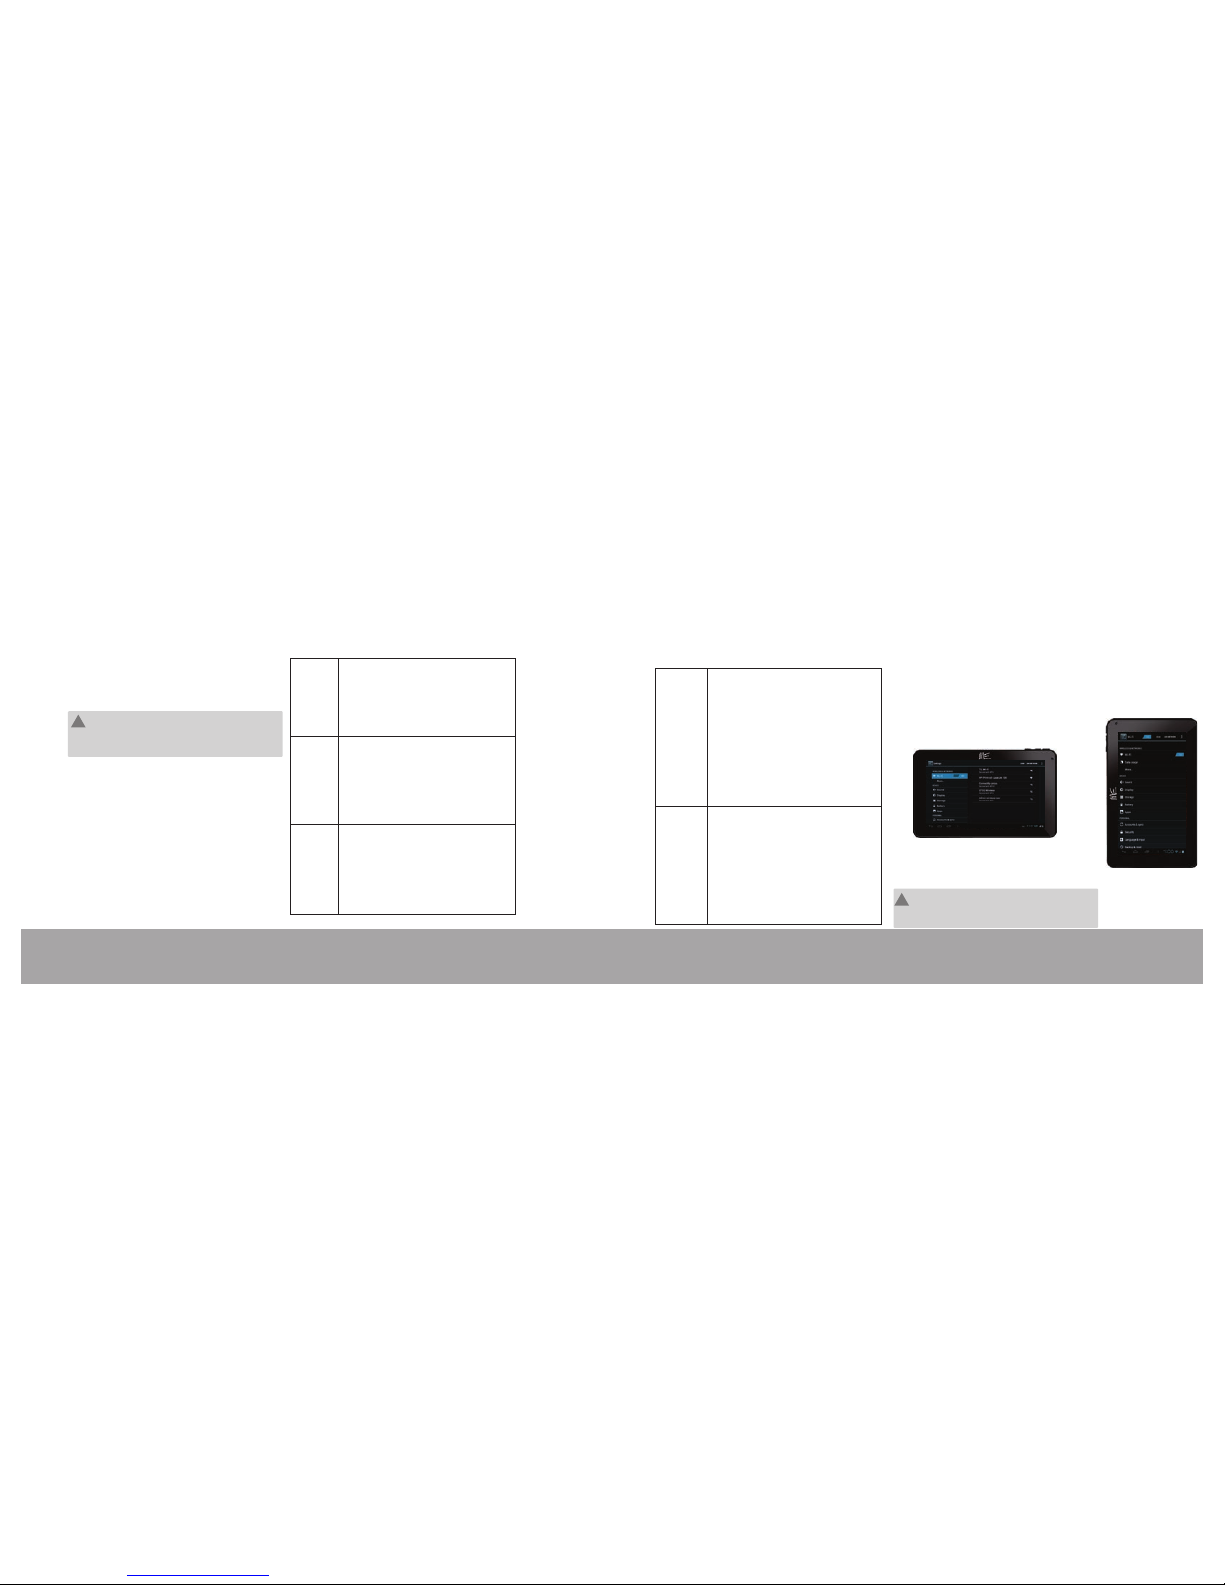
a. G o to Settings menu (In Home scre en p ress
m enu vi rtual key and select syst em set tings)
b. Select Sto rage
c. Sel ect U nmount SD ca rd to unmou nt th e
micro SD car d. The card can be re moved
on ce y ou se e th e "S D c ard Wi ll be
unmoun ted" .
Play media fil es stored on the mem ory card
(e.g., musi c, video, or pho to files).
To insert a memory card :
1.Alig n the memory car d with the card slot . The metal
contac ts of the memory car d should fac e down toward s the
back pane l.
2.Slid e the card into the spr ing-lo aded slot . Push the card
in until it clic ks into place .
Inserting a Memory Card
The tablet supports microSD memory cards.
Insert a memory card into the microSD card slot
to:
Increase the memory capacity of your tablet.
Charging the Tablet
Do not attempt to insert objects other than a
microSD memory card into the card slot. A
compatible memory card should fit easily into
the card slot; if you encounter resistance,
check the alignment of the card
!
To release and remove a memory card:
1.UNMOUNT the memory card.
To avoid damage and data corruption, do not
remove a memory card while data is being
written to or read from the card. For example,
do not remove a card while playing a music
file stored on the card.
!
The table t comes with a built -in recha rgeabl e
lithiu m-poly mer batte ry.
Before u sing th e tablet , the bat tery sh ould be
charge d fully. Th e Status Indicator will light
green onc e the battery is cha rged full y.
To charge the battery :
1.Plug on e end of the inclu ded power ad apter
into an AC 100-240V outl et.
2.Plug the other end of t he included power
adapte r into the Power jac k on the tablet.
3.Disc onnect the po wer ada pter w hen th e
tablet is full y charged.
 Loading...