

Page 1

BL-600
INSTALLATION MANUAL
USER MANUAL
INTRODUCTION
Congratulations on buying your new H&B BL-600 BluetoothTM handsfree kit.
Because it is very quick and easy to install you will soon be able to
make use of its facilities and use the phone in perfect safety.
You are recommended to follow all the installation instructions exactly
in order to get the best out of your equipment.
IMPORTANT:
Do not carry out any operation on your BL-600 if this would cause you
to lose concentration, however momentary, while driving.
Telephoning while driving can seriously affect your concentration and
cause an accident.
Even though you are using hands-free equipment, you still need to be
extra vigilant while driving.
Do not manipulate or carry out any functions on your phone whilst
driving.
Page 2
INSTALLATION/ASSEMBLY IN THE VEHICLE
The Kit BL-600 can be easily connected to your existing car radio ISO
wiring loom.
To do this, follow the steps one-by-one as described below:
Before starting, disconnect the main terminal
post (+) of the vehicle's battery.
Removing the radio
Remove your car radio in order to access the ISO loom connections
behind the dashboard.
To do this you may have to use your car radio's removal tools which will
have been supplied as accessories with it.
Refer to the installation manual for your car radio to carry out this
operation correctly.
CONNECTION (vehicle equipped with an ISO connector)
Disconnect the ISO double connector and audio and power cables from
the radio.
Connect the female ISO connectors on the cable provided with your BL600 kit to the connectors on your vehicle's ISO loom.
Next connect the male ISO connectors provided with your BL-600 kit to
the ISO connectors on the radio.
MALE FEMALE
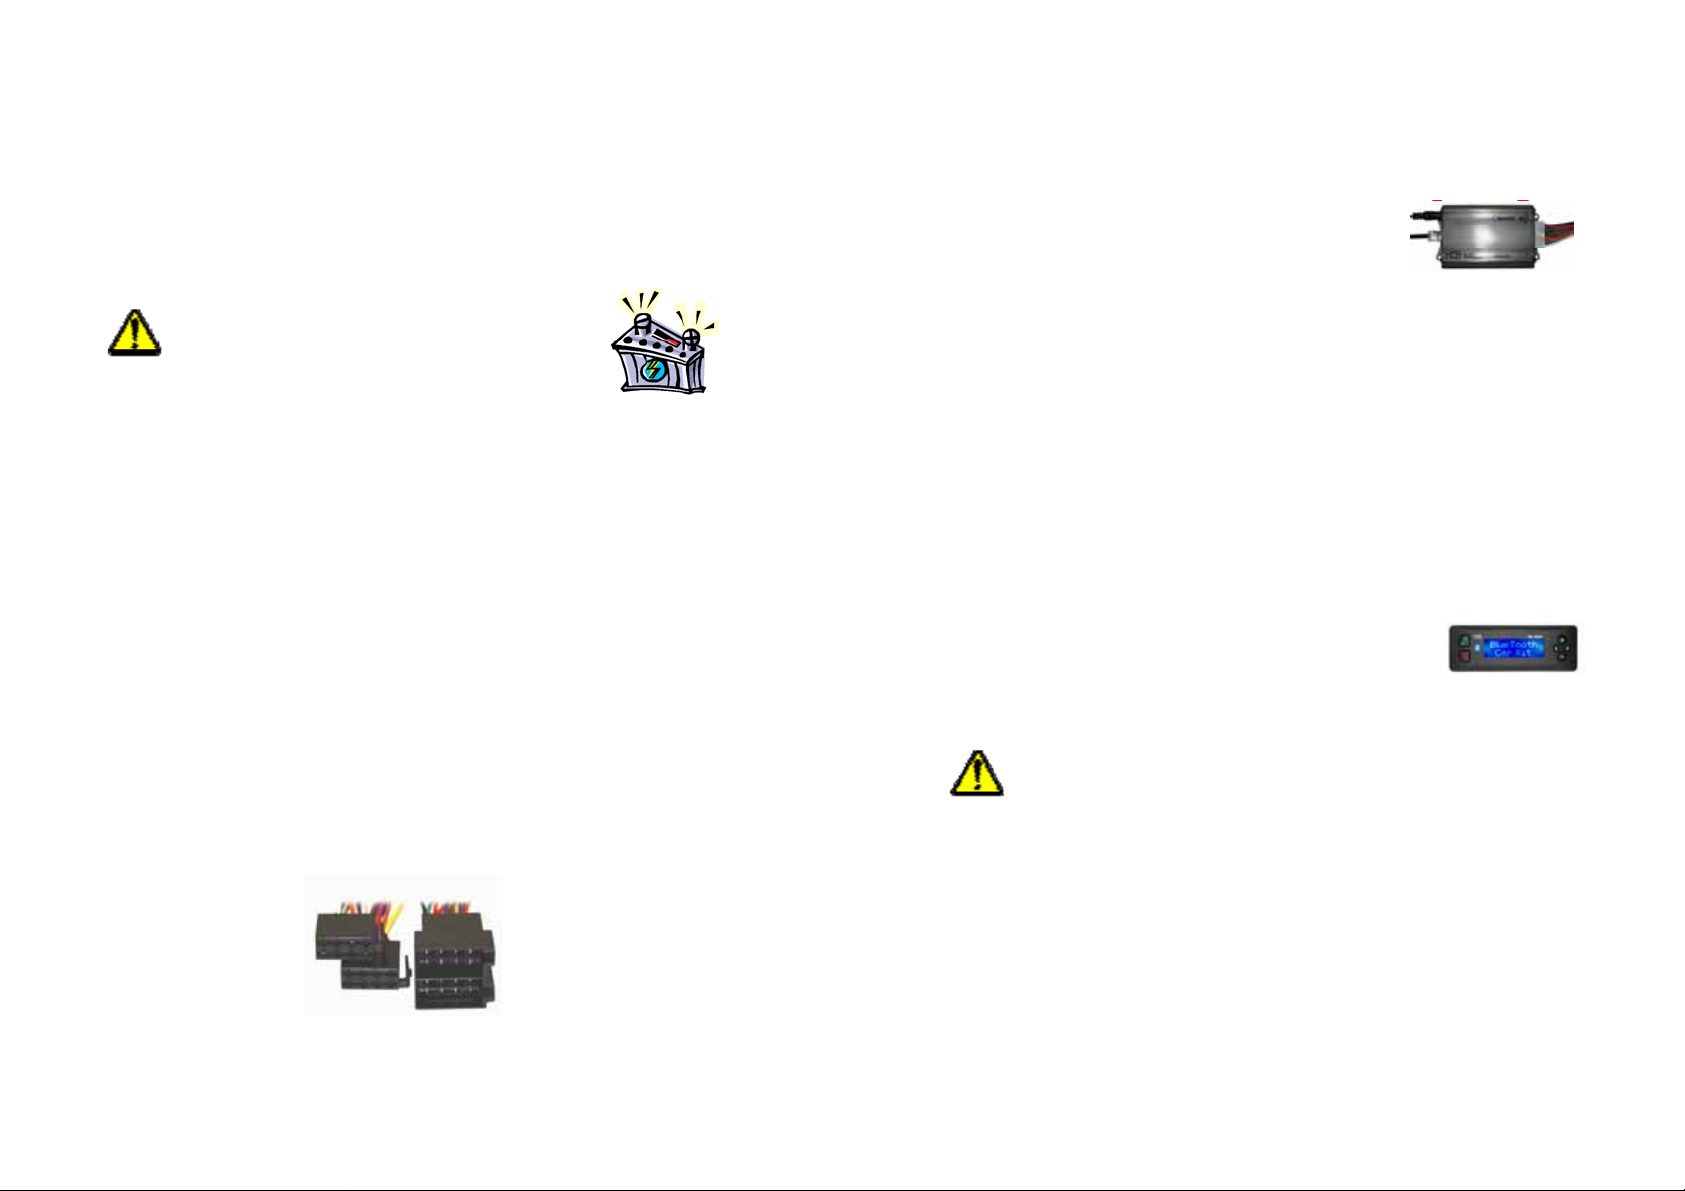
INSTALLING THE MODULE
Fitting the BluetoothTM module
Find a location far from the heating/air
conditioning system or any source of heat. Make
sure this location does not prevent the
BluetoothTM radio signal from being transmitted to the passenger
compartment.
Make sure also that the distance between the loom and the module is
not so great as to prevent it being connected.
Fix the module on a support.
Take the white socket on your BL-600's cable from the dashboard to
where you have fixed the module (pass the cable behind the dashboard
to make the installation unobtrusive).
Connect the 14-pin connector to the module and press home until it
locks.
Fitting the LCD control
The LCD control is provided with double-sided
adhesive.
You can locate it anywhere provided the distance
between the module and the control is not too great as to prevent them
being connected.
Place your LCD control at a reasonable distance making sure
that you can access it without affecting your normal driving position.
Check also that the LCD control does not prevent access to any
controls on the vehicle such as flashers, horn, hazard lights or rear-view
mirror etc. and under no circumstances interrupts your field of view.
Stick the adhesive to the back of the control then peel off the film to fix
the control in the chosen position.
Page 3

Fitting the extension lead (mandatory)
Take the extension cable (type RJ45) and position the female
connector near to the central console.
Fix the female connector (this includes a Jack plug for connecting
headphones. So make sure this is not too far from the driving position)
Connect the male connector (type RJ45) on the extension lead to the
"Phone Cord" socket on the BluetoothTM module.
Then pass the LCD control cable behind the trim and/or dashboard
towards the extension lead and connect the male connector (type RJ45)
from the LCD control to the female connector on the extension lead.
REMOTE MICROPHONE
Install the remote microphone using the accessories provided (Velcro
and/or fixing pad) along the upright of the windscreen as near as
possible to your mouth in your normal driving position.
Make sure the microphone is placed as far as possible from the
loudspeakers to avoid undesirable echo effects.
Connect the microphone jack to the BluetoothTM (MIC) socket.
External loudspeaker (optional)
If your vehicle is not fitted with a radio and/or loudspeakers, you can
connect an external loudspeaker (not supplied) to the 2mm jack socket
(labelled EXT.SPK) situated on the BluetoothTM module.
Vehicle not equipped with an ISO connector
In this case, refer to the connection diagram and locate each wire
colour before cutting the female ISO connector on the BL-600 cable.
Then connect the necessary wires to the wiring loom of your vehicle.
This is a delicate operation and could cause
irreversible damage to the electrical system of your
vehicle. If you do not have the necessary qualifications
for carrying out this work, call in a qualified technician.
FUNCTIONS
A Connector
Power supply
1
(Volume/speed variator)
RED/WHITE
(not used)
2 Phone disconnect
BLUE/GREEN
3
(reversing control)
BLUE/BROWN
(not used)
4 12V (+) DC battery YELLOW
(x2)
5 Automatic aerial relay
BLUE
6
Lighting
ORANGE/BLACK
(not used)
7 12V(+)Accessories
RED (x2)
8 Earth (-)
BLACK (x2)
BACK RIGHT (+)
PURPLE
BACK RIGHT (-)
GREY/WHITE
FRONT RIGHT (+)
ORANGE
FRONT RIGHT (-)
BROWN
FRONT LEFT (+)
WHITE
FRONT LEFT (-)
GRID
BACK LEFT (+)
GREEN
BACK LEFT (-)
GREEN/WHITE
B Connector
Loudspeakers
Page 4

USER MANUAL
The BL-600 is specially designed to work with BluetoothTM technology.
It is compatible with all phones provided with the BluetoothTM handsfree function.
FUNCTIONS
• Blue LCD display screen.
• Automatic radio cutoff.
• Incoming call number display
• Last 10 received calls memory.
• Last 10 missed calls memory.
Page 5

KEYPAD DESCRIPTION
Accept incoming call.
Call waiting.
C
View last 10 calls missed or made.
Confirm choice of an option.
Increase volume.
Scroll menu options.
Connect/disconnect a BluetoothTM link with the
terminal.
Mute microphone during a call.
Enter "Setup" mode.
Hang up
Cancel incoming call.
Exit menu.
Decrease volume.
Scroll menu options
Make a call using voice dialling.
Transfer a call from the phone to the BL-600
ASSOCIATION/CONNECTION WITH MOBILE PHONES
Follow the instructions in the manual for your mobile phone to pair a
BluetoothTM device in hands-free mode.
Find/add “CAR 08” devices, enter connection code “1234” then confirm
the connection.
The BL-600 can be connected/associated with 4 different mobile
phones.
If a 5th phone is associated, the BL-600 will erase the connection with
the last device paired.
By default the pairing is set to the last device recorded /
connected.
DISCONNECTION/CONNECTION
To dissociate (unpair) a phone from the BL-600, press (L) once, or;
deactivate BluetoothTM mode from the phone menu, or;
move the phone more than 10m from the vehicle.
NOTE: once disconnected, the BL-600 keeps its parameters in memory
for use in a subsequent reconnection.
To reconnect the phone to the BL-600, press (L) or reactivate the
BluetoothTM function your phone.
Page 6

ANSWER / REJECT A CALL / FINISH A CALL
When an incoming call is received, the sound from the radio is cut
automatically and a ringing tone may be heard coming from the
vehicle's loudspeakers.
To answer this call, press on the BL-600 or the answer button on
your phone.
If you do not want to take this call, press briefly on the BL-600 or
the hang-up button on your phone.
VOLUME +/- KEYS
Press the (+) and (-) keys to increase or reduce the volume respectively.
MICROPHONE DISCONNECT
You can disconnect the microphone during a call.
To do this, press - the display shows "MUTE ON". Press
again and the microphone is once more operational with the display
showing "MUTE OFF.
DOUBLE CALL FUNCTION
While on one call, you receive a second:
If you do not want to take the second call, do nothing,
To take the second call, press and your first caller will be put on
hold.
To go back to the first caller, press once more.
To hang up and return to the caller who is still on the line, press .
To hang up, press
CALL TRANSFER
To activate call transfer between the BL-600 and your phone:
- Press (C) to transfer a call from the phone to the BL-600.
- Press (C) to transfer a call from the BL-600 to the phone.
AUTOMATIC ANSWERING
If your phone is in "Automatic Answer" mode, it will automatically
answer incoming calls after the ringing tone and your conversation will
be automatically transferred to your BL-600.
CALLBACK LAST 10 NUMBERS
Press
callback options.
Press + or - to change the selection (Received calls/Missed calls) and
press to confirm the number to call back.
SPECIAL FUNCTIONS: Voice dialing
To activate voice dialling, press (C) for more than two seconds. Speak
when you hear a loud beep.
The phone then repeats the name of the caller you are looking for and
dials the default number.
NOTE (Voice Tag)
To activate this function, your phone must be compatible with this
function and you must have previously entered your vocal identifiers
into the phone's directory.
and hold for more than two seconds to display the number
Page 7

Updates
Please check our web site regularly for technical assistance on this product, at the following address:
www.hb-direct.com
Important safety information
Please read these instructions carefully and pay attention to all the warnings and instructions.
Do not overload the electrical connectors or extension leads. Overloads may cause fires or electric shocks.
Never insert objects in the device. They could make contact with points where voltages are dangerously
high or short-circuit components causing fires or electric shocks. Do not spill liquids on the device.
If the device does not operate normally, or emits unusual sounds or smells, disconnect it immediately and
contact a qualified technician. Do not try to repair it yourself. If you open or remove the box you will be
exposed to dangerously high voltages,
as well as other hazards. Any maintenance operation must be carried out by a qualified maintenance
technician.
Environmental information
The device is manufactured using recyclable materials which can be reused when dismantled by a qualified
person. Observe local regulations concerning the disposal of packaging materials, used batteries and
dismantled equipment.
Warranty certificate
H&B guarantee the equipment for a period of twelve (12) months from the purchase date against any
material of manufacturing defect. If defects covered by the warranty occur, the product must be returned to
the retailer who sold the product. In case of difficulty, you can obtain details of our authorized after-sales
service centres from the retailer who sold you the product.
Warranty terms
1. The warranty is valid only on presentation of the duly completed warranty certificate and the till receipt
and if the product number of the device is clearly readable.
2. The responsibilities of H&B are limited to the repair or replacement of the defective components.
Defective components will be repaired or replaced in accordance with an evaluation made by H&B. An
exchange is only possible if no repair can be carried out.
3. Repairs under warranty may only be carried out by an authorized H&B retailer or after-sales service
centre. No payment will be made for repairs carried out by unauthorized workshops. Any repairs or damage
caused by unauthorized work are not covered by this warranty.
4. This product will not be considered defective as regards materials or manufacture if adaptation to
national or local technical or safety requirements is mandatory in countries other than those for which the
device was originally designed and manufactured.
5. This warranty does not cover these types of adaptation and no payment will be made for these types of
adaptation or for any moral prejudice arising from them.
The warranty does not cover the following operations:
a) Periodic inspection and maintenance and repair and replacement of parts as a result of normal wear and
tear.
b) Expenses relating to the transport, dismantling or installation of the product.
c) Incorrect usage, including for purposes other than those for which the equipment was originally intended
or for incorrect installation.
d) Damage due to thunder, water, fire, natural disasters, wars, insurrections, incorrect mains voltages,
insufficient ventilation and other causes outside the control of H&B.
6. This warranty applies to every legal owner of the product throughout the warranty period.
Notes relating to the environment
Your new equipment and its packaging contain materials which can be recycled and
reused.
Do not dispose of in household refuse and consult your retailer to obtain information
concerning the recovery of your equipment.
Page 8

Specialist companies can recycle your product.
Used batteries from your product must not be simply thrown away when they have run out but instead
should be scrapped as chemical waste in a recycling centre. Please find out about local regulations
concerning the disposal of your product, its batteries and packaging when you replace your old equipment.
Distributor
H&B is distributed by:
JPF Entertainment
ZAC Barbusse Chandon
201, avenue Laurent Cély
92230 GENNEVILLIERS
FRANCE
info@jpf-europe.com
www.hb-direct.com
HOTLINE: 0 892 681 282 (€0.337 incl. VAT/min) Fax + 33 1 40 10 95 99
Copyright, Licences and Trade Marks
TM,
Bluetooth
All other logos and trade marks contained in this User Manual belong to their respective owners.
, H&B, and the H&B logo are registered trade marks and BL-600 is a protected trade mark.
 Loading...