

HAYWARD SwimPure User Manual
SAFETY INSTRUCTIONS
The SwimPure™ Natural Pool Purifying System featuring Nature
2 ®
can
be used with every type of chemical treatment available except bromine
and bromide based chemicals1, biguanide products2(e.g. Baquacil* or
Softswim**), and copper based algaecides3.
1. Bromine/Bromide will reduce the effectiveness of the purifying system.
2. Metals (e.g. silver) combine with biguanides to form cloudy water.
3. Copper based algaecides may cause staining of pool walls.
* A Trademark of Zeneca, Inc.
** A Trademark of Biolab, Inc.
Caution: Please make sure that for all above ground models
(N2C400, N2C550, N2C850 and N2C1250), the swimming pool size
should be 5,000 gallons up to 25,000 gallons. For all inground
models (N2C900, N2C1200, N2C1750, N2C2000, N2C3000,
N2C4000, N2C5000), the pool size should be 10,000 gallons up to
35,000 gallons. Using a SwimPure system for an undersized pool
may cause staining of the pool.
INSTALLATION
Before starting up a new purifying system, clean debris and algae out
of pool and equipment.
Balance pool water
All swimming pools require properly balanced water. Refer to the
chart below for required chemical levels. Consult your dealer for
specific water balance instructions.
Important: Do not install the purifying system until the pool
water is chemically balanced.
Install the System
Shut off the pump.
If filter is located below water level, close valves (or block off
suction and discharge lines) to prevent backflow of water from
pool.
Unscrew and remove drain plug and allow water to drain from
filter. Close drain plug.
(Note: To assist draining process, open vent valve a few turns).
Remove the filter head:
On models with locking knob: Unscrew locking knob.
On models with Easy-Lok™ lid: Depress safety-latch and
unscrew Easy-Lok lid.
On models with clamp assembly: Remove clamp
assembly.
NOTE: Refer to Owner’s Guide provided with your filter for
specific instructions on disassembly.
Remove cartridge element(s). (Note: On multi-element filters,
remove top closure plate before removing
cartridge elements).
Clean cartridge element(s). (Note: Refer to Owner’s Guide for
your filter).
Clean debris from bottom of filter tank.
Install cartridge element(s):
For Models N2C900, N2C1200, and N2C1750:
These models are packaged with an air tube support. Install
this air tube support before installing the filter element. Your filter
will already have one air tube support installed. Follow these
instructions to install this second air tube support:
OWNER’S GUIDE
ISN2C-00
SWIMPURE
™
NATURAL POOL PURIFYING SYSTEM
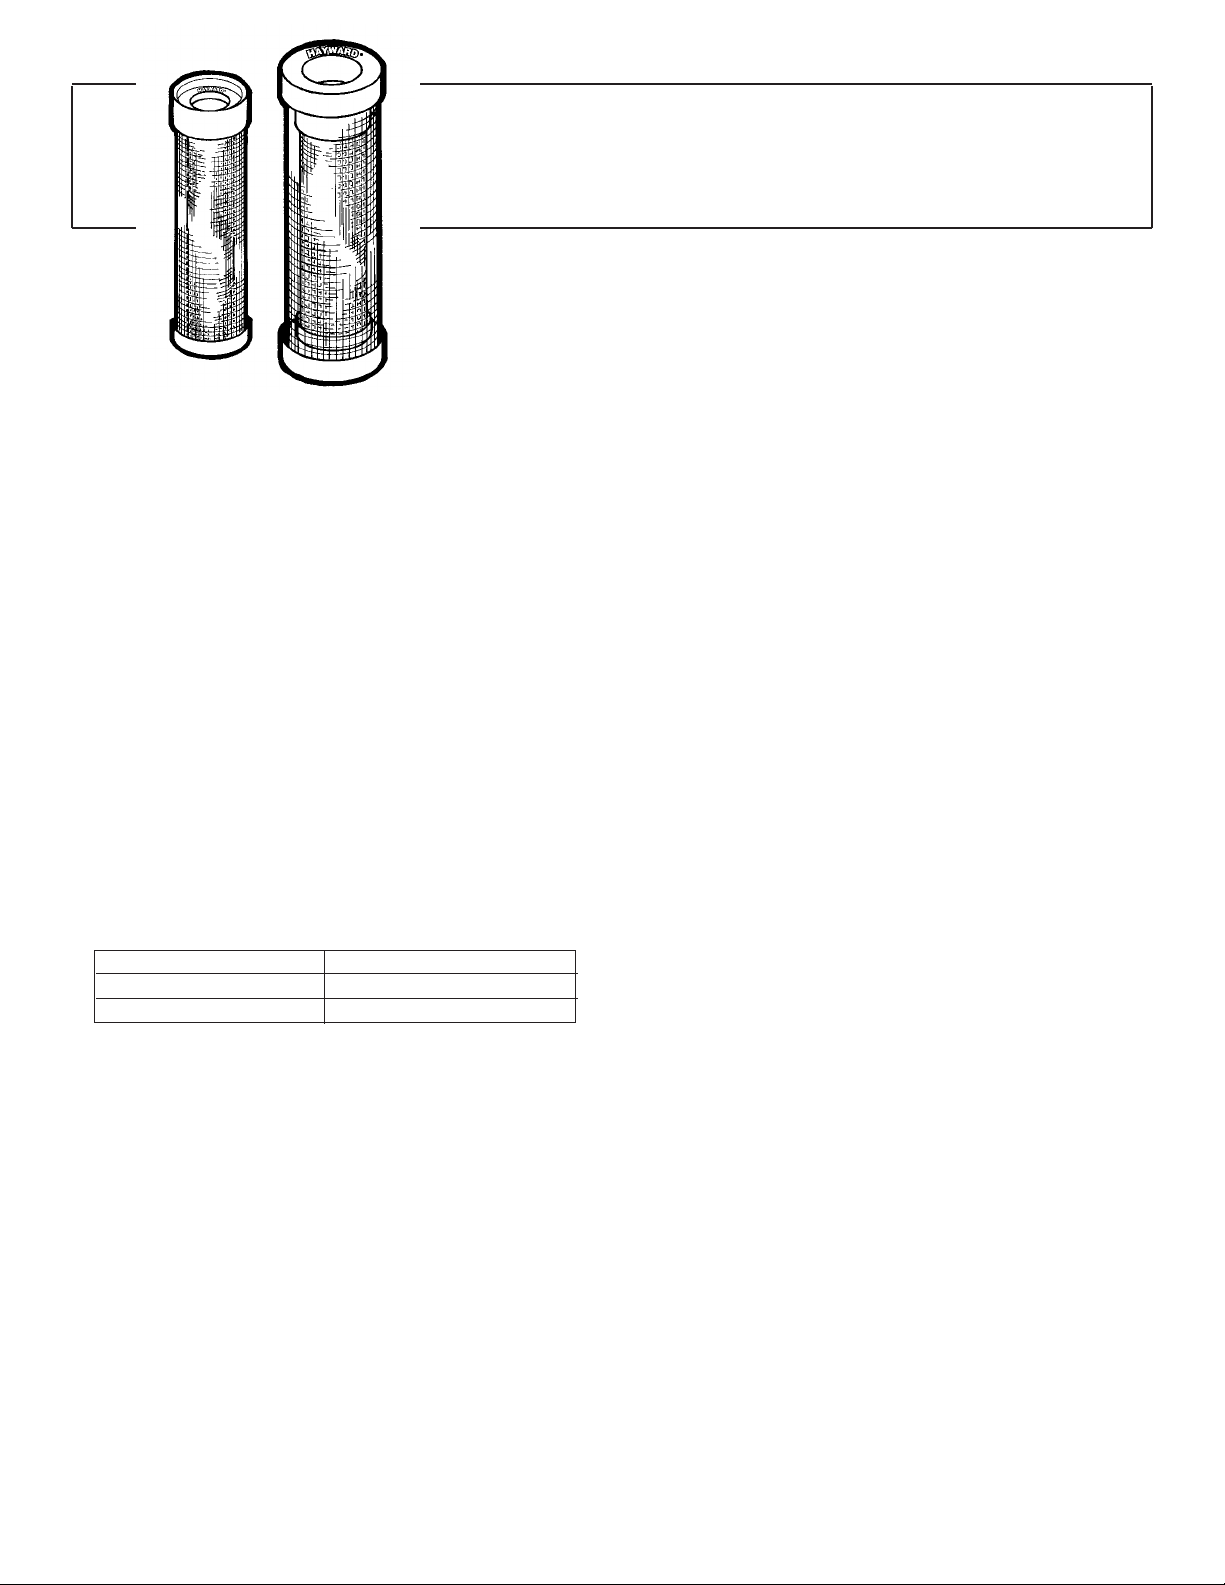
Your Hayward SwimPure™ Natural Pool Purifying System has established a new
horizon in swimming pool water purification. The system is designed to fit into all Hayward
high-performance cartridge filters and can be installed simply by placing your SwimPure™
unit into the cartridge filter element. It will release minerals into the water to make your pool
water clean and healthy.
pH
Calcium Hardness
Total Alkalinity
7.4 - 7.8
200 - 400 ppm
80 - 150 ppm
1.
2.
a.
b.
c.
d.
e.
f.
g.
h.
Place the new air tube support over the air relief tube and
tie rod until it is close to the one that is currently in the
filter.
Slide the lower air tube support down the tie rod and air
relief tube until it is approximately one inch above the
opening for the cartridge element or until the air tube no
longer interferes with the system.
For Models N2C400, N2C550, N2C850, N2C1250,
N2C2000, N2C3000, N2C4000 and N2C5000: Follow the
instructions provided by your filter Owner’s Guide to re-install
the cartridge element back into the filter.
Install the purifying system:
Lower the system into the center of the cartridge
element with the side showing Hayward face-up. However,
if your filter is a multi-cartridge element filter, place the
system into the center of any cartridge element with the side
showing Hayward face-down.
Note: Filters that use multiple elements only require one
system. The system can be placed inside any one of the
four cartridge elements.
Reassemble the filter head:
On models with locking knob: Replace head and
locking knob. Tighten locking knob in clockwise
direction. (Hand tight only)
On models with Easy-Lok lid: Place Easy-Lok lid
on filter body and turn clockwise until it engages and
is secured by the safety latch.
On models with clamp assembly: Replace head
and clamp assembly.
Note: Refer to Owner’s Guide provided with your
filter for specific instructions.
Record installation date. Important: Record the installation date
of your SwimPure system on the label provided along with your
system package. Make sure the label is placed on the body of
your filter. Replace the SwimPure unit after six months.
Super-oxidize or “shock” the pool. On the first day, super-
oxidize the water with 1 lb. dry, or 1 gallon of liquid chlorine, per
10,000 gallons of water to burn off contaminants and to activate the
purifying system.
Activate the system.
Run the pump and filter system 24 hours per day for 4 days
— OR:
Run the pump and filter system 6 hours per day for 14 days.
Note: Maintain 1-2 ppm residual chlorine level, throughout
the 4 day or 14 day activation period.
1)
2)
i.
j.
3.
4.
5.
a.
b.
EPAEstablishment No. 067712-FL-001

Replacement Interval
In frost-belt regions (3-6 month season):
Discard your used system when you close your pool at the end
of the season. Install a new system when you open your pool
in the spring.
In sun-belt regions (7-12 month pool season):
Replace the system every 6 months whether or not you plan
to use the pool for swimming.
Important: Your SwimPure replacement unit comes with a
label. Record the installation date of the unit on the label
and place the label on the body of your filter. Replace the
SwimPure unit after six months.
Replacing System or Cleaning Filter Elements
Follow the instructions for Installing the System under
INSTALLATION on Page 1. When the cartridge element is
removed, it will slip over the purifying system,
leaving the purifying system in the filter. The system can then
be removed.
1.
2.
3.
How Often:
Every Day
Once a Week
As Needed
As Needed
What to do:
Run pump and operate filter system at
least 6 hours daily.
Balance pH and Total Alkalinity.
Check chlorine residual: add chlorine to
maintain 0.4-0.6 ppm residual.
If the water starts to look hazy, super-
chlorinate (“shock”) using 1 lb. of chlorine
granules or 1 lb. of non-chlorine oxidizer per
10,000 gallons of water. Add cyanuric acid to
maintain 50 ppm. Please seek to reduce
your chlorine level by 50% to 80% versus
the chlorine levels you would maintain
without the SwimPure purifying system.
MAINTENANCE
Follow the maintenance schedule below:
Troubleshooting Guide
Problem What To Look For Treatment
Cloudy Water
Algae
Algae may be
caused by
insufficient
levels of
oxidizer
and/or
inadequate
water
circulation
Poor filtration
1. Backwash & clean filter.
2. Run filter for 24 hours.
3. Increase run time per day.
Superchlorinate water (with
dealer’s guidance) and brush
pool walls. See treatment for green
algae below.
NOTES: Regular algaecide treatments are recommended for outdoor pools that experience persistent algae problems.
Do not use algae treatments containing either copper or sodium bromide.
If you need further assistance, please call 1-800-910-4378.
Slow filter turnover rates.
1/00B
Let the chlorine residual drop to 0.4-0.6 ppm when the system
activation period is complete.
6.
Hazy pool water; may have
slight green appearance
Algae growth
Unbalanced water
Green algae
Black algae
Mustard algae
Black spots on pool walls
Yellow or brown
film on steps or walls.
1. Brush affected areas.
2. Shock pool with chlorine.
3. Add algaecide.
4. Vacuum pool.
5. Repeat steps 1-4 until algae is
gone.
6. Backwash filter.
Pea green color;
attaches to pool walls;
sometimes colors the entire
body of water.
1. Check pH and adjust if necessary.
2. Shock pool with chlorine.
3. Brush surfaces.
4. Repeat steps 1-3 until algae is
gone.
5. Backwash filter.
1. High hardness
2. High TDS
(Total Dissolved Solids)
3. High pH
4. High Total Alkalinity
Balance the pool water.
Please visit our website at www.haywardnet.com
Nature2is a registered trademark owned by Zodiac Pool Care, Inc.
Natural Mineral Purifiers
for Pools and Spas
Printed in U.S.A.
 Loading...