

Page 1
No. 2076963(1)
Model 1900
Retrofit Bottle Filler
INSTALLATION, OPERATION
&
MAINTENANCE INSTRUCTIONS
LIMITED WARRANTY
HAWS warrants that this specific product is guaranteed against defective material or
poor workmanship for a period of one year from date of shipment. HAWS liability
under this warranty shall be discharged by furnishing without charge F.O.B. HAWS
Factory any goods, or part thereof, which shall appear to the Company upon
inspection to be of defective material or not of first class workmanship, provided that
claim is made in writing to Haws within a reasonable period after receipt of the
product. Where claims for defects are made, the defective part or parts shall be
delivered to the Company, prepaid, for inspection. HAWS will not be liable for the
cost of repairs, alterations or replacements, or for any expense connected therewith
made by the owner or his agents, except upon written authority from HAWS,
Sparks, Nevada. HAWS will not be liable for any damages caused by defective
materials or poor workmanship, except for replacements, as provided above. Buyer
agrees that HAWS shall not be liable for general, special, or consequential damages
claimed to arise under the contract of sale. The drinking fountain manufactured by
HAWS is warranted to function if installation and maintenance instructions provided
are adhered to. The units also must be used for the purpose for which they were
intended.
NO OTHER WARRANTIES EXPRESSED OR IMPLIED ARE AUTHORIZED,
PROVIDED OR GIVEN BY HAWS.
NOTE TO INSTALLER: Please leave this information with the Maintenance Department.
SHOULD YOU EXPERIENCE DIFFICULTY WITH THE INSTALLATION OF THIS
MODEL PLEASE CALL:
TECHNICAL SUPPORT: 1-800-766-5612
FOR CUSTOMER SERVICE: 1-888-640-4297
1455 Kleppe Lane Sparks, NV 89431-6467 (775) 359-4712 Fax (775) 359-7424
E-mail: haws@hawsco.com website: www.hawsco.com
02/14 Model 1900 Page 1 of 7
Page 2
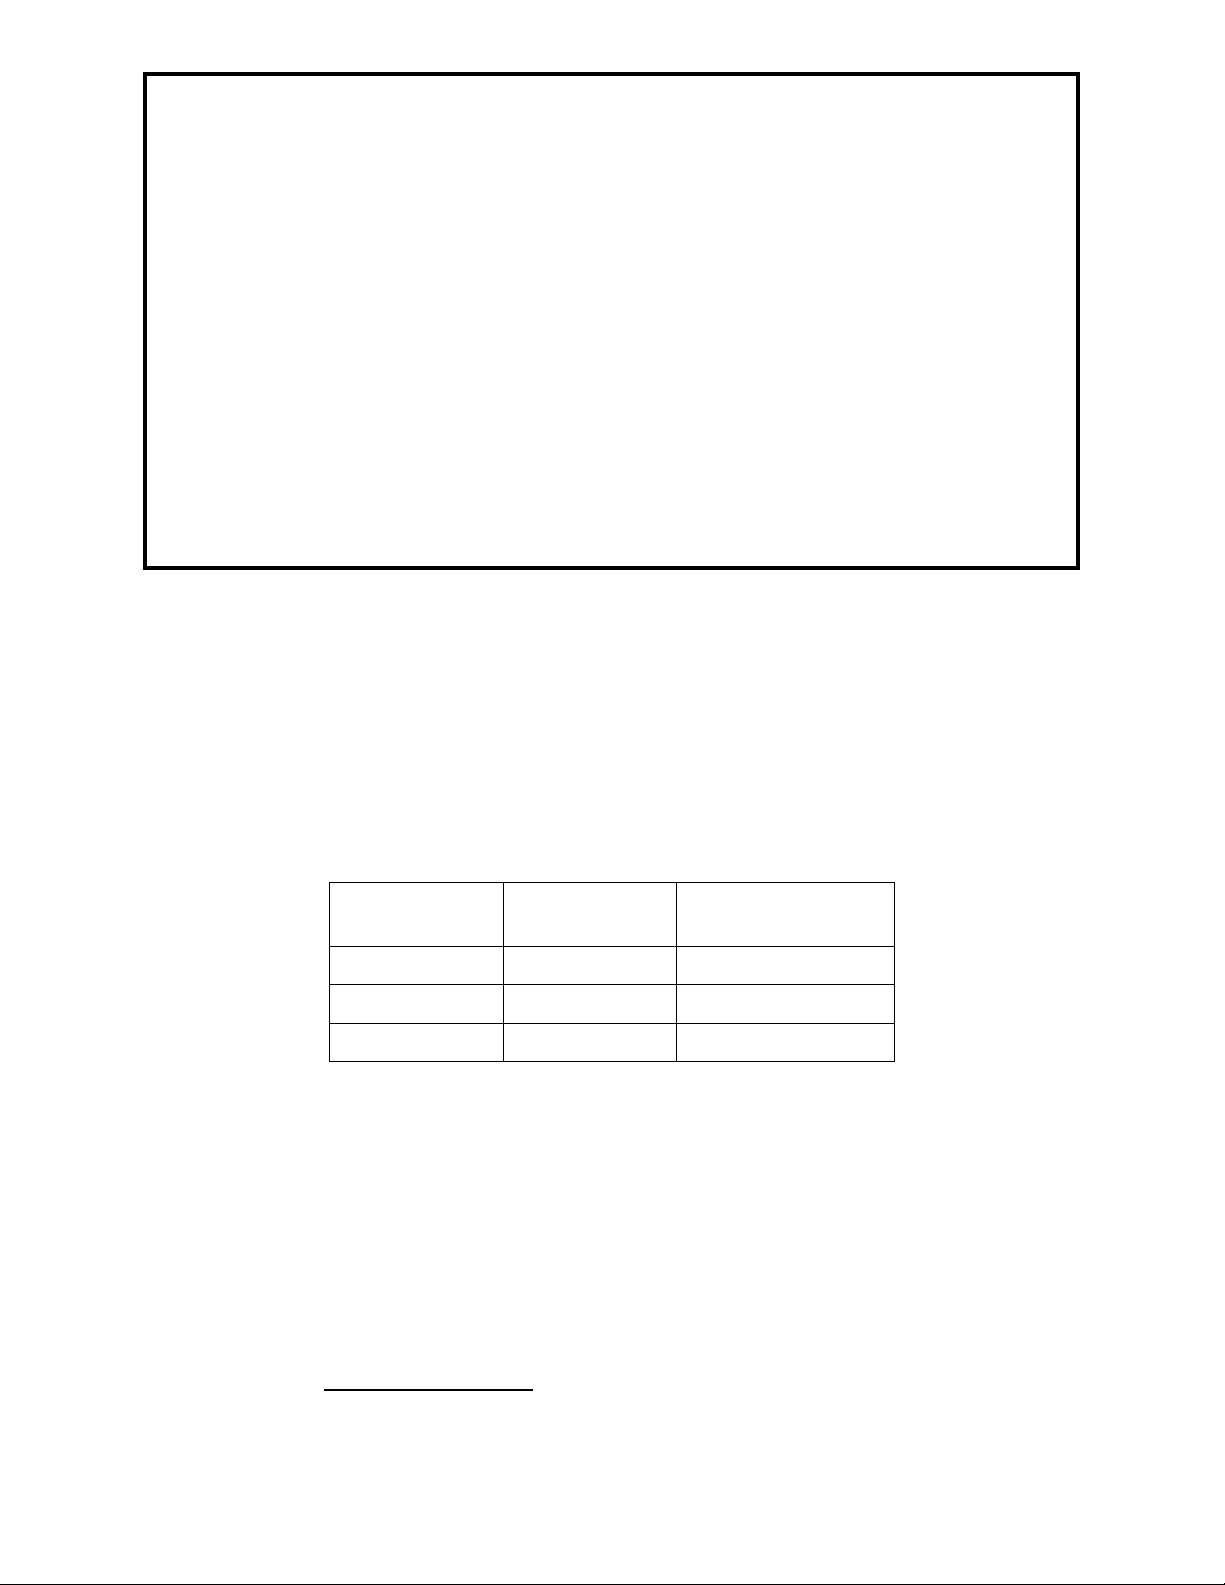
REQUIRED TOOLS: Tubing cutter, electric drill with standard drill bits, #2 Phillips
Tube Sizes
O.D.
Tolerance
Insertion Depth
1/4”
±.005”
11/16”
3/8”
±.005”
3/4”
1/2”
±.005”
7/8”
screwdriver, level.
OTHER TOOLS (only needed for certain installation configurations – read installation
procedure for details): ABS cement, reciprocating saw or utility knife, hack saw or utility
knife, slip joint pliers.
LOCATION OF UNIT: The Model 1900 bottle filler is a wheelchair accessible drinking water
bottle filling facility. The height dimensions shown meet current ADA requirements. When
installing this unit, local, state or federal codes should be adhered to. If height other than
shown is required, then dimensions must be adjusted accordingly.
SUPPLY LINE: The minimum recommended line size is ¼ OD copper or plastic tubing with
30-90 psi (2-6 ATM) pressure. Where sediment or mineral content is a problem, an inlet filter
is recommended.
PLUMBING CONNECTIONS: Inlet is 1/4“ O.D. push-in type fitting. Waste outlet is 1-1/4”
O.D. pipe.
MAINTENANCE: Periodically clean the strainer. Refer to 5874SS Valve Manual for more
information.
INSTALLATION PROCEDURE
GENERAL NOTES:
1. For all plastic push-in type fitting connections, only connect NSF-61 copper or
plastic tubing. Stainless steel or glass tubing is not recommended. The
following assembly instructions must be followed to ensure a watertight
connection:
a. Cut tubing square and clean.
b. Mark from end of tube the length of insertion (See table below).
c. Push tube into the fitting until it bottoms out.
d. To remove, depress collet and pull tubing out.
Step 1: Drain Setup
This bottle filler uses a reversible drain basin (see installation drawing).
If the basin protrudes from the front of the unit, it will drain into the electric water
cooler or drinking fountain below it.
If the basin protrudes from the back of the unit, it must be hard-plumbed to a
waste line with a 1-1/4” O.D. slip joint connection (not supplied).
Lay the drain basin seal (supplied) into the groove on the bottom surface of the bottle
filler, and install the drain basin over it in the desired orientation, using the supplied
#8 x 1/2" pan head screws (qty. 4). Be sure the seal stays seated in its groove.
Front drainage setup:
The drain will not empty into the bowl if the edge of the bowl is further than 6”
away from the wall. In this case, install the drain extender (see “Alternate
Configurations” in installation drawing), using ABS cement (not supplied) to
02/14 Model 1900 Page 2 of 7
Page 3

seal the drain extender plumbing to the drain basin plumbing. This allows for
bowls that start up to 9” from the wall.
Rear drainage setup:
A cutout for the drain basin must be made in the wall (this cutout is made
most easily in Step 4).
Step 2: Supply Setup:
The 1/4" O.D. supply tubing must be run from the water cooler/fountain to the bottle
filler. For this reason, it is recommended that a hole be cut in the top surface of the
water cooler/fountain directly below where the supply tubing comes out of the bottom
of the bottle filler (see “Typical Electric Water Cooler Installation” in installation
drawing). Check the internal layout of your water cooler or drinking fountain
prior to creating this hole to assure that this is a feasible option. If it is not,
punch the hole wherever the internal layout mandates.
NOTE: It may be desirable to use a grommet (not supplied) in this hole in the water
cooler/fountain to protect against sharp edges.
NOTE: If it is not desirable to cut a hole in the water cooler/fountain, the supply
tubing could alternately be run through the back of the water cooler/fountain, up
through the wall, and out of the wall near the top of the bottle filler.
Shut off the water supply to the water cooler/fountain. Run the supply tubing off of
the water supply of the water cooler/fountain by means of a NSF-61 tee or saddle
valve (not supplied). This connection should be upstream of the dispense valve of
the water cooler/fountain and downstream of any filtration.
Step 3: Bottle Filler Height:
The bottle filler should be situated above the water cooler/fountain such that the
center of the push button is 48” or less from the floor.* If a front drain configuration is
used, it is recommended that the bottle filler be installed as low as possible so that
water draining into the water cooler/fountain bowl will not splash excessively.
Water coolers & fountains with back panels:
Some water coolers and fountains use a back panel that protrudes noticeably
from the wall. If this is the case, the sides of the bottle filler mounting frame
may be cut away to provide a 1/2”-deep relief to account for the back panel
(see “Alternate Configurations” in installation drawing). This allows the bottle
filler to be installed low over such water coolers and fountains.
To do this, temporarily install the mounting frame to the bottle filler using the
supplied #8 x 1/2" flat head screws (qty. 4). Position the bottle filler over the
water cooler/fountain at the desired height (see installation drawing for
installation dimensions at 48” reach height), and mark the mounting frame on
both sides where the top of the back panel ends. Cut the sides away at these
marks, taking care not to cut away the bottle filler mounting tabs as well (see
“Cutting the Mounting Frame Relief Detail” in installation drawing).
Step 4: Bottle Filler Mounting:
Use the supplied (qty. 4 each) drywall anchors (1/4” pilot hole required), spacers,
and #10 x 2” screws (other fasteners, not supplied, may be needed, depending on
wall construction) to secure the bottle filler mounting frame to the wall at the desired
*
48” is the ADA maximum for wheelchairs for obstructed forward reach height. For ADA side reach
compliance, reduce this height to 46” or less (may not be possible with all water coolers or fountains).
02/14 Model 1900 Page 3 of 7
Page 4

height (see “Mounting Frame Detail” in installation drawing to install at 48” reach
TROUBLESHOOTING
PROBLEM
REPAIR CHECKLIST
1.
Insufficient water flow.
1a.
Check that any inlet screwdriver stop valve
(not supplied) is wide open. Turn
counterclockwise.
b.
Verify minimum 30 psi flowing supply
pressure.
c.
Clean strainer. See 5874SS Valve Manual.
d.
e.
Adjust valve to increase flow. Use front
adjust screw or see 5874SS Valve Manual.
Make sure nozzle is free of debris.
2.
Excessive water flow.
2a.
Adjust valve to decrease flow. Use front
adjust screw or see 5874SS Valve Manual.
3.
Water flow is crooked or
splatters.
3a.
b.
c.
Make sure nozzle is free of debris.
Verify that bottle filler is installed level and
straight.
Adjust valve to decrease flow. Use front
adjust screw or see 5874SS Valve Manual.
4.
Drain overflows.
4a.
Check drain basin for obstructions.
height), assuring the mounting frame is installed level.
Rear drain only:
Cut the opening in the wall for the drain, using the bottom of the mounting
frame as a reference point for the bottom of the cutout. Take care not to cut
below the bottom of the mounting frame, as this may be visible after
final installation. The cutout should be as wide as the bottom opening in the
mounting frame, and 2-1/2” high (see “Mounting Frame Detail” in installation
drawing).
Run the supply tubing either up the back of the bottle filler or up through the wall.
Connect the tubing to the push-in elbow in the bottle filler.
Mount the bottle filler to its frame with the supplied #8 x 1/2" flat head screws (qty. 4).
Rear drain only:
Connect the drain plumbing.
Step 5: Testing:
Turn on the water supply. Press the push button to dispense water; check for leaks.
For more information about Haws products, see our website: www.hawsco.com
© 2014 Haws® Corporation – All Rights Reserved
HAWS® and other trademarks used in these materials are the exclusive property of Haws Corporation.
02/14 Model 1900 Page 4 of 7
Page 5

THIS DOCUMENT IS TRUE AND CORRECT AT TIME OF PUBLICATION. CONTINUED PRODUCT IMPROVEMENTS
MAKE SPECIFICATIONS AND MEASUREMENTS SUBJECT TO CHANGE WITHOUT NOTICE.
PARTS BREAKDOWN
5
6
4
(INSIDE)
DESCRIPTIONITEM
1
DRAIN BASIN 0002060018
2
DRAIN EXTENDER 0002306901
MOUNTING FRAME 0002546051
3
4
NOZZLE 0003707600
5
PUSH BUTTON PBA7
6 VALVE 5874SS
DRAIN SEAL 00047419507
1
7
REVISED PER
4855
ECN:
DATE:
2/6/14
DATE:
BY:
MODEL(S)
JL
CHK'D.:
1900
BOTTLE FILLER, EWC RETROFIT
DRAWING TYPE:SCALE:
N/A PARTS BREAKDOWN
ECN NO.
4855
DRAWN:
WHEN ORDERING PARTS PLEASE SPECIFY YOUR MODEL NUMBER
C
Haws Corporation - All Rights Reserved
2014
R
HAWS and other trademarks used in these materials are the exclusive property of Haws Corporation.
JL
APPROVED:
3
2
1455 KLEPPE LANE
SPARKS, NEVADA 89431
(775) 359-4712 FAX (775) 359-7424
E-MAIL: HAWS@HAWSCO.COM
WEBSITE: WWW.HAWSCO.COM
A
Page
PART NUMBER:
0002076963
DRAWING NO.:
16316A
SHEETSIZE: OF
REV.
111
5 of 7
Page 6

P
A
G
E
THIS DOCUMENT IS TRUE AND COR RECT AT TIME OF PUBLICATION. CONTINUED PRODUCT IMPROVEMENTS
6
o
f 7
MAKE SPECIFICATIONS AND MEASUREMENTS SUBJECT TO CHANGE WITHOUT NOTICE.
NOTES:
1. HOLD ROUGH-IN
DIMENSIONS ±1/4" (6.4mm).
2. WHEN INSTALLING THIS
5
8
"
16
[211mm]
4"
[102mm]
MTG FRAME RELIEF CUT
DRAIN BASIN
(SUPPLIED)
UNIT, LOCAL, STATE, OR
FEDERAL CODES SHOULD BE
ADHERED TO. FOR
INSTALLATION HEIGHTS
OTHER THAN SHOWN,
DIMENSIONS MARKED (*)
[413mm]
MUST BE ADJUSTED
ACCORDINGLY.
3 REFER TO 5874SS
OPERATION & MAINTENANCE
MANUAL FOR PUSH BUTTON
AND VALVE INSTALLATION &
MAINTENANCE
INSTRUCTIONS.
4 BOTTLE FILLER IS SHOWN
INST ALLED AT ADA MAXIMU M
OBSTRUCTED FORWARD
REACH HEIGHT. FOR ADA
OBSTRUCTED SIDE REACH
COMPLIANCE, BOTTLE
FILLER MUST BE LOWERED
2".
C
2014
Haws Corporation - All Rights Reserved.
16
1
"
4
10"
[254mm]
(ALCOVE)
1/4" O.D. SUPPLY
TUBING (SUPPLIED)
3" LEFTOF BOTTLE
FILLER
CENTERLINE; 11/16"
OUT FROM WALL
ELECTRIC
WATER
COOLER
(NOT SUPPLIED)
FLOOR LINE
TYPICAL ELECTRIC W ATER
COOLER INSTALLATION
HAWS and other trademarks used in these materials are the exclusive property of Haws Corporation.
R
3
48"
[1219mm]*
WALL FACE
REVISED PER
4855
ECN:
DRAWN:
APPROVED:
DATE:
JL
2/10/14
4855
DATE:
(SUPPLIED)
(NOT SUPPLIED)
DRINKING
4
FOUNTAIN
SUPPLIED)
BY:EC N NO .
MODEL(S)
JL
CHK'D. :
SCALE:
DRAIN
EXTENDER
DRINKING
FOUNTAIN
DF BACK PANEL
(NOT SUPPLIED)
WALL FACE
3
13
16
[97mm]
(IN-WALL
DEPTH)
(NOT
DRAIN BASIN
(REVERSED)
1-1/4" SLIP
JOINT WASTE
FITTING (NOT
1
2
"
4
SUPPLIED)
[57mm]
(DRAIN)
ALTERNATE CONFIGURATIONS
1455 KLEPPE LANE
SPARKS, NEVADA 89431
(775) 359-4712 FAX (755) 359-7424
E-MAIL: HAWS@HAWSCO.COM
WEBSITE: WWW.HAWSCO.COM
BOTTLE FILLER, EWC RETROFIT
N/A
DRAWING TYPE: SIZE: A
1900
INSTALLATION
WALL
FACE
"
PART NUMBER
0002076963.D
DRAWING NO .
16317A
SHEET OF
REV
1 2
1
Page 7

P
A
G
E
THIS DOCUMENT IS TRUE AND CORR ECT AT TIME OF PUBLICATION. CONTINUED PRODUCT IMPROVEMENTS
7
o
f 7
MAK E SPECIFICATION S AND MEASUR EM EN T S SU BJECT T O C H A NG E WITHOUT NOTICE.
ANCHOR
(SUPPLIED)
SPACER
(SUPPLIED)
MOUNTING
FRAME
(SUPPLIED)
#10 x 2"
SCREW
(SUPPLIED)
Ø1/4" HOLE
IN DRYWALL
WALL
FACE
CENTERLINE
MARKED WITH
GROOVES
1
2
"
2
[64mm]
FLOOR
LINE
C
L
REAR DRAIN CUTOUT
(OPTIONAL) - CUT TO
SIDES OF MTG FRAME
OPENING & TO BOTTOM
EDGE OF MTG FRAME
37"
WALL FACE
4
[940mm]*
(FROM FLOOR TO LOWER
MOUNTING HOLES)
MOUNTING FASTENER DETAIL
MOUNTING TAB
CUTTING THE MOUNTING FRAME RELIEF DETAIL
C
2014
Haws Corporation - All Rights Reserved.
MOUNTING FRAME DETAIL
IF A RELIEF MUST BE CUT HIGHER
THAN THE MOUNTING TAB, CUT
DRAIN BASIN SEAL (SUPPLIED)
INSTALLED INTO GROOVE
HERE TO DETACH THE SIDE OF THE
MOUNTING FRAME FROM THE
MOUNTING TAB.
#8 x 1/2" SCREW
(SUPPLIED)
DRAIN BASIN
(SUPPLIED)
DRAIN SEAL DETAIL
1455 KLEPPE LANE
SPARKS, NEVADA 89431
(775) 359-4712 FAX (755) 359-7424
E-MAIL: HAWS@HAWSCO.COM
REVISED PER
4855
DRAWN:
JL
APPROVED:
HAWS and other trademarks used in these materials are the exclusive property of Haws Corporation.
R
ECN:
DATE:
2/10/14
4855
DATE:
BY:EC N NO .
JL
CHK'D.:
MODEL(S)
N/A
SCALE:
BOTTLE FILLER, EWC RETROFIT
DRAWING TYPE: SIZE: A
1900
WEBSITE: WWW.HAWSCO.COM
INSTALLATION
PART NUMBER
0002076963.D
DRAWING NO .
16317A
SHEET OF
REV
2 2
1
 Loading...