

Page 1
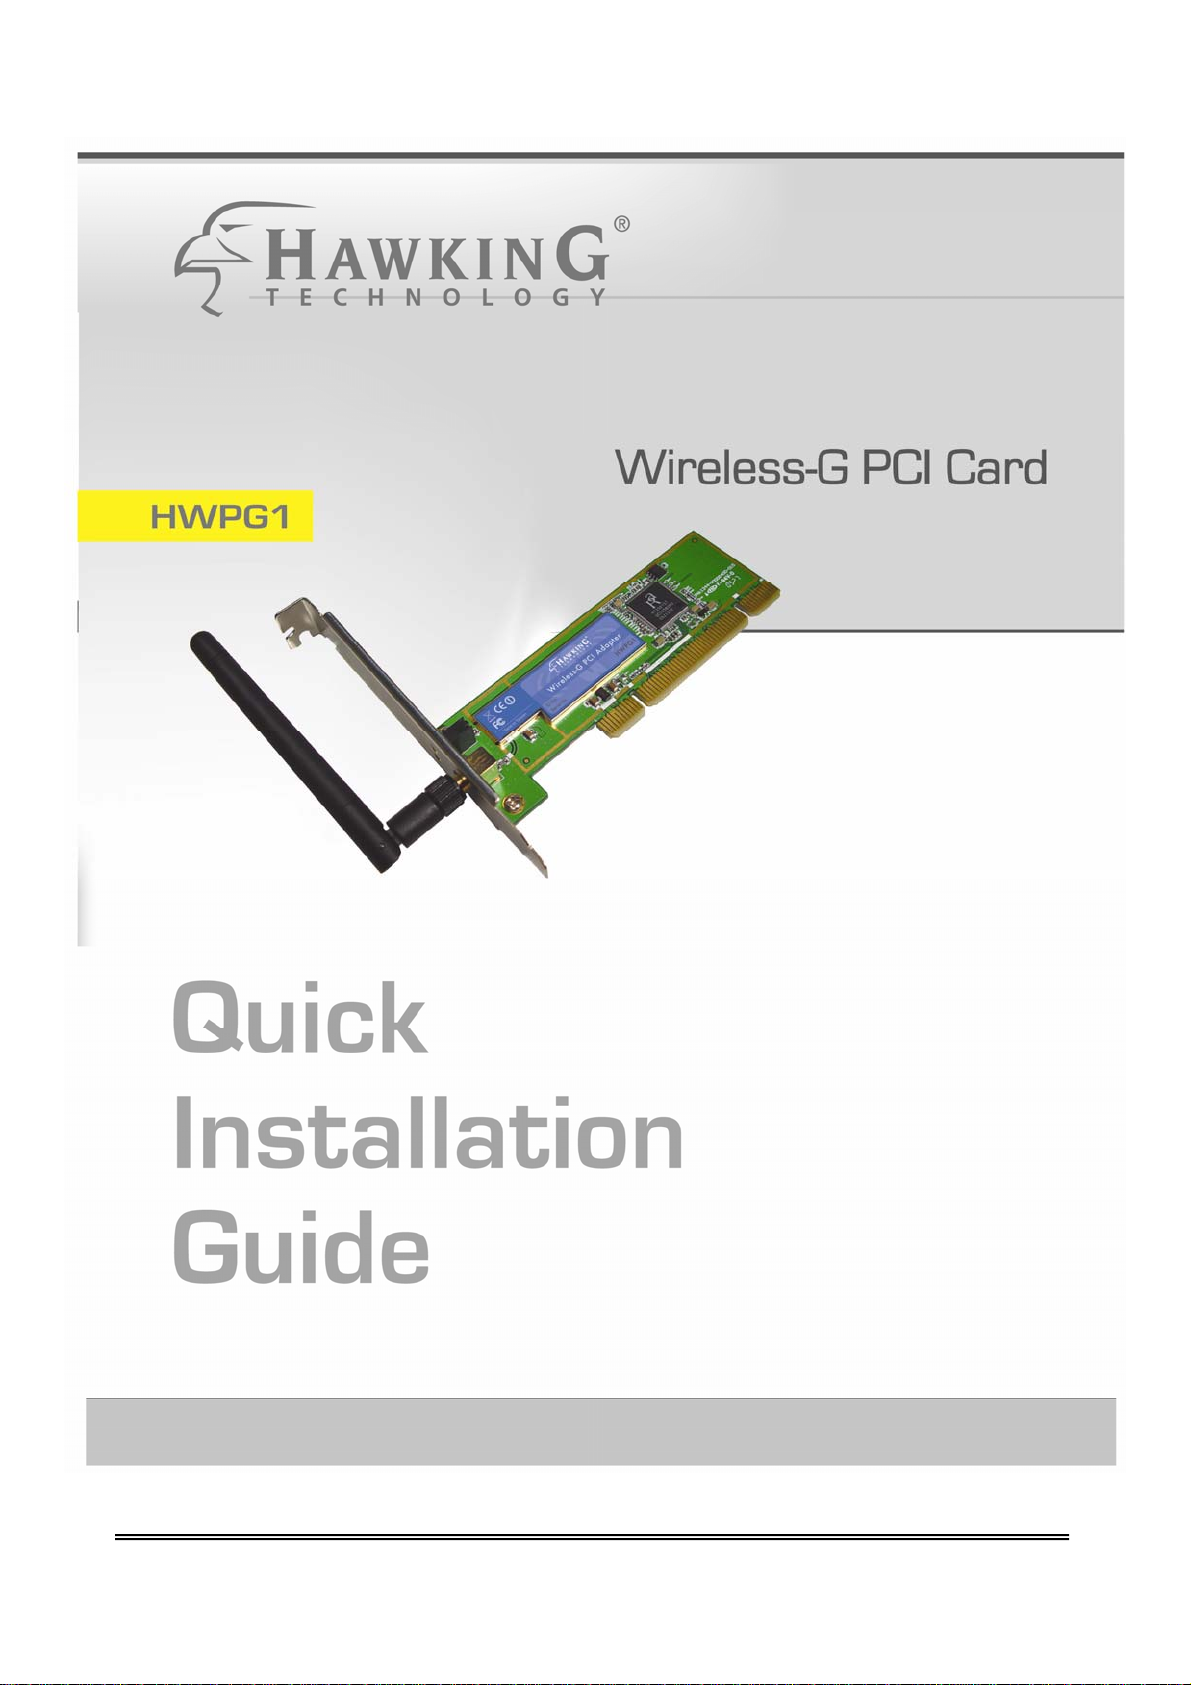
HWPG1 Hawking Technologies, Inc. P 0
Page 2
HWPG1 Hawking Technologies, Inc. P 1
Page 3
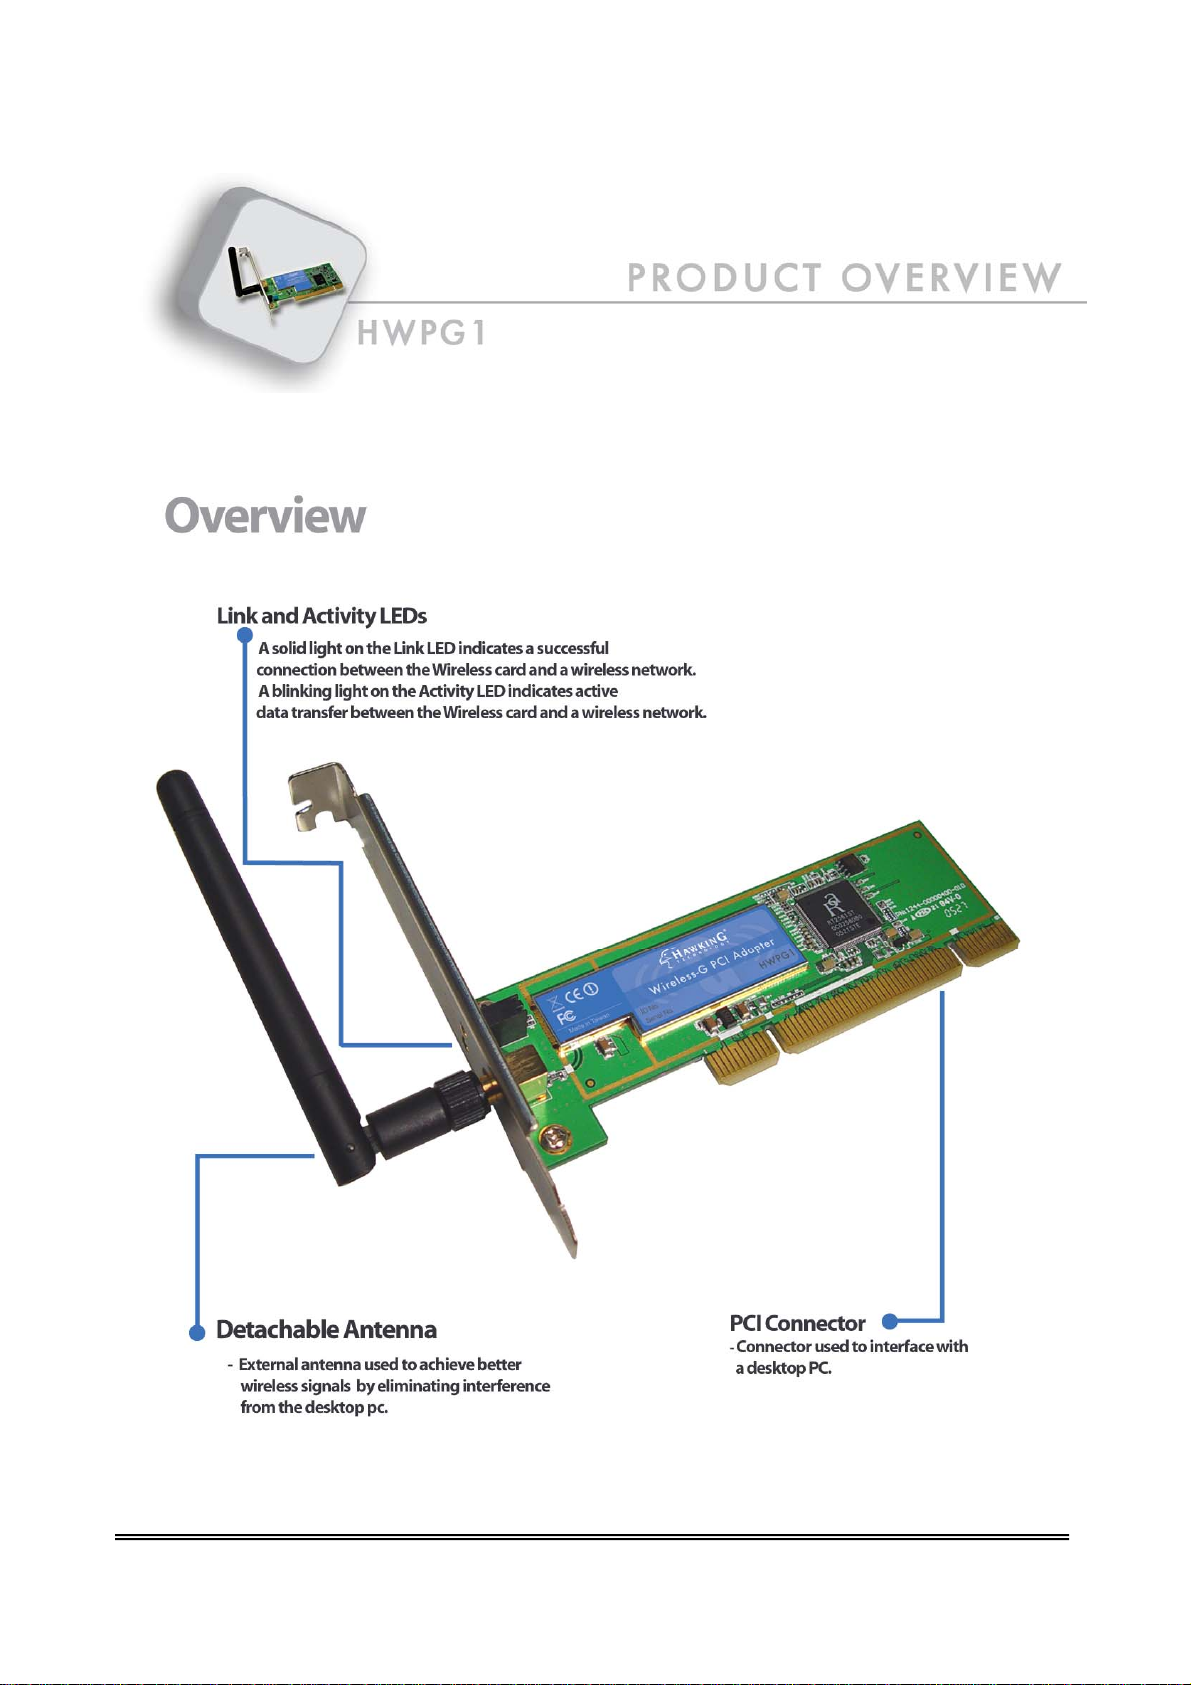
HWPG1 Hawking Technologies, Inc. P 2
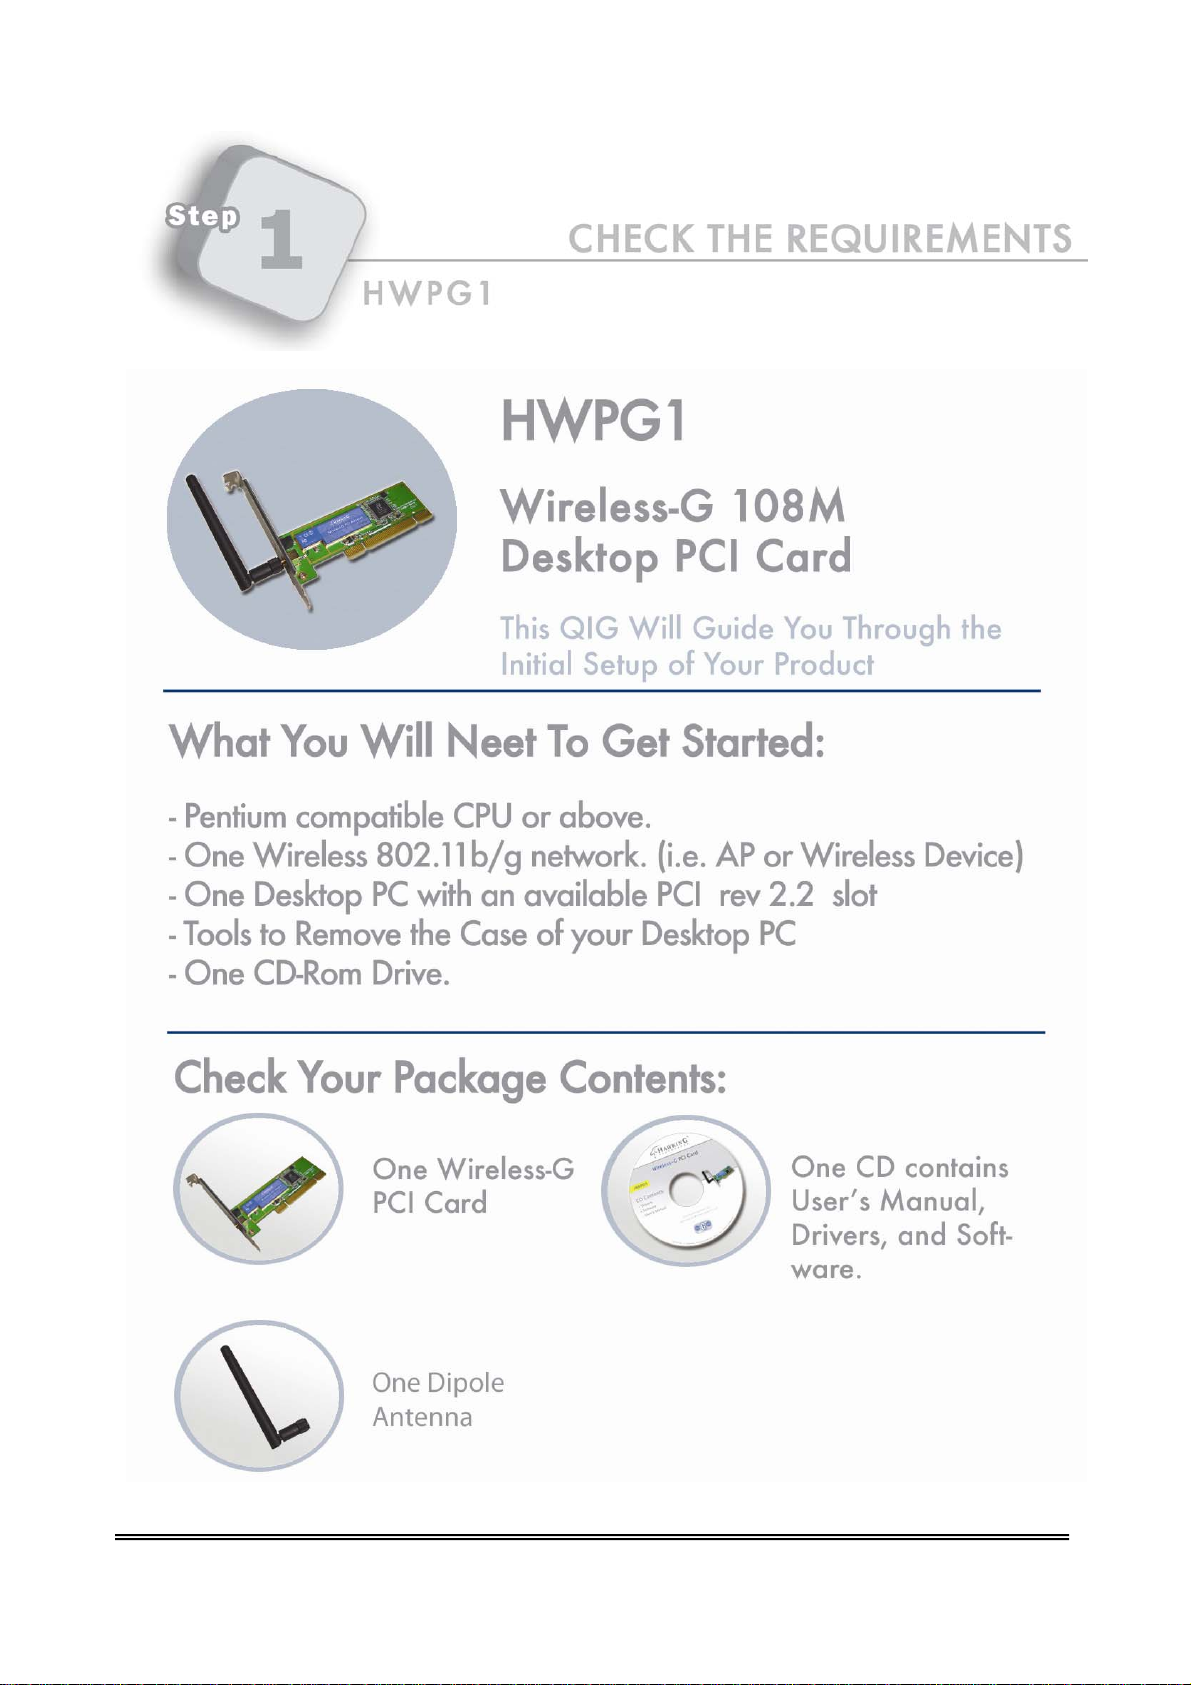
Page 4
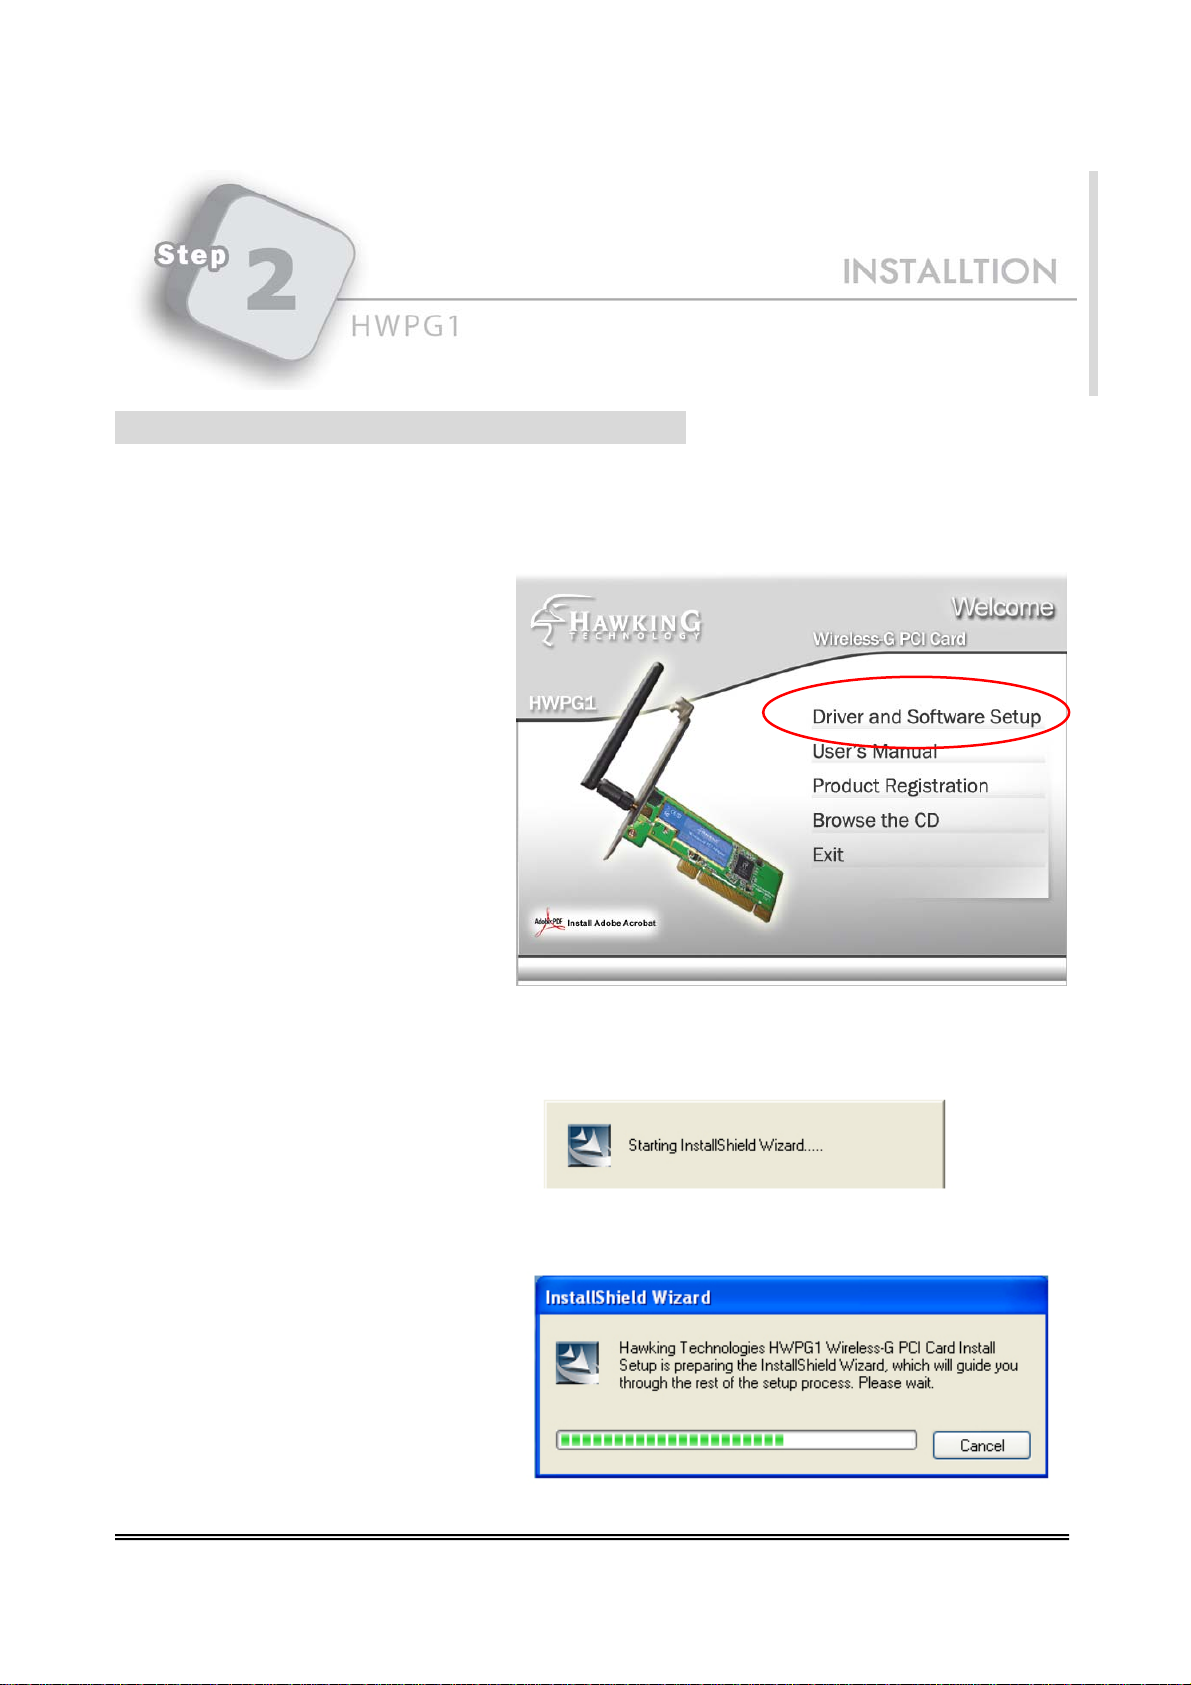
nstallation Part I: Software Installation
NOTE: DO NOT INSTALL THE PCI CARD YET.
1. Insert the Installation CD into to
your CD-ROM Drive. When an
autoloader screen appears, click on
the “Driver & Utility Setup” to
initiate the installation.
I
2. The installation is preparing to
setup.
HWPG1 Hawking Technologies, Inc. P 3
Page 5
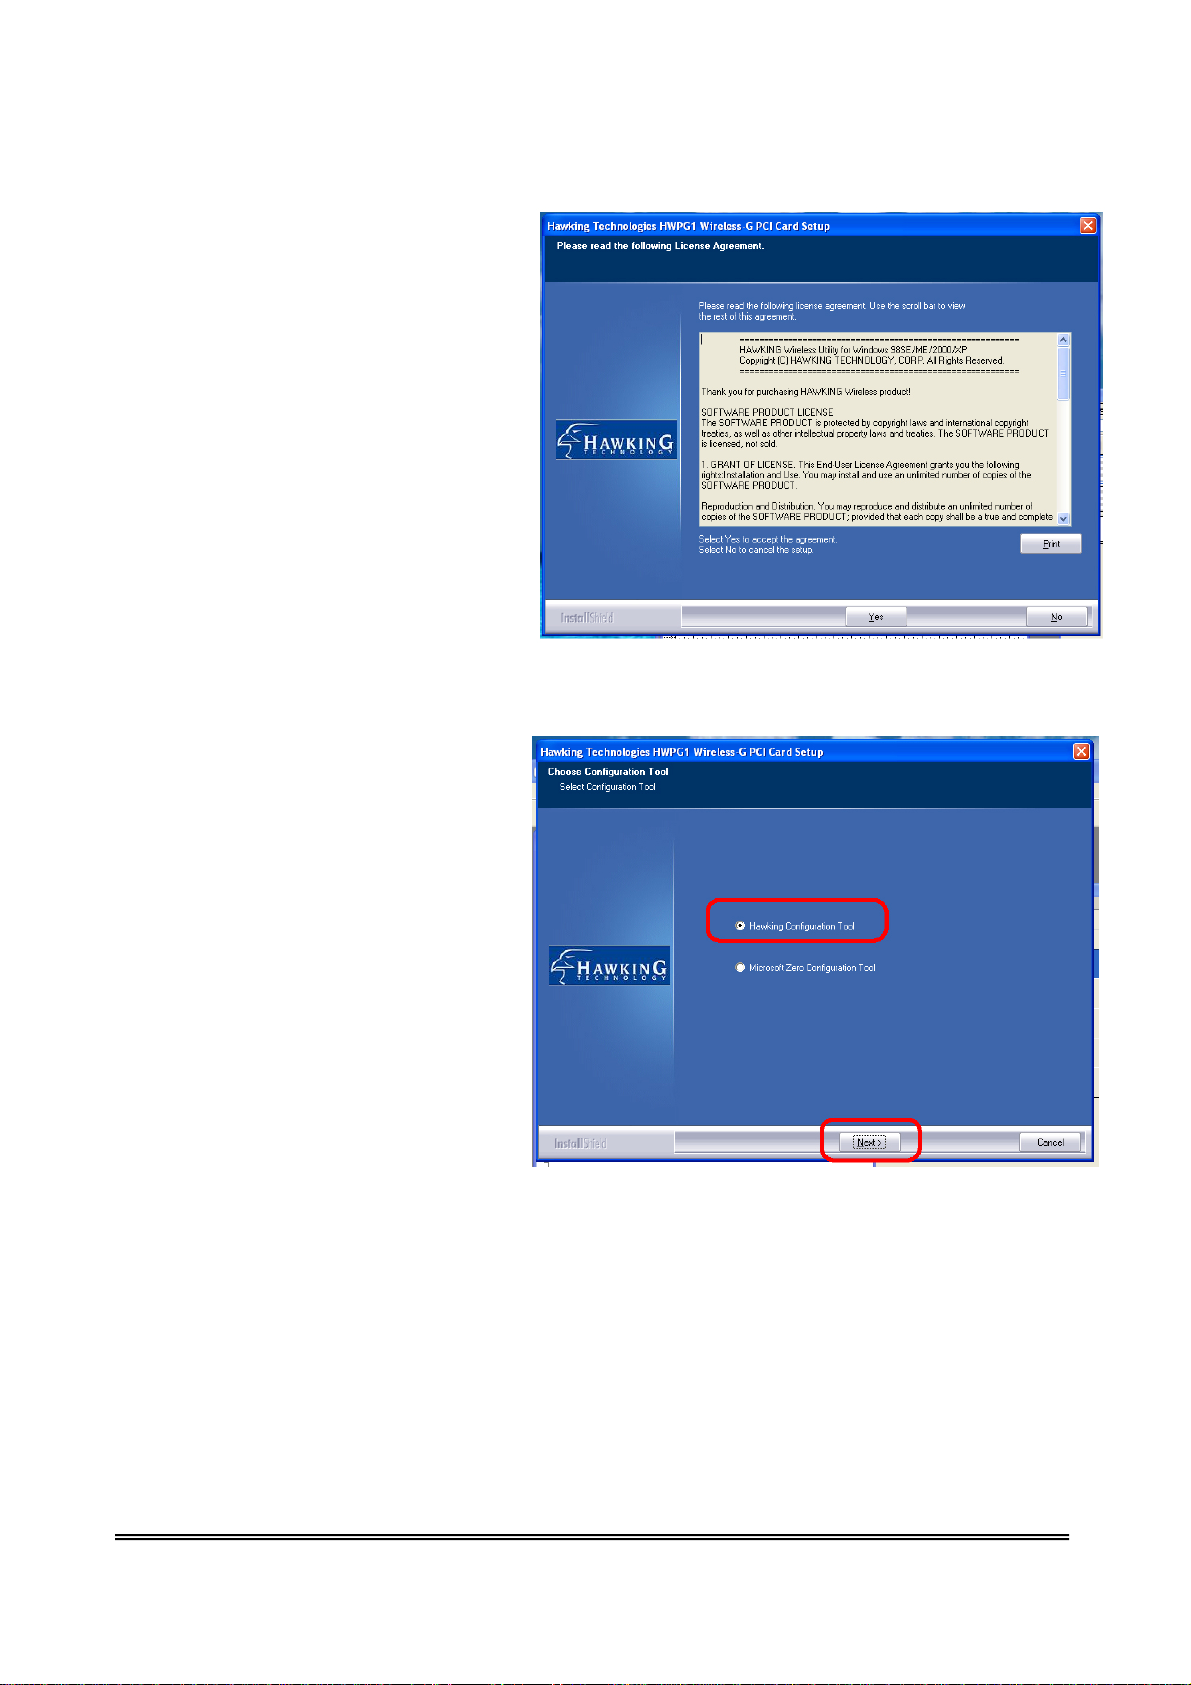
3. Click “Yes” to process the
installation if you accept the license
agreement.
4. Choose “Hawking Configuration
Tool” and click next.
HWPG1 Hawking Technologies, Inc. P 4
Page 6

5. The system will automatically detect
the card and display “Hardware
Installation” screen. Click “Continue
Anyway” to continue.
6. Please wait while the HWPG1 is
configuring your software
installation.
7. At this point please click “Finish”
and move on to the Hardware
installation.
HWPG1 Hawking Technologies, Inc. P 5
Page 7

Installation Part II: Hardware Installation
HWPG1 Hawking Technologies, Inc. P 6
Page 8

Hardware Installation Cont’d
TM
For better performance, the HWPG1 is compatible with Hawking Hi-Gain
Antennas and
can be easily upgraded. Simply remove the original dipole antenna from the back of your
computer and replace it with one of the Hi-GainTM antennas (note: Hi-GainTM antenna must
be purchased separately).
HWPG1 Hawking Technologies, Inc. P 7
Page 9

Installation Part III: Rest art your Computer
1. After you have restarted your computer, a
Found New Hardware Wizard will prompt you
to install the software. Select “Install the
software automatically [Reconmmended]”
and click “Next.”
2. Please wait while the wizard searches. The
Found New Hardware Wizard will automatic
install the software.
3. Now, you have completed the software
installation. Select Finish.
HWPG1 Hawking Technologies, Inc. P 8
Page 10

Using the Wireless Configuration Utility
After you have successfully installed the Wireless-G PCI Card, a Network Status icon
should display in your Windows task bar. Double click it to execute the Utility. If it
does not appear, you can find it in your Programs Menu:
or
HWPG1 Hawking Technologies, Inc. P 9
Page 11

The icon in your system tray will
display different colors to help you
distinguish the status of your
wireless network. Follow the table
to the right to understand what each
color means.
The Configuration Utility is
categorized into 6 Tabs. For this QIG, we will concentrate only on the SITE SURVEY
and LINK STATUS tab. If you wish to find out more about the Utility, please view the
Users Manual for detailed instructions.
The SITE SURVEY tab will give you information regarding the wireless networks within your
vicinity.
1) Click on Rescan to update the list of
wireless networks in your area.
2) Once the list of wireless networks
appear, highlight your desired network and
double-click to Connect to the network.
You should now be successfully connected
to your network.
Note: If your scan provides no wireless networks, double check to see if your wireless
network is set up correctly. If the problem persists, check with your wireless AP/Router
manufacturer’s technical support department.
HWPG1 Hawking Technologies, Inc. P 10
Page 12

Reading the Link Status Page
The Link Status page gives you information regarding your current wireless channel, transmit rate
(speed) and link/signal quality.
Using Wireless Security:
Select the SSID you wish to connect to. If the network is secured, it will ask you to input an
encryption key. If you do not know your key ask your network administrator for details
Using the Widows Zero Configuration Tool:
To enable the WPA function in Windows XP, the following software systems are required:
1. Windows XP Service Pack 1 with Windows XP Support Patch for Wi-Fi Protected Access program
in addition.
2. Configure the card using Wireless built-in utility (Wireless Zero Configuration).
z Note: When using the Wireless Utility there are two function selections when you open
execute the program. You can select to use the XP’s built-in utility with full WPA function.
If “Use XP Wireless Zero Configuration” is selected, you can only configure the advance
setting or check the link status and statistics from the “RaConfig” utility.
HWPG1 Hawking Technologies, Inc. P 11
Page 13

“
Conf
1. From here, right click the
icon to select “View
Available Wireless
Networks”.
2. Press “Advanced”
3. Press the
network.
4. You must enter the network security key in use by your wireless network.
Check with your network administrator if you do not know this information.
igure” button to configure the WPA function for the current
Note: Uncheck “Use Windows to Configure my wireless network settings”, the
“RaConfig” utility will be enabled again.
HWPG1 Hawking Technologies, Inc. P 12
Page 14

Turbo Mode
This card supports specific ways to increase the data transfer rate at a time; compress the data and decrease
the waiting time to send the next data to the Routers or APs, this feature (known as Turbo
Mode) enables higher throughput than IEEE 802.11g standard (Up to 54Mbps).
Go to your Wireless Utility Æ Advanced tab Æ Select Turbo Mode --> Apply
For more advanced settings (i.e. setting up a static IP address, etc.),
please refer to the User’s Manual on the CD.
HWPG1 Hawking Technologies, Inc. P 13
Page 15

Ethernet
A networking standard using cables (Category 5) to create a network.
Network Adapter
Also known as a NIC (Network Interface Card). Used to provide PC’s or laptops with an Ethernet port or wireless access to the network.
Broadband Modem
A device that allows broadband connection to the Internet. Broadband connections include speeds faster than 56k (dial up modem speed). The two
most common types of Broadband connections are DSL and Cable. Cable modem relies on the bandwidth of cable television lines while DSL modems
rely on the telephone lines operating at DSL speeds.
Router
A device used to share Internet access from one user to multiple users. By taking one IP address (Addresses used by ISP’s to assign broadband services
to your computer) the Router distributes the services of your broadband access among multiple users and IP’s.
Wireless
IEEE 802.11 – Wireless Network Specifications
• 802.11 -- applies to wireless LANs (Networks) and provides 1 or 2 Mbps transmission in the 2.4 GHz band using either frequency hopping
spread spectrum (FHSS) or direct sequence spread spectrum (DSSS).
• 802.11a -- an extension to 802. 11 that applies to wireless LANs and provides up to 54 Mbps in the 5GHz band. 802.11a uses an orthogonal
frequency division multiplexing encoding scheme rather than FHSS or DSSS.
• 802.11b (also referred to as 802.11 High Rate or Wi-Fi) -- an extension to 802.11 that applies to wireless LANs and provides 11 Mbps
transmission (with a fallback to 5.5, 2 and 1 Mbps) in the 2.4 GHz band. 802.11b uses only DSSS. 802.11b was a 1999 ratification to the
original 802.11 standard, allowing wireless functionality comparable to Ethernet.
• 802.11g -- applies to wireless LANs and provides 54 Mbps in the 2.4 GHz band. Backwards compatible with IEEE 802.11b products.
ESSID
A Unique name identification for your wireless network. All wireless devices must have the same ID or else they will not work together.
Channel
A Channel that all Wireless devices communicate on. All Wireless devices on the network must be set on the same channel to work together.
HWPG1 Hawking Technologies, Inc. P 14
Page 16

HWPG1 Hawking Technologies, Inc. P 15
 Loading...