

Page 1
Page 2
1
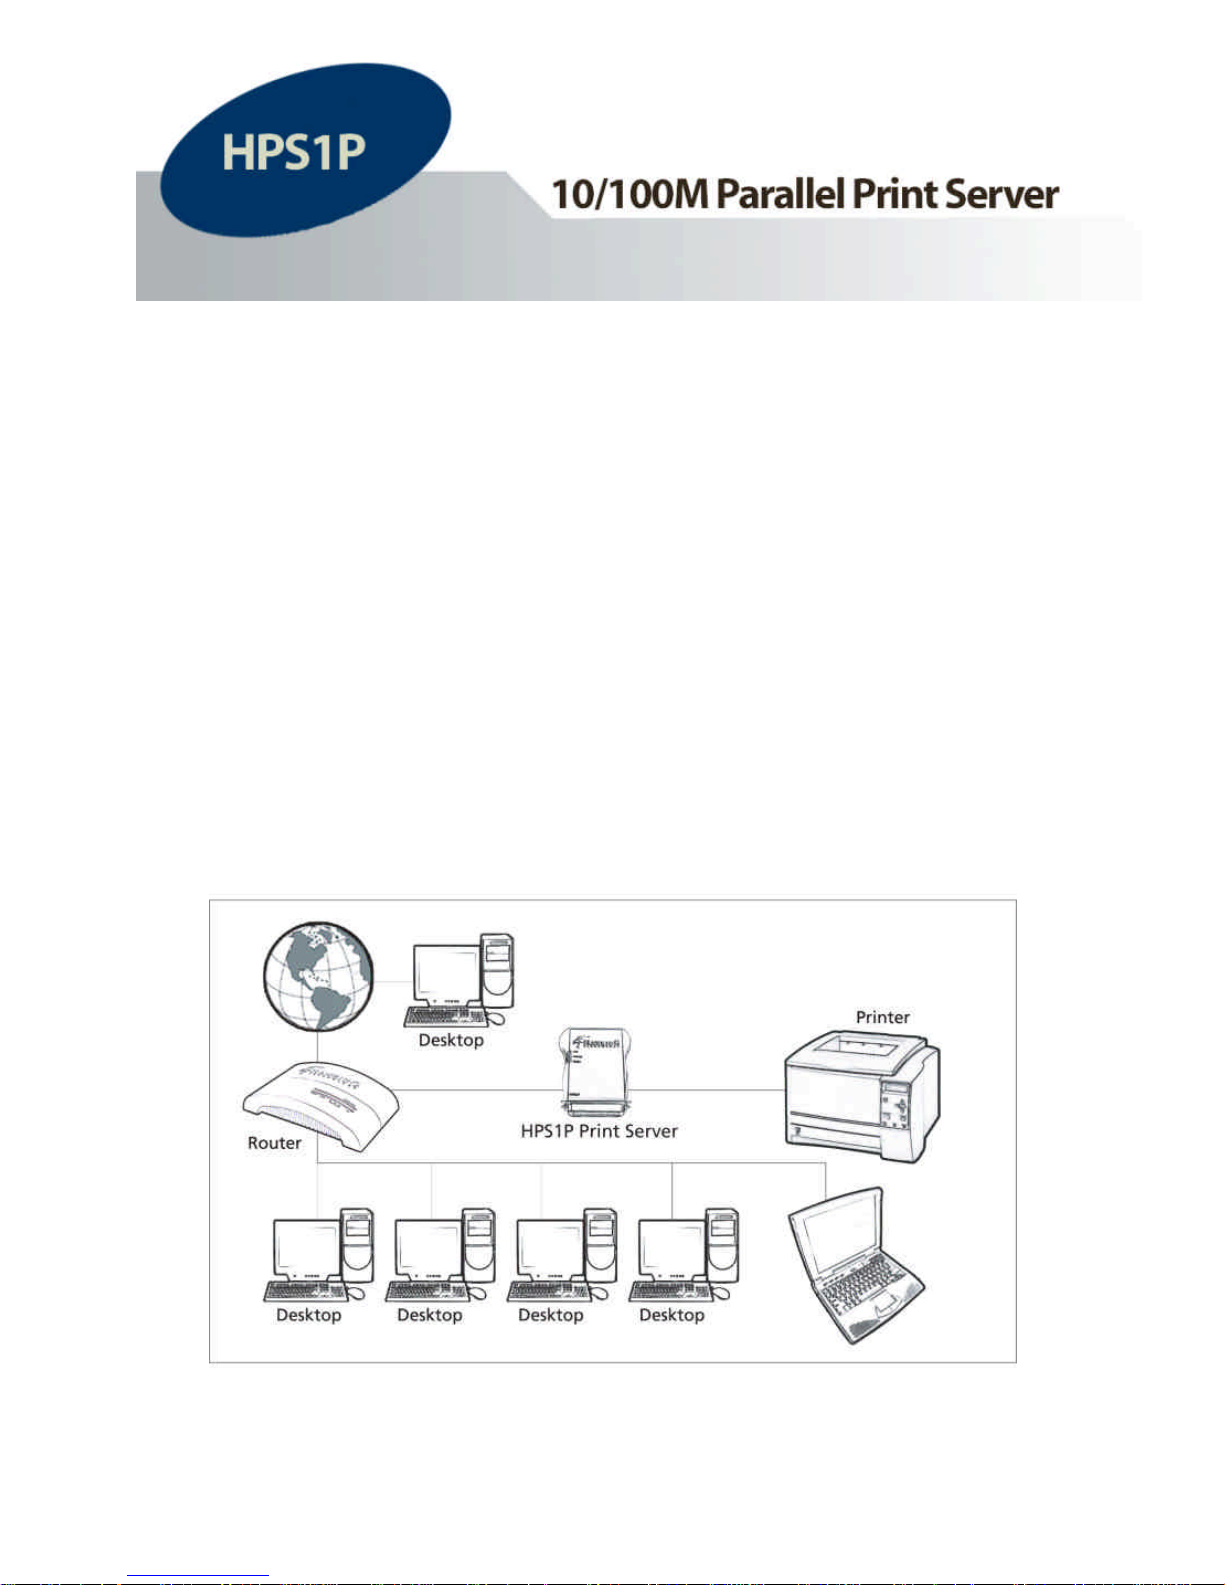
Congratulations on purchasing Hawking’s HPS1P 1-Port Parallel
10/100M Print Server. The HPS1P is a powerful and convenient
network printing solution that will connect your printer to your
network. The HPS1P has a 10/100Mbps auto-sensing port, allowing
you to attach it to a 10Base-T or 100Base-TX network without the
need for a dedicated PC print server. The HPS1P also supports
multiple servers and multiple protocols, providing you with the
capability to print from anywhere, from any computer and from any
application.
Page 3
Page 4
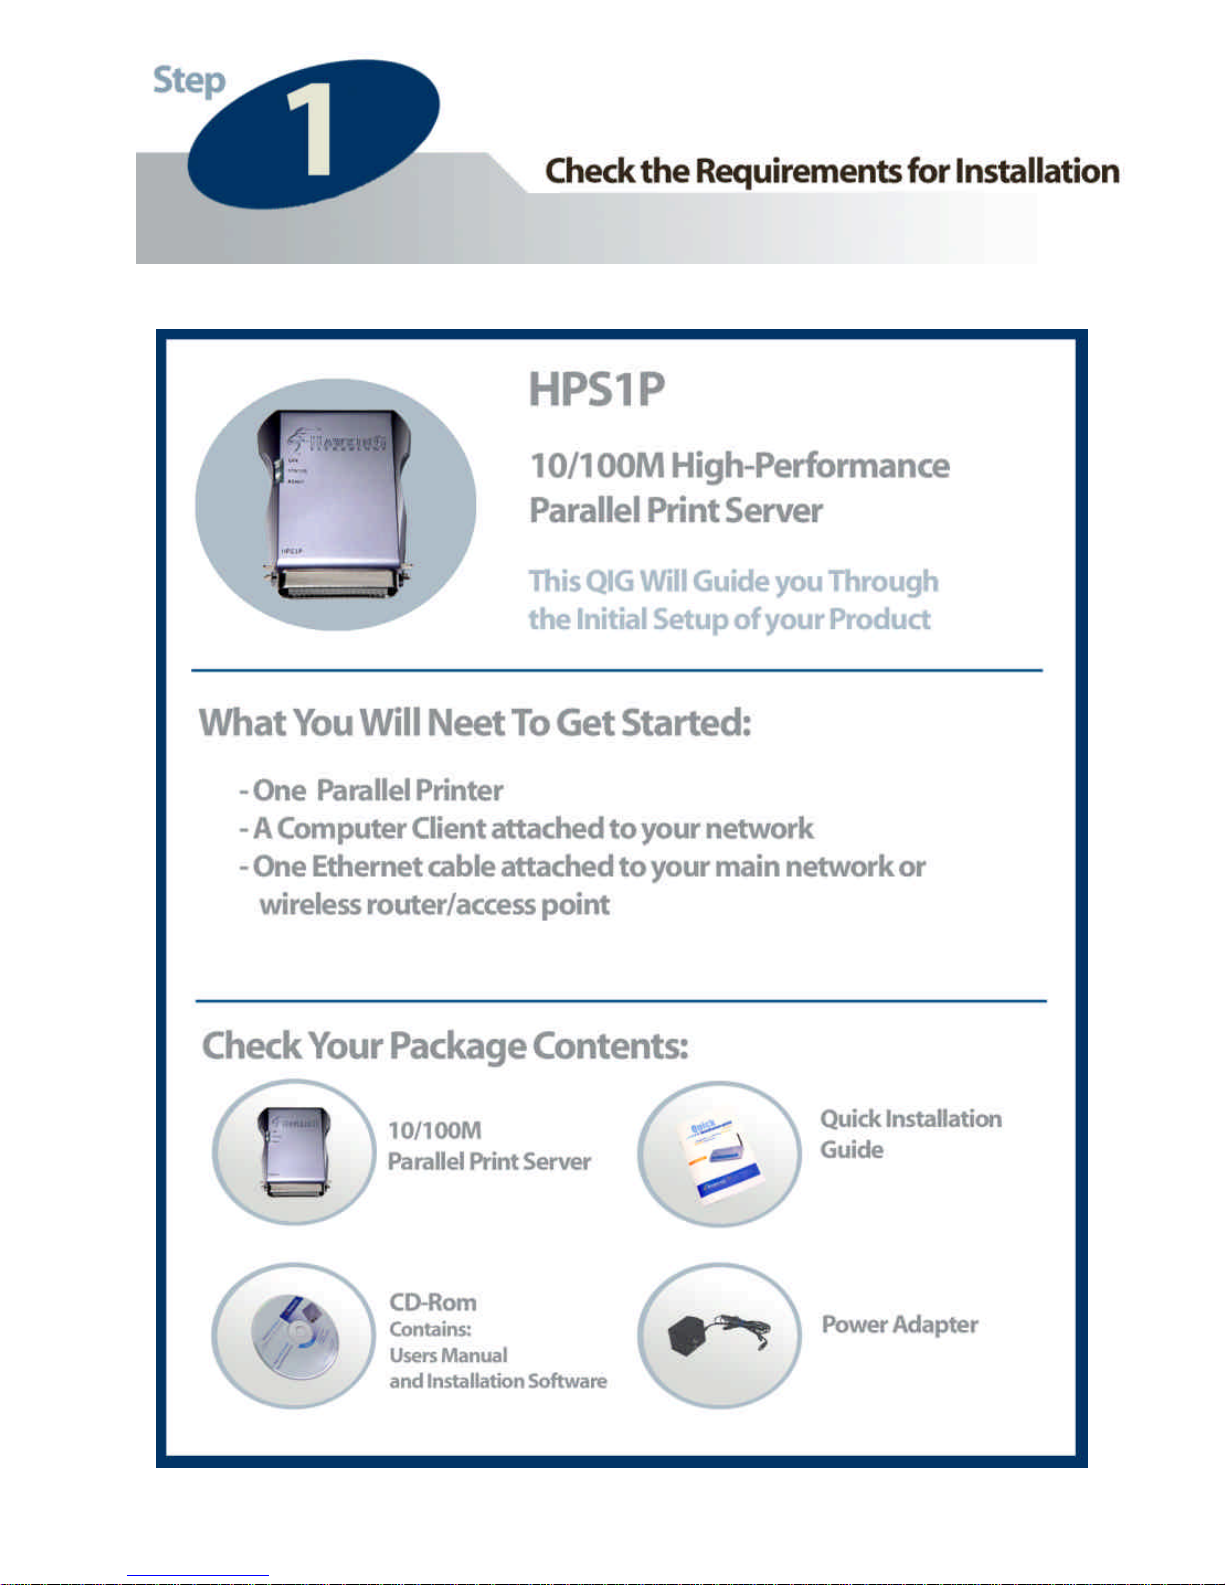
3
1. Connect the HPS1P Print Server to your printer.
2. Connect the HPS1P to your network through an Ethernet
(Wired) connection.
3. Plug the AC power adapter into the power slot on the
side of the Print Server.
Check the LED’s marked as LAN, READY, and
STATUS on the front of the Print Server. They should
start to flash while doing a routine diagnostic test and
printer check. If not, please contact your local dealer for
repair or replacement.
You must use the power adapter shipped along with the print
server. Do NOT use any other power adapter from other
sources.
Please note that your HPS1P hardware is automatically set to a factory
default IP address of 192.168.1.250
Page 5
LED Indicators
The HPS1P is equipped with LED lights to
assist in diagnosing print server or network
errors.
READY
This light will illuminate when the HPS1P has sufficient power and
the power adapter is plugged into the HPS1P. When the print
server unit is powered on, the Status LED, along with either the
LAN LED or the READY LED, will flash as part of the unit’s
Power On Self Test (POST). This indicates that the print server
hardware is properly configured. The HPS1P may take up to 1
minute to perform its internal diagnostic tests.
LAN
This light will illuminate and flash when the HPS1P detects 10M or
100M data transmissions over the network.
STATUS
This light will illuminate and flash when the HPS1P detects printer
data transmissions over the network.
Please note that the Reset button is located on the back of the HPS1P. Hold this button
down for more then 5 seconds to reset the print server into factory default mode.
Page 6
5
WINDOWS 95/98/ME/NT/2000/XP
1) POWER ON: After you have correctly connected your
print server to your PC, router, and printer, please power on
all units.
2) Before the installation, please verify that your network
protocols (TCP/IP, IPX and/or NetBEUI) and printer
drivers are installed on your PC. If they are not installed,
please consult your operating system’s and/or printer’s
manual(s) for instructions on how to do so.
3) Make sure your Windows firewall is disabled if you are
using Windows XP Service Pack 2. Please check the
Windows help menu for more information on disabling this
feature.
4) Run The Installation Wizard
1. Insert the Windows 95/98/ME/NT/2000/XP Setup CD into
your CD-ROM drive.
(Windows should execute the Autorun.exe program
automatically. If not, run Autorun.exe manually from your
CD-ROM drive’s root directory.)
Page 7
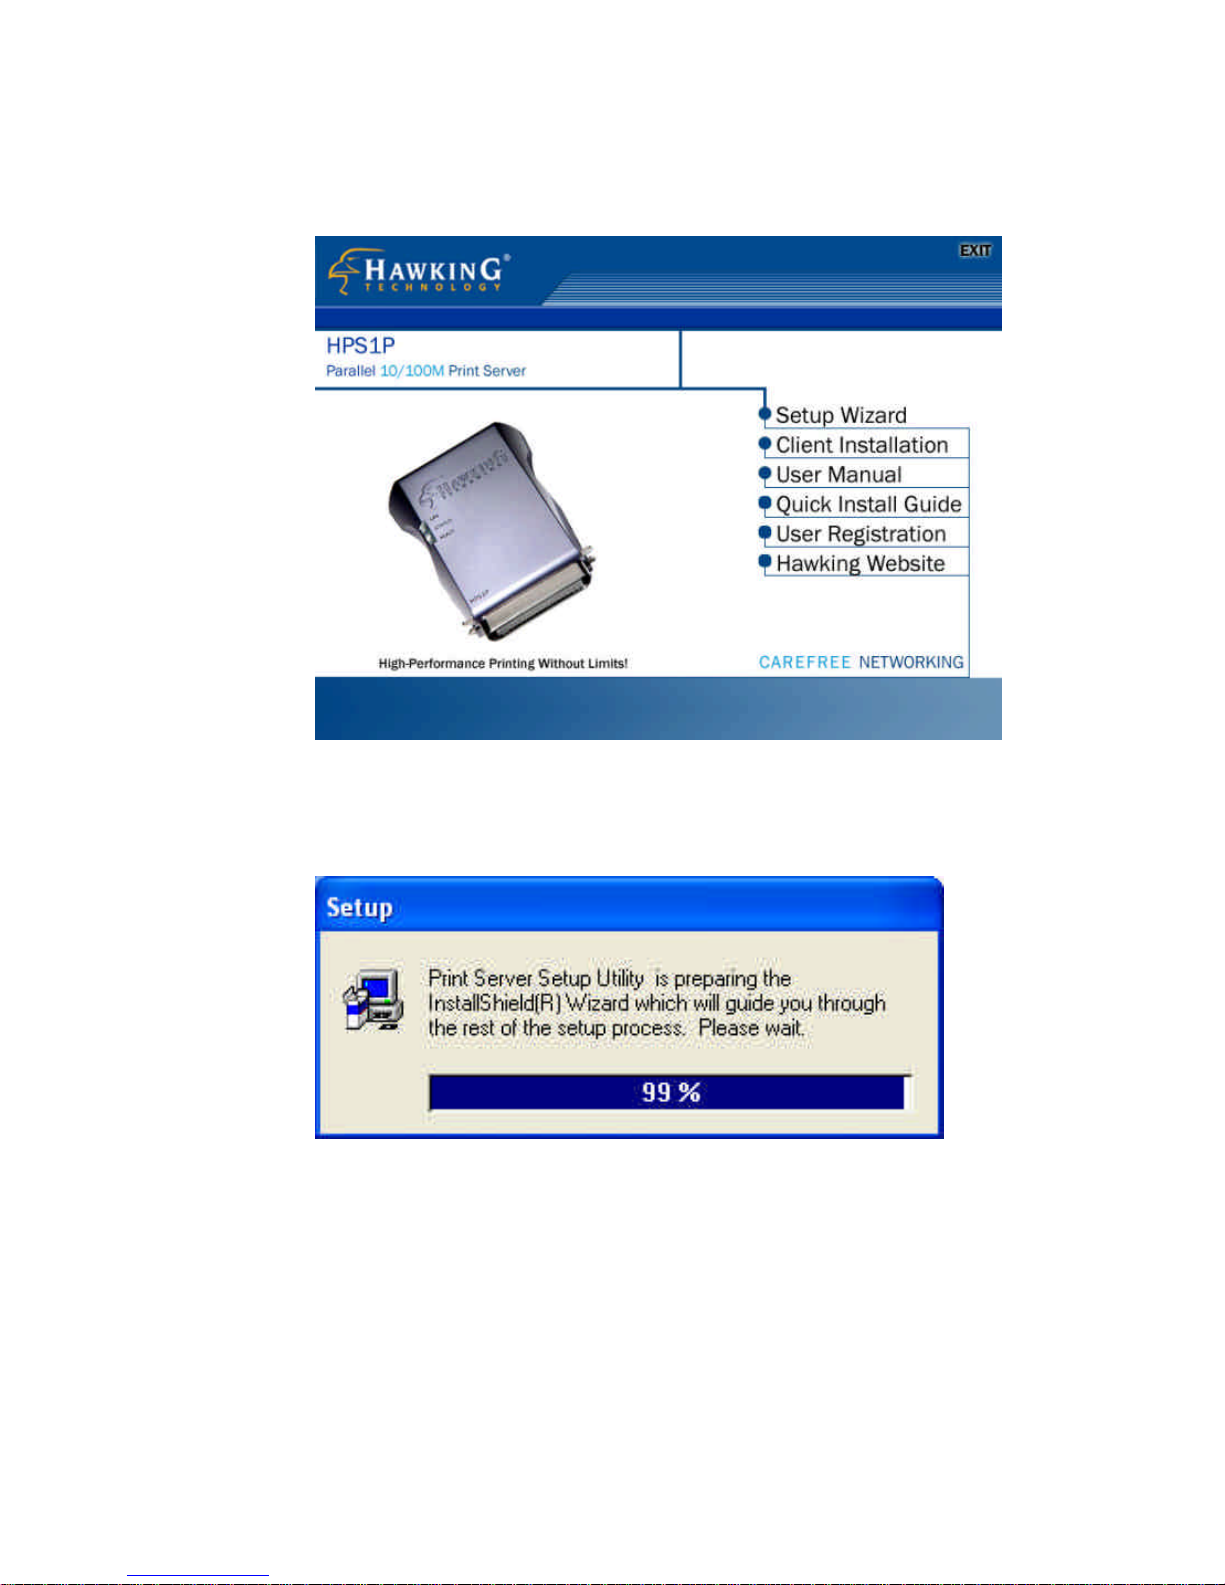
2. The Hawking Installation Windows manager will pop up
on your screen as follows:
3. Click on “Setup Wizard” and the Setup program will
proceed to install the Print Server Utility program package.
Page 8
7
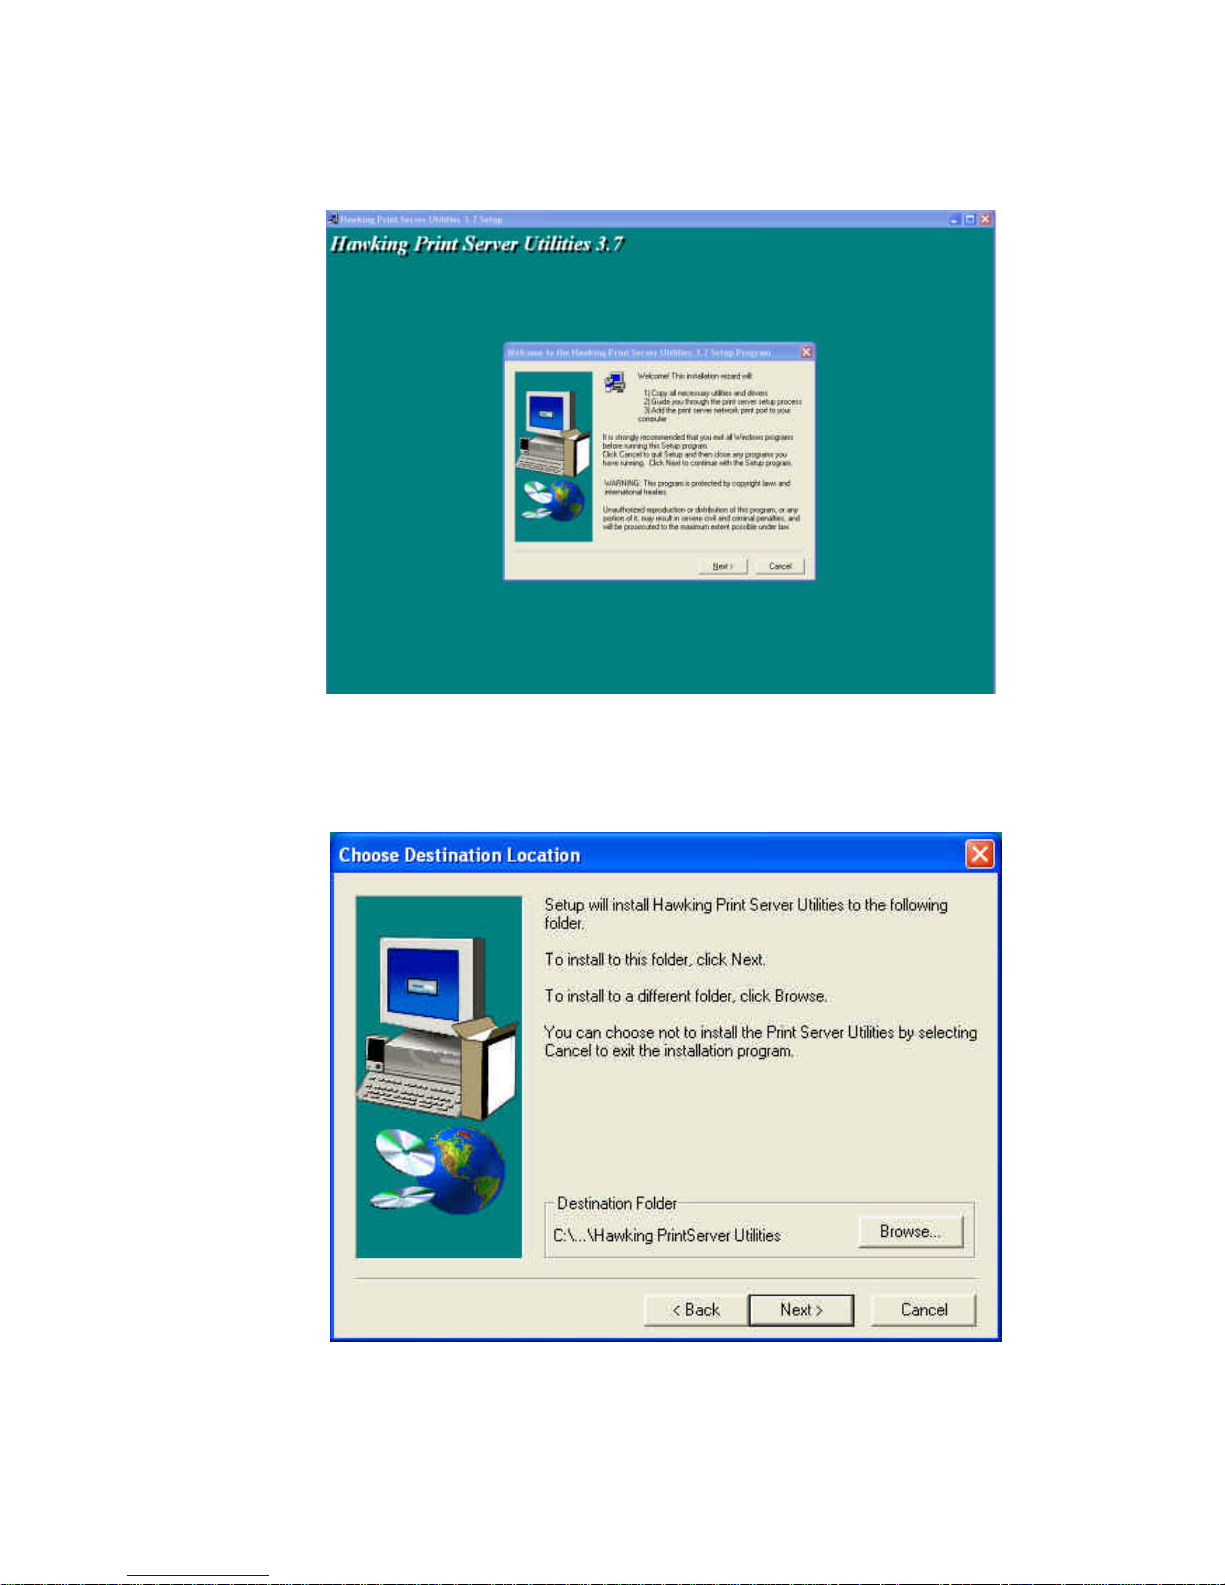
4. Click “Next” to start the installation of the Print Server
Utilities software and Easy Installation Wizard.
4. Click “Next,” to specify the destination folder where the
HPS1P utility files will be installed.
Page 9

5. Click “Next,” and select the components you wish to install.
It is highly recommended to install all provided
software utilities and drivers.
6. Click “Next,” to specify the program folder where the
program icons will be added.
Page 10

9
7. Click “Next” to start the utility file installation.
8. The “Print Server Utilities” program will finish installing.
After this installation is complete, please click on “Finish”
to bring up the Easy Setup Wizard.
Page 11

9. Once the Setup Wizard is activated, it will make sure you
have the necessary components to proceed with installation.
Please make sure you have connected your print server to
your network via an Ethernet connection, powered up your
printer and print server, and have connected the print server
to your printer.
Once the Setup Wizard has verified your settings, please
click on the “Next” button to continue. If there is a
problem with your setup, the Print Server Wizard will
inform you of it and provide you with a diagnostic solution.
You may choose to skip this initial network and print server
diagnostic screen by clicking on the “Skip” button if the
Wizard determines that you do not have the necessary
components to proceed.
Page 12

11
10. The “Print Server List” screen will list all available
Hawking Technology print servers that the Wizard finds on
your Network. Please choose the print server you wish to
configure and press “Next.” You may always hit the
“Refresh” button to refresh the print server list.
(Please note that “un-configured” print servers will appear
in Bold)
11. Once a Print Server is selected from the list, the login
username/password screen will appear. Please type in your
login and password and then press “OK”. The standard
default Login/Password for Hawking print Servers is:
Login: admin
Password: 1234
Page 13

12. Once you have entered your login and password for the selected
print server, the “General Settings” page will appear.
The General settings windows will allow you to edit the
Page 14

13
following:
Print Server Name: Name you wish to give to your print
server to make it recognizable.
SMB Group Name: The Windows group name you wish to
associate your print server with. Please click in the SMB
Group Name box for more information.
Printer Port and Printer List: Each available printer port and
the attached printer to that port will be displayed on this page.
(You may refresh the printer name at any time if the attached
printer is not displaying.)
Please click “Next” when you are ready to proceed.
13. The intelligent Wizard will try to determine your network
settings.
Page 15

If a DHCP server is present on your network and you would
like to use its automatic settings, please select the DHCP option.
If there is no DHCP server present, or you are unsure of your
DHCP configuration settings, please select the MANUAL IP
option. Selecting this option allows the Wizard to poll your
computer’s internal network settings and suggest an appropriate
static IP address to assign to the print server. If you do not
wish to use the suggested IP address, you may change your IP
settings in the static IP address box only. Typically your IP
Gateway is the IP address of your computer’s router or Internet
gateway. The Wizard will try and automatically fill in this
address for you based on your computer’s current settings.
Please click “Next” once your computer has found the
appropriate IP settings.
Page 16

15
14. Summary of Settings Changes
This page displays a summary of configuration changes that are
going to be saved to the print server. Please press “Save” to
reboot the print server and save all modified settings.
Page 17

15. The next screen allows you to attach your printer to your print
server. The “Printer Port Setup” page displays each port’s
printer model if detected. If no printers are dis played, please
make sure your printer is turned on and connected to the print
server. You may hit the “refresh” button at any time to search
for your connected printers.
Please select the appropriate printer you wish to connect to the print
server and press the “Install Printer” button.
Page 18

17
16. The “Install Printer” pop up window will guide you in installing
your printer driver and binding it to your print server. This
window gives you two selection options. You may install a
new printer driver to your system or you may select your printer
driver from the existing list of printer drivers currently on your
system.
Please select which option to choose and highlight the appropriate
printer driver if it is present on the scrollable list of printer drivers.
Press “Install” to complete the binding process.
Page 19

Once your printer is properly bound to the print server, you will see
a RED checkmark by the installed printer indicating a successful
installation.
Once you have bound your printer to the print server, you may
press the “Finish” button to proceed.
Page 20

19
17. The final configuration screen will allow you to print a test
page using the newly installed print server.
Please highlight the appropriate printer and press the “Print Test”
button to verify that your print server is properly configured.
There may be a short delay the first time you print to the print server.
If there is a problem printing the test page, please remove and
replace your printer’s power and make sure your Windows printer
driver is “online” and the “Use Printer Offline” selection is not
checked.
Page 21

Mac OS X Installation
If you happen to have a Windows OS computer on your network,
please use that to set up your print server with the provided Windows
compatible software. Give your print server a recognizable IP
address that corresponds to your network. For this example, we will
use 192.168.1.250 which is the default IP address for the Hawking
print server line.
Mac Only Environment
If you are installing your print server in a “Mac only” environment
and you have not previously configured the print server, please
make sure you press down the “reset button” for 10 seconds
continuously to reset the print server to the factory default settings
with an IP address of 192.168.1.250.
Plug the print server via an Ethernet cable directly to your Mac OS
X+ computer. Change your computer’s network IP settings
temporarily to 192.168.1.100.
Mac or Mac + PC Environment
1) Open the "Applications:Utilities:Print Center" on your Mac
computer
2) Click 'Add' (to add a new printer)
Page 22

21
3) Select 'IP Printing' from the upper pop-down (If you have Mac os
10.3, make sure select LPD/LPR).
4) Enter your print server’s IP address: 192.168.1.250 (or whatever
your print server is set to) in the 'Printer Address' field.
5) De -select 'Use default queue on server'
6) Enter 'lpt1' as 'Queue Name' if your print server is using the first
port.
(For HPS12U, and the HWPS12UG - lpt1 is p1, lpt2 is u2, lpt3 is u3)
7) Select 'printer' from the 'Printer Model' field.
8) Select your printer series, from the 'Model list'
9) Click the 'Add' button to complete your setup.
Now you have set up your print server to work on your
network. The name of your printer will be 'lpt1 on 192.168.1.250' if
you used that IP address to set up your print server.
Page 23

IPP Printing
The IPP (Internet Printing Protocol) provides you with a convenient
method for remote printing jobs via the TCP/IP protocol. The
HPS1P 10/100M Parallel Print Server can support IPP printing
capabilities. It is not necessary to modify any of the print server’s
internal settings to use the IPP printing features. Windows 2000
and Windows XP computers can use IPP printing functions through
the operating system’s internal IPP functionality. IPP printing will
let you share your network printer with any PC that can access the
HPS1P print server by IP. You can even share your printer with
users over the Internet who know your printer model, printer port,
and the IP address of your HPS1P.
IPP Setup
Print Server Side
It is not necessary to modify your IPP settings on the print server
side. Make sure you know your print server’s IPP settings and make
sure they are correctly set to your network’s IP settings. Contact
your system administrator if you are unfamiliar with your network’s
routed IP settings. If you would like to share your printer with
Internet users outside of your internal network structure, you will
have to set an outside IP address that can access the print server. You
also have to make sure that any gateway, router or firewall does not
block the IPP protocol if you have those devices installed. Please
contact your system administrator or consult your router’s manual
Page 24

23
for DMZ or port mapping configuration settings.
Client Side
You will need to perform Window’s standard Add New Printer
procedure. To do this, select the “Network Printer” setting as
shown in the screen below and click “Next.”
Select “Connect to a printer on the Internet or on a home or office
network” and enter the URL of your HPS1P print server. The URL
format will be “http://IP:631/LPT_PORT”. The IP portion of the
URL will be the print server’s IP address. You will need to write
down 631 after the IP address. This number, 631, is the IPP
standard port number for IPP printing requests. LPT_PORT is the
port name of the print server that your printer is connected to. For
one-port print servers, the port name will be “lpt1”. For Hawking’s
three-port print servers, the port names are – lpt1, lpt2 or lpt3
depending on which printer port your printers are connected to.
Page 25

(Please write down the printer port and corresponding printer model
for configuring our line of multiple port print servers.) An
example IP address will be modeled as follows: The URL will be
http://192.168.2.1:631/lpt1 for a print server located on the first
printer port (lpt1) of the IP address 192.168.2.1. After entering the
URL of the print server, click “Next ” and complete the remaining
configuration settings to access the shared network printer.
For advanced configuration options, please refer to your HPS1P
manual which is located on the HPS1P Installation CD -ROM.
 Loading...