

Page 1
INSTALL INSTRUCTIONS C-VS-1100-F150
VEHICLE SPECIFIC CONSOLE
2004-2007 FORD F-150 PICK UP
TOOLS REQUIRED:
Metric Socket Set
Ratcheting Wrench
Panel Pulling Tool
HARDWARE:
DESCRIPTION PART #
QTY
6 #8 x ¾” Phillip Sheet Metal Screws GSM33189
1 C-HK-1 (32 Torx Screws) CM86508
SUB ASSEMBLY:
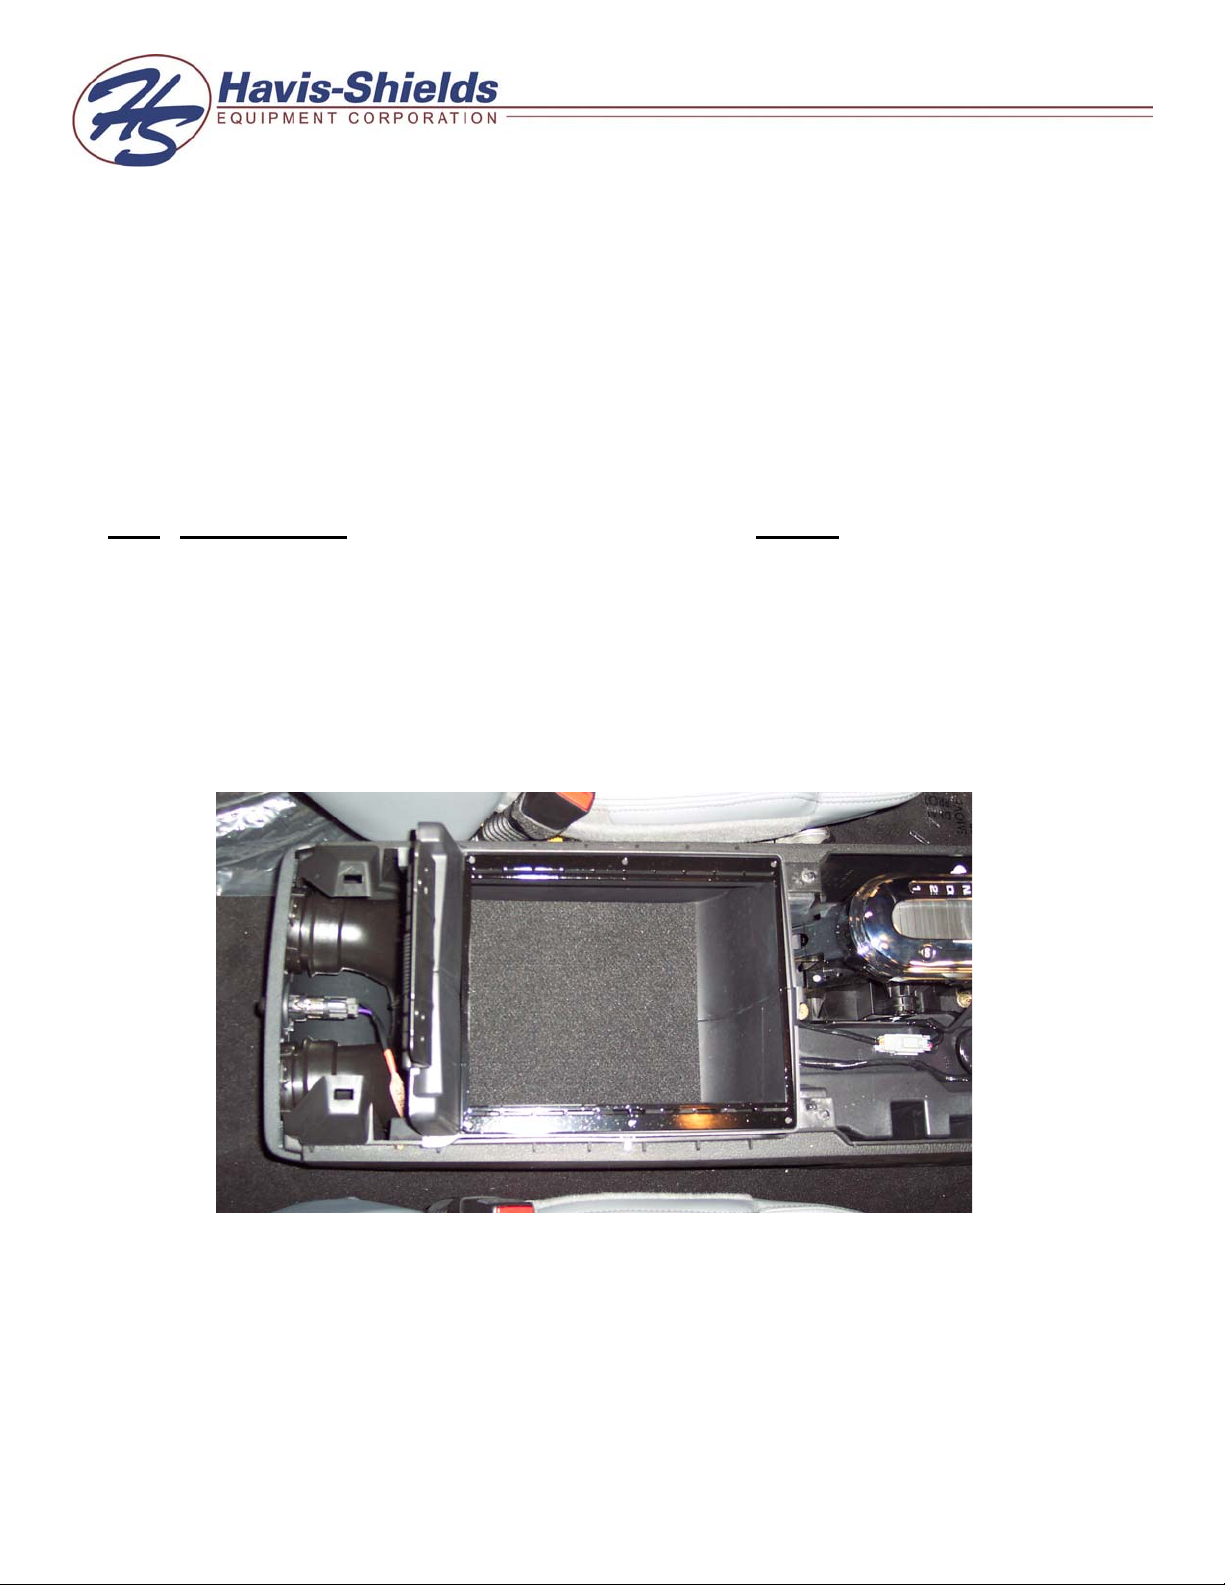
1. Remove necessary components to access mounting area.
• Armrest Pad (3 Metric Hex Head screws)
• Forward Console Face Plate (Panel Pulling Tool)
• Rear Console Face Plate (Panel Pulling Tool & 2 Metric Hex Head Screws)
1/8” Drill Bit
Phillips Screwdriver
Power Drill
INSTALLATION:
1. ATTACH HAVIS-SHIELDS CONSOLE:
• Position console plate as shown in the above view.
• Pre-drill mounting holes with 1/8” drill bit.
• Attach console plate using #8 x ¾” Sheet Metal Screws.
Page 2
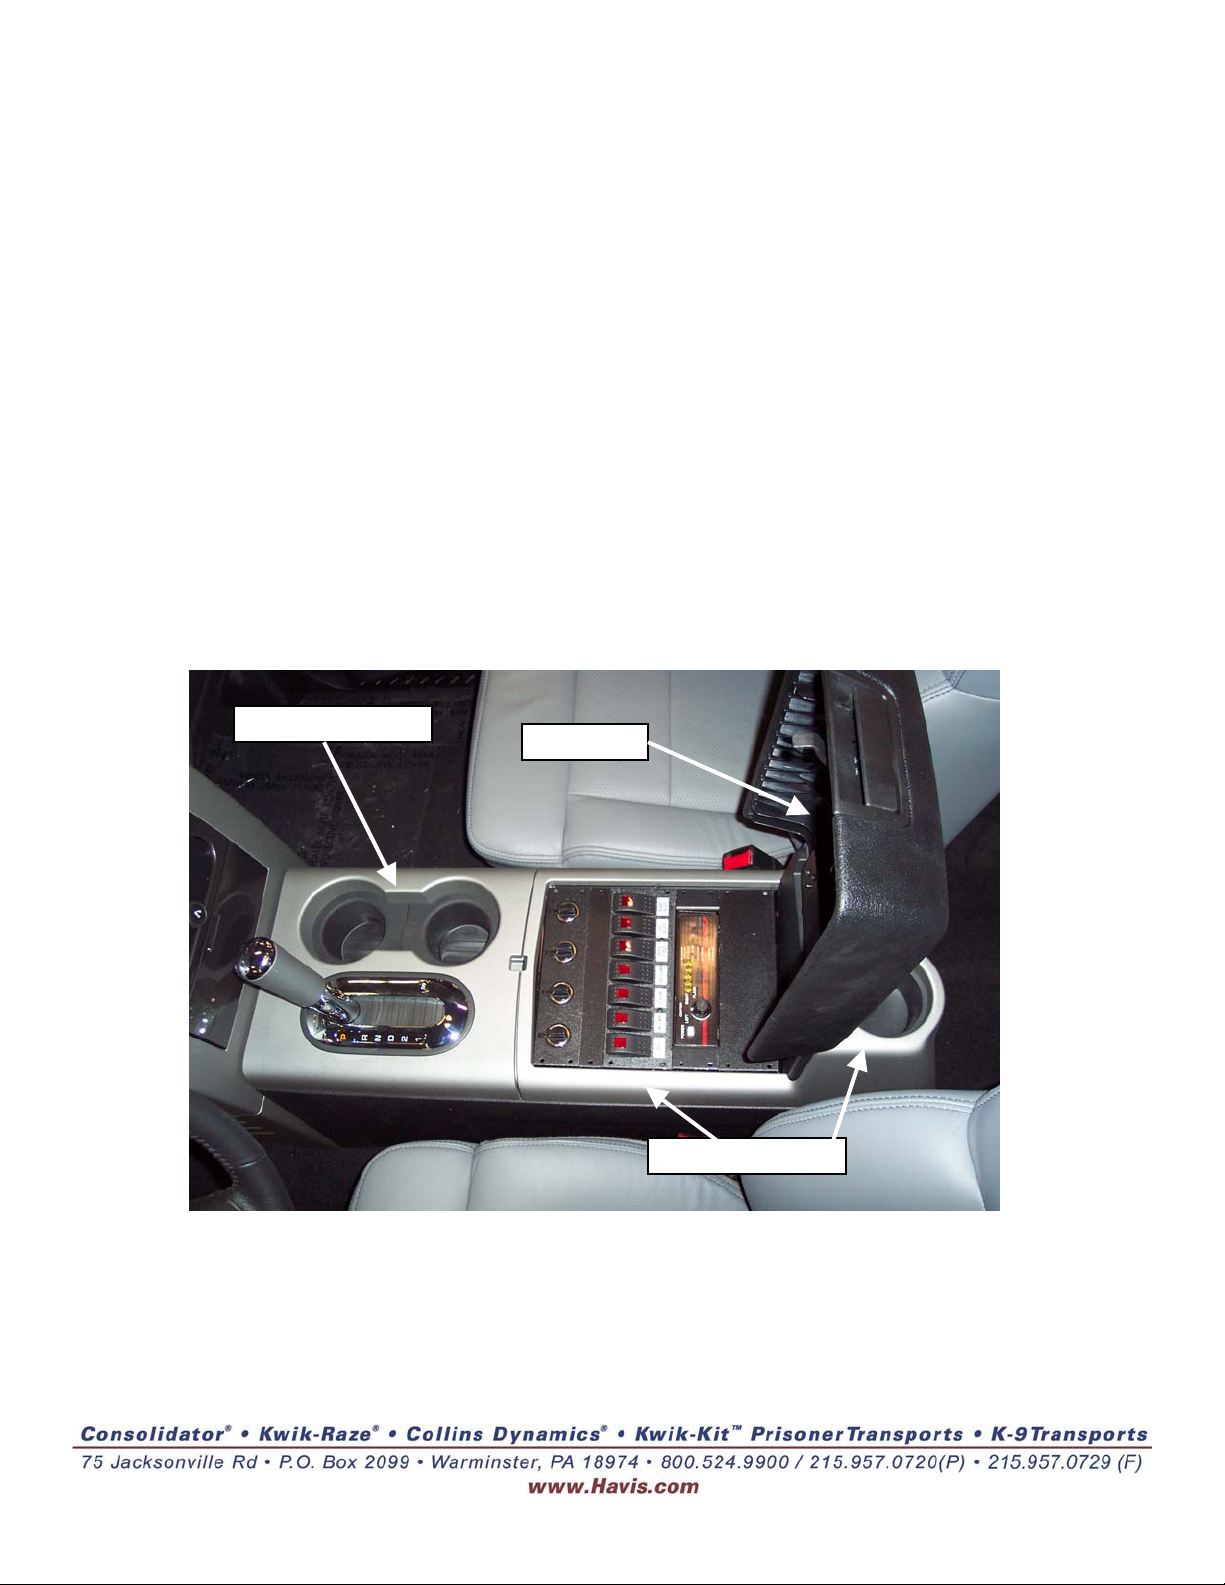
2. REPLACE COMPONENTS REMOVED IN SUB ASSEMBLY:
• Replace Rear Console Face Plate.
• Replace Forward Console Face Plate.
• Replace Armrest Pad.
3. INSTALL CONTROLS:
• Wire all controls prior to installation.
Note: A hole must be drilled in the bottom of the OEM console for routing of wires.
• Attach control heads to console plate using equipment brackets or filler panels with
#8 x 3/8” Black Torx Screws.
Note: You may have to drill the console plate in the occasional situation that the mounting slots do not line up
with the equipment bracket.
C-VS-1100-F150-INST-1-07
 Loading...