

Page 1
Instructions for
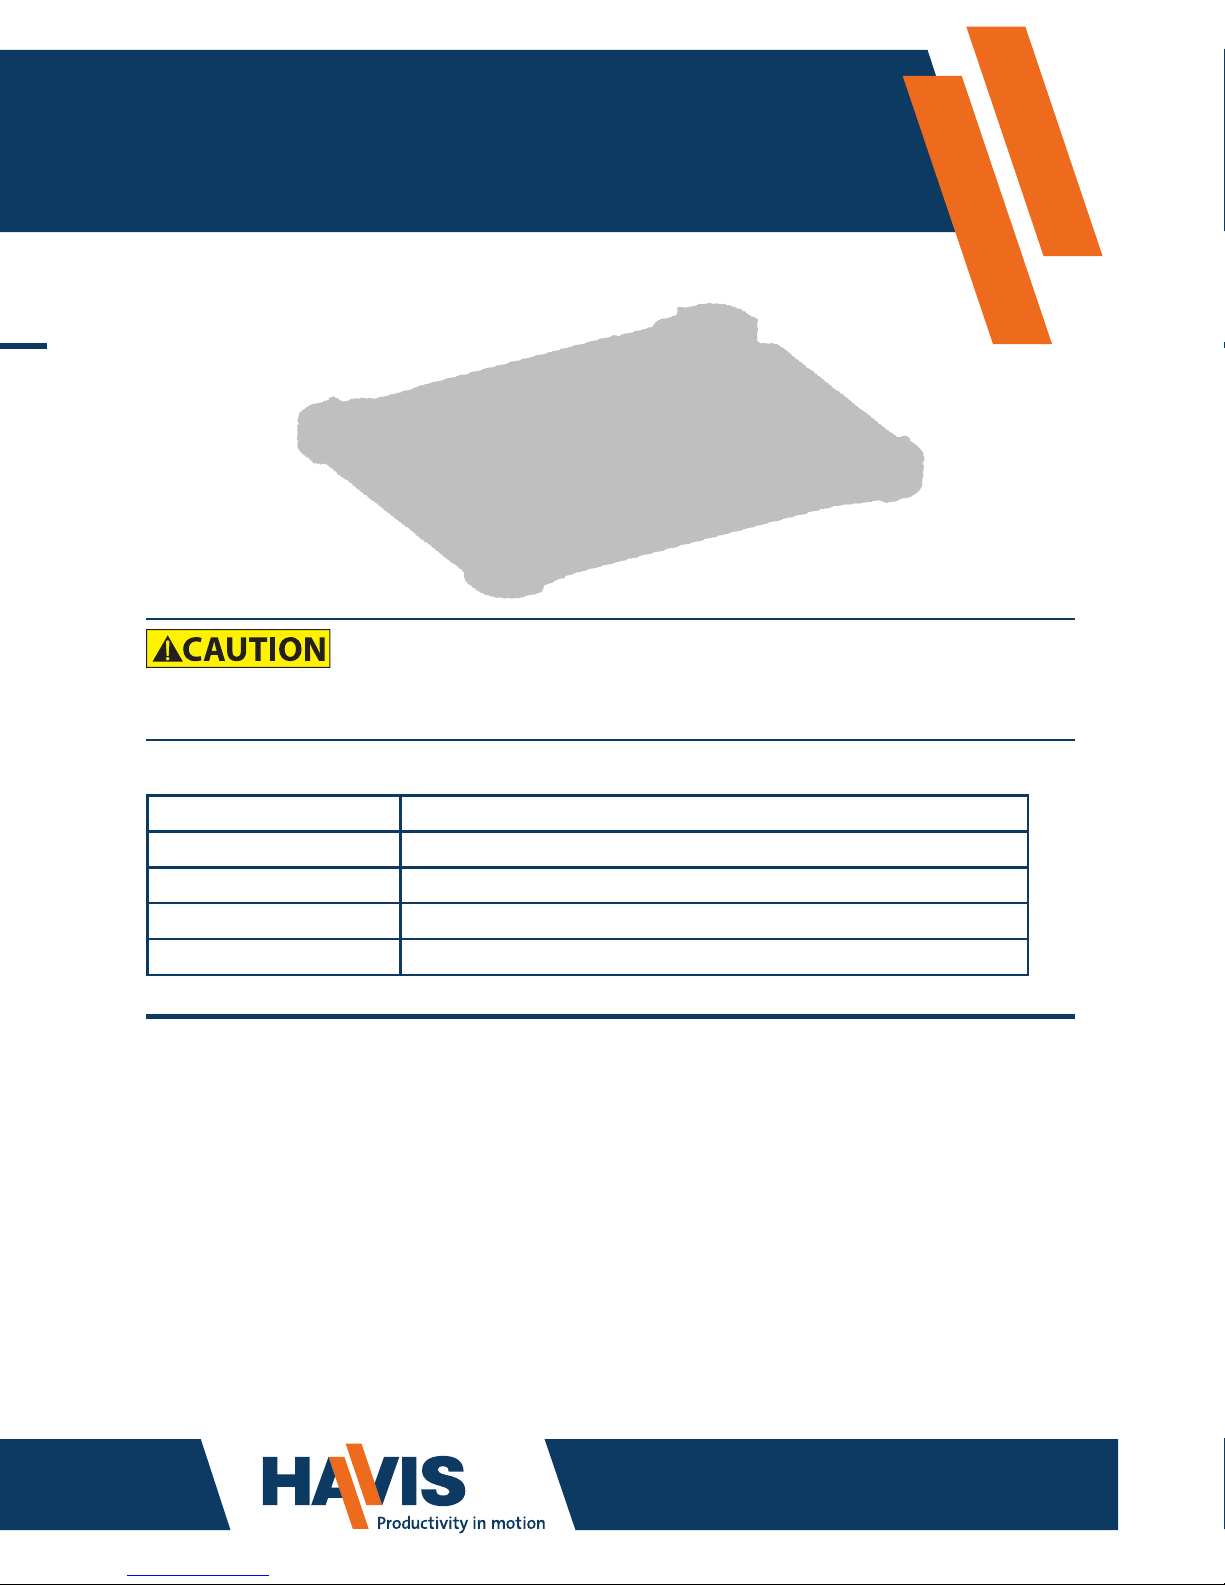
Havis Protective Case
For Apple iPad
www.havis.com
1-800-524-9900
DS-DA-701 for iPad 2/3
DS-DA-702 for iPad 4
DS-DA-703 for iPad Air
FCC Statement / Declaration of Conformity
Specications
• READ ALL INSTRUCTIONS THOROUGHLY BEFORE BEGINNING INSTALLATION.
Power Supply Input 5V (10 Watt)
Dimensions 11.4” ( 28.9 cm) W x 8.7” ( 22.1 cm ) D x 0.87” ( 2.2 cm ) H
Weight 0.8 lbs ( 0.36 kg )
Operating Environment 0° C to 35° C ( 32° F to 95° F )
Storage Environment -20° C to 45° C ( -4° F to 113° F )
This device complies with the requirements of the Code of Federal Regulations listed below:
FCC Title 47 CFR, Part 15 Class foBr a digital device.
Operation is subject to the following two conditions:
(1) This device may not cause harmful interference, and
(2) This device must accept any interference received, including interference that may
cause undesired operation.
NOTE: This equipment has been tested and found to comply with the limits for a Class B digital device,
pursuant to part 15 of the FCC Rules. These limits are designed to provide reasonable protection against
harmful interference when the equipment is operated in a commercial environment. This equipment
generates, uses, and can radiate radio frequency energy and, if not installed and used in accordance
with instruction manual, may cause harmful interference to radio communications. Operation of this
equipment in a residential area is likely to cause harmful interference in which case the user will be
required to correct the interference at his own expense.
Page 2
2 7
Charging Your Tablet
NOTE: This iPad case is designed to be charged using a designated
Havis Docking Station (Part # DS-APP-102).
If you have the need to chargeyour tablet when not docked, use the supplied
Micro-USB cable. Simply connect the Micro-USB cable to the Protective Case,
then insert the other end of the cable into a 5V (10Watt) power source.
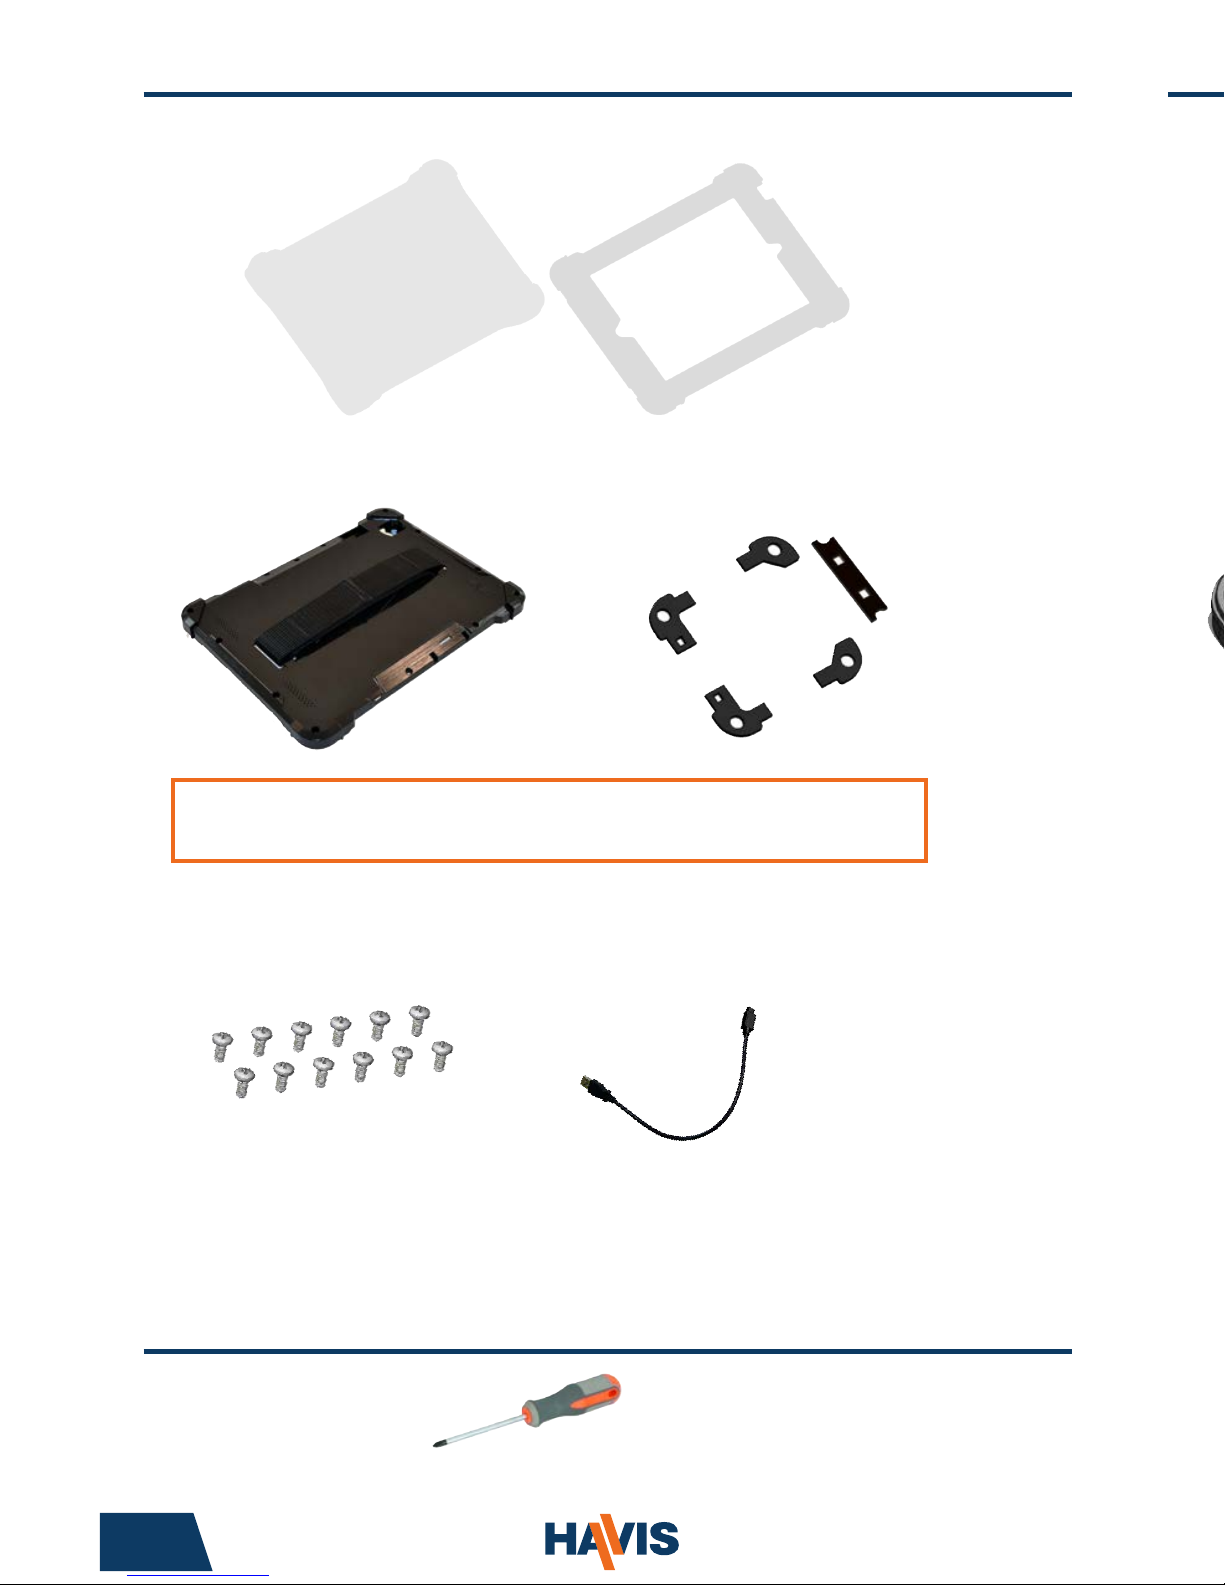
• #1 Phillips Screwdriver
• Protective Case
(Back and Front pieces)
• Micro-USB Power Cable (1)• #4-40 x 1/4” Machine Screws (12)
• Rubber Corners/Edge (5)
Parts Included
Tools Required
(Original Instructions)
• Hand Strap (1)
NOTE: The Hand Strap comes pre-attached to the back of the Protective Case.
If the Hand Strap will not be utilized, remove prior to assembly.
Page 3

www.havis.com • 1-800-524-9900
Installation
1. Remove Protective Case from packaging and seperate the Back piece
from the Front piece.
2. Insert the connector from the Protective Case into the Apple iPad.
Page 4

4 5
5. Place the Front piece of Protective Case on the Back piece. Ensure
a proper t by looking for gaps along the seam between the two pieces.
6. Holding the two pieces together, carefully turn the Protective Case over.
Installation (continued) Installation (continued)
3. Place the iPad into the Back piece of Protective Case, ensuring the
connector cable is routed as shown.
4. Place the ve (5) Rubber Corners & Edge onto the Back piece of
Protective Case, ensuring each one aligned properly or they will
not t securely in place. Insert Rubber Edge piece (#5 below) with
short edge along outside edge of Protective Case.
Some slight warping
will be evident if
inserted incorrectly
Page 5

www.havis.com • 1-800-524-9900
5. Place the Front piece of Protective Case on the Back piece. Ensure
a proper t by looking for gaps along the seam between the two pieces.
6. Holding the two pieces together, carefully turn the Protective Case over.
Align the
Headphone Port
location to ensure
proper orientation
of two pieces
Page 6

6 3
Installation
7. Insert all twelve (12) screws and then tighten with #1 phillips screwdriver.
8. To remove your Apple iPad from the Havis Protective Case, simply remove
the twelve screws, turn the case over, and lift the Front piece of Protective
Case off the Back piece. Unplug the connector, and remove tablet.
Installation (continued)
1. Remove Protective Case from packaging and seperate the Back piece
from the Front piece.
2. Insert the connector from the Protective Case into the Apple iPad.
Page 7

www.havis.com • 1-800-524-9900
Charging Your Tablet
NOTE: This iPad case is designed to be charged using a designated
Havis Docking Station (Part # DS-APP-102).
If you have the need to chargeyour tablet when not docked, use the supplied
Micro-USB cable. Simply connect the Micro-USB cable to the Protective Case,
then insert the other end of the cable into a 5V (10Watt) power source.
Micro-USB into
Protective Case
USB into
5V (10 Watt)
Power Source
Page 8

Instructions for
Havis Protective Case
For Apple iPad
DS-DA-700-SERIES_OMN_4-14
DS-DA-701 for iPad 2/3
DS-DA-702 for iPad 4
DS-DA-703 for iPad Air
Havis, Inc.
75 Jacksonville Road
Warminster, PA 18974
47801 Anchor Court
Plymouth, MI 48170
www.havis.com 1-800-524-9900
FCC Statement / Declaration of Conformity
Specications
• READ ALL INSTRUCTIONS THOROUGHLY BEFORE BEGINNING INSTALLATION.
Power Supply Input 5V (10 Watt)
Dimensions 11.4” ( 28.9 cm) W x 8.7” ( 22.1 cm ) D x 0.87” ( 2.2 cm ) H
Weight 0.8 lbs ( 0.36 kg )
Operating Environment 0° C to 35° C ( 32° F to 95° F )
Storage Environment -20° C to 45° C ( -4° F to 113° F )
This device complies with the requirements of the Code of Federal Regulations listed below:
FCC Title 47 CFR, Part 15 Class foBr a digital device.
Operation is subject to the following two conditions:
(1) This device may not cause harmful interference, and
(2) This device must accept any interference received, including interference that may
cause undesired operation.
NOTE: This equipment has been tested and found to comply with the limits for a Class B digital device,
pursuant to part 15 of the FCC Rules. These limits are designed to provide reasonable protection against
harmful interference when the equipment is operated in a commercial environment. This equipment
generates, uses, and can radiate radio frequency energy and, if not installed and used in accordance
with instruction manual, may cause harmful interference to radio communications. Operation of this
equipment in a residential area is likely to cause harmful interference in which case the user will be
required to correct the interference at his own expense.
Related Product
Havis offers a Docking Station specically for use with the DS-DA-700
Series Protective Case. For more information or to order, please visit
www.havis.com.
DS-APP-102
Docking Station
Docking Station for Apple iPad for in vehicle
computing.
 Loading...