

Quick Start Guide
1
3
4
5
6
7
8
9
10
HAVEN CONNECT
High-strength, Bluetooth enabled smart lock.
Safety, Warnings, Regulations
Warranty
Getting Started
Preparing Your HAVEN
Mobile Application Setup
Key Fob Pairing
Installation
Notes
Troubleshooting
HAVEN Lock, Inc - 10x stronger than the deadbolt
Patent Pending
v 1.4
1 HAVEN CONNECT
Important Safety Instructions
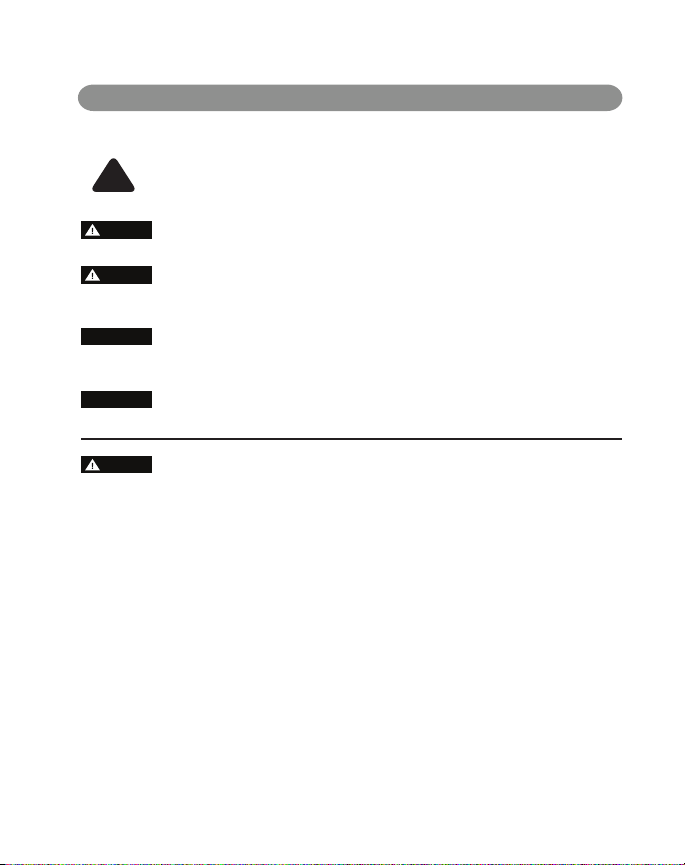
Explanation of Attention Words and Symbols used in this guide
This is the safety alert symbol. It is used to alert you to potential personal
injury hazards. Obey all safety messages that follow this symbol to avoid
!
possible injury or death.
WARNING
CAUTION
CAUTION
WARNING indicates a hazardous situation which, if not avoided, could result
in death or serious injury.
CAUTION, used with the safety alert symbol, indicates a hazardous situation
which, if not avoided, could result in minor or moderate injury.
CAUTION, used without the safety alert symbol, indicates a hazardous
situation which, if not avoided, could result in harm to yourself and others.
NOTICE is used to address safe-use practices not related to personal injury.
NOTICE
WARNING
HAVEN will not prevent someone from accessing your home via other means.
HAVEN will not prevent someone from getting through your door if they use special tools.
HAVEN is designed as barrier to prevent a closed door from being forced inward into a dwelling when blunt forced is
used against the middle section of the door near the outside door handle. Any other entry attempt does not fall
under the product definition or purpose of HAVEN Lock. For instance, a person who uses a special tool to remove the
door or any elements of the door or attempts to cross the barrier of the door through an opening does not fall
under the defined use of HAVEN Lock.
If you experienced a break in attempt with HAVEN installed we recommend that you replace your HAVEN.
Do not attempt to disassemble unit or remove components that are not explicitly stated in the installation manual.
Do not press down on the pedal and locking gate at the same time.
Owner is responsible for providing alternative access to the building in the event of fire, potential smoke inhalation,
carbon dioxide event, or other home emergency not listed explicitly here.
Owner is responsible to ensure proper fit and correct installation.
Owner is responsible for safety of themselves and others. If you are unsure if this product is right for you, please
consult our Help Team at support@havenlock.com or other security professional.
Need help? Contact us at support@havenlock.com
CAUTION
CAUTION
NOTICE
Use caution when placing HAVEN in doorway during installation and use.
Owner is responsible for reading and following the operating and safety instructions as well as proper use of
unit. Wear appropriate protective items during installation to avoid injury.
Do not install near live electrical cords. Ensure installation area is free of wires, cables, pipes, and other objects
that may cause hazards.
Use only the tools referenced in the installation guide. Use of other tools or not following installation
instructions may result in improper installation and decreased functionality.
Owner is responsible for proper use and avoidance of HAVEN as a trip hazard.
Do not place HAVEN on unapproved surfaces to avoid additional trip hazards.
Owner is responsible for ensuring the unit is clean for full functionality and capabilities.
Owner is responsible for providing access to your own home. Owner is responsible for ensuring alternate access
into your home when needed.
Owners are responsible for whoever has access or use to engage or disengage the unit.
The unit is designed to act as a deterrent, but should still be used in conjunction with other safety measures. The
unit is intended as supplementary security for use in conjunction with current lock hardware.
HAVEN LOCK INC is not liable for any personal injuries, property damage, economic loss or any consequential
damages sustained as a result of any individual in contact with the unit.
Do not consume any area of the unit.
Do not put the unit near sensitive bodily areas.
To avoid damage to the unit, do not use on wet surfaces or damp locations. The product is designed for indoor
use only. Do not expose to weather elements as this may affect functionality.
To avoid potential damage to your unit, do not simulate a break in. Damage to the unit may affect later
functionality.
Owner is responsible for ensuring unit is operating properly. HAVEN LOCK INC expressly disclaims all
guarantees, whether implied or expressed, to include but not limited to fitness or merchantability for a
particular purpose.
QUICK START GUIDE 2
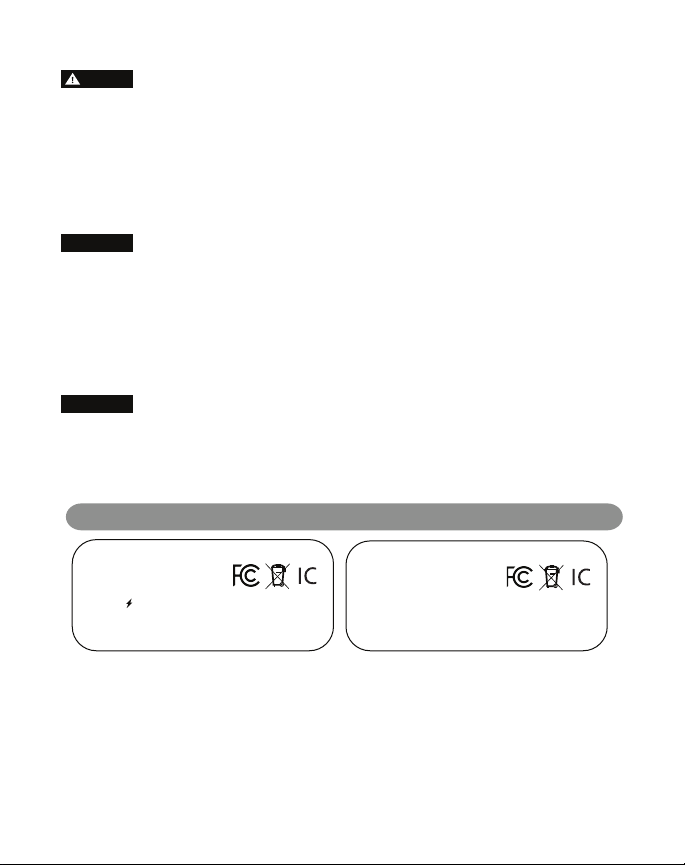
REGULATORY INFORMATION
HAVEN Lock Connect
Havenlock, Inc
Model: HL1-CNT-001
FCC ID: 2ARFQHL1CNT001
IC: 24389-HL1CNT001
3.3VDC 0.5A
This device complies with part 15 of the FCC Rules.Operation is subject
to the following two conditions: (1) This device may not cause harmful
interference, and (2) this device must accept any interference received,
including interference that may cause undesired operation.
WARNING: Changes or modications which are not expressly approved by HAVENLOCK, Inc could void the user’s authority to operate the equipment.
AVERTISSEMENT: Les changements ou modications qui ne sont pas approuvés par HAVENLOCK, Inc pourrait annuler l'autorité de l'utilisateur de faire fonctionner l'équipement
This device contains licence-exempt transmitter(s)/receiver(s) that comply with Innovation, Science and Economic Development Canada’s licence-exempt RSS(s). Operation is subject to the following two conditions:
1) This device may not cause interference.
2) This device must accept any interference, including interference that may cause undesired operation of the device.
Cet appareil contient des émetteurs / récepteurs exemptés de licence conformes aux RSS (RSS) d'Innovation, Sciences et Développement économique Canada. Le fonctionnement est soumis aux deux conditions
suivantes:
1) Cet appareil ne doit pas causer d'interférences.
2) Cet appareil doit accepter toutes les interférences, y compris celles susceptibles de provoquer un fonctionnement indésirable de l'appareil.
This system has been evaluated for RF Exposure per RSS-102 and is in compliance with the limits specied by Health Canada Safety Code 6. The system must be installed at a minimum separation distance from the
antenna to a general bystander of xx inches (xx cm) to maintain compliance with the General Population limits.
L’exposition aux radiofréquences de ce système a été évaluée selon la norme RSS-102 et est jugée conforme aux limites établies par le Code de sécurité 6 de Santé Canada. Le système doit être installé à une distance
minimale de xx pouces (xx cm) séparant l’antenne d’une personne présente en conformité avec les limites permises d’exposition du grand public
HAVEN Lock Fob
Havenlock, Inc
Model: HL2-FOB-001
FCC ID: 2ARFQHL2FOB001
IC: 24389-HL2FOB001
This device complies with part 15 of the FCC Rules.Operation is subject
to the following two conditions: (1) This device may not cause harmful
interference, and (2) this device must accept any interference received,
including interference that may cause undesired operation.
3 HAVEN CONNECT
LIMITED WARRANTY
Any major malfunction of HAVEN Connect caused by a defective part or construction of the unit will be
fixed by HAVEN LOCK INC up to one year from the date of receiving the unit. This warranty only covers
the original purchaser of HAVEN Connect and does not cover any commercial or business use of HAVEN
Connect. Only private use by the original purchaser is covered by this warranty. If HAVEN Connect is
installed improperly, used in any way not in accordance with our guidelines, or altered in any way, this
warranty is void. Damage caused by misuse, neglect, or battery malfunction are not covered by this
warranty.
If a HAVEN Connect unit is claimed defective by the original purchaser under this warranty, HAVEN LOCK
INC may require the unit to be shipped back to their headquarters or fulfillment center for
investigation. The costs associated with this shipment may or may not be incurred by the original
purchaser.
This warranty only covers HAVEN Connect and no other equipment. Any other device used with HAVEN
Connect in any way is not covered by this warranty.
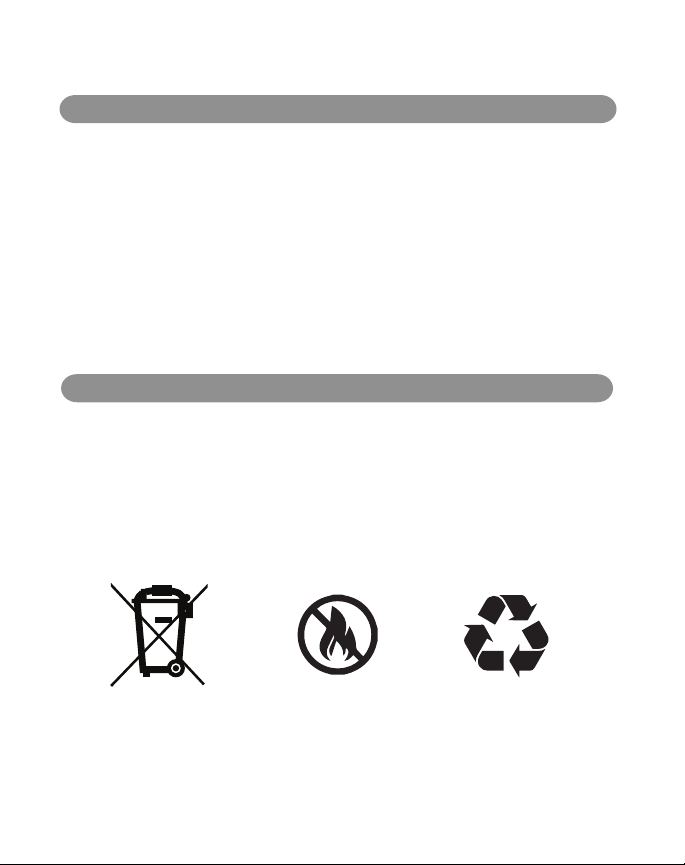
BATTERY INFORMATION & DISPOSAL
Correct disposal of this product: This symbol indicates that this product must not be disposed of with
household waste, according to the WEEE Directive (2012/19/EU) and your national law. This product
should be taken to a collection center licensed for the recycling of waste electrical and electrical
equipment (EEE). The mishandling of this type of waste could have possible negative impact on the
environment and human health due to potentially hazardous substances that are generally associated
with EEE. At the same time, your cooperation in the correct disposal of this product will contribute to
the efficient use of natural resources. For more information about where you can take your waste
equipment for recycling, please contact your local city office, or your household waste collection service
Need help? Contact us at support@havenlock.com

QUICK START GUIDE 4
GETTING STARTED
Upon opening your HAVEN Connect, you should find the following items inside:
HAVEN Connect
Your lock which will be mounted at the
base of your door.
Power Adapter
120v AC USB Adapter for use with
included charging cable
Door Spacer
Plastic spacer used during installation to
measure the proper distance from the base
If you are missing any of the items above, please email us
Installation Spacer
Optional spacer used for thresholds that
are higher than 0.8” and as a template
marker for alignment and drilling of holes
Charging Cable
USB Charging cable used to charge
your HAVEN Connect
Installation Screws (6)
Six Phillips head screws used for
of door.
attaching your HAVEN Connect to
your floor.
at support@havenlock.com and let us know!
OPTIONAL ACCESSORIES
Key Fob
If you purchased a HAVEN Connect Key Fob
you should find it included in your box.
May be ordered and shipped separately.
Need help? Contact us at support@havenlock.com
E90 E90 E90
Backup Batteries (3)
Three E90 Backup batteries.

+
_
+
1
+
2
+
3
+
4
5 HAVEN CONNECT
PREPARING YOUR HAVEN CONNECT
Status Indicator LED
A
C
Control Panel Cover
Control Panel (with cover lifted)
D
Charging Port
B
Admin Button
Charging
1
Plug the included charging cable (USB end) into the included power adapter. Open the HAVEN Control Panel
cover (C) and plug the charging cable into the Charging Port (D). Allow HAVEN to fully charge 6-8
hours before use. This is a good time to set up your account at www.myhavenlock.com or on the mobile
app.
Install Backup Batteries
2
Using the 3 include E90 Batteries, place them according to the battery placement indicator in the backup
battery slot (G).
Cycling the Lock
3
Cycling the lock a minimum of 10 times prior to installation ensures that the nylon straps inside the lock
are properly stretched and calibrated. During shipment parts can settle and this cycling allows the parts to
“stretch” and maximize their effectiveness. A “cycle” is simply locking and unlocking the lock via the foot pedal
(F) and lock gate (E). Cycling the lock via the key fob or app a minimum of 5 times helps ensure the servo
motor is properly engaged and ready for use.
Remove Locking Gate Cover (E)
4
If you are ready to mount and install the HAVEN Connect, remove the HAVEN locking gate cover by
removing the 4 small screws (Phillips head screwdriver) on the back of the locking gate, as seen below:
E
Locking Gate
R
Factory Reset (using pin)
F
Manual Foot Locking Pedal
G
Backup Battery Slot
Need help? Contact us at support@havenlock.com

SETTING UP MOBILE APP
Get prepped
1
Download the HAVEN Lock App from the App Store or Google Play Store on your mobile device.
Go through the steps to setup an account within the HAVEN App. Make sure Bluetooth is
activated on your smart device.
Visit the link below to download the appropriate app, or scan the QR code to be directed
automatically:
QUICK START GUIDE 6
Android Devices
www.havenlock.com/android
Launch app and setup account
2
Launch the HAVEN app and follow the steps on screen to set up your HAVEN account. You will
receive a confirmation email to complete the setup. Note: be sure to check your spam folder in
your email if you do not receive the email within 5-10 minutes.
Prepare to pair your device
3
Once your account is set up, log in to the app and click the icon to expand the menu. Select
“Pair A Device” and follow the on-screen instructions.
Make your HAVEN discoverable
4
Open the control panel (C) of your HAVEN and press and release (do not hold) the admin button
(B) . Once the LED begins to flash, touch your phone to the lock and the app should complete the
pairing process.
Name your lock
5
Once your lock is finished communicating with your smart device, you will be prompted to name
the lock you are setting up. After you named your lock (e.g. Front Door) click on the blue
"Complete Setup" button on the bottom of your screen.
+
Apple Devices
www.havenlock.com/apple
Having issues? See the troubleshooting
section at the end of this manual or go to
www.havenlock.com/faq

7 HAVEN CONNECT
KEY FOB PAIRING (purchased separately)
H
I
LED Status Indicator
Unlock Button
Touch the key fob against the HAVEN
1
Connect Status Indicator LED ( A ) and press
and hold the key fob lock button ( J ) for 5
seconds until the Key Fob LED Status
Indicator ( H ) illuminates and blinks white.
Continue holding button ( J ).
J
Both lights should blink together and you will hear a beep to signify that the pairing was
3
successful.
If you do not hear the beep and your key fob does not function or flashes red, you will need to
4
hold the HAVEN Admin Button ( B ) for about 10 seconds to reset (LED will flash green) and then
start the process over again. (Note: resetting the HAVEN through manual reset also disconnects any
synced phone applications that will need to be re-keyed via the mobile application).
Lock Button
While still holding the key fob lock button,
2
press and release the HAVEN Admin Button
( B ) and when it starts blinking white, release
the lock button ( J ) on the key fob.
KEY FOB RESET
When a HAVEN Key Fob needs to be cleared of its paired connection to HAVEN Connect, it must go
through a reset process.
Hold Lock Button for 4 Seconds - On the enrolled key fob, hold down the lock button ( J ) for
1
approximately 5 seconds.
Wait for Flashes - A short series of flashes will appear, momentarily stop and then reappear.
2
Fob Restarts - The fob will then automatically restart. Upon powering back up, an alternating
series of green, red, blue and white flashes indicate that the fob is powered on.
3
Ready for New Enrollment - The key fob has been successfully reset and the preexisting
4
enrollment has been cleared.
Need help? Contact us at support@havenlock.com

INSTALLING YOUR HAVEN CONNECT
Tools Required For Install
QUICK START GUIDE 8
Power Drill
Installation Screws (6)
Pencil
Phillips
Screwdriver
Measuring Tape
Phillips Drill Bit1/8” Drill Bit
Installation Overview
Measure
1
A. Center lock on door
B. Confirm height
We decided to save some trees and created a pretty cool install guide you can access online. It will walk you
through the many different install scenarios you might encounter.
Where is the rest of the guide?
Drill
2
A. Drill pilot holes
B. Clean surface
3
Secure
A. Place unit
B. Drill in screws
install.havenlock.com
DISCLAIMER
Use of this guide at your own risk. HAVEN LOCK INC and its parent or partner companies are not liable for any damages to
property or bodily injuries that occur during or after installation. HAVEN LOCK INC assumes no responsibility in providing
the correct tools and accessories needed for installation unless otherwise noted. Use proper protective gear when
completing the steps detailed in this guide. This guide is simply suggestive and not in any way authoritative. Always use your
own best judgment. Incorrect installation or lack of safety precautions can lead to serious injury or death for you or anyone
around the installation area. If you are not comfortable installing HAVEN Lock, we advise you to seek out a professional
skilled worker with home construction experience to assist you.

9 HAVEN CONNECT
GENERAL NOTES ON HAVEN CONNECT
Bluetooth Range
HAVEN Connect uses Bluetooth to communicate to its control devices like the Key Fob, Smartphone App,
and HAVEN Hub. Bluetooth has a theoretical range of 100m (328 ft), but that is all dependent on the
environment. If any object is between the controller and the lock, the effective range of Bluetooth will
drop. When you use Bluetooth, you should assume the effective range is 50 meters (160 ft.)
Layered Security
The HAVEN Lock is a layered security device. We advise customers to use HAVEN as a supplemental layer
in their home security. Relying on a single device or component will lessen the security of your home.
HAVEN Lock should be part of a larger home security system. It is not a total solution. We suggest using
video cameras, motion sensors, alarm monitoring, and vibration sensors.
Personal Security
HAVEN Connect only works as well as its user. Taking personal responsibility for your own safety is very
important to make HAVEN Connect work for you. Our product can’t prevent you from sending a guest
pass (eKey) to the wrong person. HAVEN Connect can’t prevent your phone from being stolen and cannot
keep your password secure. Being proactive and responsible is the best way to protect you and your
home.
IMPORTANT SAFEGUARDS
Replace low batteries immediately. HAVEN Connect’s main battery lasts for about 3 months on
a single charge. The backup batteries serve as a power source to unlock your HAVEN in the
event that the primary source is depleted. Do not rely on them for long periods of time. Please
charge your unit and replace the backup batteries every three months.
Protect your password. You are responsible for your own security. HAVEN Connect is not a
replacement for personal responsibility. Do not share your password with anyone you do not
trust or know well. To be safe, do not share it with anyone.
Who is getting access? You can give access to your HAVEN Connect to other people using the
eKey feature in the application. You are the admin and if you give access to the wrong person,
they will be able to access your home.
Your smartphone is the key and the access control panel for your HAVEN Connect. If someone
has access to your smartphone, they could control your HAVEN and gain access to your home.
Your smartphone security should be regarded the same as your home security; make sure to
password protect your phone.
If your smartphone is stolen or lost, deactivate your phone at the HAVEN Lock Web Portal
(www.myhavenlock.com). If your key fob is lost or stolen, reset your lock by pressing and
holding the Admin Button (B) for 10 seconds (or until it flashes green) or send an email to
support@havenlock.com.
Make sure to turn on notifications in your HAVEN Lock app as well as your smartphone
settings. This will help you keep track of any changes that occur to your HAVEN Lock. You can
receive alerts when someone is coming and going, but most importantly you will be notified of
any admin actions that occur.

QUICK START GUIDE 10
TROUBLESHOOTING
Below are some common issues you might encounter while installing or operating your HAVEN Connect. If you do not see your
issue below, contact us at support@havenlock.com.
HAVEN Connect Issues
HAVEN will not turn on or no indication of
power.
HAVEN will not fit under my door or does not
reach the base of my door.
How do I turn HAVEN off?
I can’t get the foot pedal to work.
I need to reset my HAVEN. Can I perform a
factory reset?
Key Fob / Mobile App
I can’t pair my key fob or app / is not working
My Key Fob no longer works and the LED
does not illuminate.
Need help? Contact us at support@havenlock.com
Make sure you have fully charged the unit and
inserted the backup batteries. Press the Admin
Button under the control panel hood and the LED
should illuminate. If not, please contact us at
support@havenlock.com and we will help you out.
Be sure to visit our detailed installation guide at
https://install.havenlock.com that will walk you
through various scenarios involving uncommon
door and threshold sizes. In most cases this fixes
the situation, but if you still need help, contact us!
HAVEN is designed to be “always on” so that it is
ready to receive commands from bluetooth devices.
After several minutes it will go into a power saving
mode but will always be on.
The foot pedal is designed to be pressed at a
certain angle to prevent false locking by children or
pets. Try pressing close to the top of the pedal,
inward with your toes first. This can take some
practice to get it right.
To factory reset your HAVEN (restore original
firmware and disconnect all devices) you have to
hold down both the admin (B) and reset button (R)
and release the reset button while still holding the
admin button for 10 seconds. This process will take
about a minute or so to complete.
If the pairing process fails, you may need to reset
everything to try again. On HAVEN, hold the Admin
Button for 10 seconds until the LED flashes green.
On the Key Fob, hold the Lock button for 10
seconds, and on the App edit the settings for your
paired lock and delete it from your list. Try the
pairing process again and repeat as necessary.
If the LED on your Fob is not lighting when you
press either button, you could have a dead battery.
Contact us at support@havenlock.com and we can
help you out.

HAVEN Lock, Inc.
Patent Pending
Nashville, TN
www.havenlock.com
 Loading...