

haupa AC25-12, AC42-12, TC42-12, TC25-12 Instruction Manual

Q
ZERTIFIKAT
DIN EN ISO 9001
… convincing solutions
Electro-hydraulic crimping tools
INSTRUCTION MANUALHydraulic pliers
„AC25-12“
Art. 216601
„TC25-12“
Art. 216620
„AC42-12“
Art. 216622
„TC42-12“
Art. 216624

1. Technical data
Area of application: For the creation of an electrical connection by means of compression
Scope of delivery: 1 crimping tool, 1 charger, 2 batteries, 1 carry strap, in a plastic case,
without dies.
Pressing force: 120 kN
Oil type: ISO class viscosity 15
Feed rate: 2 speeds: Closing (fast) feed to bring the pressing dies to the conductor
and working feed for compression.
Switching between the two speeds is carried out automatically.
Safety: The tool is fitted with a safety value that has been set at the factory.
Structure: The working head can be rotated by 180° to make it easier to adapt to
the operation to be carried out. The hydraulic crimping tool does not
protect the operator when working on cables that carry power.
Guarantee: 2 year guarantee if used for the purpose it is intended
2. Area of work
3. Operating instructions
CAUTION! TOOLS MAY NEVER BE USED WITHOUT FIRST INSERTING THE PRESSING DIES.
Ensure that the pressing dies fit precisely to the appropriate area and are seated perfectly in
the holders.
OTHERWISE THIS MAY CAUSE SERIOUS DAMAGES OR BREAKAGES AND THE GUARANTEE WILL
BE VOIDED.
• Pressing force in kN: 120 kN
• Working pressure in bar: 700
• Opening / Hub: 216601/216620: 25 mm – 216622/216624: 42 mm
• Pressing width: breit
• Motorstop: yes
• Art. 216601/216620:
Crimping range cable lugs: Cu 10-400 / DIN Cu 10-300 / DIN Al 16-240
Crimping range cable lugs: Cu 10-185 / DIN Cu 10-150 / DIN Al 16-120
• Art. 216622/216624:
Crimping range cable lugs: Cu 10-400 / DIN Cu 10-300 / DIN Al 16-240
Crimping range connectors: Cu 10-400 / DIN Cu 10-300 / DIN Al 16-240
• Battery charging time in min.: 60
• Battery type: NiMH, 14,4 V, 3 A
• Dual-piston pump
• Weight in kg: 216601: 7 / 216620: 7 / 216622: 8,5 / 216624: 8,5
• Weight of set in kg: 216601: 12 / 216620: 12 / 216622: 13 / 216624: 13
Germany: HAUPA GmbH & Co. KG, Königstraße 165-169, D-42853 Remscheid.
Phone: +49 (0)2191 8418-0, Fax: +49 (0)2191 8418-840, sales@haupa.com • Errors and technical changes reserved.
english
… convincing solutions
Preparation:
Before starting up the tool, read the operating instructions first.
All current-carrying elements in the area you are working in should be disconnected.
Otherwise the protective procedures for working in the vicinity of
components under current must be implemented. (DIN EN 50110)
Do not use the tool if you are tired or under the influence of medication, drugs or alcohol.
Take into account the valid accident prevention and safety regulations and use the tool exclusively for the purpose for which it is intended.
Only electro-technically trained persons over 16 years of age may process connecting materials
using the tool.
The operating instructions must always be carried with the tool.
The instructions must have been read and understood by the user.
The operator must ensure that this is the case.
Operating:
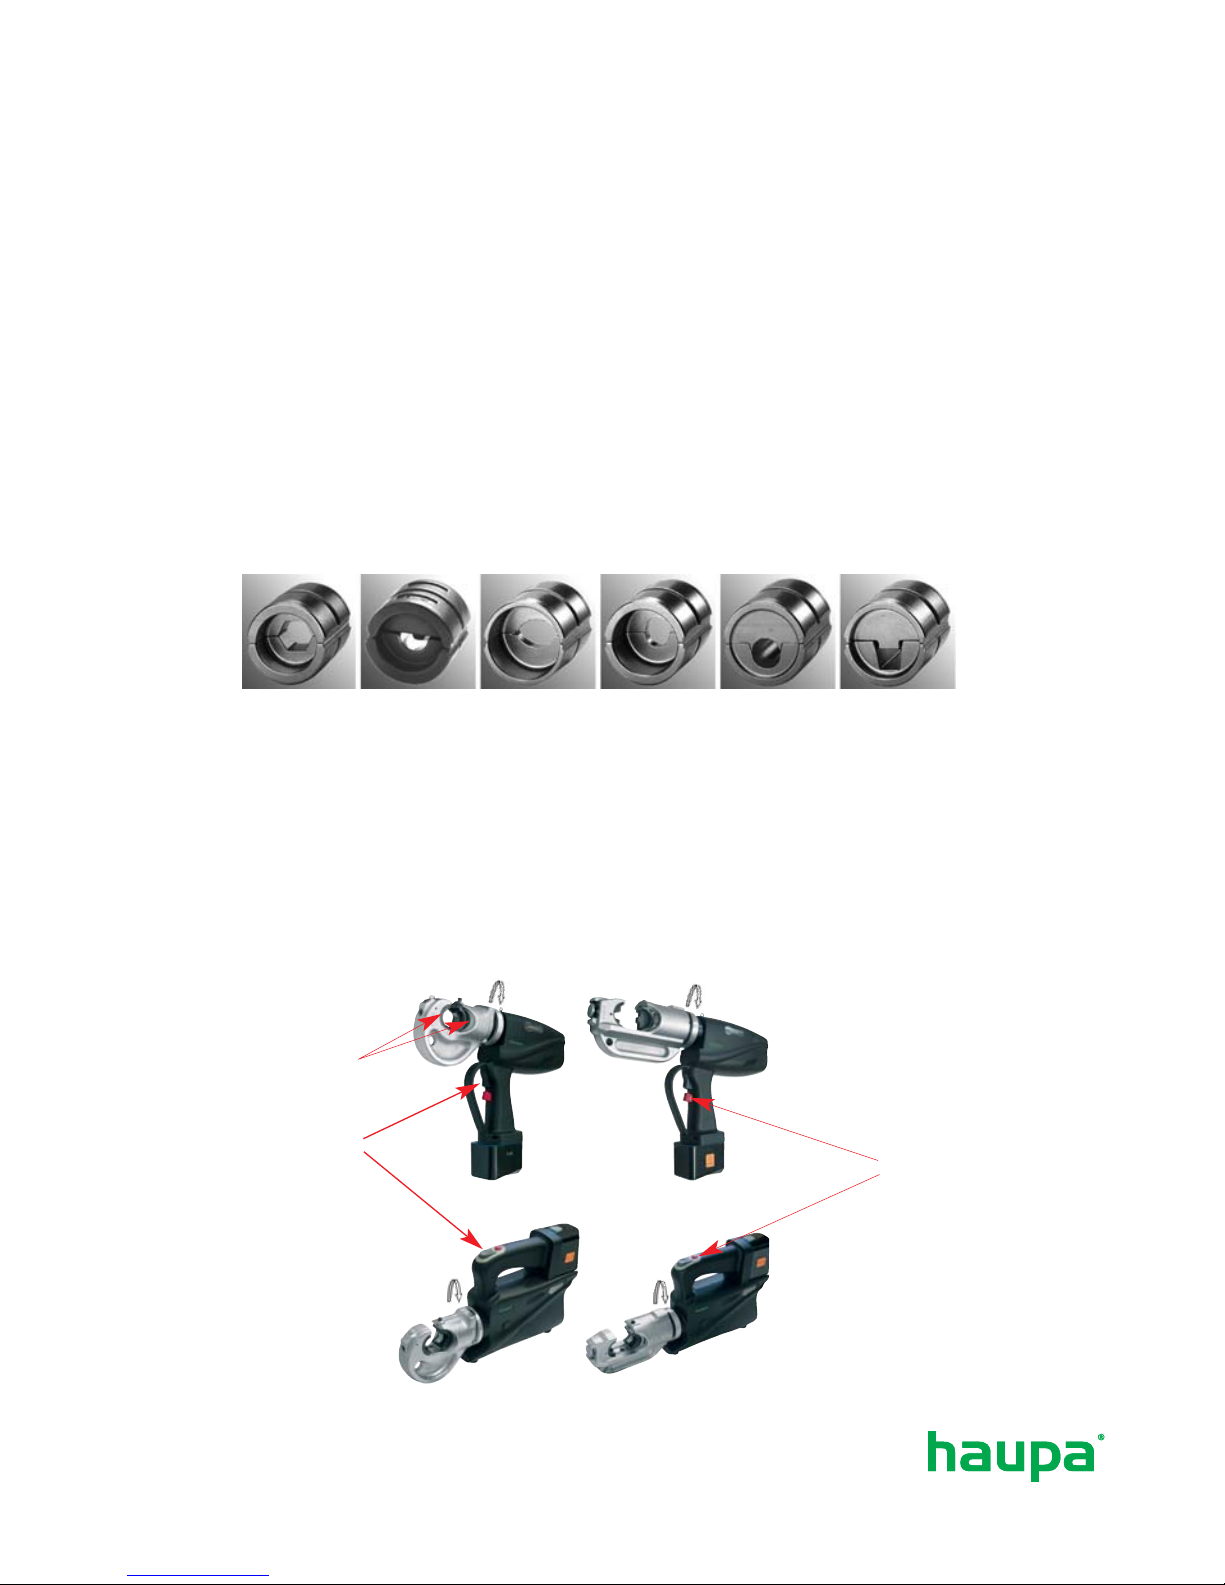
• Select the appropriate pressing dies for the connection to be pressed.
• Insert the pressing dies in the tool head. All of the pressing dies that can be used in these
models are half-circles, regardless of the type of crimping or pressing being carried out.
They are made up of two parts with identical external measurements, so that they both can
be inserted at will into the piston or the head.
• The procedure for inserting pressing dies is identical for mounting to both piston and head.
• The dies are inserted via the guides until they come to a stop at the blocking pin.
Pushbutton for
return movement
Pushbutton
to advance
Die holder

Operating:
• When inserting into the piston, you must only ensure that this is pushed far enough forward
for the release button to be visible and accessible.
• To remove the dies, in both instances, the relevant release button must be activated.
Then allow the dies to slide out. Please note that in order to remove the inserts at the piston,
the steps listed above must be carried out in reverse order.
Start:
- Bring the tool to the working position.
- Select the appropriate pressing dies for the connection to be pressed.
- Insert the pressing dies in the tool head.
- Feed the conductor into the connector.
- Place the connector between the two pressing dies.
- Approach of the pressing dies (closing feed rate)
- Hold the tool securely and press the operating button to move the piston quickly forwards
until the pressing dies meet the connector to be compressed.
- As soon as the pressing dies start to compress the connectors, the system automatically
switches from closing feed to working feed.
- Press until the pressure limiter can be heard or the pressing dies meet.
- Pressing the front operating button takes the pressure off the system and piston travels
back (fully or partially, to directly carry out a compression action).
IMPORTANT Art. 216601 and 216620:
If connection sleeves with braided wires with cross-section in excess of 185 mm2 are to be
compressed, the cable must be stripped approximately 50 mm further than the amount that
will be inserted into the sleeve in order to enable removal from the device head after pressing.
If this is not done, the device must later be pushed to the end of the cable or the cable be
stripped after crimping.
4. Removing and inserting the battery
Hold the tool firmly and press the battery release button to remove the battery.
ATTENTION:
Never short-circuit the battery.
Inserting the battery
Insert the battery until it clicks into place. Make sure the poles are facing the right way.
Figure 1 Figure 2
Germany: HAUPA GmbH & Co. KG, Königstraße 165-169, D-42853 Remscheid.
Phone: +49 (0)2191 8418-0, Fax: +49 (0)2191 8418-840, sales@haupa.com • Errors and technical changes reserved.
english
… convincing solutions
Charging
Before using the tool, charge the battery as follows:
Connect the cable of the charger to a socket (AC). As soon as the charger is connected to the
power supply, the red LED will light up.
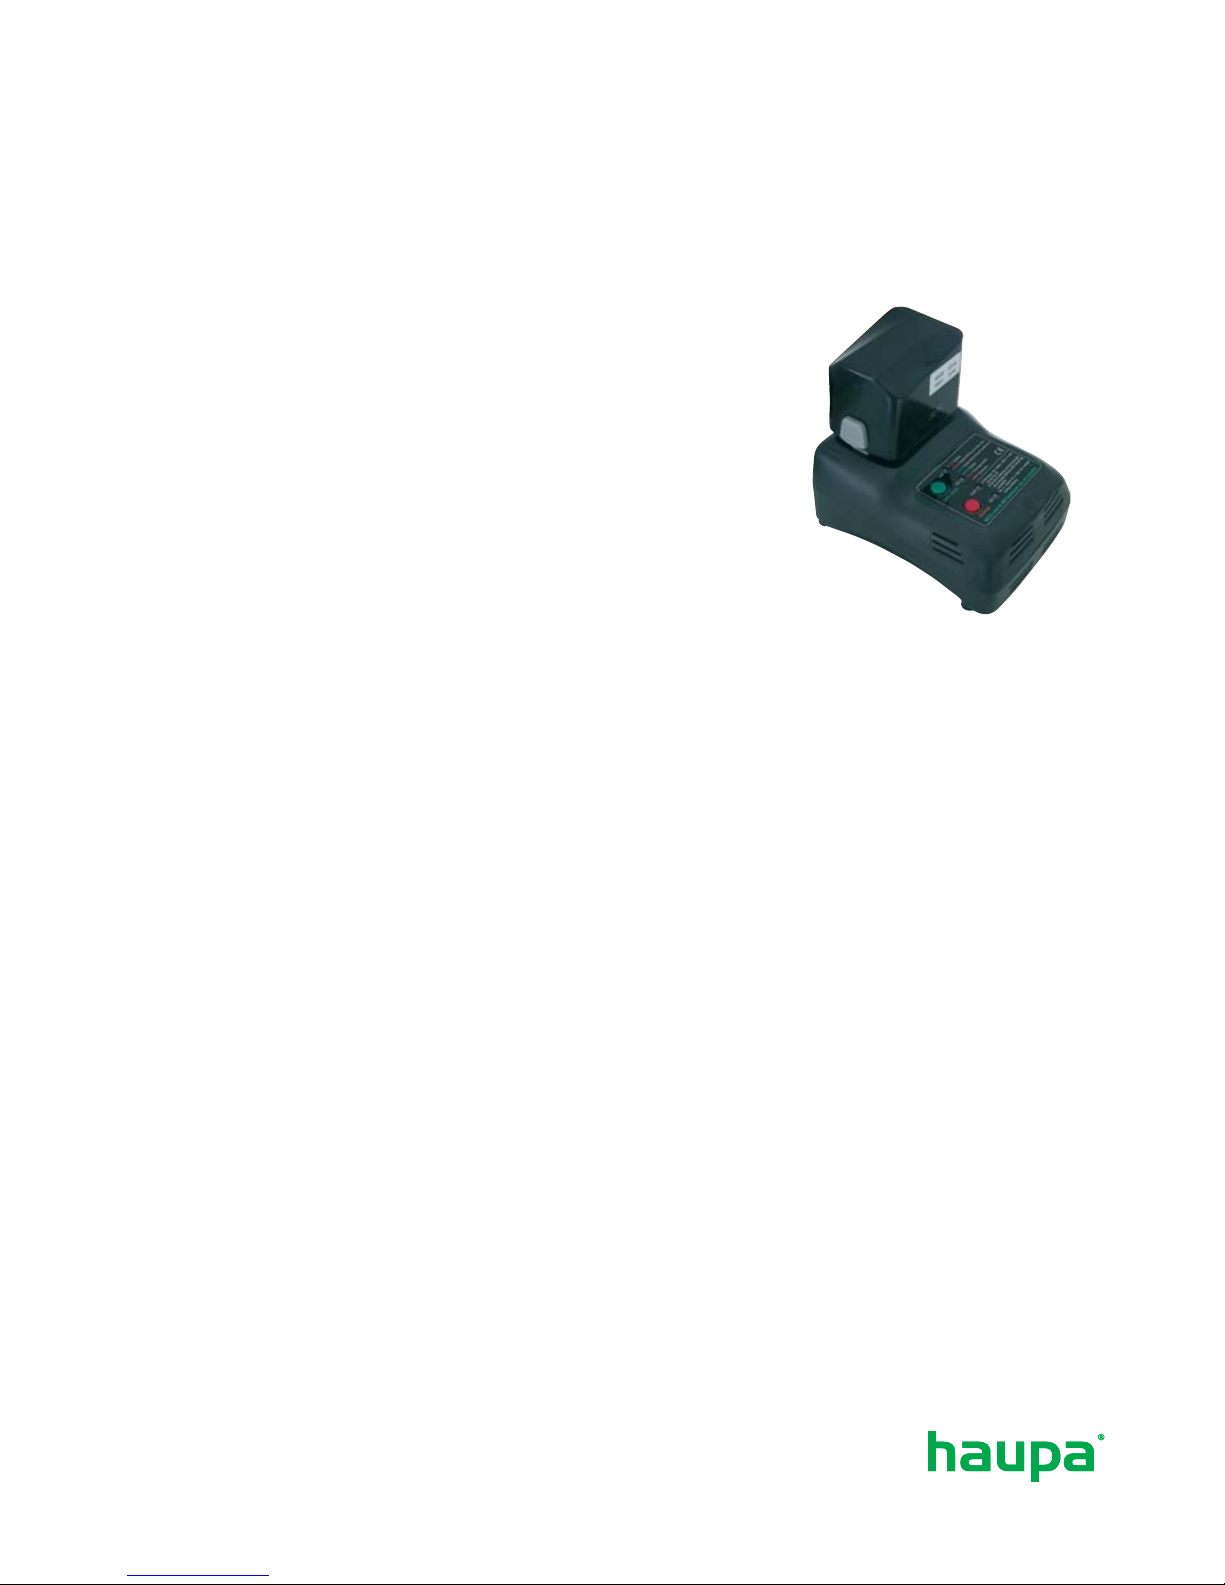
Inserting the battery into the charger
Insert the battery firmly as shown in Figure 3 shown here
until it touches the bottom of the charging compartment.
ATTENTION:
If the battery is inserted incorrectly (Figures 1 and 2),
it will not only not be charged, it may also damage the charger
(e.g. by bending the terminals/short-circuiting).
Charging
When you insert a battery into the charger, the battery will start charging
and the green control light will also light up.
When the battery is fully charged the green control light will flash.
If the yellow control light comes on, the battery is overheating. Remove the battery immediately
and disconnect the charger from the power supply.
5. Care and maintenance
Cleaning
• Careful cleaning of the tool, in particular, the moving parts contributes towards a longer
useful life. Remember that dust, sand, environmental influences, in particular a high salt
index, and dirt in general are extremely damaging to hydraulic tools.
• Particular care should be taken when cleaning the pump drive piston and the piston.
The tiniest of contaminations may scratch the walls of the cylinder and damage the
leak-proof seals. For correct cleaning of the piston, we recommend extending the piston and
then cleaning it with a high-quality, non-corrosive solution.
Power switch
Check to see whether the switch on the machine automatically pops out again when you
release it.
Figure 3
 Loading...