

Page 1
Installation and Operating Instructions
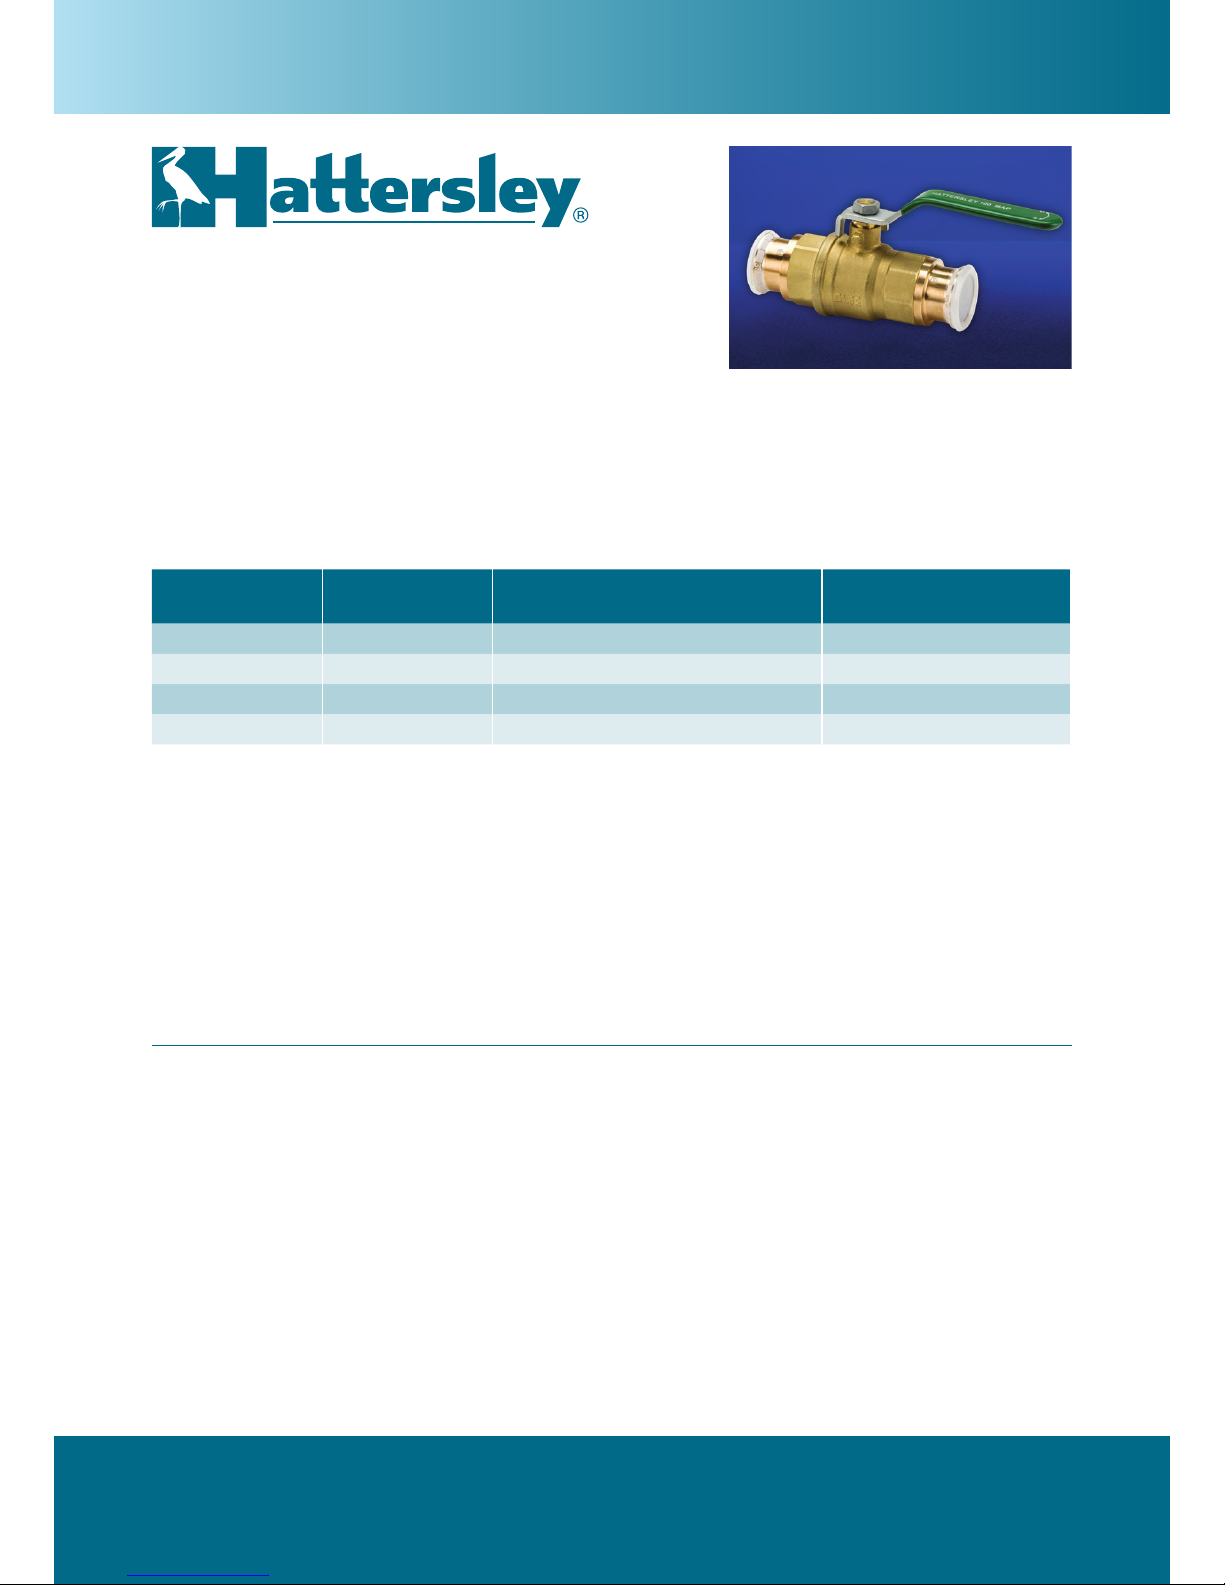
Fig.100 and Fig.100.PF
Copper Alloy Ball Valves
Fig.10 0.PF
Operating Pressures and Temperatures
This includes the Fig 100 (¼“ to 4”), Fig 100LS (¼“ to 2”), Fig 100T(¼” to 1”), Fig 100EXT (½” to 4”),
Fig 100HU (½” to 1”) and the Fig 100.PF range.
Not suitable for fatigue loading, creep conditions, fire testing, fire hazard environment, corrosive or erosive
service, or transporting fluids with abrasive solids.
Valve Size PN
Non-shock Pressure
at Temperature Range
Non-shock Pressure
at Max. Temperature
15mm - 54mm 15mm - 54mm 16 bar from - 10˚C to 30˚C 5 bar at 120˚C
1⁄4" - 2" 1⁄4" - 2" 25 bar from - 10˚C to 100˚C 21.8 bar at 120˚C
21⁄2" - 4" 21⁄2" - 4" 20 bar from - 10˚C to 100˚C 6 bar at 120˚C
15mm - 54mm 15mm - 54mm 16 bar from - 10˚C to 100˚C 13.5 bar at 120˚C
Pressure/Temperature Rating
These valves are suitable for PN16 compression, PN16 Press-fit and PN25 threaded pressure ratings. They must
be installed in a piping system where the normal pressure and temperature do not exceed the above ratings.
If system testing will subject the valve to pressures in excess of the working pressure rating, this should be within
the test pressure for the body with the valve in the open position.
The maximum allowable pressure in valves as specified in the standards is for non-shock conditions. Water
hammer and impact for example, should be avoided.
If the limits of use specified in these instructions are exceeded or if the valve is used on applications for which it
was not designed, a potential hazard could result.
Layout and Siting
It should be considered at the design stage where valves will be located to give access for operation, adjustment,
maintenance and repair.
Valves must be provided with adequate support. Adjoining pipework must be supported to avoid the imposition of
pipeline strains on the valve body, which would impair its performance.
The Fig 100 and Fig 100.PF Series are bi-directional valves and can be installed in any flow direction.
The Fig 100HU may be installed in any orientation but attention should be paid to surrounding structures, ensuring
that the hose union connection may be easily accomplished and that the valve lever movement is not impaired.
Care is needed during installation to provide sufficient room to enable the valve to be operated.
In the interests of safety, valves installed on end-of-line service in the closed position with infrequent opening
should be fitted with a locking device on the operating mechanism. Alternatively, it should be fitted with a blanking
plug or cap on the downstream end connection of the valve.
Page 2
Hatter sley Copper Alloy B all Valves1 Hatter sley Copper Alloy B all Valves 2
Installation and Operating Instructions
Installation
Prior to installation, a check of the identification plate and body marking must be made to ensure that the
correct valve is being installed.
Valves are precision manufactured items and as such, should not be subjected to misuse such as careless
handling, allowing dirt to enter the valve through the end ports, lack of cleaning both valve and system before
operation and excessive force during lever operation. All special packaging material must be removed.
Immediately prior to valve installation, the pipework to which the valve is to be fastened should be checked
for cleanliness and freedom from debris.
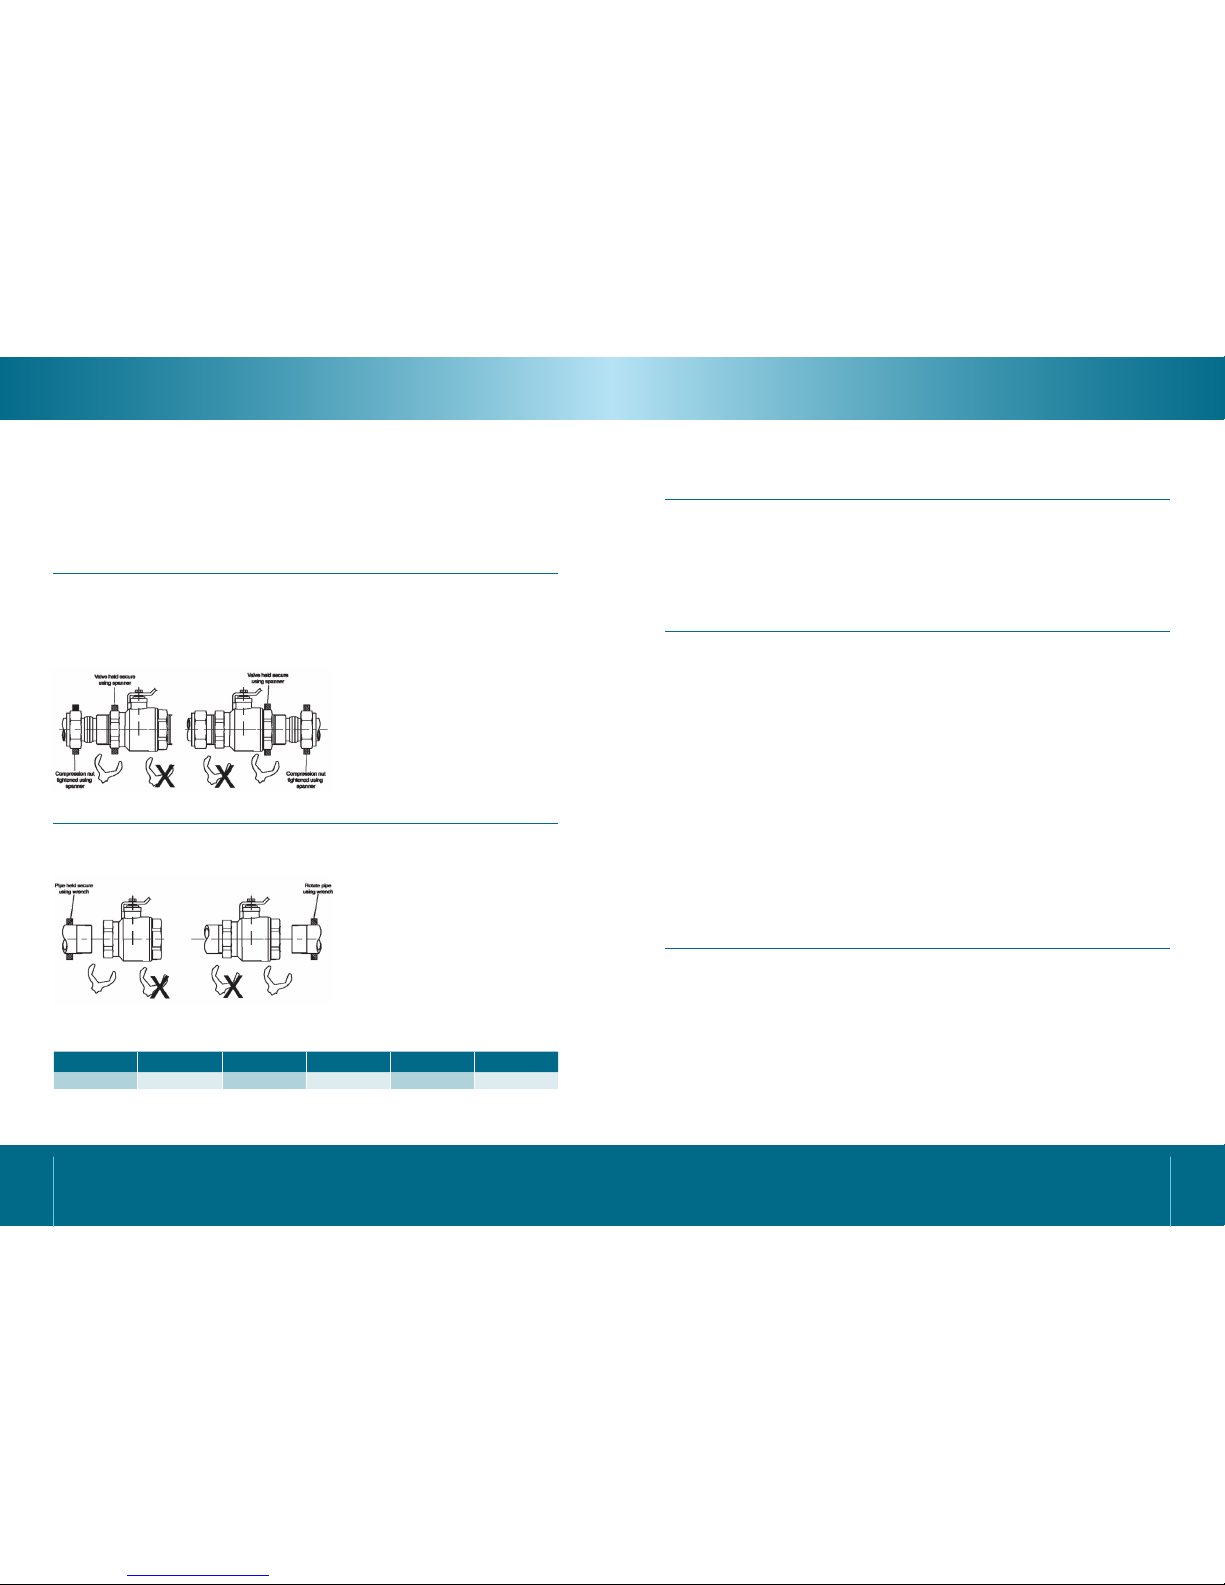
Compression End Valves
Copper Pipe
These valves are fitted with compression ends to BS EN 1254-2 (formerly BS 864 Part 2), which are suitable
for installation onto copper pipework to BS EN 1057: R250 (half hard) and are provided with olives and
compression nuts. No pipe jointing compound should be used in the compression joints, a light oil may
be used on threads to ease tightening
however, no lubricant should be used on the
pipe or olive. When installing a valve with
compression ends to copper tube;
• Always use a correctly sized spanner or
wrench on the flats provided.
• Do not grip around the valve body joint.
• Never drive torque through the main body
joint during assembly.
Compression nuts must be hand tightened and then further tightened as per diagrams to the left.
Threaded End Valves
When installing a valve with threaded ends to steel pipe;
• Always use the flats on the hexagon at the
end being fitted to the pipe.
• Always use a correctly sized spanner or
wrench on the flats provided.
• Do not grip around the valve body joint.
• Never drive torque through the main body
joint during assembly.
• Screw the pipe into valve and hand
tighten, then tighten by the number of
turns shown below (up to one
additional turn is permitted for alignment).
Valve Size Turns Valve Size Turns Valve Size Turns
1
⁄4” - 11⁄2” 1.5 2” 2 21⁄2” - 4” 2.5
Press-Fit Endvalves
For Press-Fit, please refer to the Geberit website www.geberit.co.uk where installation instructions for PressFit can be found.
Hose Union valves
Remove hose union nut and tailpipe taking care not to lose the tail pipe seal.
The valve ends are threaded parallel therefore the valve must be fully tightened up to the body shoulder.
Sealing compounds may be used and a sealing washer on the body shoulder would provide additional
security.
The wrench must only be located on the valve end into which the pipe is being threaded to avoid distortion of
the valve. After installation, the valve may be opened and closed fully to confirm satisfactory operation.
Operation
Ball valves have a quarter turn operation (clockwise to close) providing quick and positive isolation.
To close the valve, the handle or key is rotated clockwise to a positive stop.
To open the valve, the handle or key is rotated anti-clockwise to a positive stop.
Note: The operator should use suitable hand protection at extreme temperature conditions.
Note: Rapid closure of a quarter turn valve on liquid services may cause system water hammer.
Ball valves have PTFE body seats and should only be used in the full open or closed positions.
For operation purposes the ball valve is provided with either a lever handle, T-handle or Lockshield.
Where a Lockshield is fitted:
• Remove plastic cover to access drive mechanism.
• Valve may be open or closed using standard hex spanners / sockets.
• Replace Lockshield cover after operation.
If valve is to be locked either open or closed:
• Remove retaining nut from drive mechanism
• Lift drive mechanism and turn through 90º ensuring slot in mechanism locates on body stop tang.
• Refit retaining nut
• Replace Lockshield cover
Maintenance
The Hattersley Ball valve is maintenance free and will have a long service life.
The valve should be at zero pressure and ambient temperature prior to any inspection.
Maintenance Engineers & Operators are reminded to use correct fitting tools and equipment. A full risk
assessment and methodology statement must be compiled prior to any maintenance.
The risk assessment must take into account the possibility of the limits of use being exceeded whereby a
potential hazard could result.
A maintenance programme should therefore include checks on the development of unforeseen conditions,
which could lead to failure.
For the supply of genuine Hattersley spares or technical assistance please contact us on 0845 604 1790.
Page 3

www.cranebsu.com
H_FIG_100CABV_0817
IOM_002B00100D799_Rev 8
Every effort has been made to ensure that the information contained in
this publication is accurate at the time of publishing. Crane Ltd assumes
no responsibility or liability for typographical errors or omissions or
for any misinterpretation of the information within the publication and
reserves the right to change without notice.
• Designed and manufactured under quality management
systems in accordance with BS EN ISO 9001-2008
FM311 ISO 9001
CE Marking and the Pressure Equipment Directive 97/23/EC
This has been implemented in United Kingdom law by the Pressure Equipment Regulations 1999 (SI
1999/2001).
The regulations apply to all valves with a maximum allowable pressure greater than 0.5 bar. Valves with
a maximum allowable pressure not exceeding 0.5 bar are outside the scope of the Directive. Valves are
categorised in accordance with the maximum working pressure, size and ascending level of hazard, which
is dependent on the fluid being transported. Fluids are classified as Group 1, dangerous fluids or Group 2,
all other fluids including steam. Categories are SEP (sound engineering practice) and for ascending levels
of hazard, I, II, III or IV. All valves designated as SEP do not bear the CE mark nor require a Declaration
of Conformity. Categories I, II, III or IV carry the CE mark and require a Declaration of Conformity (Noteall valves up to and including 25mm (1”) having a maximum allowable pressure greater than 0.5 bar are
designated SEP regardless of fluid group.)
Product Life Cycle
The life of the valve is dependent on its application, frequency of use and freedom from misuse. Compatibility
with the system into which it is installed must be considered. The properties of the fluid being transported such
as pressure, temperature and the nature of the fluid must be taken into account to minimise or avoid premature
failure or non-operability. A well-designed system will take into consideration all the factors considered in the
valve design, but additionally electrolytic interaction between dissimilar metals in the valve and the system must
be examined. Before commissioning a system, it should be flushed to eliminate debris and chemically cleaned
as appropriate to eliminate contamination, all of which will prolong the life of the valve.
Limits of Use
The valves to which these installation, operation and maintenance instructions apply have been categorised in
accordance with the Pressure Equipment Directive.
The fluid to be transported is limited to Group 2 gases i.e. non-hazardous and on no account must
these valves be used on any Group 1 gases or Group 1 liquids.
These valves may be used on Group 2 liquids. Valves should not be used on steam service.
PO BOX 719, IPSWICH, IP1 9DU
HOME SALES: +44 (0) 1744 458670
EXPORT SALES: +44 (0)1744 458671
TECHNICAL HELPLINE: 0845 604 1790
FAX: +44 (0)1744 26912
EMAIL: uksales@hattersley.com
EMAIL: exportsales@hattersley.com
www.hattersley.com
Fluid
Fig No.
Group 2 Gases
Ends PN Size Category
100C Compression 16 15 - 54 SEP
100 Threaded
25
25
30
1
⁄2” - 11⁄2”
2”
2
1
⁄2” - 4”
SEP
1*
1*
100.PF Press-Fit 16 15 - 54 SEP
* Category 1 Requires CE mark.
 Loading...