

Page 1
PN25 Butterfly Valve
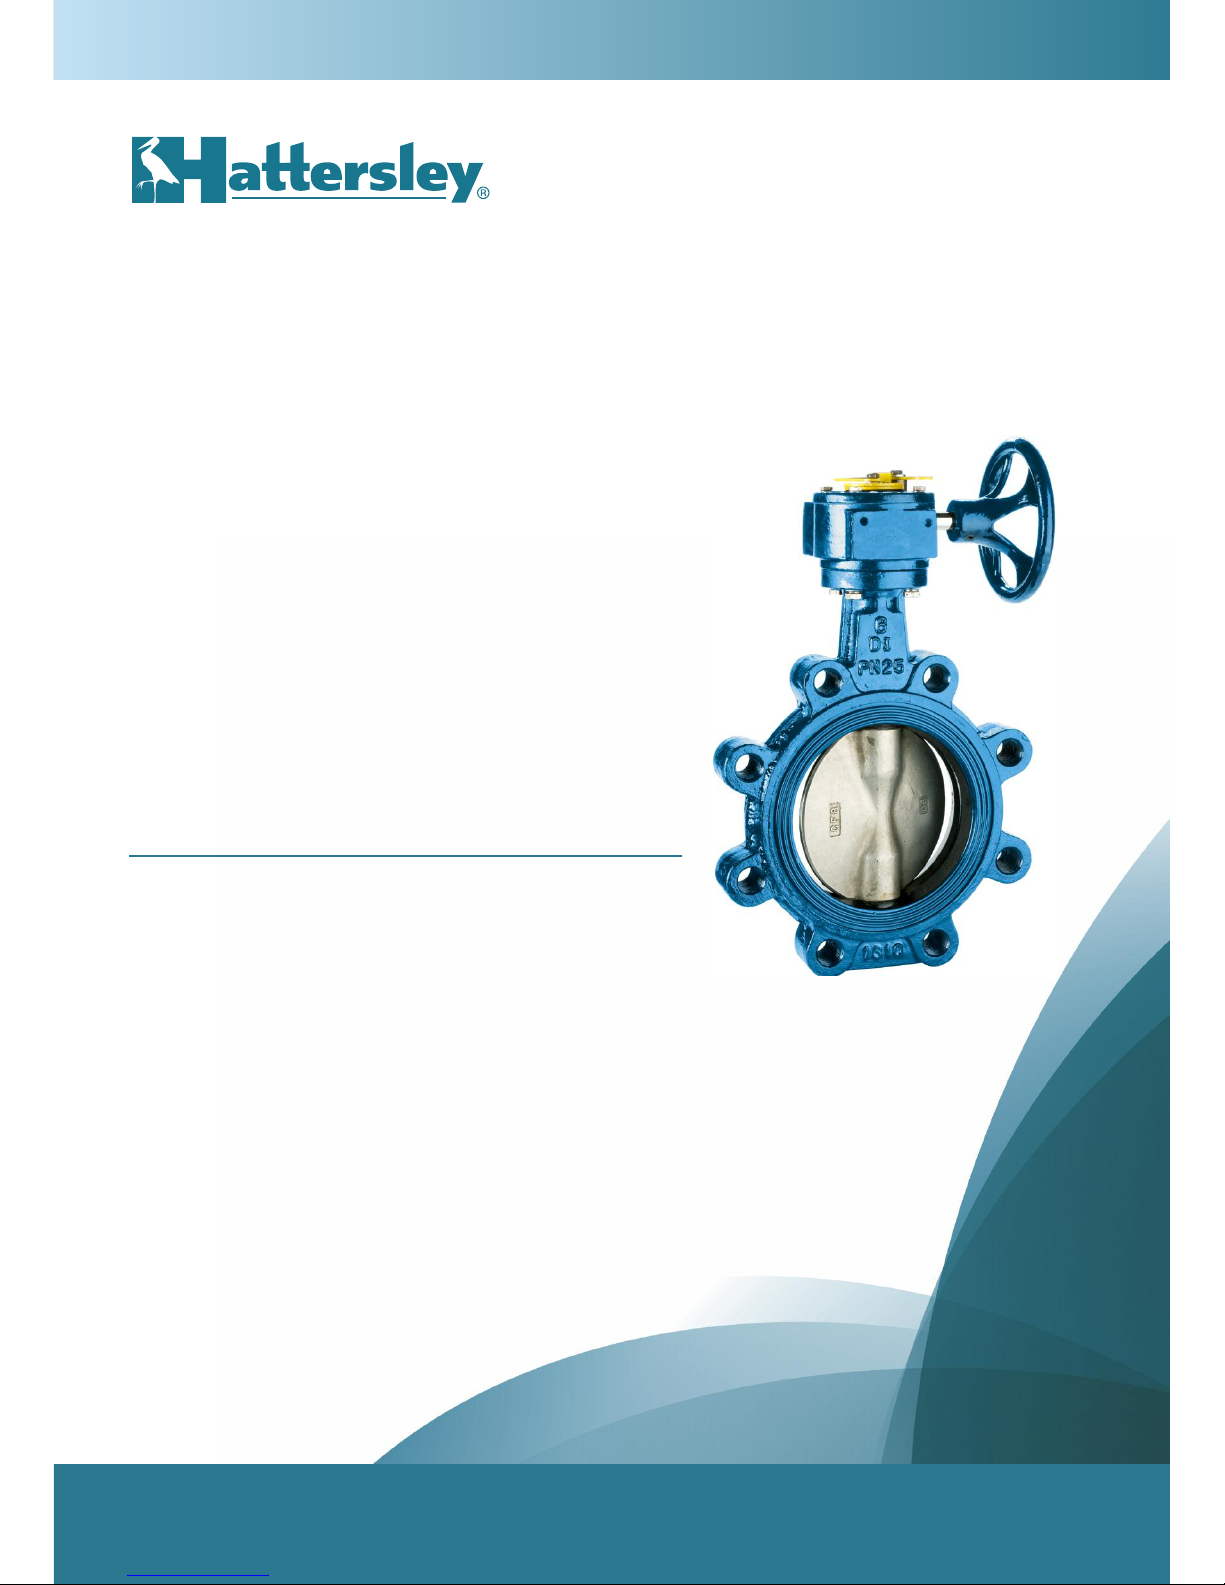
Fig. 4925 Butterfly Valve
Fig. 4923 Butterfly Double-Regulating Valve
CE MARKING AND THE PRESSURE
EQUIPMENT DIRECTIVE 2014/68/EU
The Pressure Equipment Directive applies to all valves with a maximum
allowable pressure greater than 0.5 bar. Valves with a maximum allowable
pressure not exceeding 0.5 bar are outside the scope of the Directive. Valves
are categorised in accordance with the maximum working pressure, size and
ascending level of hazard, which is dependent on the fluid being transported.
Fluids are classified as Group 1, dangerous fluids or Group 2, all other fluids
including steam. Categories are SEP (sound engineering practice) and for
ascending levels of hazard, I, II, III or IV. All valves designated as SEP do not
bear the CE mark nor require a Declaration of Conformity. Categories I, II, III or
IV carry the CE mark and require a Declaration of Conformity (Note- all valves
up to and including 25mm (1”) having a maximum allowable pressure greater
than 0.5 bar are designated SEP regardless of fluid group.)
PRODUCT LIFE CYCLE
The life of the valve is dependent on its application, frequency of use and
freedom from misuse. Compatibility with the system into which it is installed
must be considered. Valves must be installed into a well-designed system
and it is recommended that the system be inspected in accordance with the
appropriate national and regional legislation. The properties of the fluid
being transported such as pressure, temperature and the nature of the fluid
must be taken into account to minimise or avoid premature failure or nonoperability. A well-designed system will take into consideration all the
factors considered in the valve design, but additionally electrolytic
interaction between dissimilar metals in the valve and the system must be
examined. Before commissioning a system, it should be flushed to
eliminate debris and chemically cleaned as appropriate to eliminate
contamination, all of which will prolong the life of the valve.
Installation and Operating Instructions
Page 2

BUTTERFLY / BUTTERFLY DOUBLE REGULATING VALVES Fig. 4925 / Fig. 492302
PRESSURE/TEMPERATURE RATING
These valves must be installed in a piping system whose normal pressure and temperature do not exceed the above ratings.
If system testing will subject the valve to pressures in excess of the working pressure rating, this should be within the test pressure for
the body with the valve open, i.e. 1.5 x maximum seat pressure rating.
The maximum allowable pressure in valves as specified in the standards is for non-shock conditions. Water hammer and impact, for
example, should be avoided.
If the limits of use specified in these instructions are exceeded or if the valve is used on applications for which it was not designed, a
potential hazard could result.
END OF LINE SERVICE
It is not recommended to use these valves for end of line service.
If valves are installed at end of line, a blanking flange must be fitted on downstream side of valve.
LIMITS OF USE
These valves have been categorised in accordance with the Pressure Equipment Directive 2014/68/EU.
On no account must these valves be used on any group 1 liquids, group 1 gases, group 2 gases or unstable fluids.
N
ote - Valves that are classified as SEP (Sound Engineering Practice) are not CE marked and therefore do not require a declaration of
c
onformity.
* Category I requires the CE mark
LAYOUT AND SITING
Butterfly valves 4923 and 4923G are fitted with a double regulating device, and may be used in conjunction with a Fig M3000 metering
station.
When used with the Fig M3000 a spool piece must be fitted between the metering station and the valve with a minimum length of 1.5 x
the nominal pipe diameter.
Flow must pass through the metering station first and secondly through the valve.
These valves can be fitted in either horizontal or vertical pipework. When installed in a horizontal pipeline, the valve stem should be
preferably horizontal. This enables the butterfly valve to be self-cleaning and also enables the weight of the disc to be equally borne by
the bearings.
It should be considered at the design stage where valves will be located to give access for operation, adjustment, maintenance and
repair.
Valves must be provided with adequate support. Adjoining pipework must be supported to avoid the imposition of pipeline strains on
the valve body, which would impair its performance.
Heavy valves may need independent support or anchorage.
Fig No / Body Style
Liner Material /
Temperature Limits
Pressure
Rating
Product Application PED Category by Valve Size
G
roup 1
Gas
G
roup 2
Gas
G
roup 1
Liquid
G
roup 2
Liquid
SEP I II
4
923 Fully Lugged Butterfly DRV Lever
4923 Fully Lugged Butterfly Lever
EPDM -10 to 120°C PN25 - - -
✓
50-150 - -
4923G Fully Lugged Butterfly DRV Lever
4925B Fully Lugged Butterfly Bareshaft
4925G Fully Lugged Butterfly Gearbox
EPDM -10 to 120°C PN25 - - -
✓
50-200 250-600 -
Page 3

I
nstallation and Operating Instructions
03BUTTERFLY / BUTTERFLY DOUBLE REGULATING VALVES Fig. 4925 / Fig. 4923
INSTALLATION
The Fig 4925 and Fig 4923 are fully lugged valves and should be located between flanges utilising the flange bolt holes.
The flange bolts or studs should be tightened diagonally until the body touches the flange face with metal to metal contact.
P
rior to installation, a check of the identification plate and body marking must be made to ensure that the correct valve is being
i
nstalled.
Valves are precision manufactured items and as such, should not be subjected to misuse such as careless handling, allowing dirt to
enter the valve through the end ports, lack of cleaning both valve and system before operation and excessive force during bolting and
h
andwheel/lever operation.
All special packaging material must be removed.
Valves must be provided with adequate support. Adjoining pipework must be supported to avoid the imposition of pipeline strains on
t
he valve body, which would impair its performance.
When large valves are provided with lifting lugs or eye nuts, these should be used to lift the valve.
Immediately prior to valve installation, the pipework to which the valve is to be fastened should be checked for cleanliness and freedom
f
rom debris.
Valve packaging should only be permanently removed immediately before installation. The valve interior should be inspected through
the end ports to determine whether it is clean and free from foreign matter.
T
he mating flange (both valve and pipework flanges) should be checked for correct gasket contact face, surface finish and condition.
If a condition is found which might cause leakage, no attempt to assemble should be made until the condition has been corrected.
This butterfly valve has integral rubber sealing faces and gaskets must not be used.
I
n order to maintain an effective sealing face with the pipe flange, integral, weld-neck, slip-on or loose plate flanges should be used.
The pipe flange should cover the rubber body liner forming the gasket face of the body. If pipe other than BS EN10255 Medium Grade,
BS EN 10220 or Schedule 40 is used the gasket face may only partially covered please refer to the Hattersley Technical Dept.
Care should be taken to provide correct alignment of the flanges being assembled. Suitable lubricant on bolt threads should be used.
In assembly, bolts are tightened sequentially to make the initial contact of flanges and gaskets flat and parallel followed by gradual and
uniform tightening in an opposite bolting sequence to avoid bending one flange relative to the other, particularly on flanges with raised
faces.
Parallel alignment of flanges is especially important in the case of the assembly of a valve into an existing system.
Flanged joints depend on compressive deformation of the integral rubber sealing faces between the flange surfaces until metal to metal
contact is achieved.
The bolting must be checked for correct size, length, material and that all connection flange bolt holes are utilised.
OPERATING - GEAR OPERATED
An enclosed worm gear reduction operator (gearbox) is mounted on the valve body with the gear quadrant intimately connected with
the valve shaft. The full open and full closed position travel stops are set at the factory and require no further adjustment.
Note: if the gearbox is fitted with a padlock and locking ring, the padlock will require removal prior to operation.
Valve closure is by clockwise rotation of the handwheel until the travel stop restriction is felt. No excessive force is required to effect
tight shut off and under no circumstances should a wrench or wheelkey be used.
Counter clockwise rotation of the handwheel will open the valve until the full open travel stop or to the intermediate regulated travel stop
(memory stop) if fitted on the double regulating version.
A non-adjustable pointer indicates the actual valve disc position against a fixed scale.
The memory stop (double regulating versions only) device is fitted at the factory so that the valve may be operated over its full travel
prior to commissioning without the need for adjustment.
SETTING THE GEARBOX MEMORY STOP (REFER TO FIG 1)
Slacken the setscrew 'A' sufficient to allow the position limiting plate to rotate.
The position limiting plate rotates freely on the central screw, which does not
require any adjustment.
Using the usual commissioning procedures, rotate the handwheel to
move the disc to the required position.
Ensure that the position limiting plate is in contact with the raised stop on the
indicator pointer, if not rotate the plate until it touches.
Tighten the setscrew 'A' to limit the maximum position of valve opening.
Record the regulation position.
Fig 1
Page 4

www.cranebsu.com
H_BV_0818
IOM_050M04925D799RI_v3
• Designed and manufactured under quality management
systems in accordance with ISO 9001-2015
FM 00311
Every effort has been made to ensure that the information contained in
this publication is accurate at the time of publishing. Hattersley assumes
no responsibility or liability for typographical errors or omissions or for
any misinterpretation of the information within the publication and
reserves the right to change without notice.
EPSILON TERRACE, WEST ROAD
IPSWICH, IP3 9FJ
HOME SALES: +44 (0)1473 277410
EXPORT SALES: +44 (0)1473 277450
TECHNICAL HELPLINE: +44 (0)1473 277400
FAX: +44 (0)1473 277411
EMAIL: uksales@hattersley.com
EMAIL: exportsales@hattersley.com
www.hattersley.com
OPERATING - LEVER OPERATED
Hydrodynamic Torque
Care must be taken when operating the valve by the lever as high rates of flow induce a hydrodynamic torque on the disc which may
c
ause it to move position rapidly, either more open or slamming shut, depending on its initial position. The sudden movement on the
lever can cause injury and if closing, water hammer on liquid service may result in system damage.
Valve closing is by clockwise motion of the lever. Squeeze the trigger to disengage the lever from the fully open (or regulated) notch
position, the lever can be rotated to the closed position notch, release the trigger to secure.
No excessive force is required to effect tight shut off and under no circumstance should additional wrenches be used.
Squeeze the trigger to disengage, rotate the lever counter clockwise will open the valve from the closed notch to the fully open (or
r
egulated) notch, release the trigger to secure.
Memory Device
The regulating device comprises two steel plates, a lower plate fixed to the valve and an upper rotation plate. An indicator mark on the
l
ower plate shows the valve position against the moving scale on the top plate.
SETTING THE LEVER MEMORY STOP (REFER TO FIG 2)
W
ith set-screw 'A' slackened (care should be taken to prevent the
valve slamming shut due to water velocity) the lever can be moved to
any infinitely variable position between closed and fully open.
E
nsure that the lever is located in notch 'C' in upper plate 'B' which
rotates with the lever. When the required regulated position is
achieved re-tighten set screw 'A', which will fix this set position.
To close the valve, disengage the trigger from notch 'C' and rotate to
notch 'D' in the lower plate. Reversing this procedure will return the
lever to the previously regulated open position.
The valve can be locked in both open and closed positions by
tightening the locking screw in the lever trigger. This prevents the
trigger from being squeezed and disengaging from the notch.
Fig 2
MAINTENANCE
These butterfly valves are maintenance free.
The valve should be at zero pressure and ambient temperature prior to any maintenance inspection.
Maintenance Engineers & Operators are reminded to use correct fitting tools and equipment.
A full risk assessment and methodology statement must be compiled prior to any maintenance.
The risk assessment must take into account the possibility of the limits of use being exceeded whereby a potential hazard could result.
A maintenance programme should therefore include checks on the development of unforeseen conditions, which could lead to failure.
 Loading...