

Hathaway AUGUSTA Assembly Instructions Manual
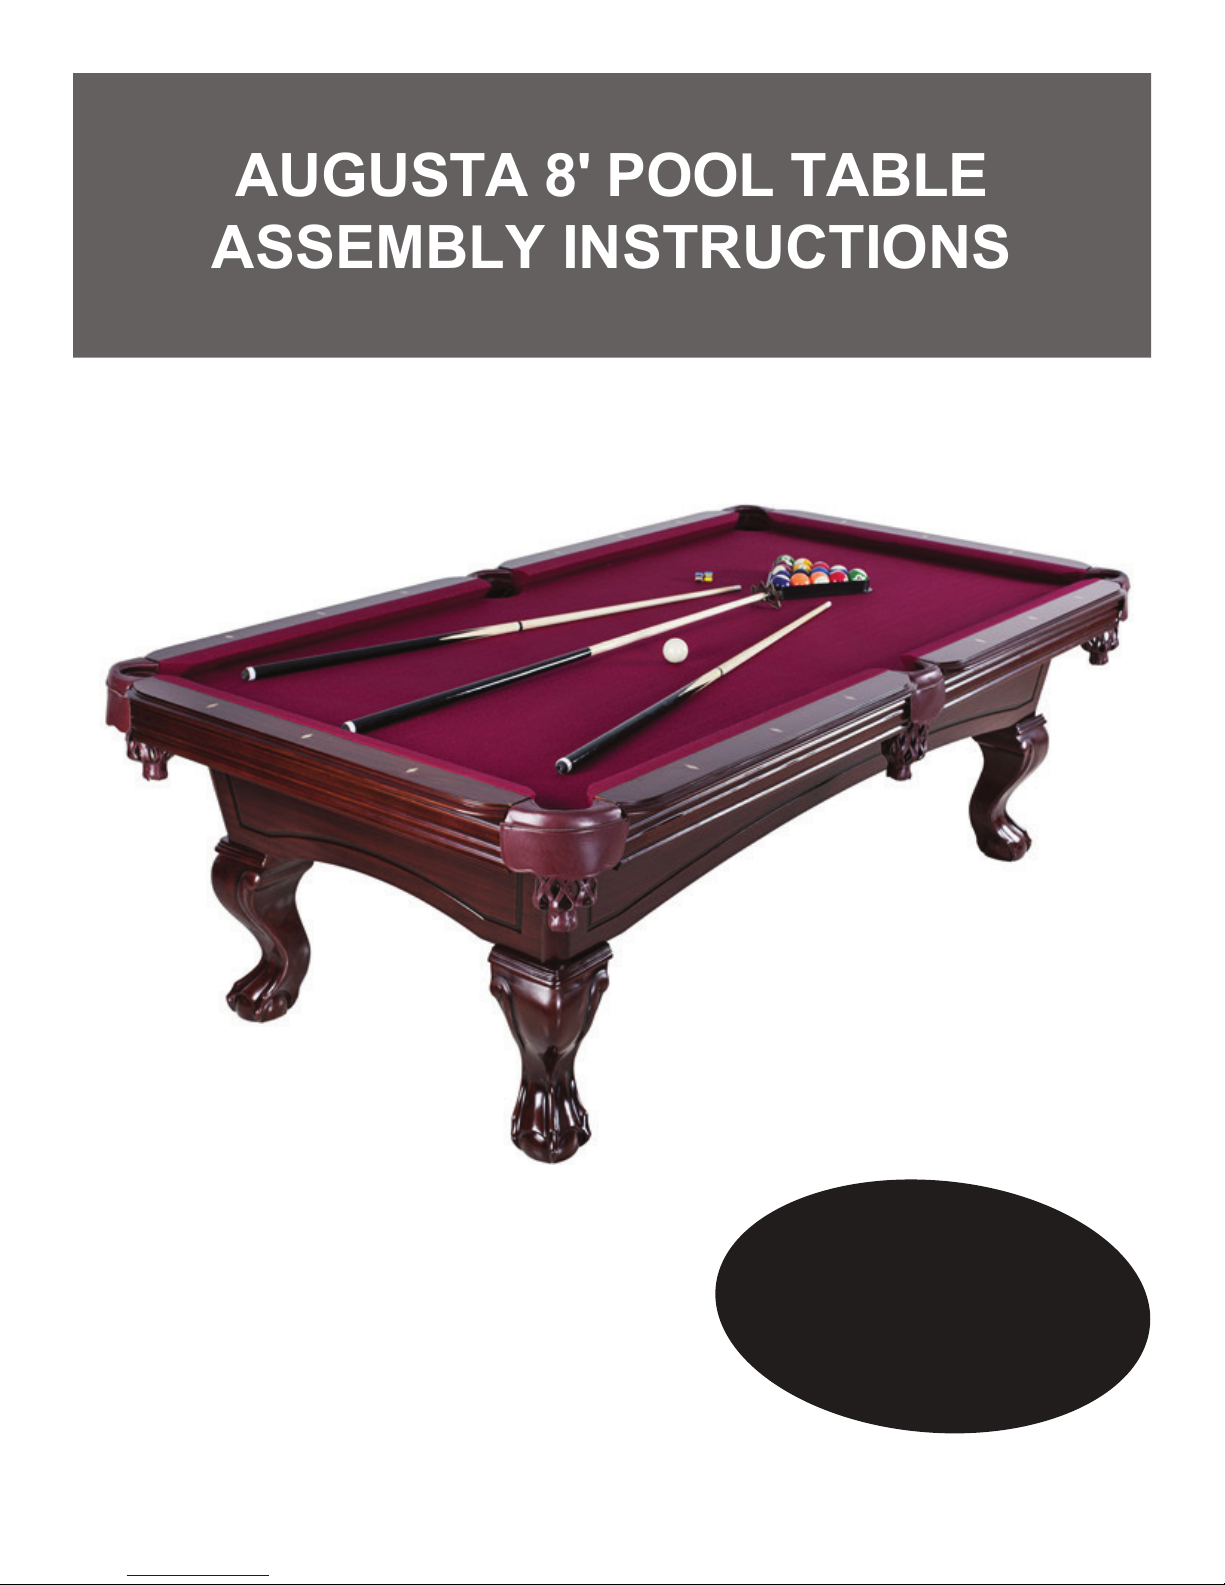
AUGUSTA 8' POOL TABLE
ASSEMBLY INSTRUCTIONS
Please Do Not Hesitate to
Contact Our Consumer Hotline
at
800-759-0977
with Any Questions That May
Arise During Assembly or
Use of This Product!
Ver. 0616
NG2527
THANK YOU!
Thank you for purchasing this product. We work around the clock and around the globe to ensure
that our products maintain the highest possible quality. However, in the rare case of issues during
assembly or use of this product, please contact our Consumer Hotline at 800-759-0977 for immediate
assistance before contacting your retailer. Please read the warranty information at the back of these
assembly instructions for further details.
ASSEMBLY TIPS
IMPORTANT! PLEASE READ THESE ASSEMBLY INSTRUCTIONS
IN ENTIRETY BEFORE ASSEMBLING YOUR PRODUCT.
1. Find a clean, level surface to begin the assembly of your game table. We recommend that two adults
work together to assemble this game. You may want to carefully cut or tear the four corners of the box
so that the bottom of the box can be used as your work surface.
2. Remove all of the contents from box and verify that you have all of the parts shown on the Parts
List before you begin assembly. Note: Some parts may be pre-installed or pre-assembled.
3. Some figures or drawings may not look exactly like product.
4. When installing parts that have more than one screw or bolt, hand tighten all screws or bolts
in place before final tightening with screwdriver or wrench.
5. Electric screwdrivers may be helpful during assembly; however, please set a low torque and use
extreme caution because screws may be stripped or overtightened, resulting in damaged parts, if the
electric screwdriver’s torque is set too high.
WARNINGS!
READ AND FOLLOW ALL ASSEMBLY, OPERATION AND SAFETY INSTRUCTIONS CAREFULLY.
CHOKE HAZARD - THIS ITEM MAY CONTAIN SMALL BALLS AND PARTS
NOT SUITABLE FOR CHILDREN UNDER 3 YEARS OF AGE.
CARE AND USE
1. This product is intended for INDOOR use only.
2. Do NOT drag the table when moving it, as this will damage the legs.
2
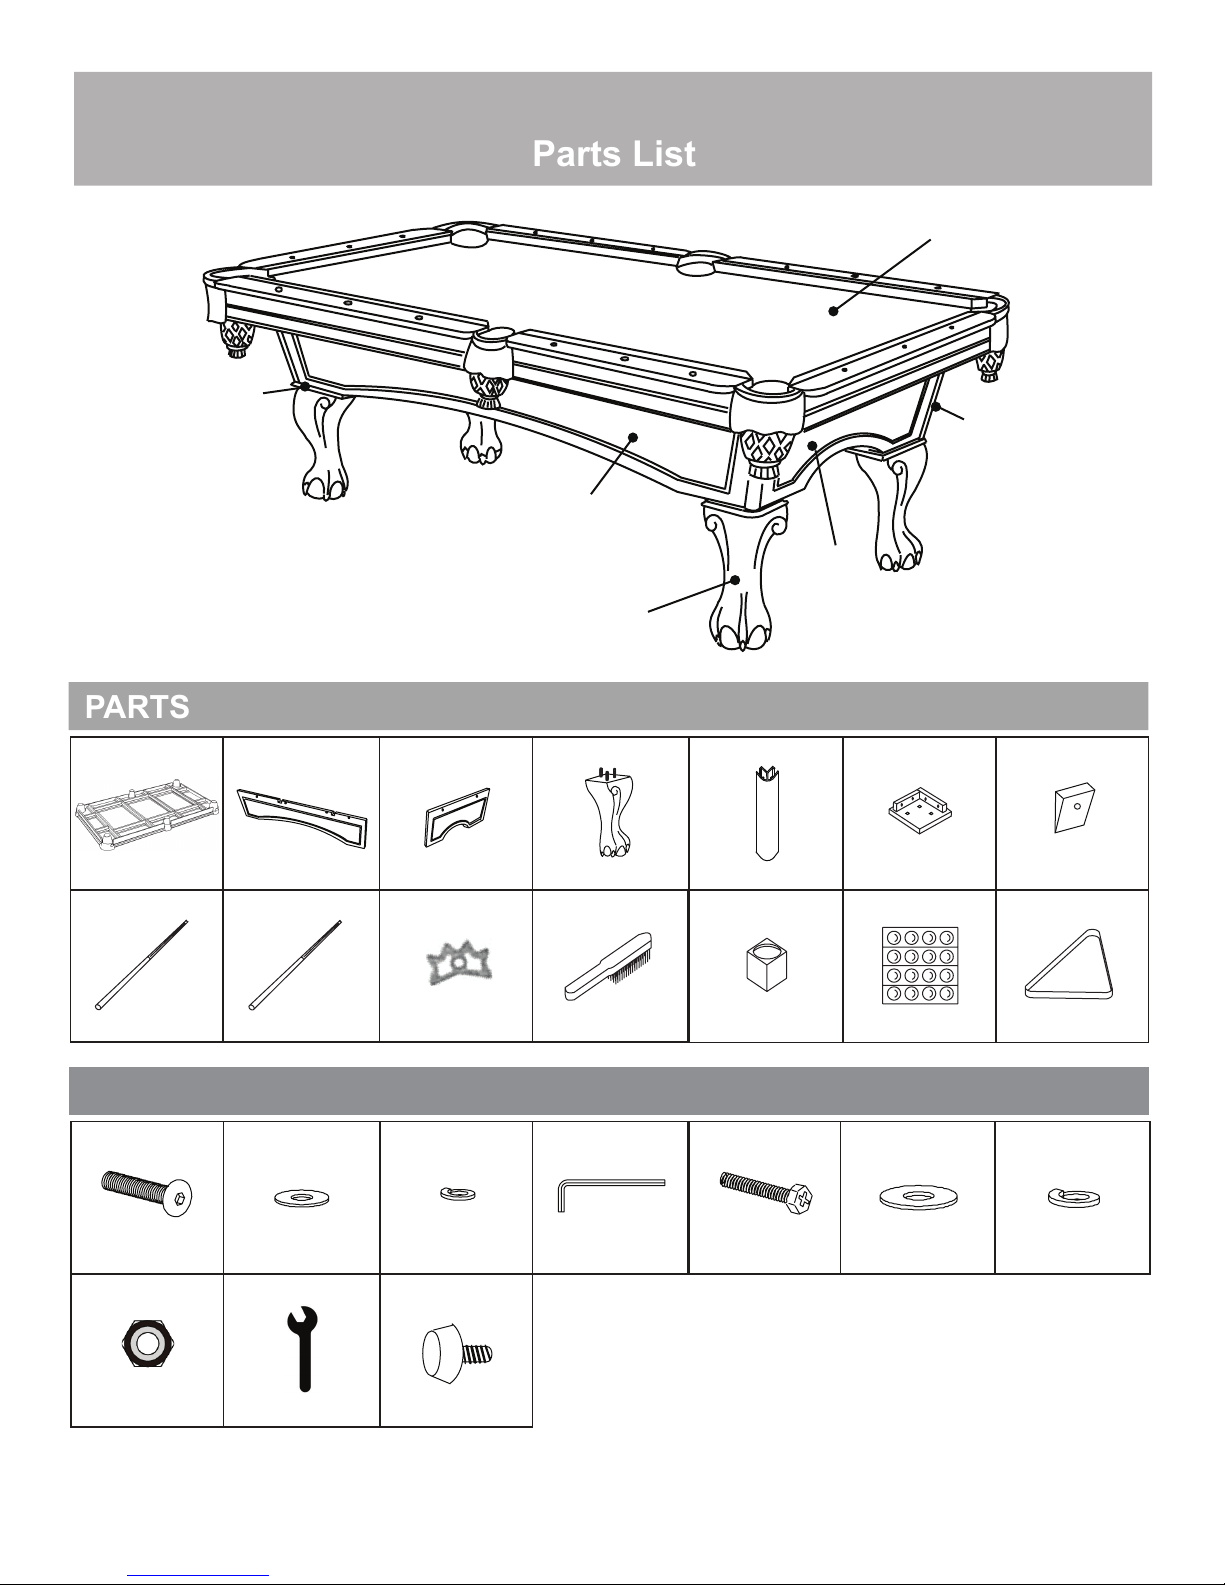
Parts List
P6
PARTS
AUGUSTA 8' POOL TABLE - NG2527
P1
P5
P2
P3
P4
Illustrations Not to Scale
P1 NGP2185
TABLE CABINET
P2 NGP2186 P3 NGP2187 P4 NGP2188 P5 NGP2189 P6 NGP2190
X1
SIDE APRON
X2
END APRON
X2
A1 NGP2192 A2 NGP2193 A3 NGP2194
CUE STICK
X2
BRIDGE STICK
X1
BRIDGE HEAD
X1
HARDWARE PACK - NGP2200*
H1*
1/4” ALLEN HEAD
BOLT 1/4” FLAT WASHER
H8* H9* H10
X16
H2* H3* H4* H5* H6* H7*
X16
X1X24
1/4” SPRING
WASHER
NGP2199
Pre-installed X4
X16
LEG
A4 NGP2195
RAIL BRUSH
ALLEN WRENCH
P7 NGP2191
X4 X4 X4
CORNER POST
LEG SUPPORT
BRACE
WOOD BLOCK
A5 NGP2196 A6 NGP2197 A7 NGP2198
X1 X2 X1
CUE CHALK TRIANGLEBILLIARD BALL SET
X1 X12 X36
5/16” PHILLIPS
HEAD BOLT
5/16” FLAT WASHER
5/16” SPRING
X12
TRIANGLE
X1
X24
WASHER
5/16” NUT
WRENCH
6/16
LEG LEVELER
For replacement parts please call 800-759-0977.
3

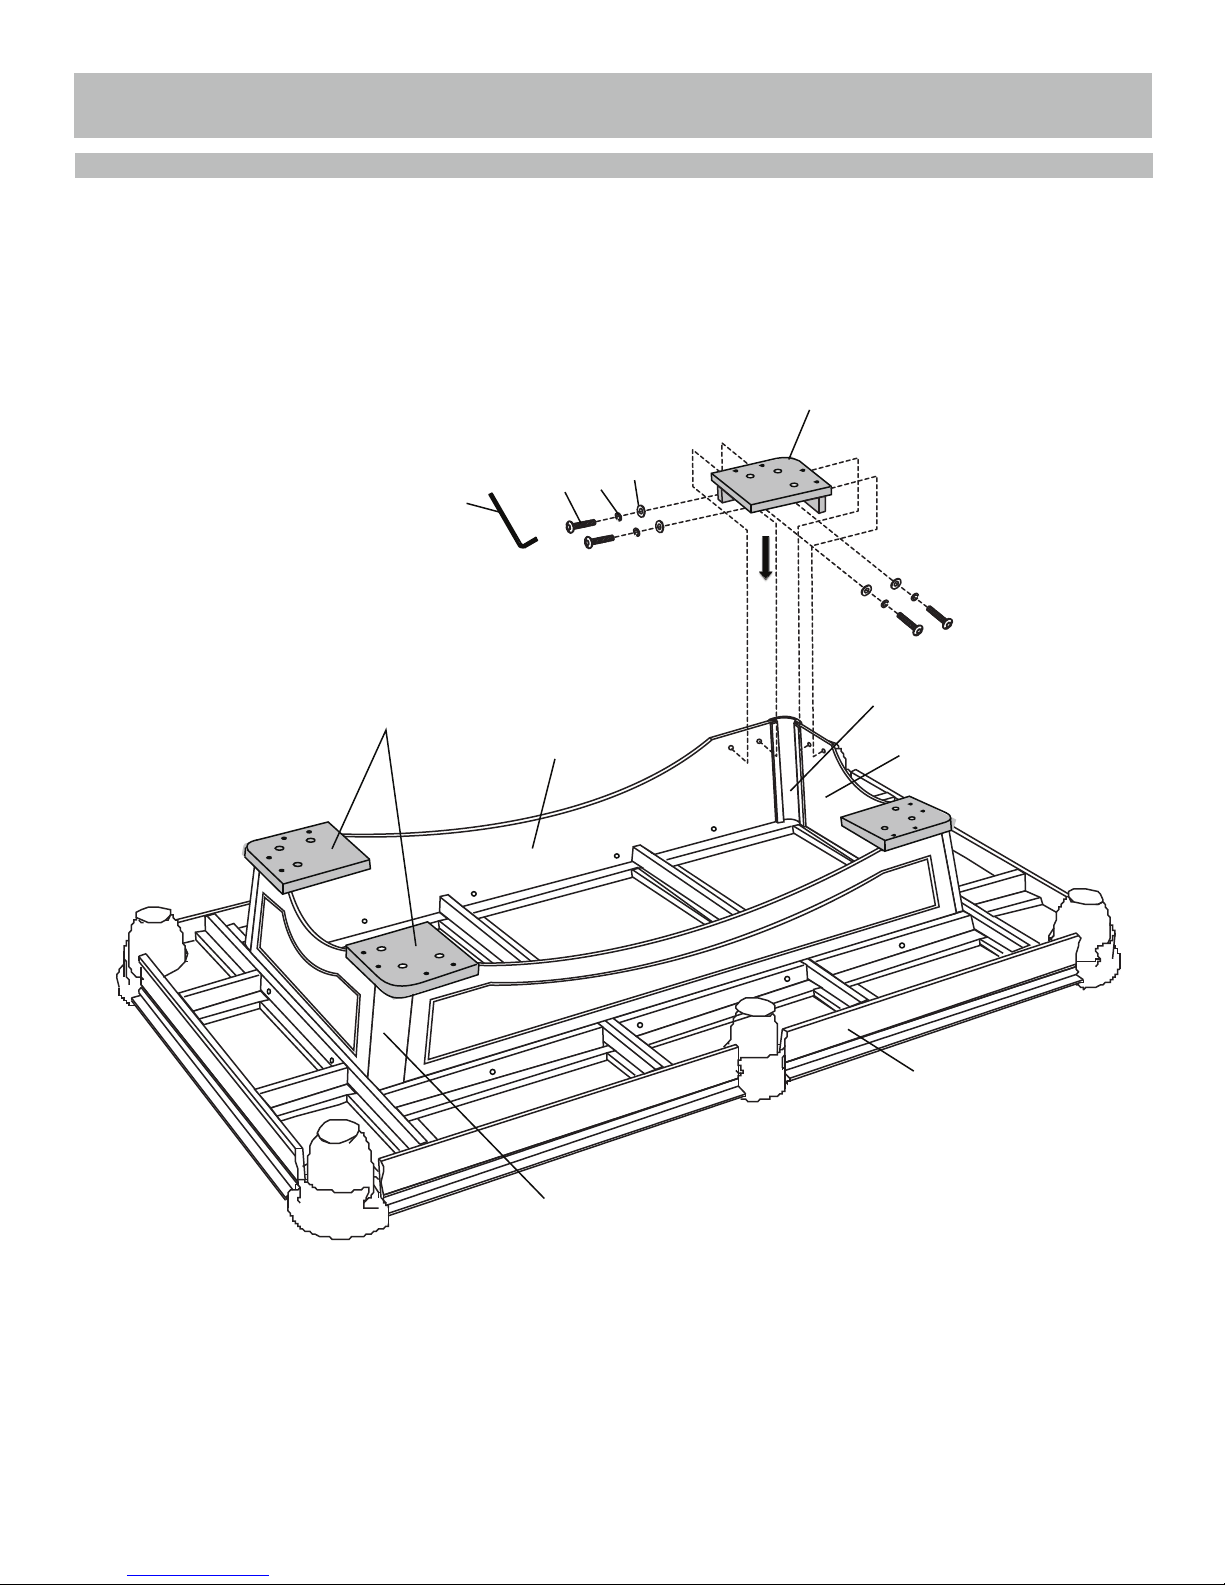
THANK YOU!ASSEMBLY INSTRUCTIONS
STEP 1
P3
P2
P5
P2
NOTE: Slide P5 Corner
Posts with arrow
pointing down.
P3
IMPORTANT NOTE:
Install P2 Side Aprons
with grooves fit to the P1
Pool Table playfield support
braces as shown.
P1
4
THANK YOU!ASSEMBLY INSTRUCTIONS (CONT.)
STEP 2
H2
H3
H1
H4
P6
P2
P6
P5
P3
P1
P5
5
 Loading...