

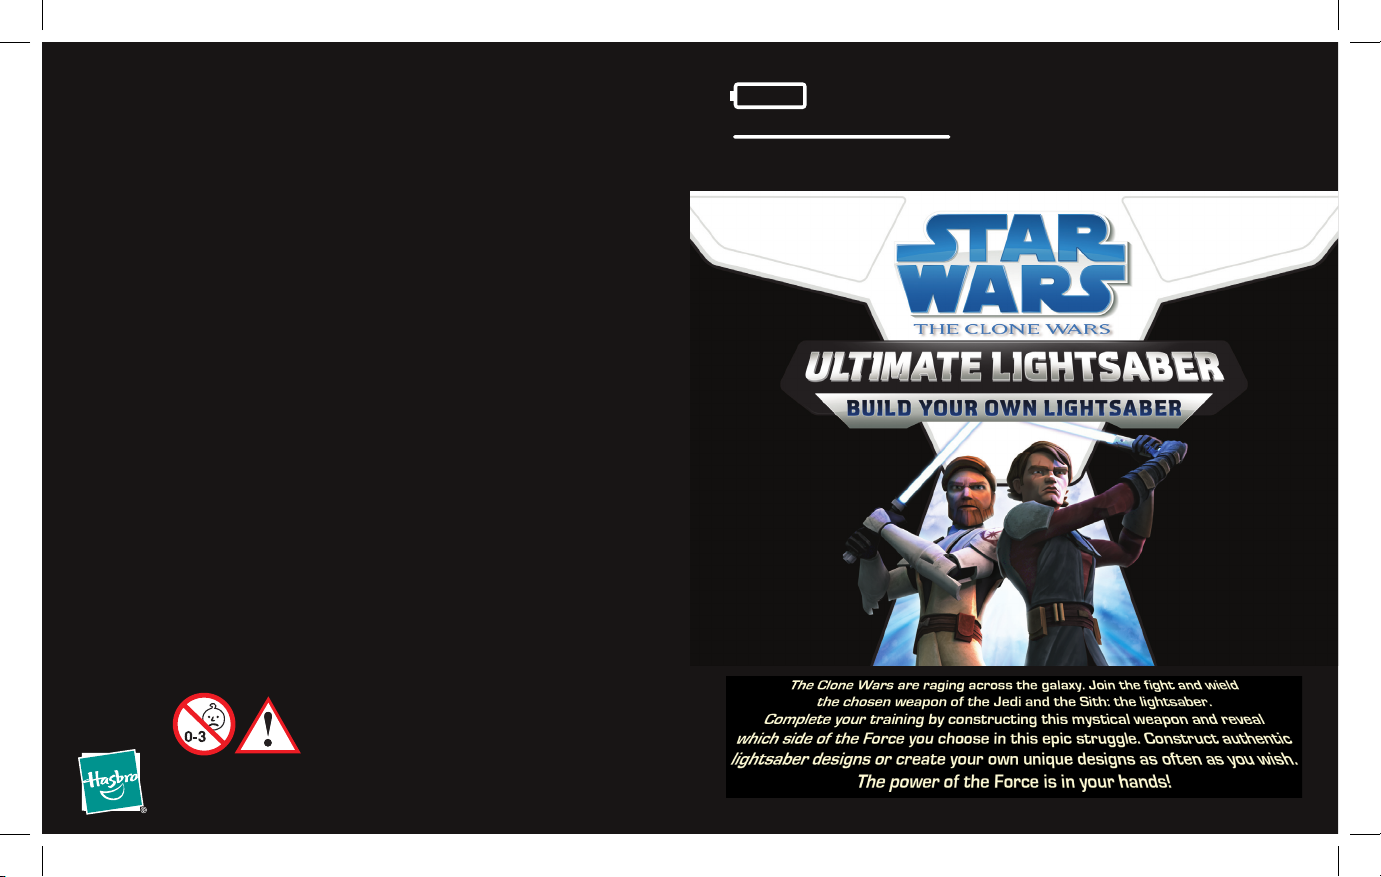
Page 1
Product and colors may vary.
© 2008 Lucasfilm Ltd. & ® or TM where indicated. All rights reserved.
®* and/or TM* & © 2007 Hasbro. All Rights Reserved.
TM & ® denote U.S. Trademarks.
P/N 6769590000
*
*
Not suitable for children
under 3 years because of
small parts - choking hazard.
AGES 6
+
87625/87623 Asst.
FCC Statement:
This equipment has been tested and found to comply with the limits for
a Class B digital device, pursuant to part 15 of the FCC Rules. These
limits are designed to provide reasonable protection against harmful
interference in a residential installation. This equipment generates, uses
and can radiate radio frequency energy, and, if not installed and used
in accordance with the instructions, may cause harmful interference to
radio communications. However, there is no guarantee that interference
will not occur in a particular installation. If this equipment does cause
harmful interference to radio or television reception, which can be
determined by turning the equipment off and on, the user is encouraged
to try to correct the interference by one or more of the following
measures:
• Reorient or relocate the receiving antenna.
• Increase the separation between the equipment and receiver.
• Consult the dealer or an experienced radio/TV technician for help.
WARNING: Changes or modifications not expressly approved by the
party responsible for compliance could void the user’s authority to
operate the equipment.
x3
BATTERIES REQUIRED
1.5VAA/R6 size
Alkaline batteries recommended.
Phillips/cross head screwdriver (not
included) needed to insert batteries.
NOT INCLUDED
x3
BATTERIES REQUIRED
1.5VAA/R6 size
Alkaline batteries recommended.
Phillips/cross head screwdriver (not
included) needed to insert batteries.
NOT INCLUDED
Page 2
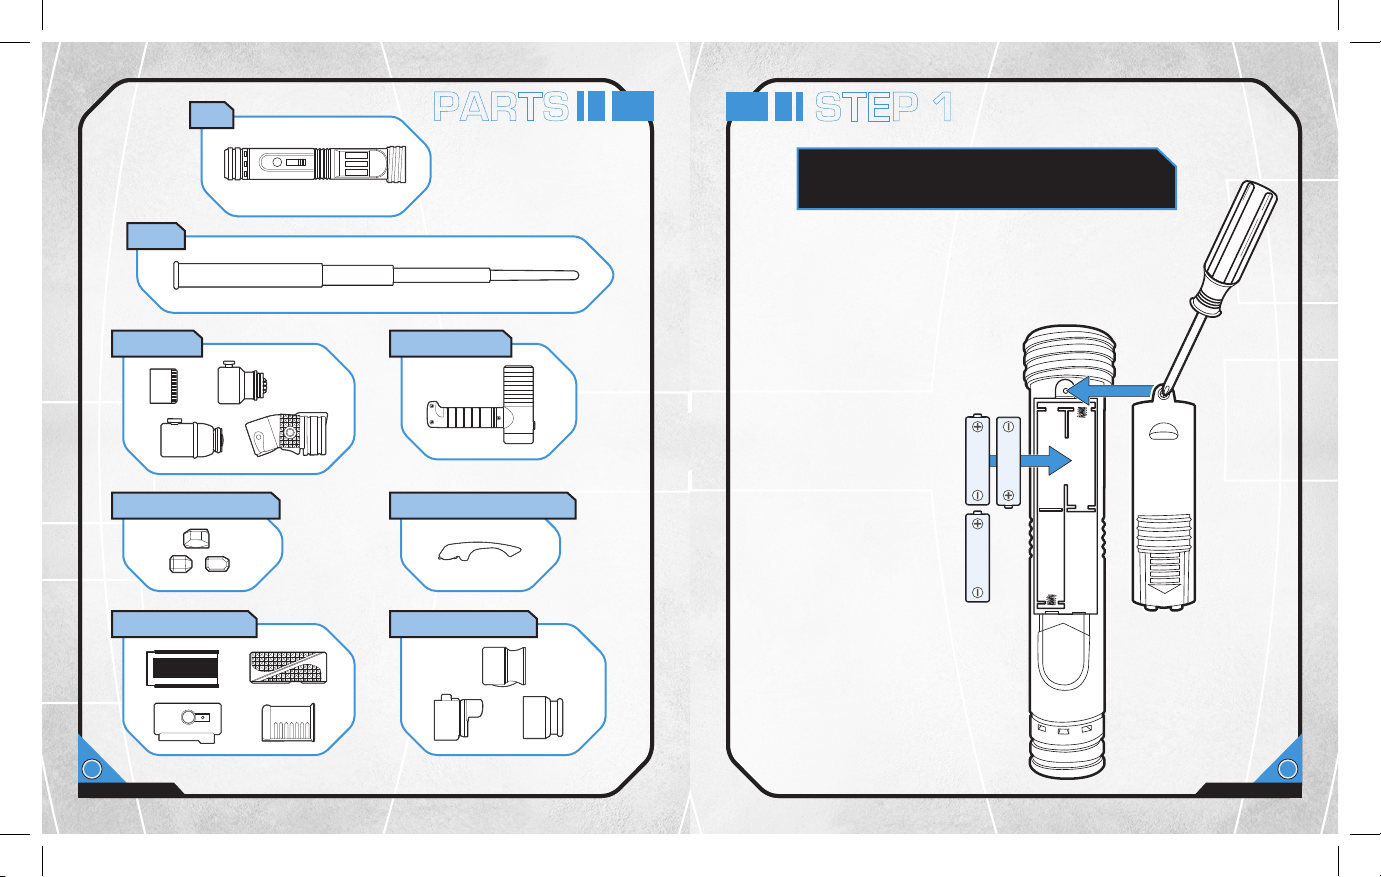
Blade
Hilt
Tonfa handleEnd caps
Kyber crystals (3)
Hilt sleeves (4) Sleeve rings (3)
Blade-emitter guard
1
PARTS
STEP 1
The first step in building a lightsaber is to
install the power-generating component.
Using a Phillips/crosshead
screwdriver (not included),
loosen screw in door and
remove door. Insert 3 x 1.5v
“AA” or R6 size batteries
(not included) into hilt.
INSTALLING BATTERIES
Alkaline batteries
recommended.
Replace battery door
and tighten screw.
2
Page 3

4
STEP 2
Install one or more crystals
into the chamber in the hilt.
Each crystal causes the lightsaber
to emit a different sound. After you
complete your lightsaber, you can
always switch, add or remove crystals.
CRYSTAL
Store the extra crystals
in the storage chamber.
Note: If the crystals become
misplaced or lost, turn the power
on and off (see “Power Up” section
below) to cycle through the
different blade colors and sounds.
Color Chart:
Red: red crystal
Blue: blue crystal
Green: green crystal
Aqua: blue and green crystals
Orange: red and green crystals
Purple: red and blue crystals
CAUTION:
TO AVOID BATTERY LEAKAGE
1. Be sure to insert the batteries correctly and always follow the
toy and battery manufacturers’ instructions;
2. Do not mix old and new batteries or alkaline, standard
(carbon-zinc) or rechargeable (nickel-cadmium) batteries;
3. Always remove weak or dead batteries from the product.
3
IMPORTANT: BATTERY INFORMATION
Please retain this information for future reference.
Batteries should be replaced by an adult.
CAUTION:
1. Always follow the instructions carefully. Use only batteries specified
and be sure to insert them correctly by matching the + and – polarity
markings.
2. Do not mix old batteries and new batteries, or standard (carbon-zinc)
with alkaline batteries.
3. Remove exhausted or dead batteries from the product.
4. Remove batteries if product is not to be played with for a long time.
5. Do not short-circuit the supply terminals.
6. Should this product cause, or be affected by, local electrical interference,
move it away from other electrical equipment. Reset (switching off and
back on again or removing and re-inserting batteries) if necessary.
7. RECHARGEABLE BATTERIES: Do not mix these with any other types of
battery. Always remove from the product before recharging. Recharge
batteries under adult supervision. DO NOT RECHARGE OTHER TYPES
OF BATTERIES.
Page 4

6
CUSTOMIZE
The above steps are the basic steps for building
a lightsaber. Switch and combine the parts to
customize your lightsaber!
NOTE: Some configurations will cover the power
button. Please be sure that the power button is
exposed when completing your configuration.
POWER UP
Practice your dueling skills! Press the
button to “power up” your lightsaber.
When customizing your lightsaber, always make sure
the button is exposed so that you can “power up”!
STEP 3
5
Place blade on hilt and hold it in place.
STEP 4
Choose a sleeve ring and slide it over the blade.
STEP 5
Choose a hilt sleeve and slide it on the hilt.
NOTE: When customizing your lightsaber, always make
sure the button is exposed so that you can “power up”!
STEP 6
Choose an end cap and attach it to the hilt.
NOTE: Line up rib inside sleeve with slot on hilt.
BLADEHILT
SLEEVE RING
SLEEVE
END CAP
Congratulations! You have assembled your lightsaber!
FINISHED
Page 5

7
ASSEMBLING CHARACTER-SPECIFIC LIGHTSABERS
Count Dooku Lightsaber
Yoda Lightsaber
Mace Windu Lightsaber
Maris Brood Lightsaber
Red
Green
Red
Blue
Green
8
Page 6

10
9
 Loading...