

Page 1
PLEASE NOTE: The toy is shipped in "demo"
mode, with the switch set to "OFF." Move
switch to any other setting to remove
"demo" mode.
Includes electronic unit, 2 soft characters,
2 bases, 2 arms and 6 screws.
Includes 3 x 1.5V "AA"/R6 batteries.
Alkaline batteries recommended.
Phillips/crosshead screwdriver
(not included) required for
battery installation and
assembly.
Adult assembly
required.
BIRTH +
06122
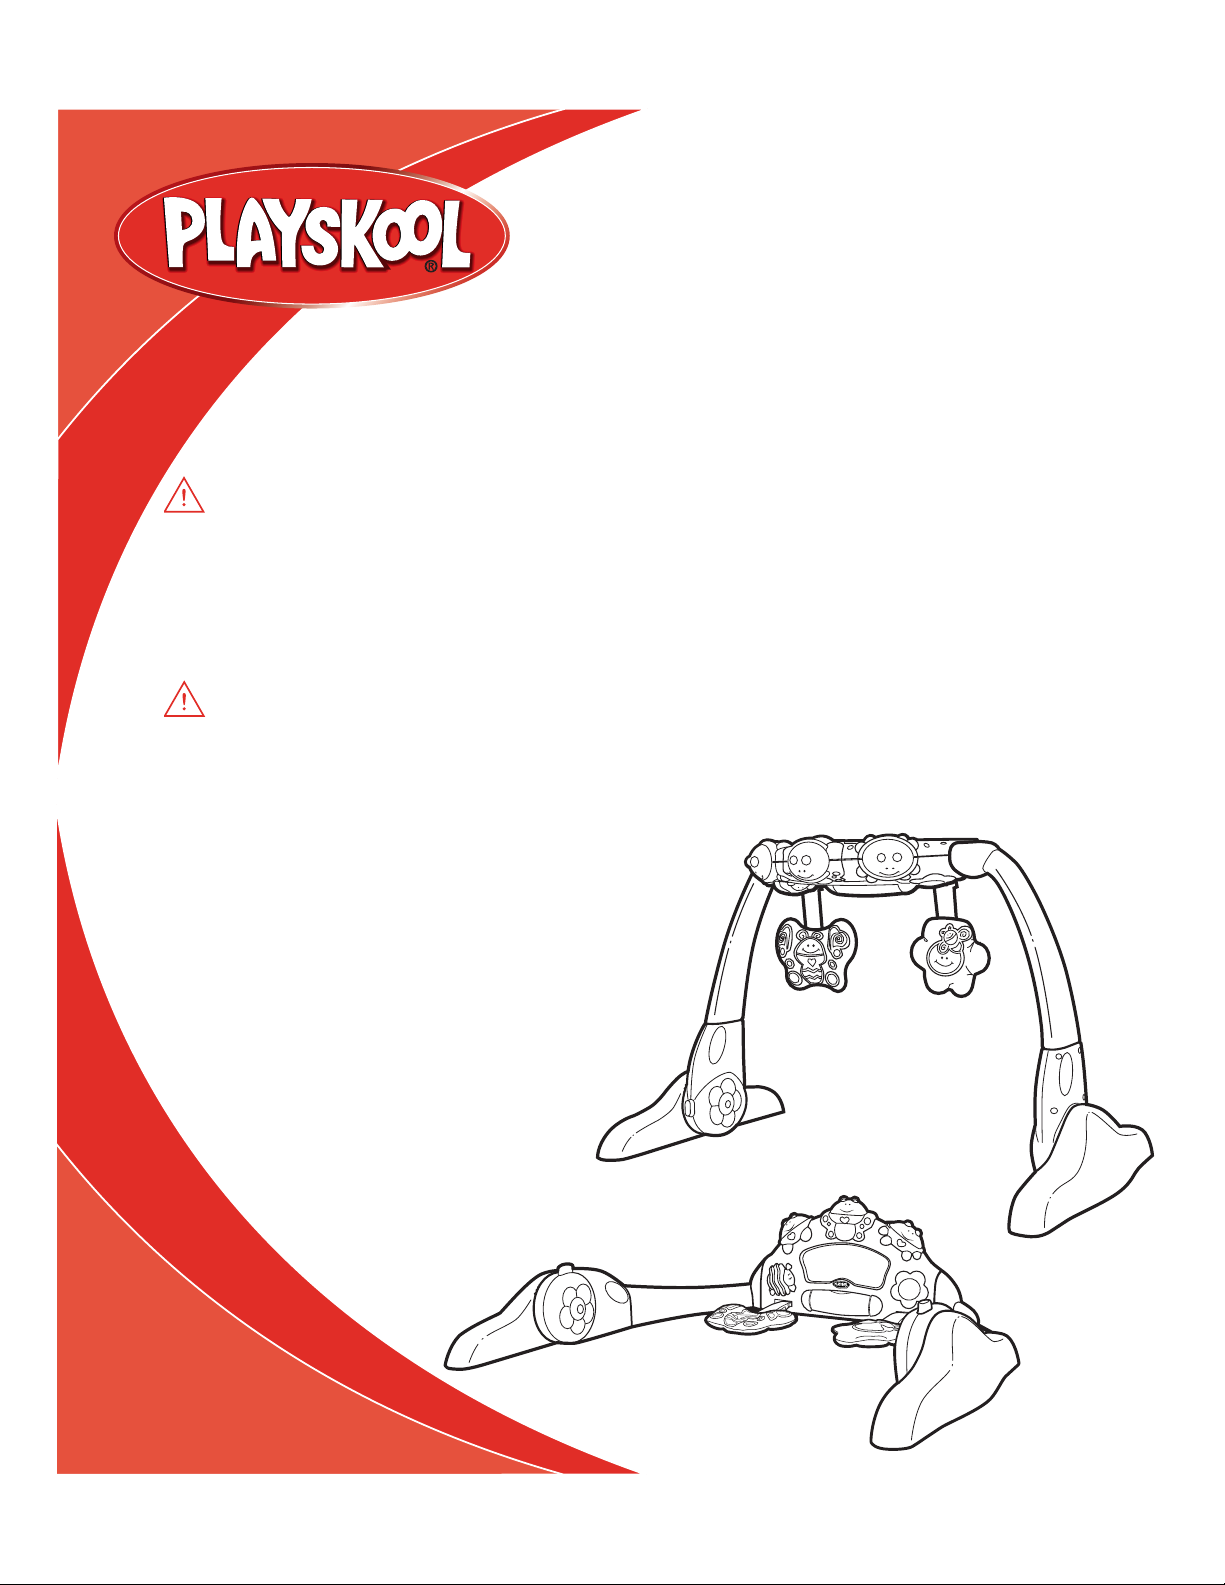
TThhaannkk yyoouu ffoorr bbuuyyiinngg tthhiiss PPLLAAYYSSKKOOOOLL pprroodduucctt!!
22--IInn--11 TTuummmmyy TTiimmee GGyymm
™™
22--IInn--11 TTuummmmyy TTiimmee GGyymm
™™
TTuummmmyy TTiimmee MMooddee
CCoonnvveerrttss ttoo
OOvveerrhheeaadd GGyymm
NEVER leave child unattended. To avoid injury and to prevent
possible strangulation and entanglement injury, NEVER place
gym in crib or playpen.
NEVER add strings, ties or other products to gym.
Remove gym from the children's environment when they begin
to stand up.
This product contains small parts which are necessary for
assembly. Prior to and during assembly of this product, keep
small parts out of children's reach. Small parts pose a choking
hazard to children under 3 years.
CAUTION:
CAUTION:
Page 2
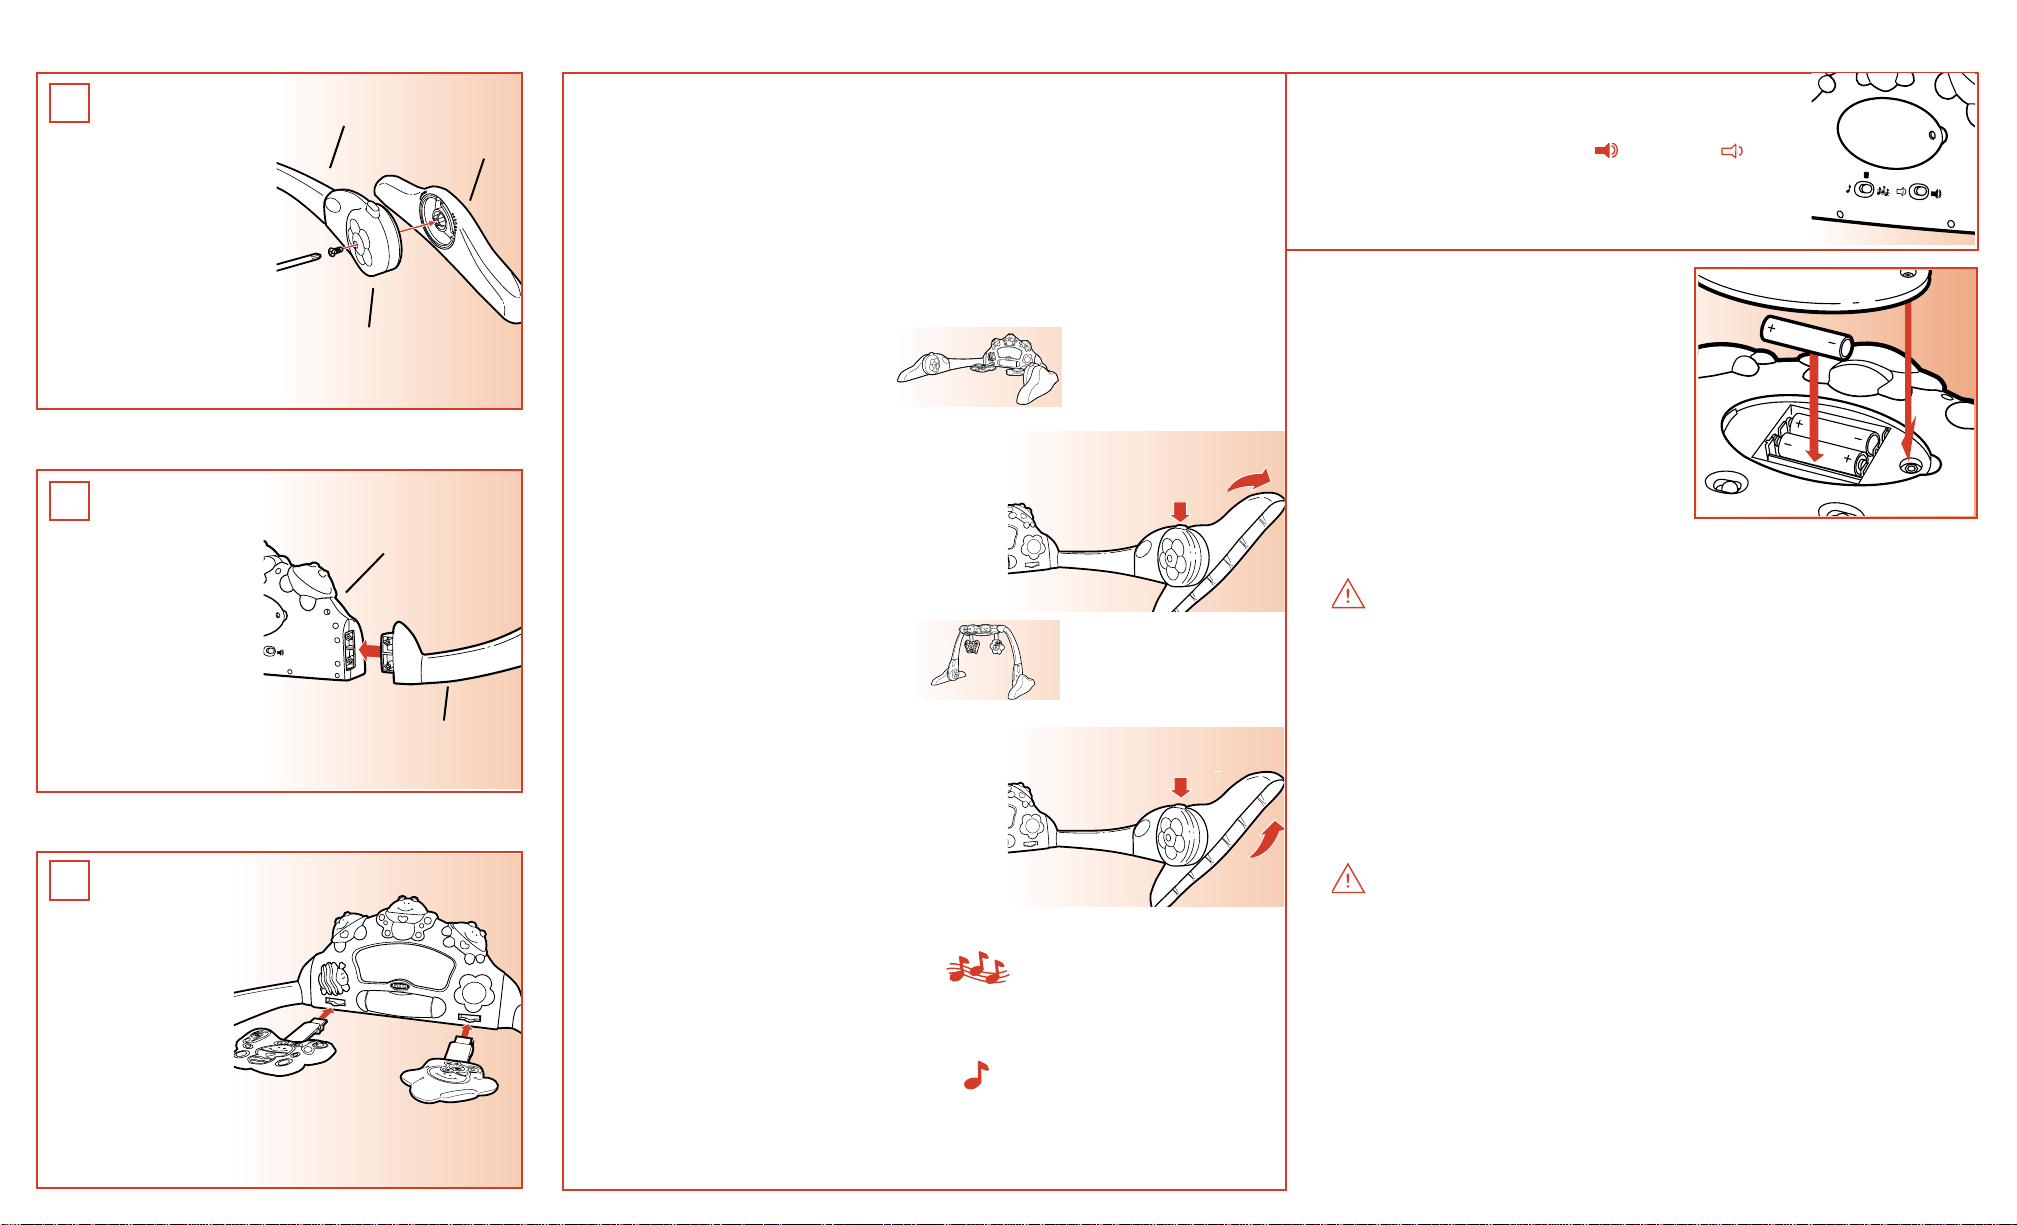
TTOO AASSSSEEMMBBLLEE
TTOO UUSSEE
11..
Match pivot piece on
arm marked "RIGHT"
with base marked
"RIGHT." Tighten long
screw (with washer
head) into each pivot
piece/base assembly.
Repeat for pivot
piece and base
marked "LEFT."
22..
Insert posts on
arms all the way
into openings on
electronic unit.
Tighten 2 short
screws into each
side of electronic
unit to secure
arms to unit.
33..
Insert posts on
soft bee and
butterfly into
slots on
electronic unit
(listen for snap).
BBUUTTTT EERRFFLLYY
AARRMM
PPIIVVOOTT PPIIEECCEE
EELLEECCTT RROONNIICC
UUNNIITT
AARRMM
BBEEEE
BBAASSEE
The 2-In-1 TUMMY TIME GYM toy is a musical, light-up tummy-time toy
that instantly converts to an overhead gym! This unique toy also
features a colorful roller to spin and an angled mirror that lets babies
see themselves!
22 WWAAYYSS TTOO PPLLAAYY!!
Note: When the legs are in locked position, the word "LOCKED" will be visible
on the side of the button. Check for this word each time you lock the legs in
position.
Note: Be sure baby is clear of toy when adjusting to gym or tummy-time positions.
TTuummmmyy--TTiimmee TTooyy
As a tummy-time toy, baby can
press the bee and butterfly or
light-up characters to get
musical and light-up rewards.
TToo aaddjjuusstt ttoo ttuummmmyy--ttiimmee ppoossiittiioonn::
RRoottaattee
PPrreessss
Lay toy down so that bottom of
electronic unit rests on the floor. Press
button and rotate base down so that it
lies flat on the floor. Repeat for other
button and base.
GGyymm TTooyy
When used as a gym, babies lie on
their backs and bat the dangling
bee and butterfly to activate
lively melodies, fun sound effects and
bright, light-up characters.
PPrreessss
TToo aaddjjuusstt ttoo ggyymm ppoossiittiioonn::
Lay toy down so that bottom of electronic
unit rests on the floor. Press button and
rotate base into “up” position (listen for
snap). Repeat for other button and base.
Lift electronic unit to stand up toy.
RRoottaattee
22 MMUUSSIICC SSEETTTTIINNGGSS!!
EExxtteennddeedd PPllaayy ((sswwiittcchh sseett ttoo ))
Plays 10 full songs continuously for 10 minutes. Each time you press a
light-up character or bat/press the soft bee or butterfly while a song is
playing, the toy will change songs and play an additional 10 minutes.
BBaabbyy AAccttiivvaatteedd ((sswwiittcchh sseett ttoo ))
Plays a segment of a song each time baby bats or presses the soft bee
or butterfly. Plays a full song each time light-up characters are pressed.
While a full song is playing, press a light-up character or soft bee or
butterfly to change songs.
Note: After a brief period of inactivity, the toy will
prompt baby to play again before shutting off.
• Adjust sound level to HIGH ( ) or LOW ( ) using
the volume switch.
• When storing the toy, move the operating switch to
OFF to prevent accidental activation.
TTOO RREEPPLLAACCEE BBAATTTTEERRIIEESS
Use a Phillips/cross head
screwdriver (not included) to
loosen screw in battery
compartment door (screw remains
attached to door). Remove door.
Remove and discard old batteries.
Insert 3 x 1.5V "AA"/LR6 alkaline
batteries. Replace door and
tighten screws.
changed batteries with the switch set to "OFF," you’ll need to move
switch to any other setting to remove "demo" mode.
Note: If you’ve
CAUTION: TO AVOID BATTERY LEAKAGE
1) Be sure to insert the batteries correctly and always follow the
toy and battery manufacturers' instructions;
2) Do not mix old and new batteries or alkaline, standard
(carbon-zinc) or rechargeable (nickel-cadmium) batteries;
3) Always remove weak or dead batteries from the product.
IMPORTANT: BATTERY INFORMATION
Please retain this information for future reference.
Batteries should be replaced by an adult.
CAUTION:
1. Always follow the instructions carefully. Use only batteries specified and be
sure to insert them correctly by matching the + and – polarity markings.
2. Do not mix old batteries and new batteries or standard (carbon-zinc) with
alkaline batteries.
3. Remove exhausted or dead batteries from the product.
4. Remove batteries if product is not to be played with for a long time.
5. Do not short circuit the supply terminals.
6. Should this product cause, or be affected by, local electrical interference,
move it away from other electrical equipment. Reset (switching off and back
on again or removing and re-inserting batteries) if necessary.
7. RECHARGEABLE BATTERIES: Do not mix these with any other types of battery.
Always remove from the product before recharging. Recharge batteries under
adult supervision. DO NOT RECHARGE OTHER TYPES OF BATTERIES.
Page 3

© 2003 Hasbro. All Rights Reserved.
® denotes Reg. U.S. Pat. & TM Office.
06122 P/N 6246680000
FCC STATEMENT
This equipment has been tested and found to comply with the limits for a Class B digital device, pursuant to part 15 of the
FCC Rules. These limits are designed to provide reasonable protection against harmful interference in a residential
installation. This equipment generates, uses and can radiate radio frequency energy, and, if not installed and used in
accordance with the instructions, may cause harmful interference to radio communications. However, there is no guarantee
that interference will not occur in a particular installation. If this equipment does cause harmful interference to radio or
television reception, which can be determined by turning the equipment off and on, the user is encouraged to try to correct
the interference by one or more of the following measures:
- Reorient or relocate the receiving antenna.
- Increase the separation between the equipment and the receiver.
- Consult the dealer or an experienced radio/TV technician for help.
At Playskool, we want to do all we can to help ensure that children thrive
developmentally. That's why we have partnered with the National Campaign
for Hearing Health to provide you with this Hearing Checklist for babies.
Your Baby's Hearing Checklist
Provided by
National Campaign for Hearing Health
1050 17th Street NW, Suite 701
Washington, DC 20036
Talk to your doctor if you answer NO to any of these questions:
YES NO
qq
qq
qq
qq
YES NO
qq
qq
qq
qq
Birth to 3 Months
Reacts to loud sounds
Is soothed by your voice
Turns head to you when you speak
Seems to know your voice and quiets down if crying
3 to 6 Months
Looks upward or turns toward a new sound
Responds to “no” and changes in tone of voice
Enjoys rattles and other toys that make sounds
Becomes scared by a loud voice
The National Campaign for Hearing Health is sponsored by the Deafness Research
Foundation. It is a public outreach, professional education and government relations
initiative whose goal is to educate the public about hearing health.
Call the National Campaign for Hearing Health at 1.800.535.3323 or visit
www.hearinghealth.net for more information.
Based on NIDCD/NIH infant hearing checklist.
PLAYSKOOL.COM
PLAYSKOOL.COM
FOR NEW PRODUCTS AND OFFERS
FOR NEW PRODUCTS AND OFFERS
Questions? Call: 1-800-PLAYSKL
 Loading...