

Hartenberger compact, professional Instructions For Use Manual
Instructions for use
Hartenberger
Underwater Hand Lamp
compact
professional

Hartenberger Underwater Hand Lamp compact / professional Instructions for use
2
CONTENTS
SAFETY WARNING. 2
GUARANTEE. 2
APPLICATIONS. 2
ARTICLE DESCRIPTION. 3
TECHNICAL SPECIFICATIONS. 5
FRONT HOUSING RING 5
POWER PACK 6
PREPARATION FOR USE. 6
USING THE UNDERWATER LAMP. 7
AFTER USE. 8
TRANSPORT 8
STORAGE. 9
CHARGING. 9
CARE AND MAINTENANCE. 12
SERVICE. 13
FAULT DIAGNOSIS. 13
ACCESSORIES. 15
SPARE PARTS 14
SAFETY WARNING
• Before attempting to use the underwater lamp, carefully
read and adhere to these instructions for use.
• Before the first time the lamp is used, the lamp must be
charged.
• Do not operate the lamp immediately after charging.
• Always point the beam of the lamp away from yourself.
• Never point the lamp beam in the direction of another
person.
GUARANTEE
When these instructions for use and the care and
maintenance guidelines are adhered to, we will guarantee all
mechanical parts made from steel, aluminium, glass and
plastic for a period of 5 years against manufacturers defects
and material failure. All electronic parts are guaranteed for a
period of 1 year. The rechargeable cells and the charger
have a guarantee against manufacturers defects and
material failure for 6 months. The Halogen bulbs and O-Ring
seals are expendable items and are therefore not covered by
the guarantee.
APPLICATIONS
The Hartenberger Underwater Lamps are for use in
underwater lighting applications. Use of the lamp in an
environment other than fully submerged in water may cause
the rechargeable cells to overheat which may result in the
expected life of the cells being shortened.
Hartenberger Underwater Hand Lamp compact / professional Instructions for use
3
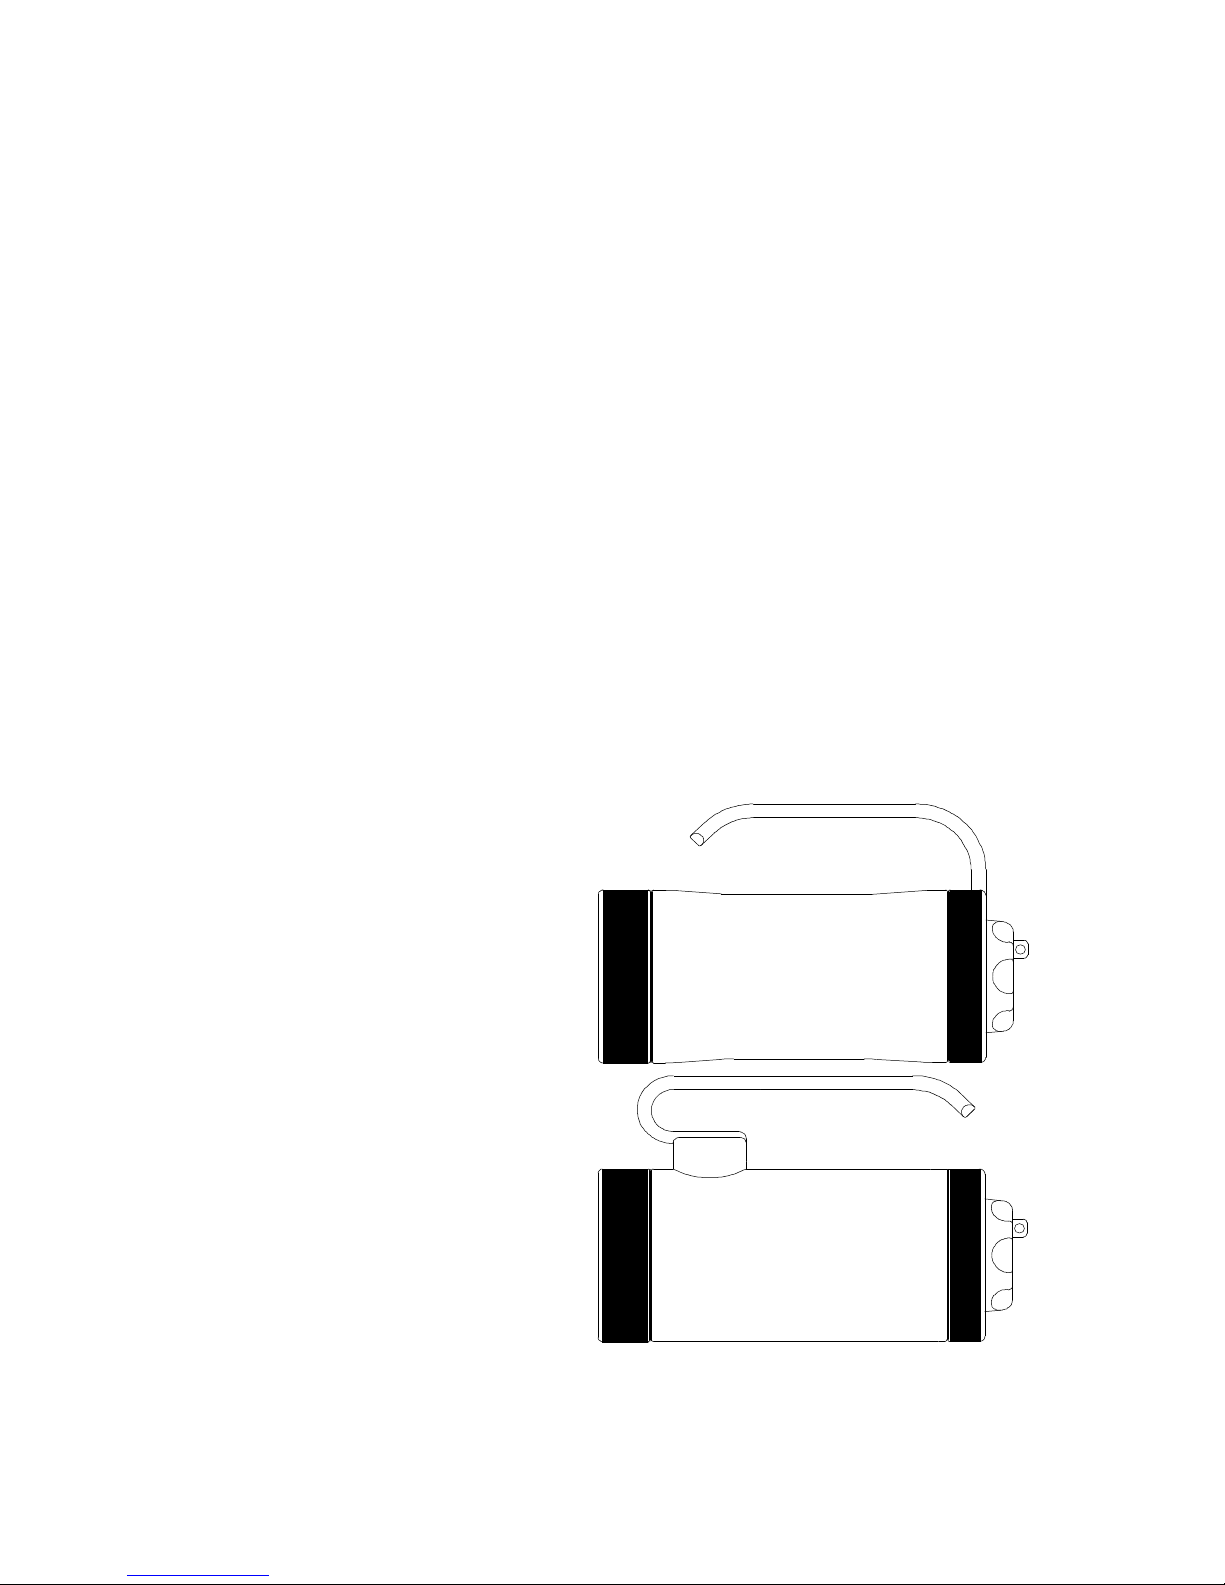
ARTICLE DESCRIPTION
HOUSING
1. Front Ring
2. Front O-Ring seal
3. Housing
4. Rear O-Ring seal
5. Rear Ring
6. Magnetic Switch
7. Transport Safety Pin
1 2 3 4 5 6 7 Diagram 1
FRONT RING
The front sealing ring must be removed to access the
rechargeable cell pack for charging and/or to replace the
halogen bulb.
HOUSING/FRONT AND REAR SEALS
The housing is made from aluminium and is sealed with
threaded rings at the front and the rear, which are sealed
with blue Viton O-Rings (dimensions 78 x 2.5. 50° Shore
hardness).
REAR RING
The rear sealing ring is screwed onto the housing during the
assembly by the manufacturer using a special tool. It cannot
and should not be removed or replaced by hand.
MAGNETIC SWITCH
The magnetic switch controls all the electronic functions that
each lamp has to offer.
Compact version OFF-100%-100%-100%-100%-OFF
Professional version OFF-25%-50%-75%-100%-OFF
Each version also has a distress signal function according to
the Morse alphabet; SOS (3 x dot, 3 x dash, 3 x dot).
TRANSPORT SAFETY PIN
The transport safety pin can only be fitted into position when
the lamp is turned off. With the safety pin inserted, the switch
is prevented from rotating and the lamp cannot be turned on
accidentally.
Hartenberger Underwater Hand Lamp compact / professional Instructions for use
4
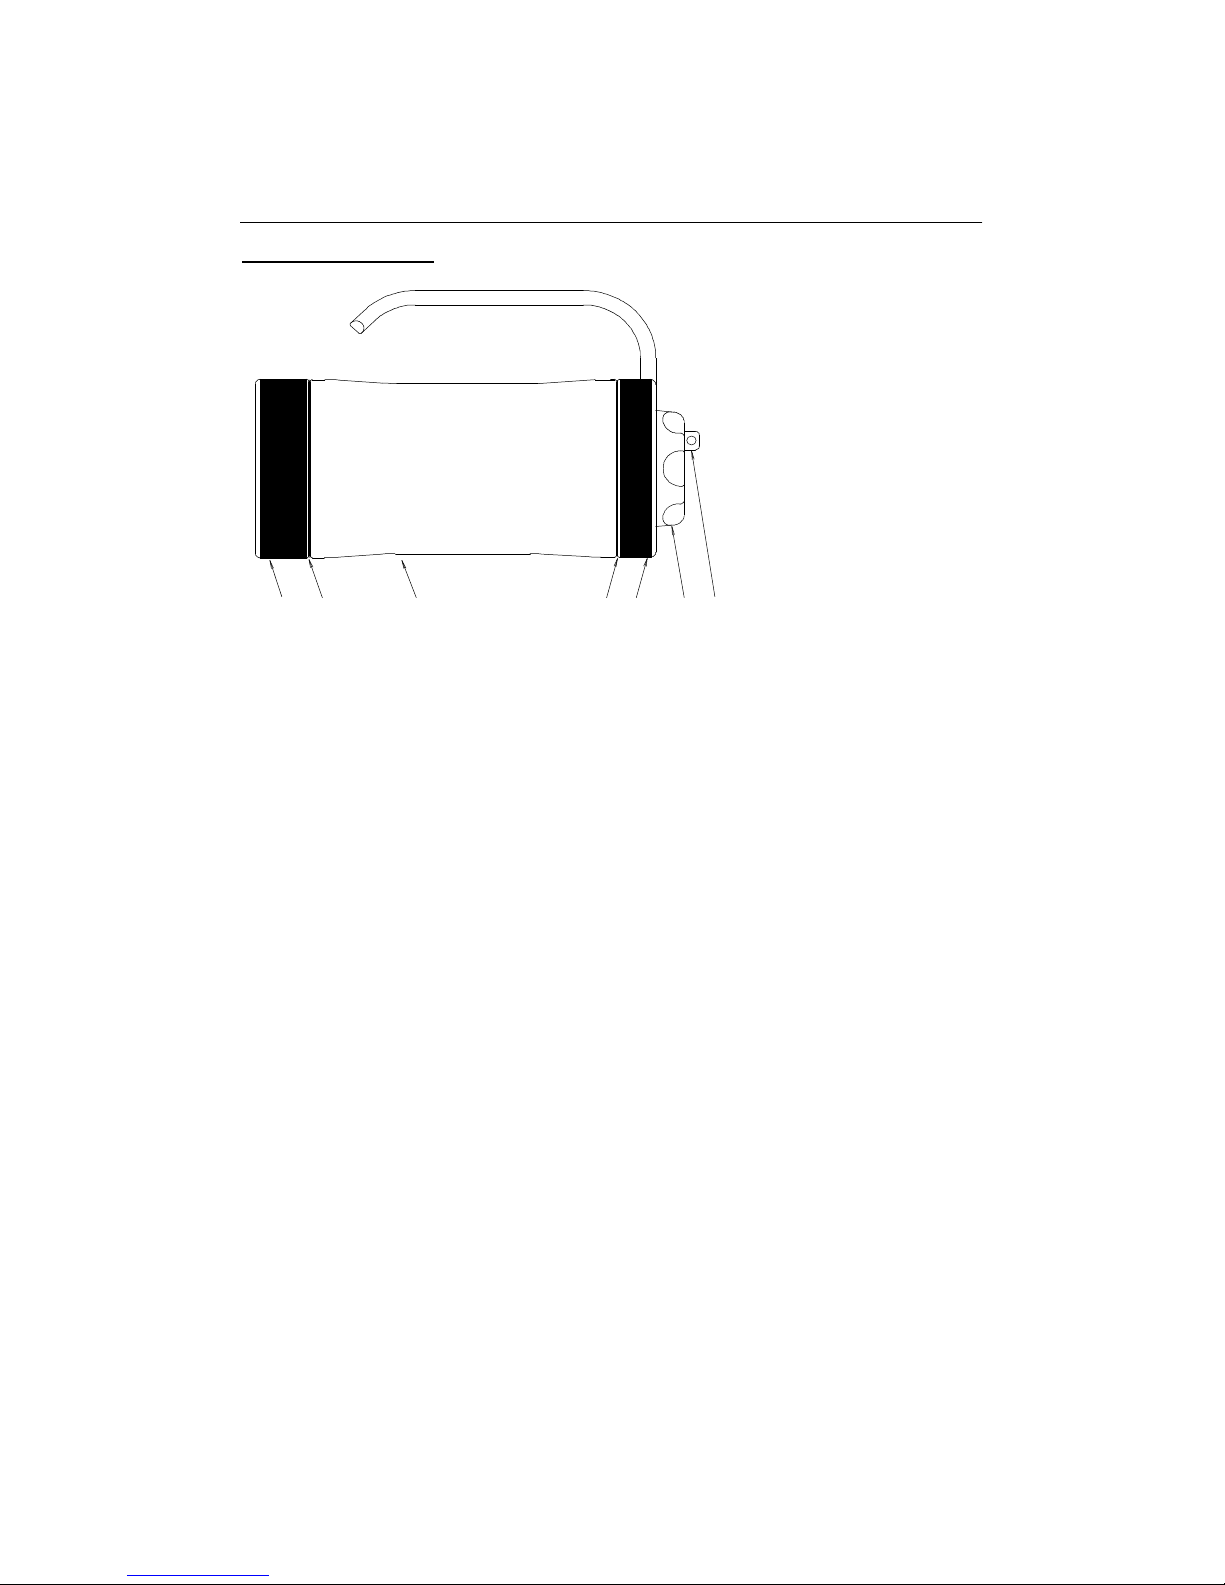
POWER PACK
1. Reflector
2. Halogen Bulb
3. Spare O-Ring
4. Spare Halogen Bulb Holder
5. Plug-In Electronic Control
Panel
6. Charging socket
1 2 3 4 5 6 Diagram 2
REFLECTOR
The reflector is pressed on to the power pack and can be
removed by simply pulling the reflector away from the power
pack. To alter the beam of the lamp there are two reflectors
available: (See accessories page 15).
Spot for standard lighting applications
Flood for Photo and Film use
HALOGEN BULB
The halogen bulb is pushed into a standard socket and can
easily be replaced.
SPARE O-RING
The spare O-Ring for the housing sealing rings is stowed
under the reflector. After removal of the reflector from the
power pack, the spare O-Ring can be removed and used to
replace the O-Ring sealing the front sealing ring.
SPARE HALOGEN BULB
One of the five support pillars separating the caps around the
cells has a grey coloured holder for the spare halogen bulb.
The grey cover can be rotated around the axis of the support
pillar to expose the stowage of a spare bulb.
PLUG-IN ELECTRONIC CONTROL PANEL
Die electronic is available in two versions:
1. compact fixed power setting
2. professional variable power settings (also as an option
for the compact lamps)
CHARGING SOCKET
The plug from the charger is plugged into the charging
socket for charging purposes.

Hartenberger Underwater Hand Lamp compact / professional Instructions for use
5
TECHNICAL SPECIFICATIONS
DURATION OF USE
The burn time of a lamp with Nickel Cadmium Cells is
dependant upon water temperature, state of cell charge and
the type of bulb. The water temperature greatly affects the
burn time. For example, in water temperatures of between 4
and 6 °C, (40 - 45 °F) the burn time will be at best 90% of the
stated capacity.
New Ni-Cad Cells only reach their full capacity after 2-3
charging cycles.
Type Voltage/Capacity 35 watt 50 watt 100 watt
125 12v/5Ah 120 Min 70 Min 35 Min
128 12v/8Ah 180 Min 100 Min 50 Min
Die Heavily printed figures represent the burn times with the
standard bulbs as delivered.
DIMENSIONS AND WEIGHT
Type approx. Length & Diameter approx. Weight on land approx. Weight in water
125 205x100 2.9 kg 1.0 kg
(8 in x 4 in) (6 lbs 6 oz) (2 lbs 3 oz)
128 270x100 3.9 kg 1.5 kg
(11 in x 4 in) (8 lbs 9 oz) (3 lbs 4 oz)
RESISTANCE TO WATER PRESSURE
We guarantee that all Hartenberger lamps are pressure proof
to a depth well in excess of 200 meters (650 feet).
FRONT GLASS PLATE
The professional lamps have a special borosilicate glass
plate as standard. These glass plates have a temperature
shock resistance of 300°C, (570°F). The compact version
can be fitted with these glass plates upon request.
FRONT HOUSING RING
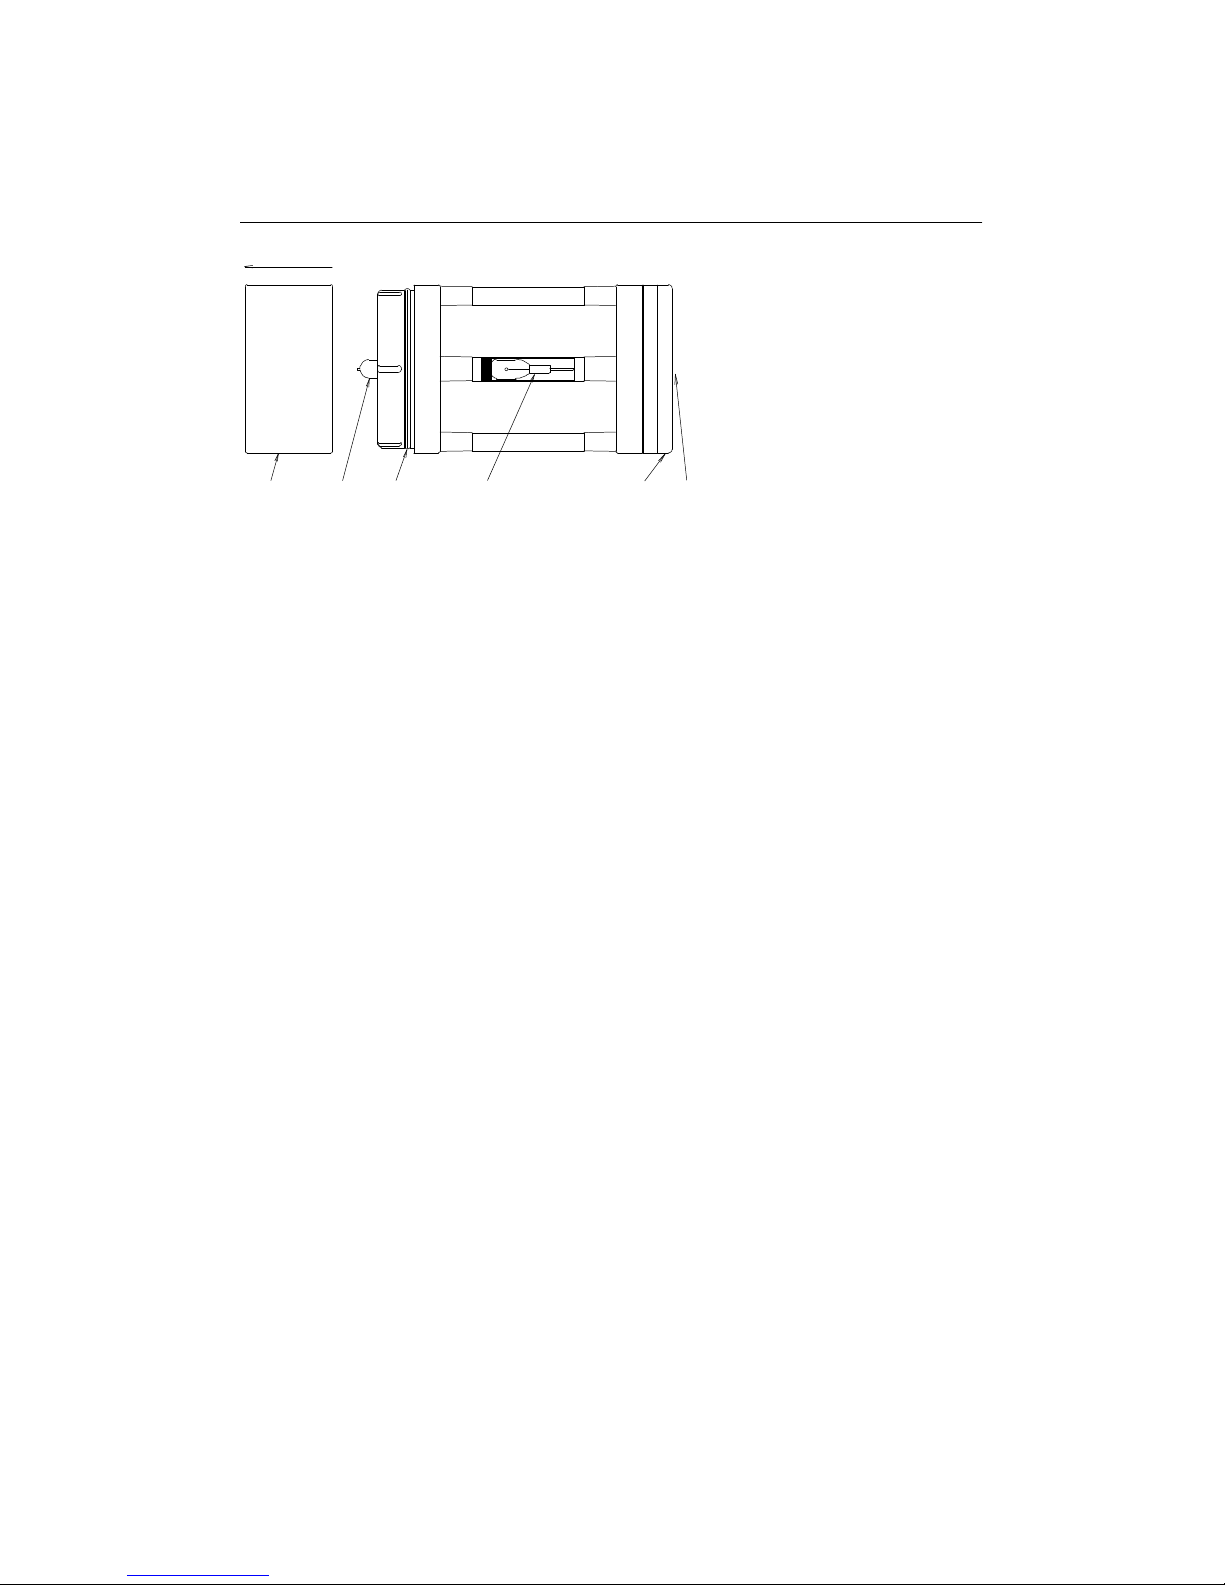
UNSCREWING THE FRONT HOUSING RING.
The front housing ring is removed by unscrewing the ring
anti-clockwise, (thread length approx. 10 mm [3/8“]). Whilst
unscrewing the front ring, the housing should be held in an
upright position with the front ring facing up, thus preventing
the power pack from inadvertently falling out of the housing.
REFITTING THE FRONT HOUSING RING
Before refitting the front ring on the housing, all threads,
sealing surfaces and seals must be checked for integrity and
cleanliness.
If the O-Ring is removed, care must be taken not to damage
the groove in which the O-Ring sits. A soft blunt tool should

Hartenberger Underwater Hand Lamp compact / professional Instructions for use
6
be used for the removal of the O-Ring, i.e. a wooden tooth
pick.
Should the sealing surfaces and/or components be
contaminated, then the O-Ring and its groove should be
thoroughly cleaned and lubricated with a light coating of
silicone grease. Should the sealing surfaces and/or
components be damaged, then all damaged parts should be
replaced. It is recommended that after such work has been
carried out, that the seal/integrity of the housing is first
checked underwater without the power pack fitted.
The front ring is screwed on clockwise and should be
tightened only by hand. After the sealing surfaces have made
contact, the ring will need to be tightened by hand
approximately a further ¼ turn. The thread should be able to
be opened again without undue force.
POWER PACK
REMOVAL OF THE POWER PACK
After removing the front sealing ring from the upright
housing, the housing can then be tilted over and the power
pack will slide out of the housing.
REFITTING THE POWER PACK
Hold the housing in a position where the opening is pointing
slightly upwards, the power pack can now be slowly lowered
into the housing. The locating pin should locate in the orifice
in the rear of the power pack housing ensuring the correct
position of the power pack.
PREPARATION FOR USE
BEFORE THE LAMP IS USED FOR THE FIRST TIME
Before the first use, the cells must be charged. ( See
Charging
page 8)
Hartenberger underwater lamps are manufactured to a high
degree of precision and each lamp is tested to a water
pressure of 10 bars. The condition of the lamp and in
particular the housing and sealing rings should however be
checked before the first use.
We recommend that the first under water use be conducted
without the power pack to check the seal of the housing.
BEFORE EACH USE.
The rechargeable cells will slowly discharge naturally when
not in use, (depending on the ambient temperature up to
60% discharge in one month!). We recommend therefore
that the cells are charged one day before each use.
Before each use, the front threads, sealing surfaces and ORing must be checked for integrity and cleanliness. (See
Page 5).
 Loading...