

Harmopool Harmo POWERPACK, ZVWX3103, ZVWX3123, ZVWX3128, ZVWX3113 Instruction Manual
1
Imported by :
Zwembad BVBA
Industrieweg 9
3190 Boortmeerbeek
België
www.harmopool.eu
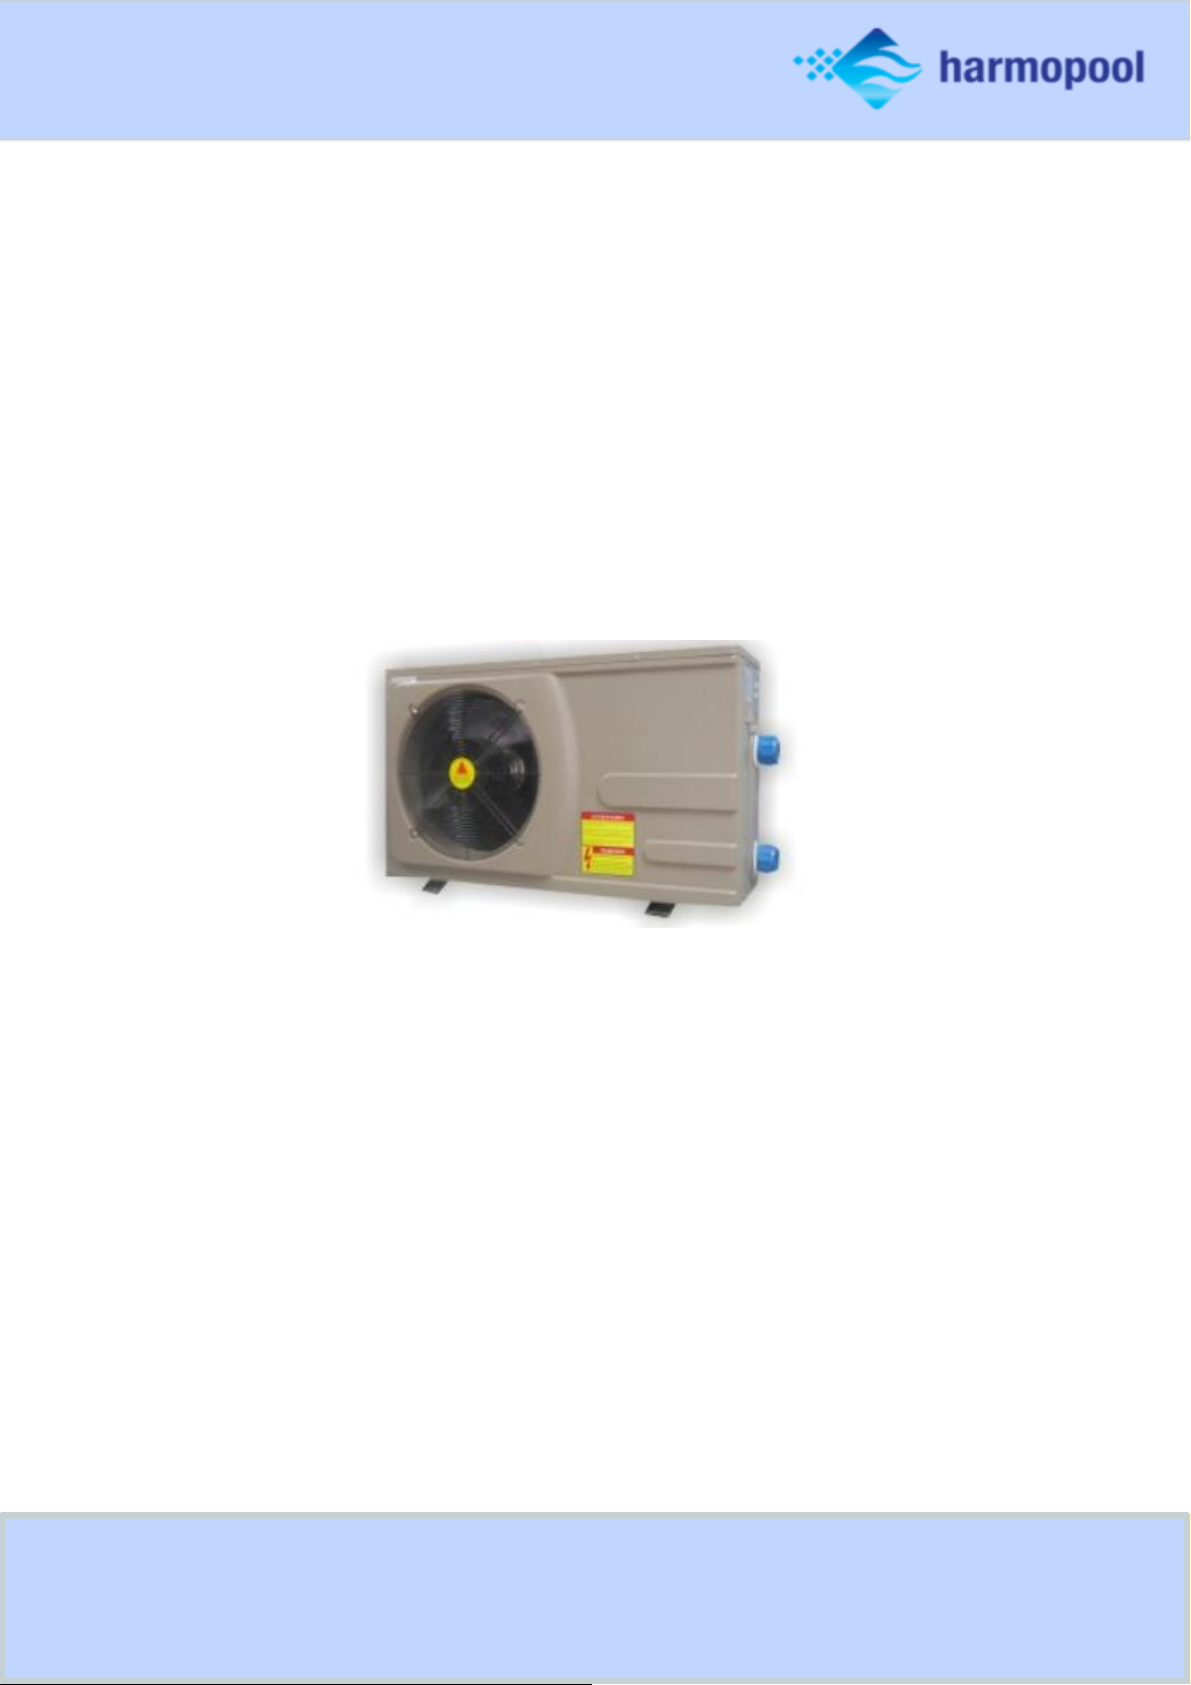
Swimming Pool Heat pump
Instruction manual – Harmo POWERPACK series
(Type ZVWX3103, ZVWX3113, ZVWX3123, ZVWX3128)

2
Table of contents
Introduction ................................................................................................................................................................... 3
Characteristics
.......................................................................................................................................................... 3
Safety instructions ......................................................................................................................................................... 3
Specifications ................................................................................................................................................................. 4
Installation ..................................................................................................................................................................... 5
Accessories needed for the installation .................................................................................................................... 5
Location ..................................................................................................................................................................... 5
Distance ..................................................................................................................................................................... 6
Installation of the pool system .................................................................................................................................. 7
Installation of the bypass .......................................................................................................................................... 7
Electrical wiring ......................................................................................................................................................... 8
Start-up procedure .................................................................................................................................................... 8
Condensation ............................................................................................................................................................ 8
Guidelines ...................................................................................................................................................................... 8
Water chemistry ........................................................................................................................................................ 8
Winter-ready ............................................................................................................................................................. 9
Spring start-up ........................................................................................................................................................... 9
Owner inspection ...................................................................................................................................................... 9
Display settings ............................................................................................................................................................ 10
Clock settings .......................................................................................................................................................... 11
Timer settings .......................................................................................................................................................... 11
Functions of the display............................................................................................................................................... 12
Current status.......................................................................................................................................................... 14
Maintenance ................................................................................................................................................................ 14
Appendix ...................................................................................................................................................................... 15

3
Introduction
Read the manual carefully before you open or maintain the heat pump. The manufacturer of this product will
not be held responsible for injuries or damage to the unit, as a result of improper installation, debugging or
unnecessary maintenance. It is essential that the instructions of this manual are followed at all times.
Qualified personnel must install the heat pump.
○ Only a qualified installer, center, personnel or an authorized dealer, should repair the heat pump.
○
Maintenance and operation must be carried out according to the recommended time and frequency, as
mentioned in this manual.
○
Use original standard spare parts only. Failure to comply with these recommendations will you’re your
warranty.
Characteristics
○
Durable: the heat exchanger is made of PVC & Titanium, which can withstand prolonged exposure to
water.
○ Easy operation: the heat pump is very easy to use: turn the heat pump on and set the desired water
temperature.
○ Silent operation:
the intelligent LCD display allows you to set the perfect temperature.
○ Low cost: the operational cost is very low compared to the high performance of this heat pump.
Safety instructions
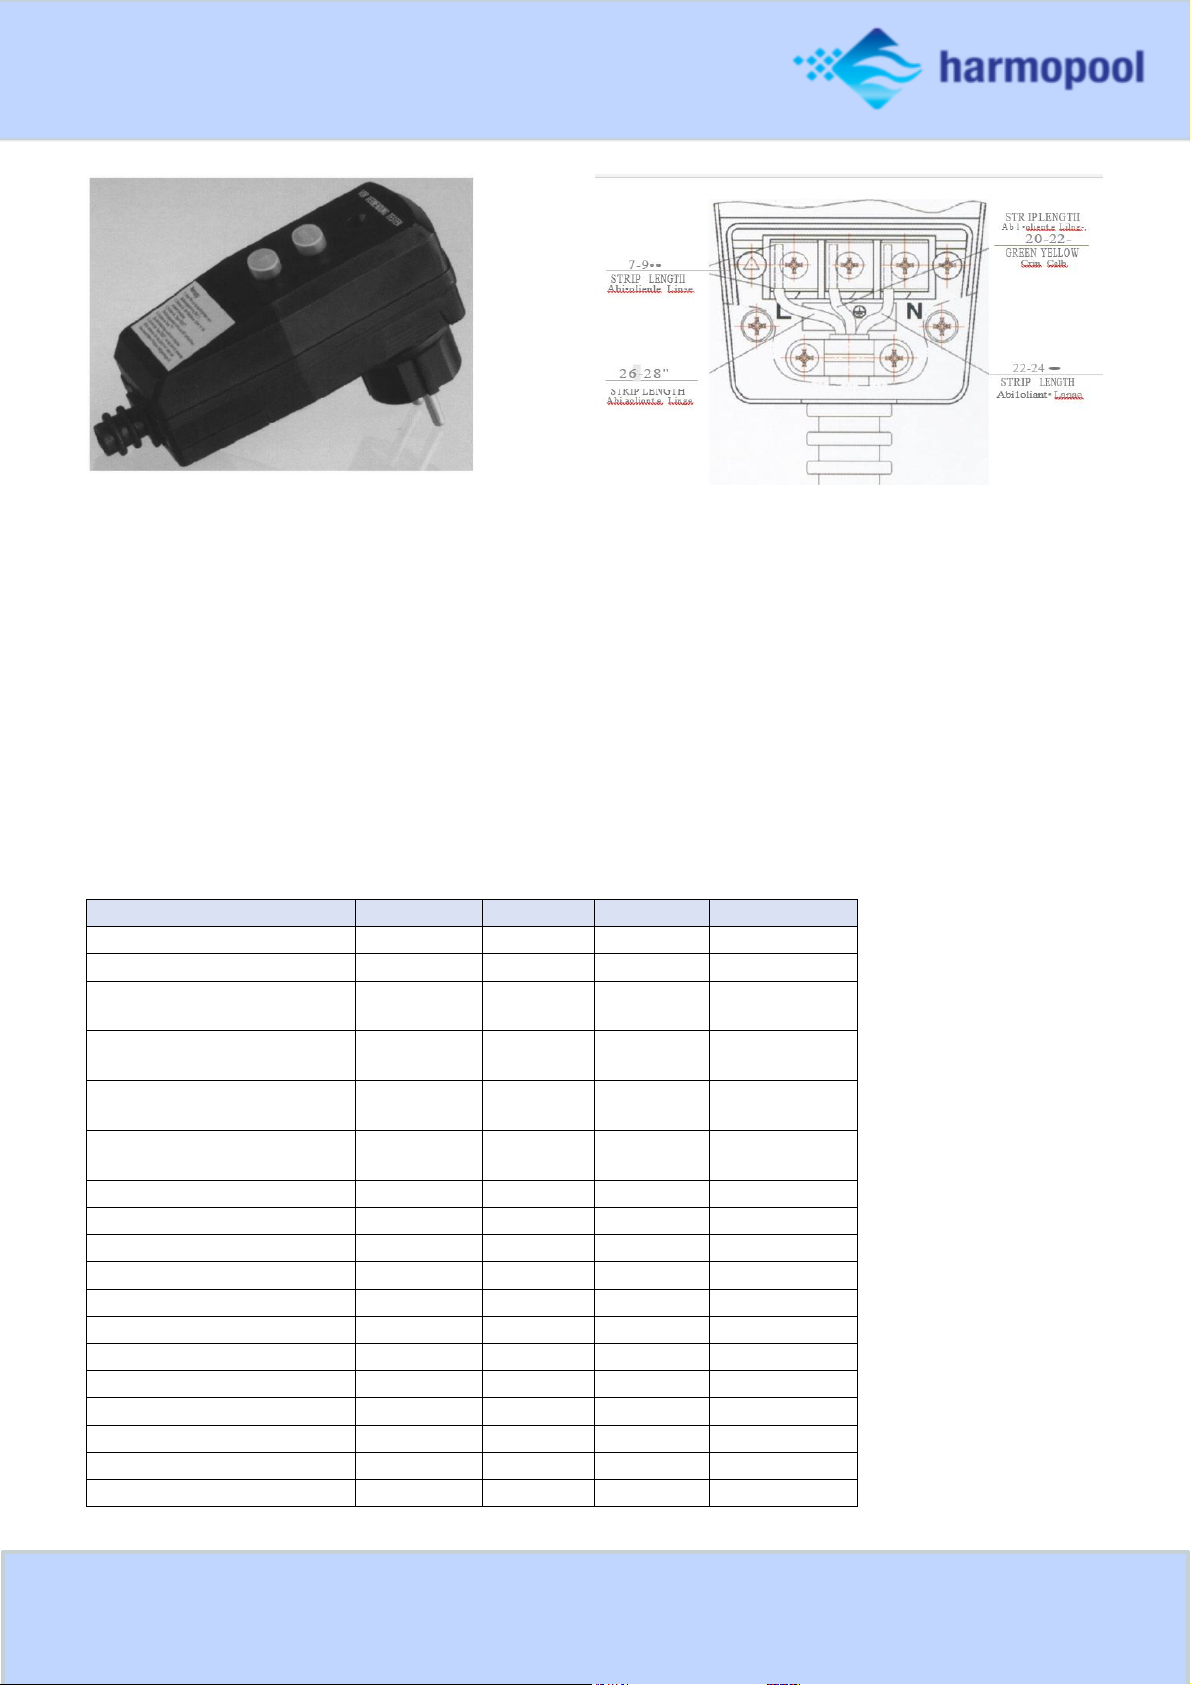
○ Place the heat pump at a safe distance. Never place the pump within a radius of 350 cm from the pool.
○ The heat pump can be mounted with an RCD safety plug.
○ Put the RDC plug directly and solely into an earthed socket. Never use an extension cord or similar.
○ Check the voltage on the plug to the power at the socket. Only use an earthed socket.
○ Always check that the safety plug is working properly to ensure safety. Never remove the safety plug.
○ Place
the pump and plug in a dry location. The heat pump is splash proof.
○ The failure to comply with these instructions could result in serious injuries.
○ Important!
Gas: Please verify the nameplate of the heat pump which mentions the gas. In case of R32 gas, measures for
explosion risk need to be taken: It is forbidden to hold an open flame (cigarette, lighter), in the vicinity of the
heat pump. It is forbidden to install the heat pump in the vicinity of a heat source.
4
Safety test
1. Use the wiring diagram in the manual.
2. Plug into the socket.
3. Press the RESET button. The indicator "ON" is highlighted.
4. Press the "TEST" button. The indicator "ON” will be turned off.
5. Press the RESET button in order to use the device. Do not use if above test fails.
Specifications
Product code:
ZVWX3103
ZVWX3113
ZVWX3123
ZVWX3128
Product type:
MONO
MONO
MONO
MONO
COP 27°T air 27°T water
5.8
6.0
5.7
5.0
Minimum outside
temperature
-10°
-10°
-10°
-10°
Heating Capacity (kW) 27°T
air 27°T water
7
12
14
18
Nominal power consumption
(A)
5,0
8.8
11
16
Nominal water flow rate
(m³ / h)
2 to 4
4 to 7
5 to 8
5 to 8
Heat exchanger
Titanium
Titanium
Titanium
Titanium
Connection (mm)
50
50
50
50
Control panel
Digital
Digital
Digital
Digital
Compressor (number)
1 1 1
1
Ventilators 1 1 1 1
dB
48
48
49
48
Weight (pump/packaging)
42/47
53/58
70/78
82/90
Compressor
Rotary
Rotary
Rotary
Scroll
Volt
230V
230V
230V
230V
Length ( pump/packaging )
105/117
105/117
110/126
110/126
Width ( pump/packaging )
37/42
37/42
45/50
45/50
Height ( pump/packaging )
62/65
62/65
72/75
72/75
5
Installation
Accessories needed for the installation
The factory only provides the heat pump. Other necessary items that could be mentioned in the illustrations are to
be provided by the user or installer.
Attention! Please follow the following steps when installing the heat pump:
○ The chemicals have to be added downstream of the heat pump.
○ It is recommended to install a bypass when the flow of the pool pump is more than 20% of the rated flow of
heat exchanger from the heat pump.
○ Install the heat pump on a solid foundation and use rubber below the heat pump to eliminate vibrations and
noise.
○ Installeer de warmtepomp op een solide basis en gebruik de dempende rubber om het geluid en de vibratie te
elimineren.
○ Keep the unit straight up at all times. When the unit has been tilted, it is required to wait 24 hours before re-
starting the heat pump.
○ The heat pump can be installed practically anywhere outdoors. If you wish to install it indoors, please contact
your supplier.
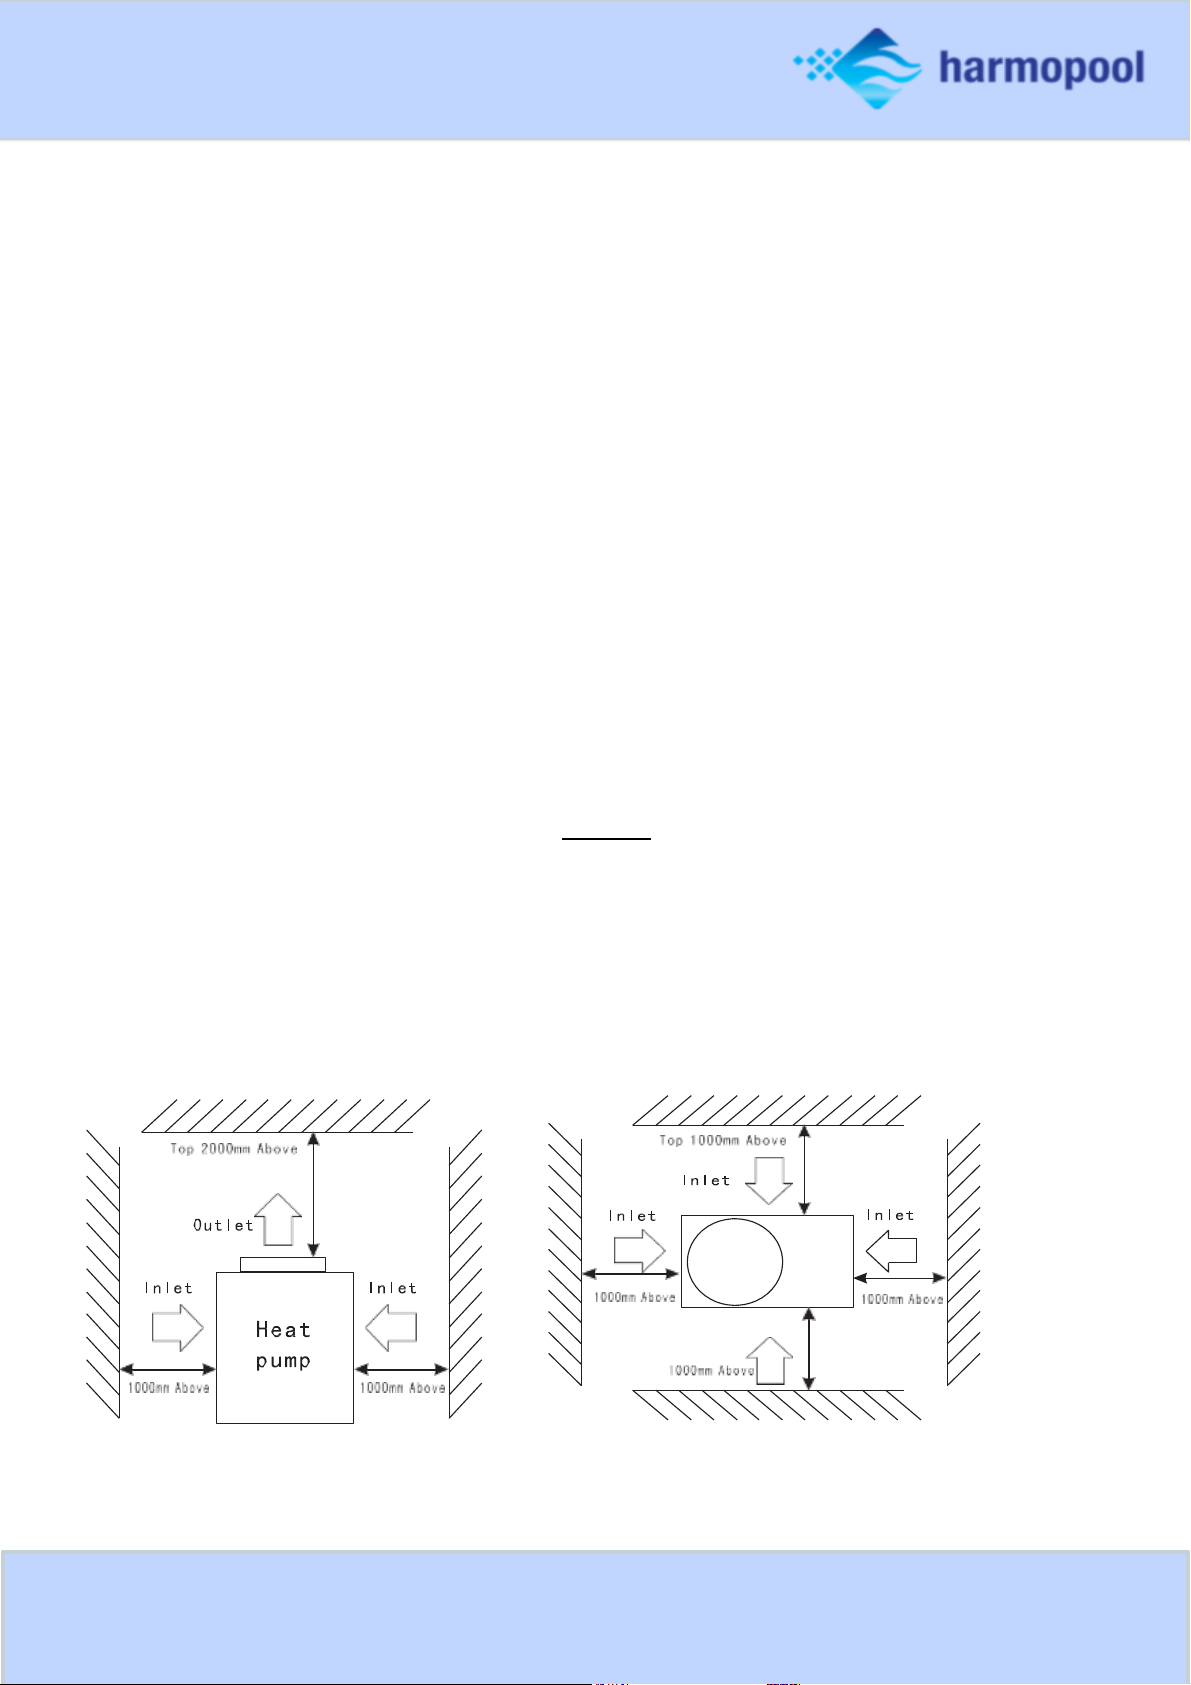
Location
The heat pump can be installed practically anywhere outdoors.
DO NOT
place the unit in a closed area with a limited air volume where the air discharged by the heat pump
will be re-circulated
DO NOT
put the unit next to bushes. This can block the air inlet. Such locations deny a continuous source of
fresh air, which reduces the efficiency of the heat pump and can prevent adequate heat delivery. The picture
below shows the minimum required distances from each side of the heat pump.
 Loading...