

Harmony SlideTrax 8023061 Installation Instructions Manual

SLIDETRAX SIDEBOARD
INSTALLATION INSTRUCTIONS
© 2009
Harmony is a registered trademark of Conuence Watersports
Slidetrax Sideboard
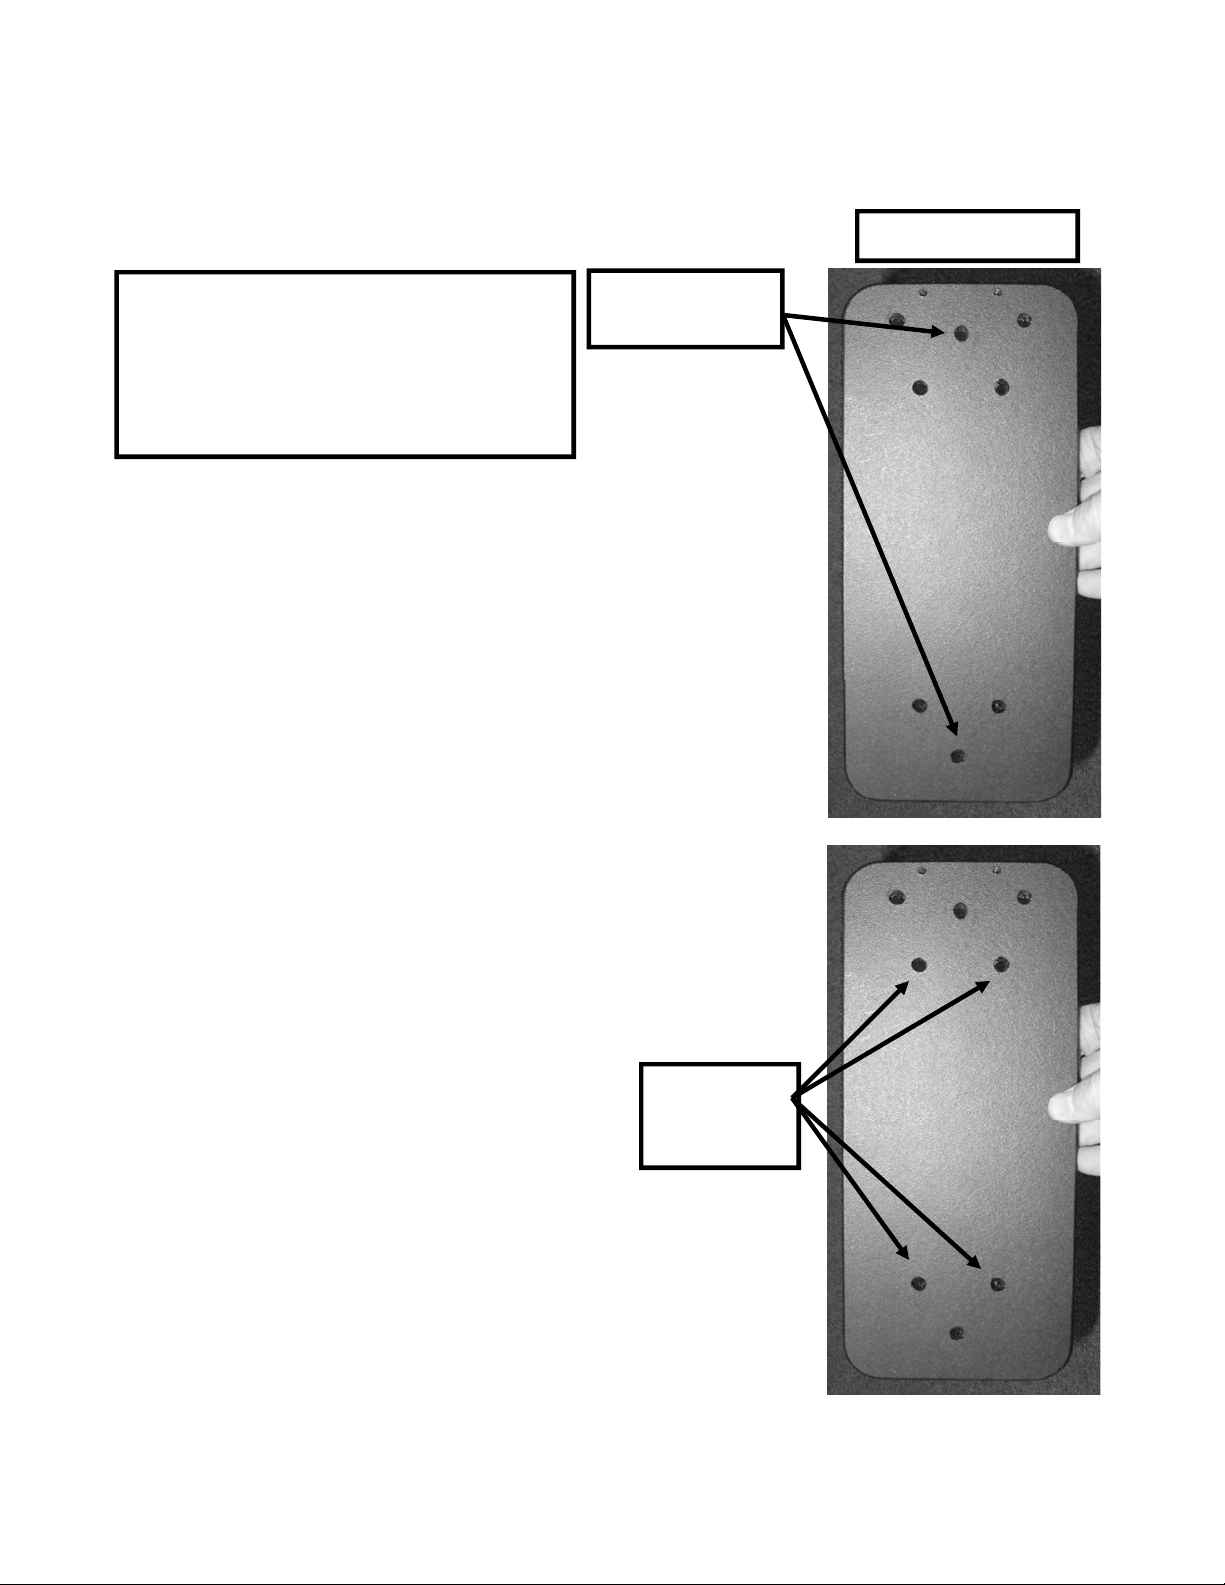
Top side of board
Parts List:
(1) 10x4 1/2”Starlite board
Center
Mounting holes
(2) 1/4x20x7/8 Socket-Heads
(2) Washers
(2) Brass Plates
1) Identify the top side of the Starlite Sideboard, it will be
the side that does not have any recessed bolt holes (the
bottom side will have two holes that are recessed 1/8”
deep).
2) Thread the Washers onto the Socket-heads then run the
socket-heads through the center mounting holes on the
board.
3) Screw the brass plates onto the socket heads, leaving
enough space between the bottom of the board and the
brass plate that you will be able to slide the unit onto the
Slidtrax on the kayak. (If you need to adjust the side to
side position of the board, you may wish to use one of
the alternate mounting holes instead of the center holes
in the board.)
4) Slide unit onto the track.
5) Locate the desired position on the track and tighten the
unit .
Mounting Accessories
1) Starlite is easily drilled to accommodate mounting of
various accessories. When positioning accessories
Make sure that you retain access to the socket
Head screws that mount the Board to the Slide
Trax. These will need to be tightened and/or
Loosened to allow Board to be installed, moved
Or removed. This is why we provide alternate mounting
holes on the “Board.
2) When mounting accessories, choose mounting hardware
that does not extend far beyond the base of the board
and could scratch your boat finish or impeded operation
of the SlideTrax System.
(The two recessed holes and two smaller holes on the end
of the ‘Board are designed to mount the SlideTrax TDA
(Transducer Deployment Arm option.)
Alternate
mounting
holes
 Loading...