

Owner’s Manual
ASSEMBLY, CARE & SAFETY INSTRUCTIONS
Item No. HK0515
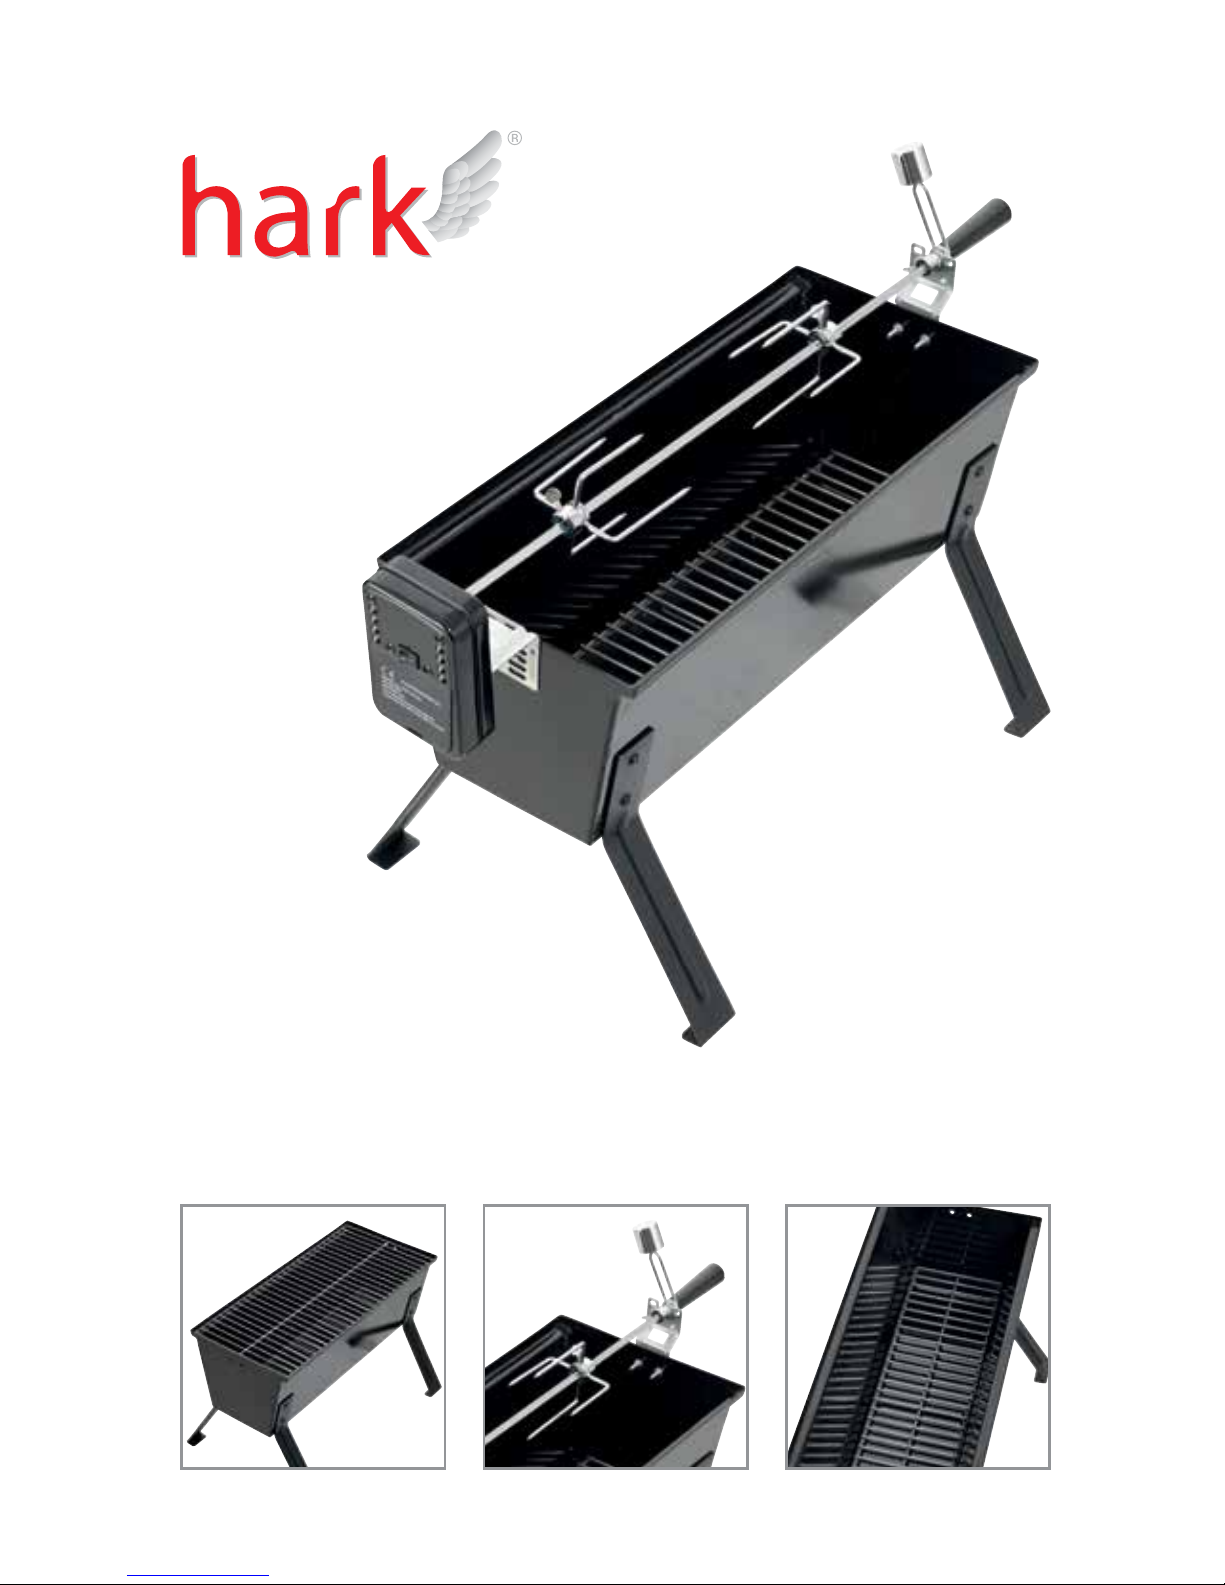
MINI SPIT

Mini Spit
Warranty Details
The product is guaranteed to be free from defects in workmanship and parts for a period
of 12 months from the date of purchase. Defects that occur within this warranty period,
under normal use and care, will be repaired, replaced or refunded at our discretion. The
benets conferred by this warranty are in addition to all rights and remedies in respect of
the product that the consumer has under the Competition and Consumer Act 2010 and
similar state and territory laws.
Our goods come with guarantees that cannot be excluded under the Australian Consumer
Law. You are entitled to a replacement or refund for a major failure and for compensation
for any other reasonably foreseeable loss or damage. You are also entitled to have the
goods repaired or replaced if the goods fail to be of acceptable quality and the failure does
not amount to a major failure.
After Sales Support
Telephone: 1300 799 787
(03) 9873 2711
Email: service@hark.com.au
YEAR
WARRANTY

MINI SPIT
READ THE FOLLOWING WARNINGS, SAFEGUARDS AND INSTRUCTIONS
PRIOR TO ASSEMBLY AND OPERATION. FAILURE TO DO SO MAY RESULT IN
PERSONAL INJURY OR PROPERTY DAMAGE.
SAVE AND FILE THESE INSTRUCTIONS FOR FUTURE REFERENCE.
DANGER DANGER
- The Hark Mini Spit is for OUTDOOR
USE ONLY.
- Never operate this unit unattended.
- Never operate this unit within 7.5
metres of any ammable liquids.
- Keep the area clear of all ammable
liquids, combustible material,
including wood, dry plants, grass,
brush, paper and canvas.
- Only use this mini spit on a level,
stable non-combustible surface
like brick, concrete or dirt. Do not
use the mini spit on or around any
surface that will burn or melt, such
as on a wooden deck, dry grass,
wood rails, vinyl or plastic.
- Never use the mini spit unit in an
enclosed area.
- Never operate this mini spit under
any overhead roof covering, awning
or overhang.
- Always wear shoes and protective
clothing while operating this mini
spit.
- The mini spit is HOT while in use
and will remain so for some time
after use. Always wear protective
mitts and avoid touching hot
surfaces at all times.
- Keep CHILDREN AND PETS away
from the mini spit at all times.
- Never move the mini spit unit when
it is in use. Allow to cool before
moving or storing.
- Never use this mini spit as a heater.
- Never use the mini spit in or on
recreational vehicles and/or boats.
- Never use this mini spit for anything
other than its intended purpose.
The mini spit is not intended for
commercial use.
- Accessories and attachments
not provided by Hark are not
recommended for use.
- Never use glassware, plastic or
ceramic cookware on this unit.
- Do not use the mini spit unit in
windy conditions or on Total Fire
Ban days.
- Never throw out hot or burning
ashes.

1
1.0 ASSEMBLY INSTRUCTIONS
1.1 GENERAL HINTS FOR ASSEMBLY
- Read all Assembly and Operation instructions before operating
this mini spit.
- Follow each step in the correct order.
- Handle metal parts with care.
- Follow the correct lighting and operational procedures.
- Only use this product outdoors and only use as a charcoal
barbecue and rotisserie spit.
- Do not attempt to connect to gas.
- This product is for private use only.
- Place the body onto a carton whilst assembling the mini spit in
order to protect the enamel coating.

2
1.2 PARTS LIST AND ASSEMBLY DIAGRAM
No.
Description Qty
No.
Description Qty
1 Motor 1 8 M5×10 thumb screw 3
2 Spit rod 1 9 Cooking grid 1
3 Meat fork 2 10 Charcoal grate 1
4 Rotation sleeve 1 11 Motor bracket 1
5 Washer nut 1 12 Spit bracket 1
6 Counterweight 1 13 Legs 4
7 Handle 1 14 Body 1
15
M6×12 screw, nut,
washer kit-set
12

3
1.3 ASSEMBLY STEPS
1. Attach legs (13) to body (14) using 2 × M6×12 screw, nut and
washers (15).
2. Place charcoal grate (10) on the oor of the body (14).
ROTISSERIE FUNCTION
1. Attach motor bracket (11) using 2 x M6 x 12 screw, nut and
washers (15).
2. Slide motor (1) onto motor bracket (11).
3. Attach spit bracket (12) using 2 × M6×12 screw, nut and
washers (15).
4. Slide rotation sleeve (4) onto spit rod (2) and secure with
M5×10 thumb screw (8).
5. If using the counter weight, screw the washer nut (5) on
rst, followed by the counter weight (6) and nally screw the
handle (7) to tighten.
6. The pointed end of the spit rod (2) can be slid into the motor
socket.
7. The spit rod (2) can be removed by lifting the handle (7) and
sliding out of the motor socket.
BARBEQUE FUNCTION
1. Place cooking grid (9) on the top of the body (14).

4
2.0 OPERATIONAL INSTRUCTIONS
2.1 LIGHTING THE MINI SPIT
- Make sure the charcoal you are planning to use in your Hark
Mini Spit is 100 percent dry.
- Remove the cooking grill (9).
- Make sure the charcoal grate (10) is placed on the oor of
the body (14). This will protect the oor from burning out and
prolong the life of the product.
- Place three to four re lighters in the middle of the charcoal
grate.
- Pile the charcoal on top of the re lighters in a pyramid
formation.
- Light the re lighters and let the charcoal burn.
- Let the charcoal burn for 25 – 30 mins. Do not disturb the
charcoal during this time.
- The charcoal is ready to cook on once the charcoal is covered in
a white ash.
- This process may take up to 45mins to 1 hour depending on
weather conditions.
- Be sure to allow plenty of time when lighting the BBQ.
WARNING: Neverpourammableliquidontothecharcoalor
briquettestolightortore-lightthere.

5
3.0 ROTISSERIE FUNCTION
- Always place the spit rod
through the center of the food.
- Secure the food rmly to the
spit rod with the 4 pronged
meat forks. It may be
necessary to tie some food
such as fowl and rolled roasts
to retain their shape for even
rotation and cooking.
- It is important to balance your
food on the spit rod. If you do
not balance your food it may
cook unevenly and may also
add unnecessary pressure on the motor which may reduce
the life of the motor. Balancing the food on your spit rod will
determine how much weight can be turned by the motor.
- If food is unbalanced on the spit rod you can use the counter
weight provided. Attach the counter weight assembly to the
spit rod as per the assembly instructions. The counter weight
should be directly opposite the heavy side of the food. The
counter weight can be adjusted vertically, towards the spit rod
or away from the spit rod until the proper balance is achieved.
- Please check your food at various times during the cooking
process. As the food cooks it may shrink and the four pronged
meat forks may need to be adjusted.
CAUTION: the rotisserie will be hot. Use a BBQ mitt and pliers
to adjust the thumbscrews or any other part of the rotisserie.

6
4.0 BARBEQUE FUNCTION
- To set your BBQ up for direct
grilling, spread the charcoal
across the bottom of the
charcoal grate, so that you
are able to place the food
directly above the coals.
- To spread the coals you will
need a small shovel and
should use a BBQ mitt to
avoid any burns. Be careful:
the coals will be extremely hot.
- Direct cooking is a high heat method and is best used for
searing steaks, hamburgers, sausages, chicken, sh and
vegetables.
- You can get better heat control if you spread your coals into
three zones on the charcoal grate.
a. Hot zone – Double layer of coals. Used for initially searing
the food to seal in all the juices.
b. Medium zone – Single layer of coals. Used for cooking the
food.
c. Cool zone – No Coals. Used for warming or resting the food if
it starts to burn.
HarkEnterprisesPtyLtd
Unit 11, 41-49 Norcal Rd, Nunawading, VIC, 3131
T: (03) 9873 2711; 1300 799 787
(Excl. mobiles)
E: service@hark.com.au W: www.hark.com.au
 Loading...