

Hark HK0516 Assembly And Operation Instructions Manual
ASSEMBLY AND OPERATION
INSTRUCTIONS
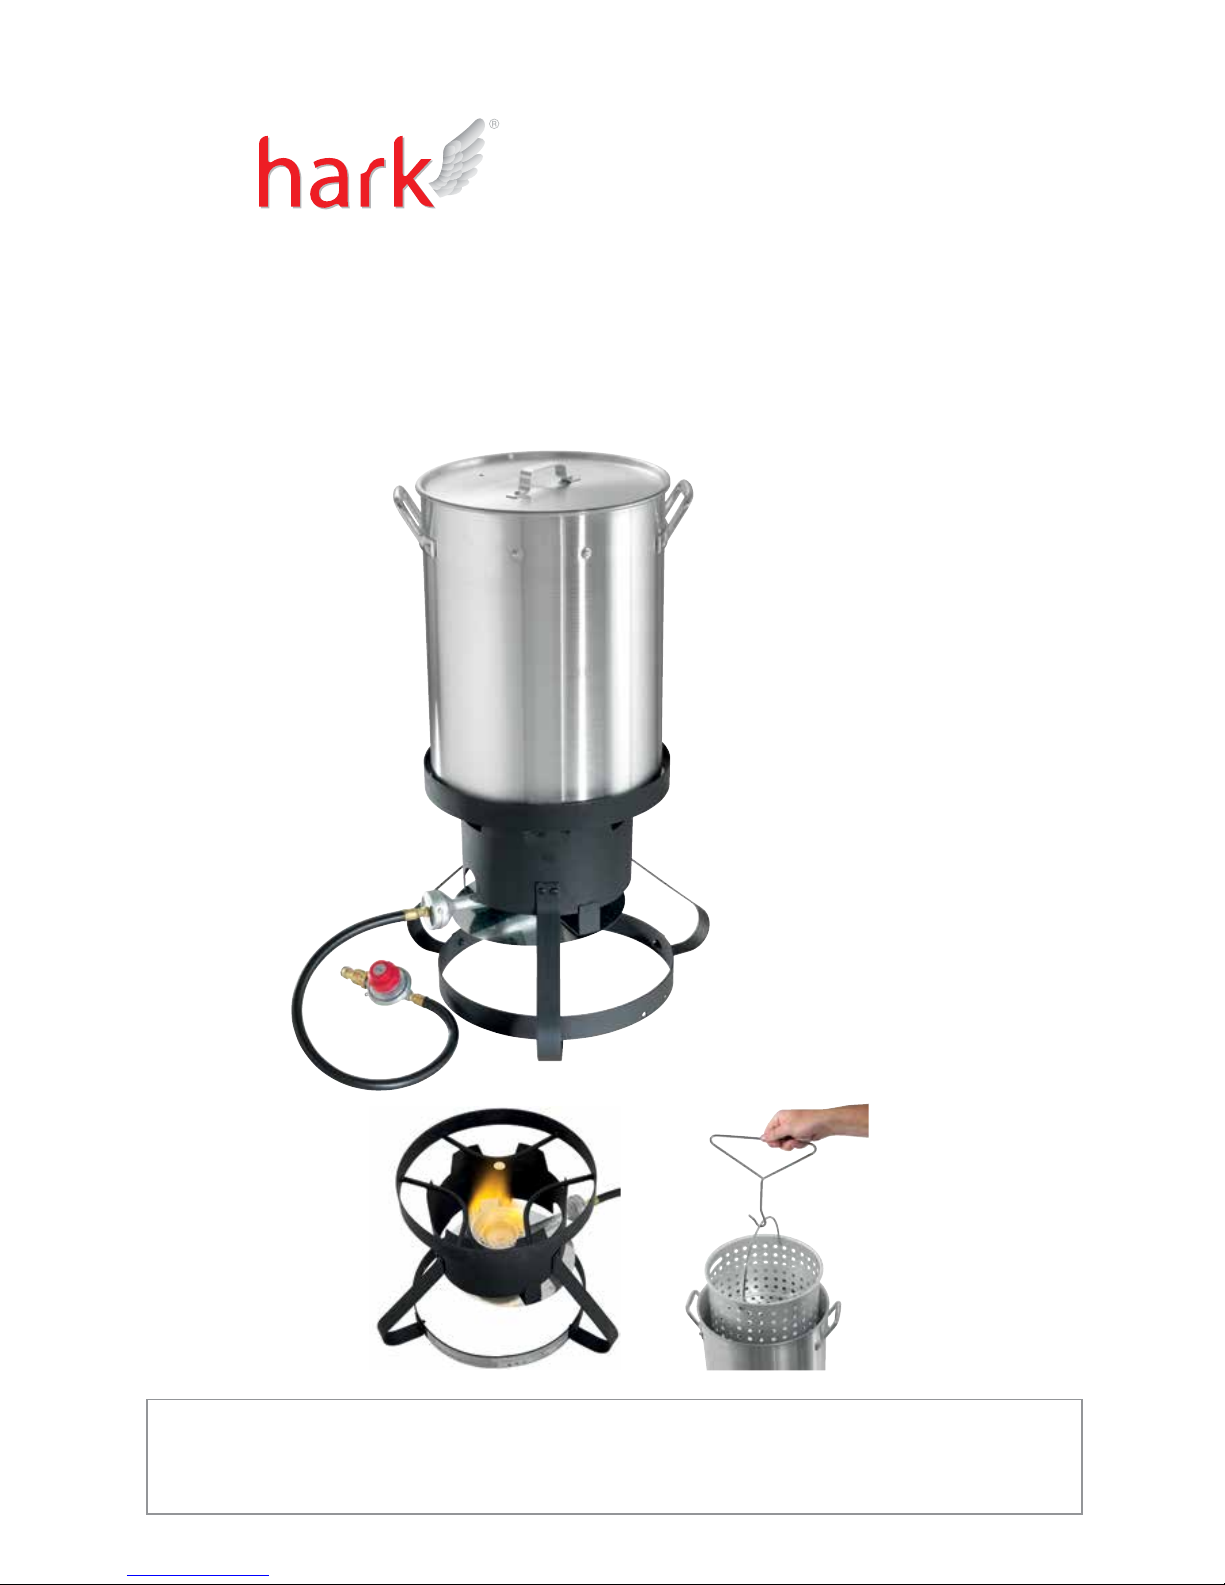
OUTDOOR CRAB COOKER SET
IMPORTANT
READ THESE INSTRUCTIONS FOR USE CAREFULLY. FAMILIARISE YOURSELF WITH THE APPLIANCE BEFORE
CONNECTING IT TO A GAS CONTAINER. KEEP THESE INSTRUCTIONS FOR FUTURE REFERENCE.


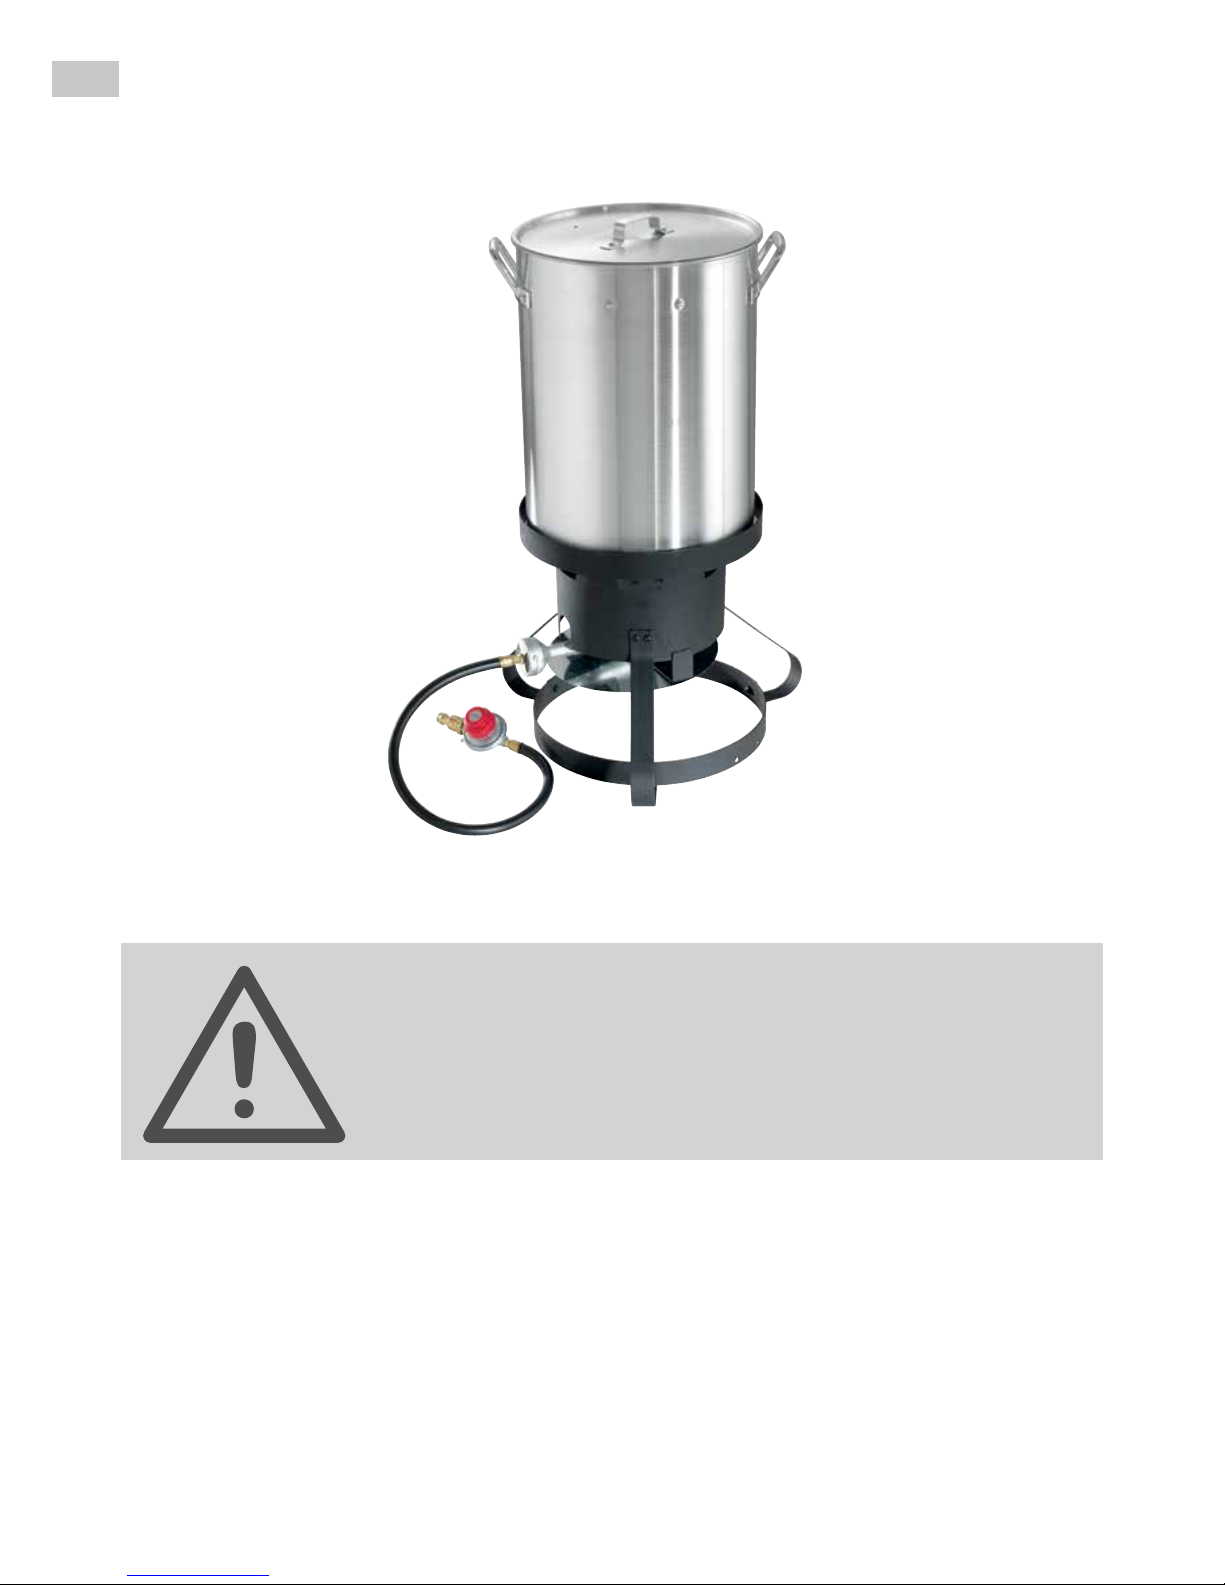
Outdoor Crab Cooker Set
Warranty Details
After Sales Support
Telephone: 1300 799 787
Email: sales@hark.com.au
YEAR
WARRANTY
Hark Enterprises Pty Ltd warrants that this genuine HARK® brand product is free from
defects in workmanship and materials for 12 months from the date of purchase.
If as a result of normal use in compliance with the manufacturer’s instructions the product
fails to operate within the warranty period, we will repair or replace the product. This
warranty does not extend to cover any damage due to burn out or rust.
Our goods come with guarantees that cannot be excluded under the Australian Consumer
Law.
You are entitled to a replacement or refund for a major failure and for compensation for
any other reasonably foreseeable loss or damage. You are also entitled to have the goods
repaired or replaced if the goods fail to be of acceptable quality and the failure does not
amount to a major failure.
The benets given to you in this warranty are in addition to other rights and remedies in
respect of the product that the consumer has under the Competition and Consumer Act
2010 and similar state and territory laws.
In the event of a product failure, the goods should be returned at your cost to the original
place of purchase, with specic details of the complaint, and a copy of the purchase
receipt.
4
Model No.: HK0516
Product Name: OUTDOOR CRAB COOKER SET - For propane (LPG) use only.
HAZARDOUS FIRE OR EXPLOSION MAY RESULT
IF INSTRUCTIONS ARE IGNORED.
It is the consumer's responsibility to see that the Crab Cooker Set
is properly assembled, installed, and taken care of. Failure to follow
instructions in this manual could result in injury and/or property damage.
FOR OUTDOOR USE ONLY. PLEASE READ INSTRUCTIONS CAREFULLY BEFORE
ASSEMBLING. RETAIN THIS MANUAL FOR FUTURE REFERENCE.
FOR YOUR SAFETY
If you smell gas:
1. Shut off gas to the appliance.
2. Extinguish any open ame.
3. If odour continues, immediately call your
gas supplier or your local re department.
PRECAUTIONS
1. Leak test all connections after each tank rell.
2. Never check for leaks with a match or open
ame.
3. Do not store or use gasoline or other
ammable vapours and liquids in the vicinity
of this appliance.
Line drawings are not to scale. Actual products may differ from drawing depending on the model purchased.
Specications are subject to change without notice.
5
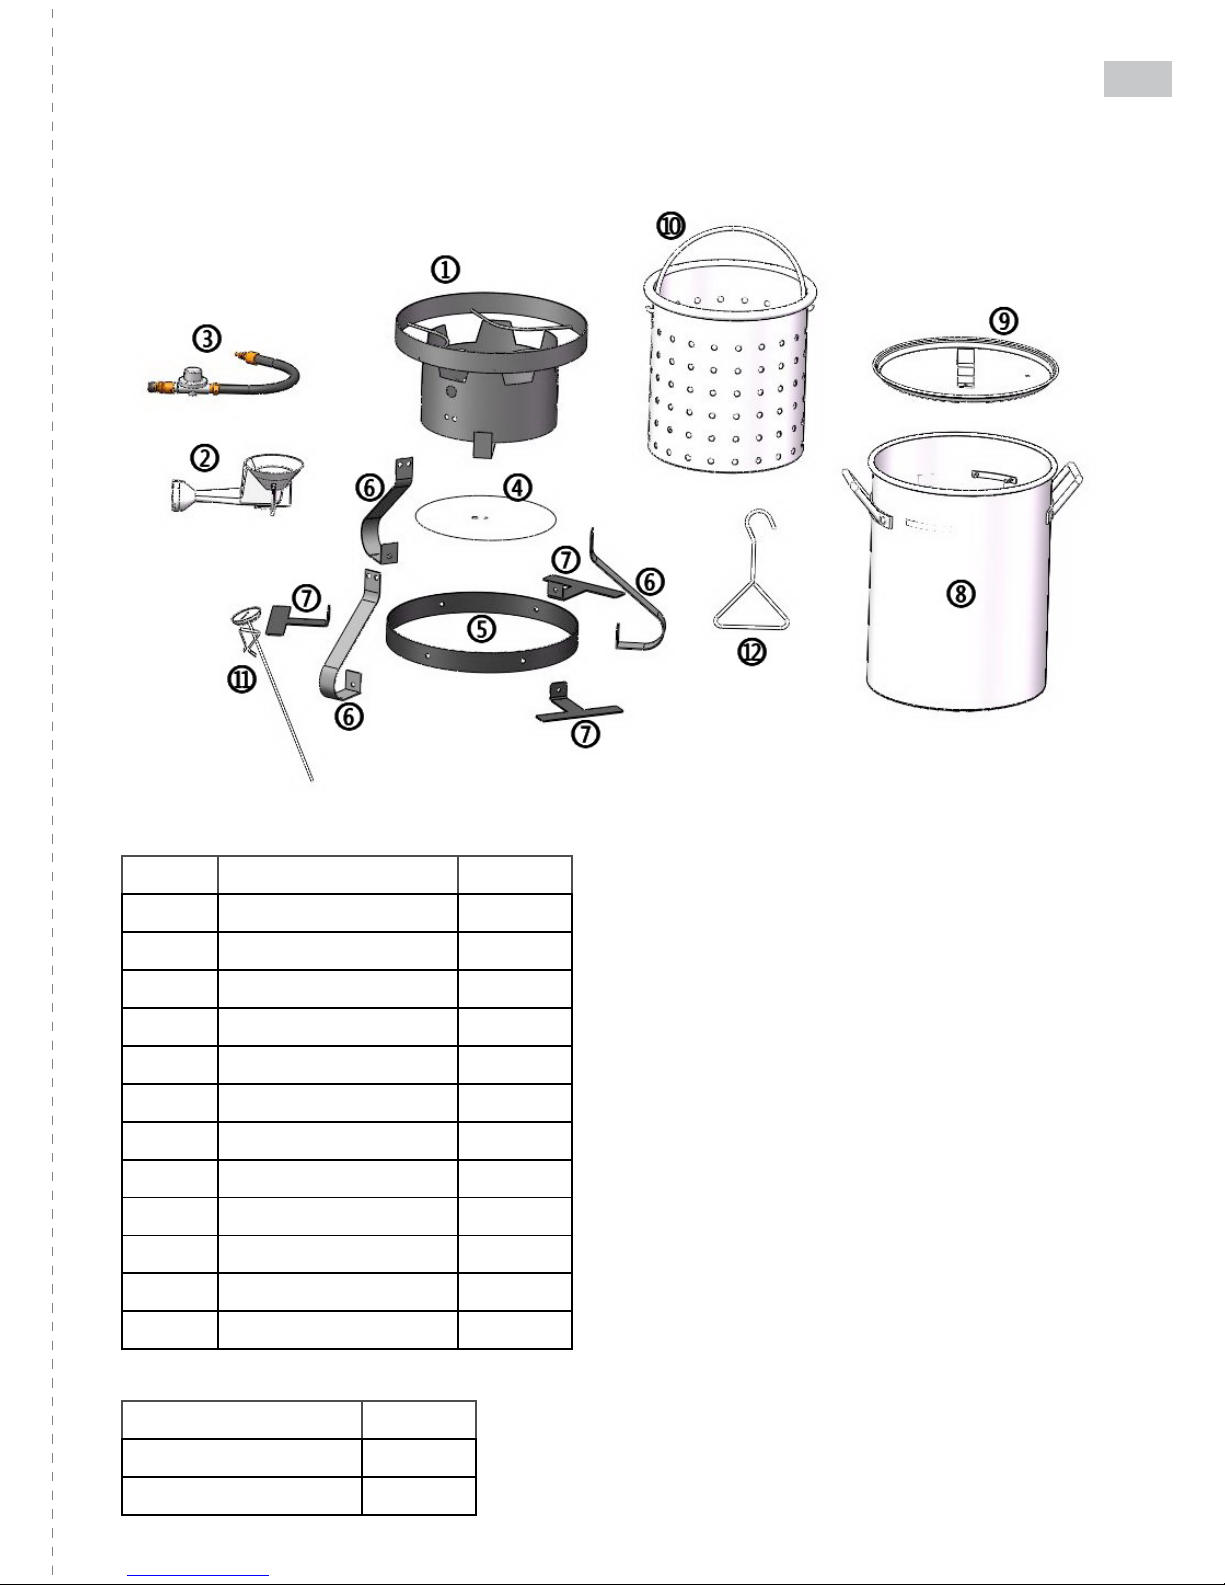
NO. Name QTY
1 Base 1
2 Burner 1
3 Hose & Regulator 1
4 Heat shield 1
5 Base ring 1
6 Leg (x 3) 3
7 Stability bracket (x 3) 3
8 Pot 1
9 Lid 1
10 Basket 1
11 Temperature gauge 1
12 Lifting Hook 1
Name QTY
M6x10 screw 12pcs
M6 Nut 12pcs
EXPANDED VIEW
Tools needed for assembly
Adjustable Wrench and Phillips Head
Screwdriver (not included)
Before assembly
Please read all instructions thoroughly
before proceeding.
Find a large, clean area in which to
assemble your Crab Cooker Set. Please
refer to the parts list and assembly diagram
as necessary.
Ensure any transit protection or packaging is
removed.
Do not throw out any packaging until Crab
Cooker Set is fully assembled in case parts
are still enclosed.
Parts List
Hardware List
6
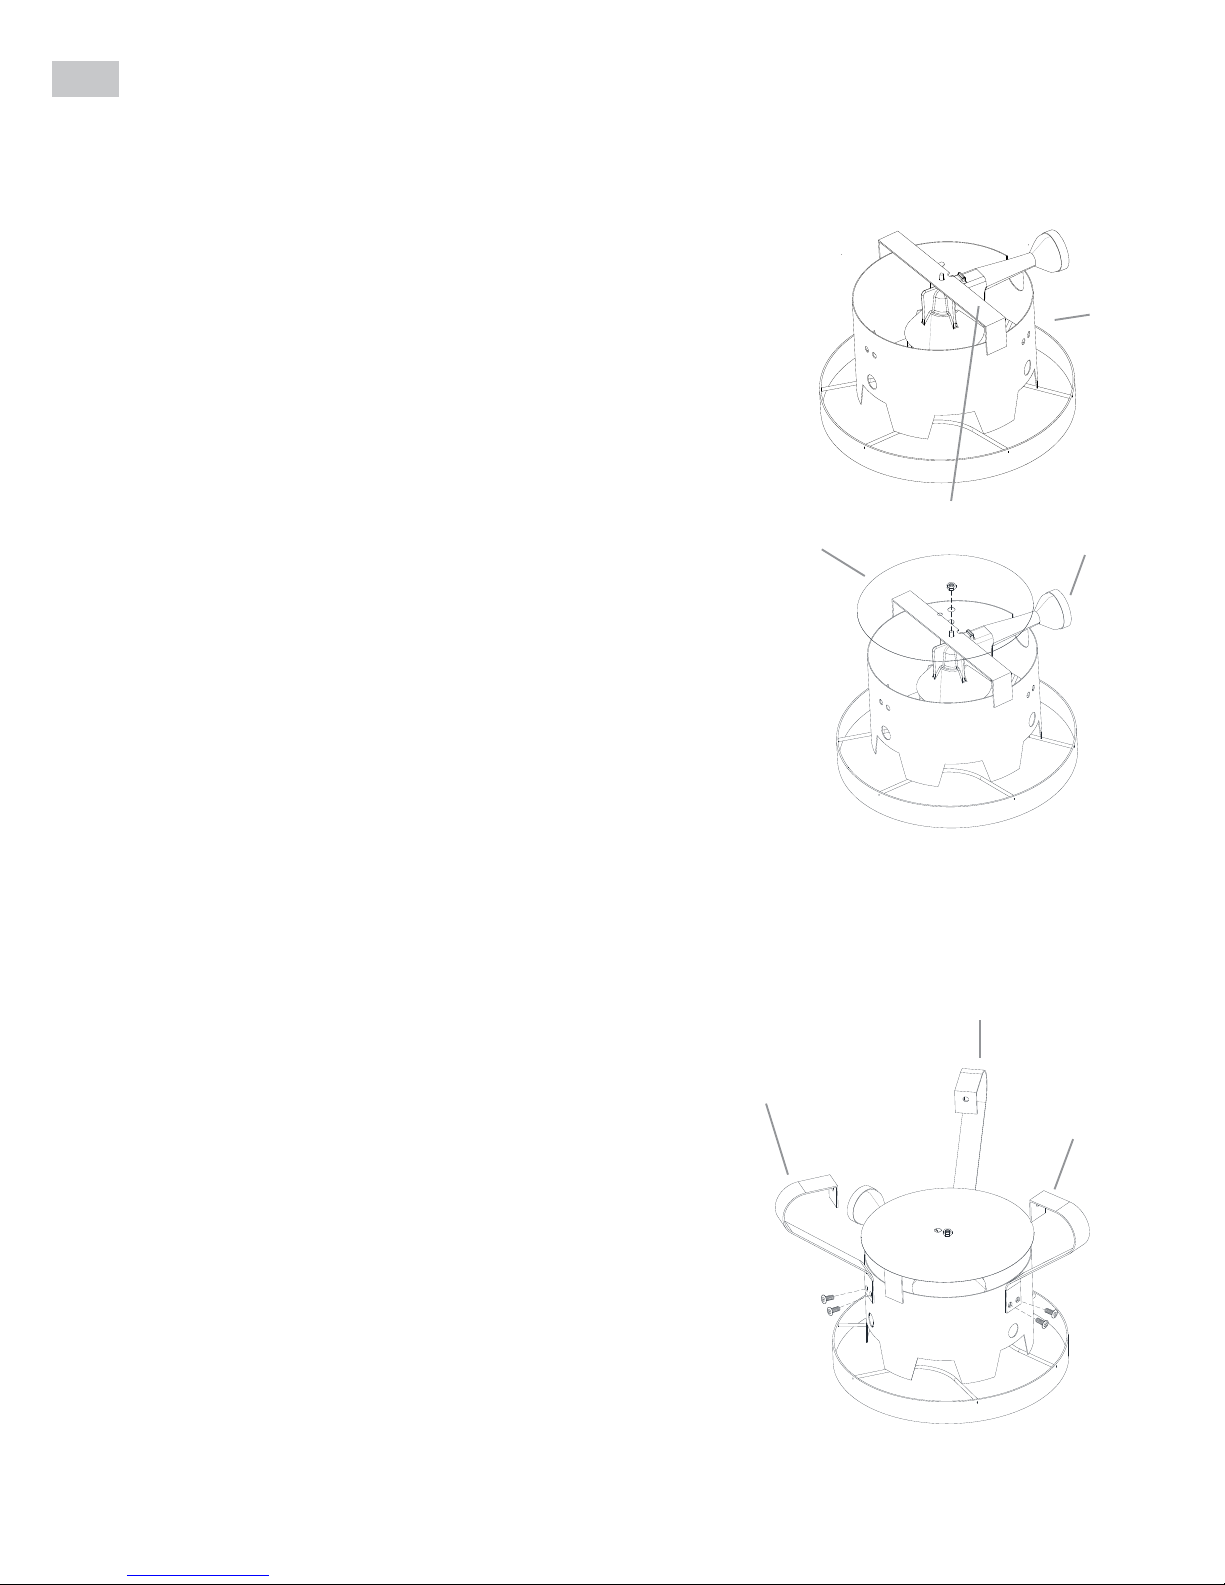
— Place base (1) upside down on an even surface. The wider ring
of the base should be facing down¬ward.
— Locate the burner mount bar stretching across the narrower
ring of the base.
— Remove the nut from the bottom of the cast burner (2).
— From the bottom side of the burner mount bar, place the cast
burner into the groove in the center of the bar. The screw on
the cast burner should fit through the hole in the center of the
mount bar. The cast burner should be positioned towards the
side of the base with the cutout section.
— The Heat Shield (4) must be installed before placing the nut on
the burner post and tightened.
— Fasten the cast burner screw securely to the burner mount bar
with the nut.
STEP 2 LEG ASSEMBLY
— Locate 3 x legs (6)
— Join each of the legs to the base ring, so that the two
holes of each leg are aligned with each set of two holes on
the base. When in position, the legs should be projecting
outward from the center of the base.
— Securely fasten each leg to the base with two M6x10
screws and M6 nuts per leg. The screws should be inserted
from the outside towards the center of the ring.
A. ASSEMBLY OF THE CRAB COOKER
STEP 1 SECURING THE CAST BURNER TO THE BASE
NOTE: The serrated washer that is attached to the nut, should make contact with the heat shield.
Burner Mount Bar
6
6
6
1
2
4
 Loading...