

Harbortouch ECHO User Manual
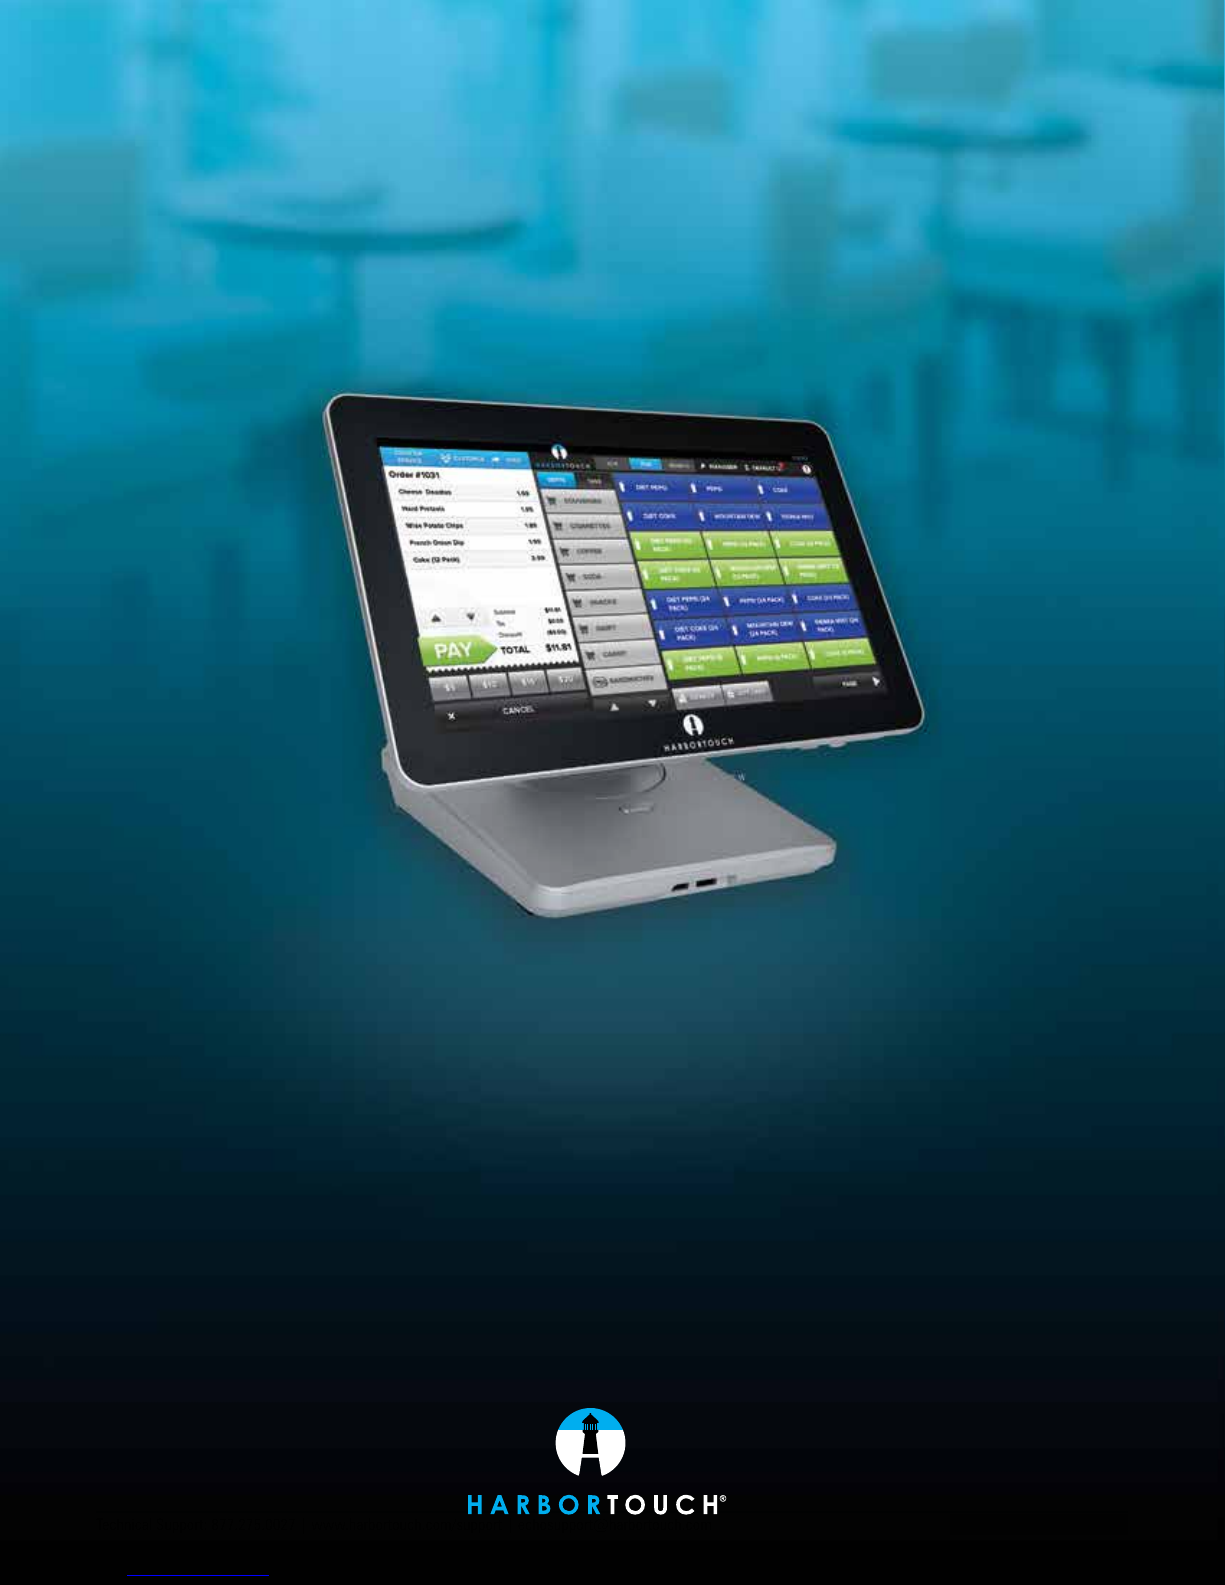
HARBORTOUCH ECHO® POS
USER GUIDE
Technical Support: 877.275.0027 | www.harbortouch.com/support | echosupport@harbortouch.com

Technical Support: 877.275.0027 | www.harbortouch.com/support | echosupport@harbortouch.com Technical Support: 877.275.0027 | www.harbortouch.com/support | echosupport@harbortouch.com
INDEX
EMPLOYEE FUNCTIONS:
Clocking In/Logging In
Logging Out
Calculator, ECR and POS Mode
Beginning a Transaction
Item Functions
Ticket Functions
Payment Options
Refunding a Sale
Customer Database
Gift Cards
Shift Report/Clocking Out
MANAGER FUNCTIONS:
Enabling/Disabling Modules
Accessing the Manager Screen
End of Day Process
Time Management
Creating/Editing Jobs
Creating/Editing Employees
Creating/Editing Discounts
Creating/Editing Order Types
Item Tracking
General Settings
Receipt Settings
Page 1
Page 1
Page 2
Page 3
Page 4
Page 5
Page 6
Page 8
Page 10
Page 11
Page 12
Page 13
Page 13
Page 14
Page 17
Page 18
Page 19
Page 21
Page 22
Page 23
Page 23
Page 25
Technical Support: 877.275.0027 | www.harbortouch.com/support | echosupport@harbortouch.com Technical Support: 877.275.0027 | www.harbortouch.com/support | echosupport@harbortouch.com
PAGE 1
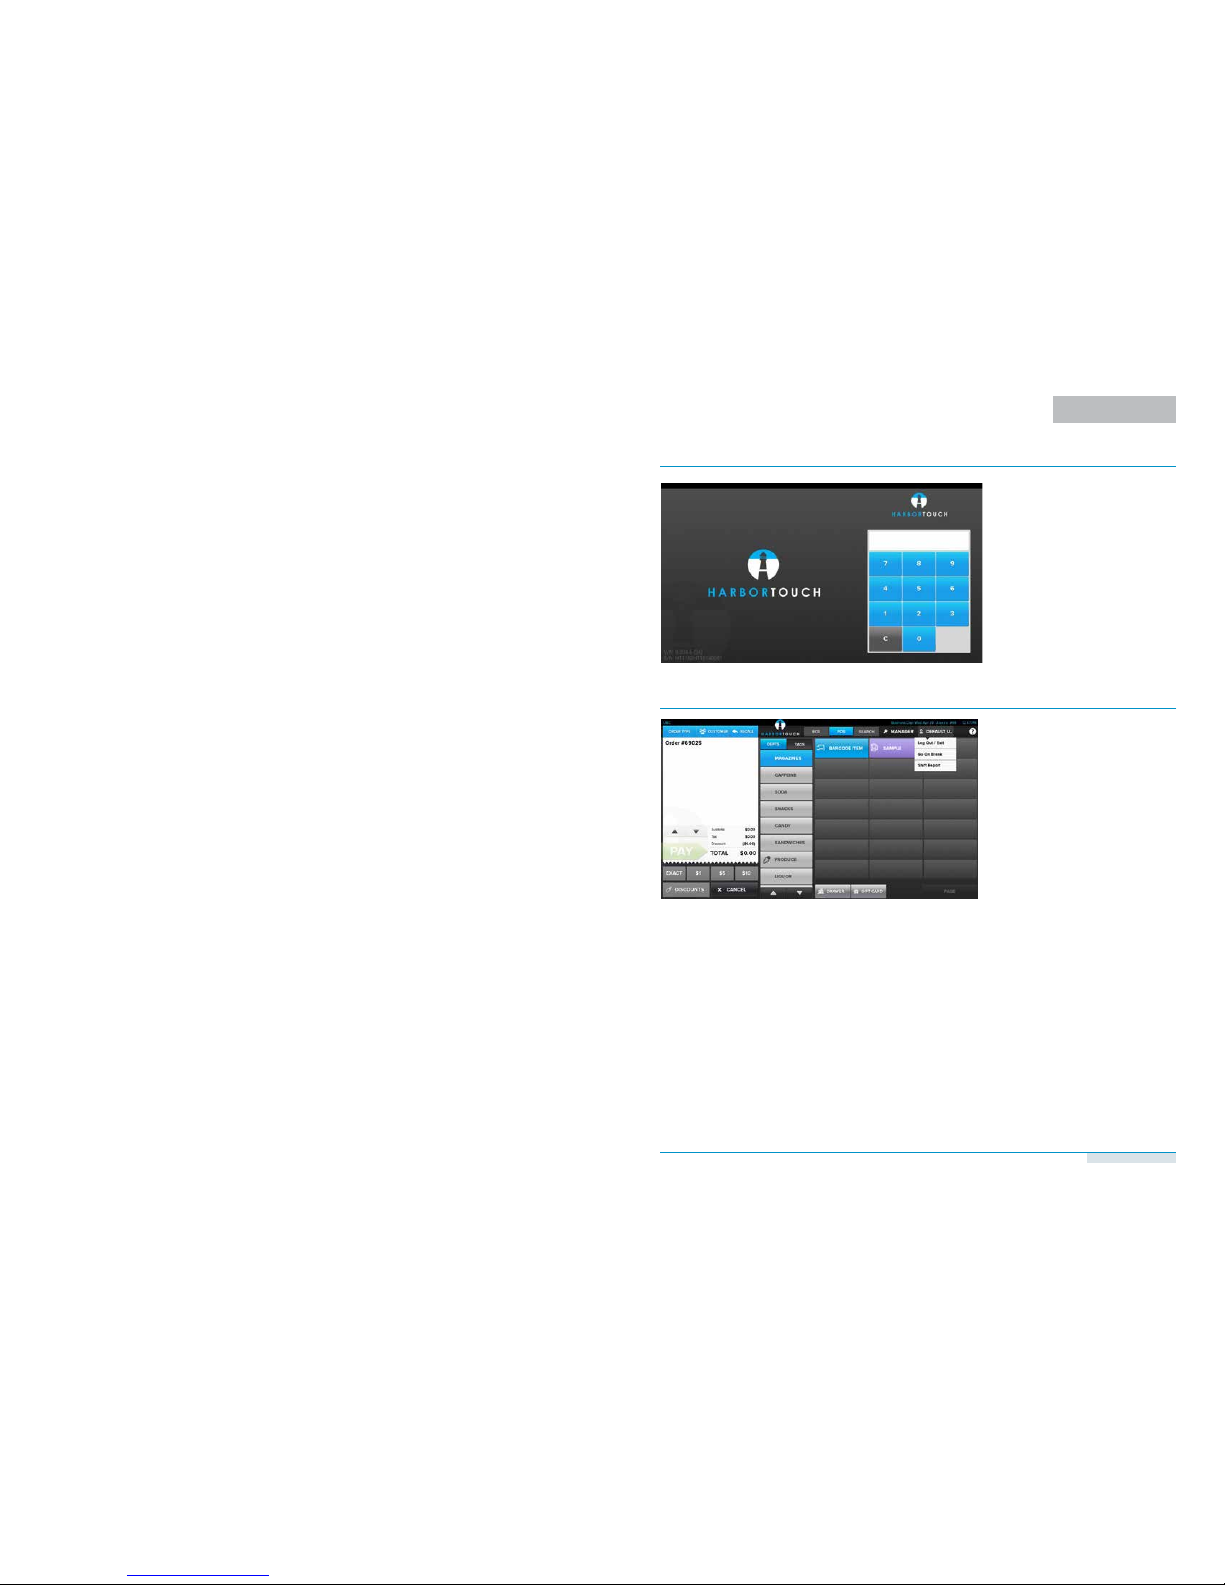
CLOCKING IN/LOGGING IN
1. From the log in screen, type your four
digit PIN.
The first time you log in each day will
also clock you in for your shift.
You should have created this PIN
during the Setup Wizard sent to you
via email. For additional assistance,
please contact Technical Support at
800-201-0461.
1. Select the user name in the top right
corner of the ticket screen.
2. Choose Logout/Exit from the drop
down menu.
Note: Logging out will not clock you out
of your shift. You must go to your Shift
Report to clock out.
EMPLOYEE FUNCTIONS
LOGGING OUT

Technical Support: 877.275.0027 | www.harbortouch.com/support | echosupport@harbortouch.com Technical Support: 877.275.0027 | www.harbortouch.com/support | echosupport@harbortouch.com
CALCULATOR, ECR AND POS MODE
You can switch between ECR or POS Mode at any time by selecting the corresponding button at the top of the screen.
POS Mode
This mode organizes your items by Departments and Item Tags for easy searching.
It is ideal for businesses with a large number of items or different departments.
ECR Mode
This mode can be used to list items on
the screen with a calculator displayed for
entering prices of items not listed in the
system. This view mimics a traditional
cash register.
Calculator Mode
Calculator mode will be shown by default
if the departments and items modules are
not activated on the system.
EMPLOYEE FUNCTIONS
PAGE 2
POS Mode
To begin a transaction in POS mode, select
an item from the right side of the order
screen or scan an item’s barcode. This will
automatically create a new ticket and you
can continue adding items.
ECR Mode
To begin a transaction in ECR Mode, select
an item from the right side of the order
screen, scan an item’s barcode, or enter a
dollar amount on the calculator. This will
automatically create a new ticket and you
can continue adding items.
EMPLOYEE FUNCTIONS
BEGINNING A TRANSACTION
Calculator Mode
To begin a transaction in Calculator Mode,
enter a dollar amount on the calculator that
corresponds to the price of each item being
purchased. Press the + button after each
item price to add it to the ticket.
PAGE 3
Technical Support: 877.275.0027 | www.harbortouch.com/support | echosupport@harbortouch.com Technical Support: 877.275.0027 | www.harbortouch.com/support | echosupport@harbortouch.com
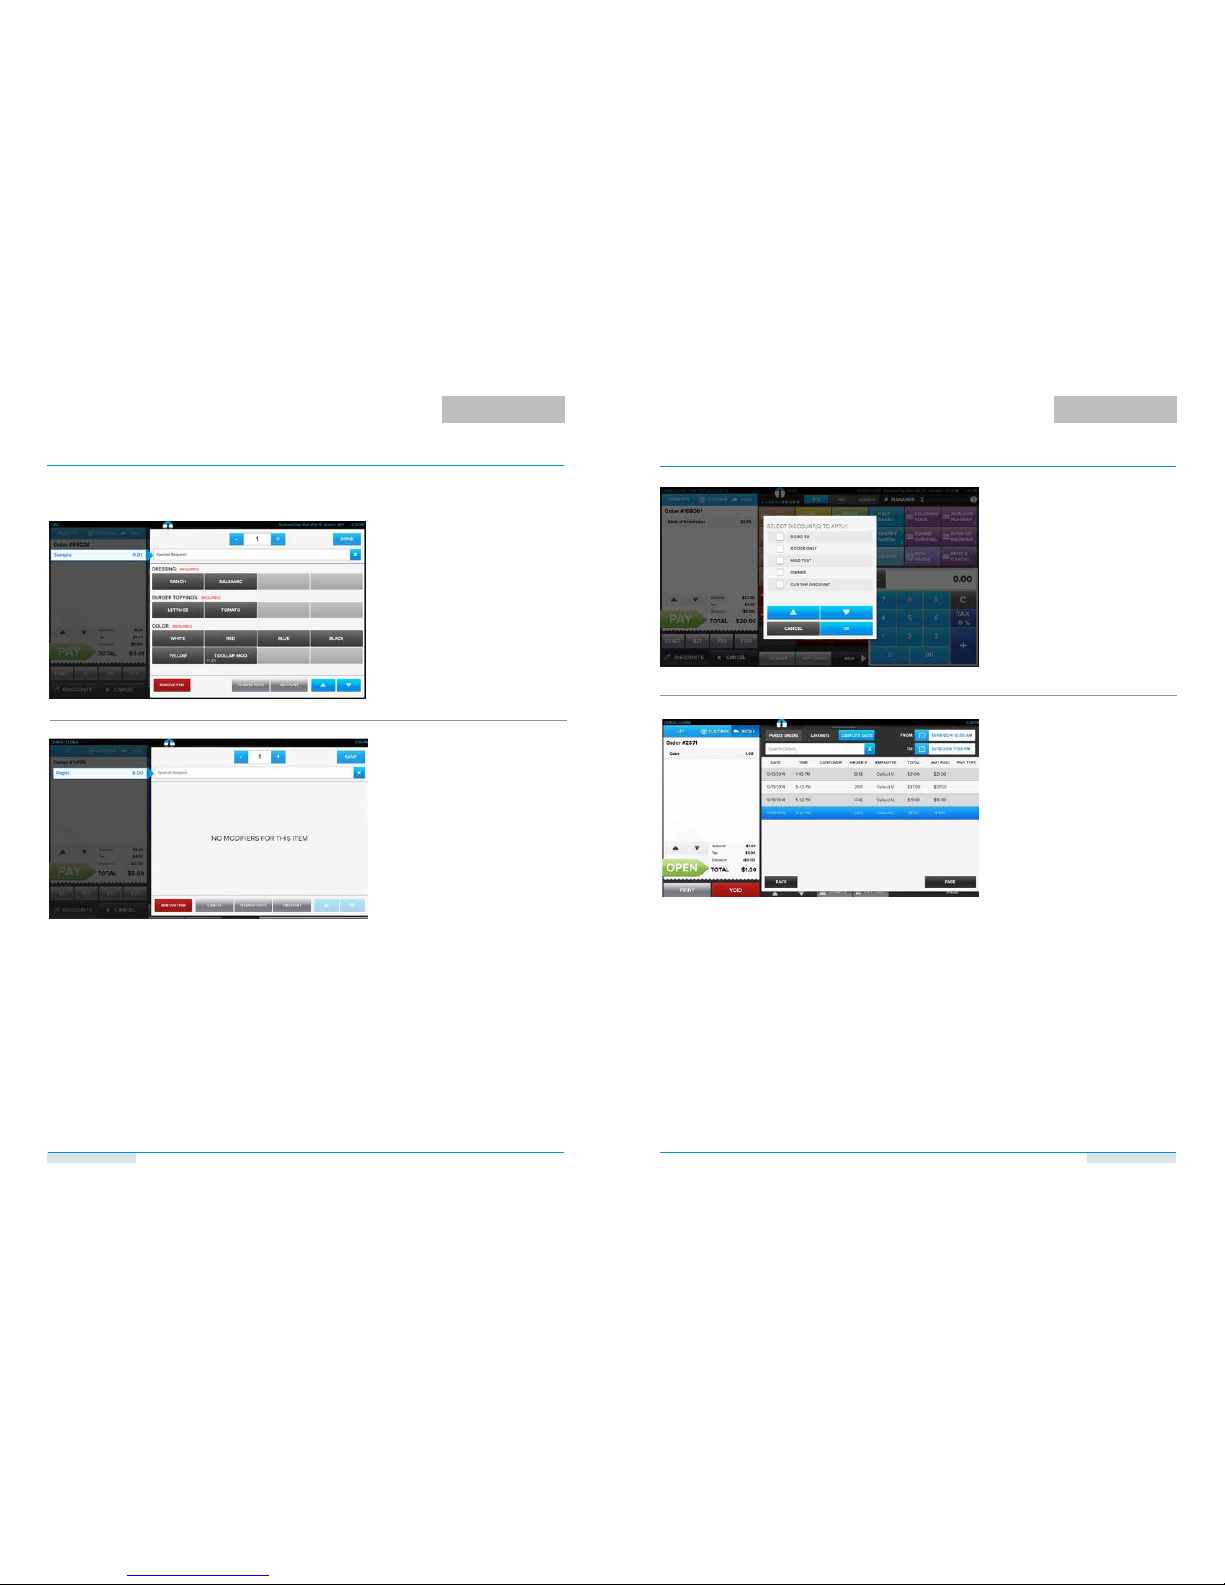
By selecting an item on the ticket, the item management functions will appear.
Quantity
This function will allow you to modify the quantity of the selected item.
Special Request
This function allows you to enter custom requests for the kitchen.
Remove Item
This function will allow you to remove the selected item from the ticket.
Cancel
This function allows you to cancel the current changes and return to the ticket screen.
Change Price
This function allows you change the price of the selected item.
Discount Item
This function will list all available discounts that apply to the selected items.
ITEM FUNCTIONS
If there are Modifier Sets assigned to an
item they will be listed on this page. You
will be unable to leave this page until you
have selected any required modifiers.
ADDITIONAL TICKET FUNCTIONS:
RECALL
This function opens the ticket function screen.
PRINT
This function prints the currently selected ticket.
VOID
This function voids the currently selected ticket. If the ticket was previously paid, a void slip will print in the kitchen.
SEARCH
Search options are available at the top of the screen. Held or completed transactions can be filtered as well as date
ranges. Select “Open” to re-open the selected ticket.
HOLD TICKET
The “Hold” function parks the transaction
for recalling at a later time.
Note: Holding a ticket does not automatically send the order to the kitchen. This
must be done manually on the Recall
screen.
TICKET FUNCTIONS
EMPLOYEE FUNCTIONS
DISCOUNT TICKET
This function will prompt to select a
discount that applies to the entire ticket.
EMPLOYEE FUNCTIONS
PAGE 4
PAGE 5
To access the Item Functions below, select an item from the ticket.

Technical Support: 877.275.0027 | www.harbortouch.com/support | echosupport@harbortouch.com Technical Support: 877.275.0027 | www.harbortouch.com/support | echosupport@harbortouch.com
1. The most common increments for cash
payment will be displayed at the
bottom of the ticket. These quick pay
options will include exact change as
well as the closest amount if paid in
singles, fives, tens, or twenties.
Selecting one of these options will
finalize the transaction and display
the change due. This method is com monly used for counter-based transac-
tions.
PAYMENT OPTIONS
2. Alternatively, you can select “Pay” on
the bottom of the ticket.
3. On the payment screen, shortcuts are
available on the left and right sides of
the number pad. The shortcuts or the
number pad can be used to enter an
amount if using multiple tender types.
Otherwise, selecting the tender type
without an amount will enter the exact
amount.
4. If “Credit” is selected, the system will
prompt to enter a credit card number.
Swipe the card or if necessary the
credit card number can be manually
entered using the attached keyboard.
5. “Force Authorization” allows you to
enter transactions taken while offline.
The credit card information can be
manually entered using the keyboard.
You will need to enter an Authorization
Code.
PAYMENT OPTIONS (CONTINUED)
6. If signature screen is enabled, the
system will prompt to enter the tip
amount after the credit card informa tion is entered.
EMPLOYEE FUNCTIONS
EMPLOYEE FUNCTIONS
PAGE 6
PAGE 7
 Loading...