

Page 1
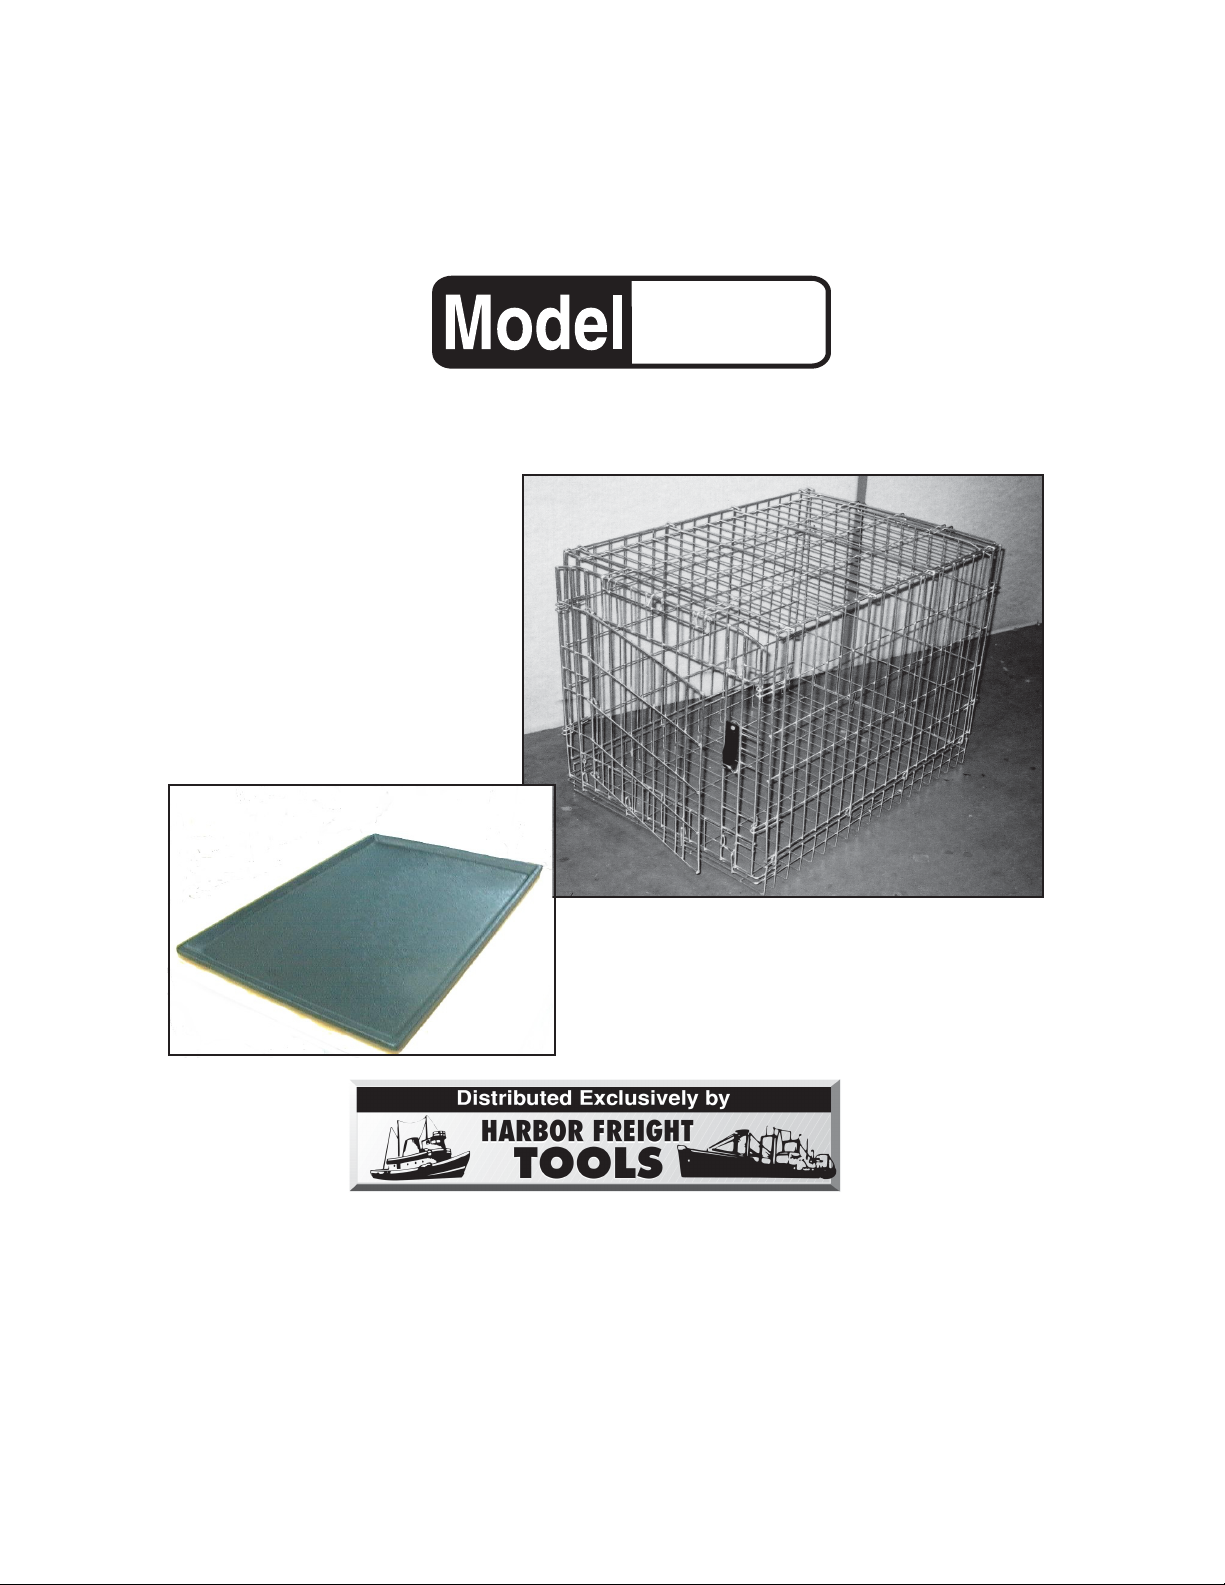
DELUXE PET CRATE
WITH TRA Y
94444
ASSEMBLY AND OPERATING INSTRUCTIONS
3491 Mission Oaks Blvd., Camarillo, CA 93011
Visit our Web site at http://www .harborfreight.com
Copyright © 2006 by Harbor Freight Tools®. All rights reserved. No portion of this manual or
any artwork contained herein may be reproduced in any shape or form without the express
written consent of Harbor Freight Tools.
For technical questions please call 1-800-444-3353
Page 2

SPECIFICATIONS
ITEM
Overall Dimensions
Materials
Finish
Door Style
Net Weight
Cage Wire Thickness
Tray Dimensions 29-1/2” L X 20-7/8” W X 1” H
30”L X 20-7/8”W X 23-1/2”H
Steel Wire Cage with Welded Joints
Zinc Plated
Spring Plastic and Hook Latch
16-1/2 Lbs.
3/16”
DESCRIPTION
SA VE THIS MANUAL
You will need the manual for the safety warnings and precautions, assembly
instructions, operating and maintenance procedures, parts list and diagram. Keep
your invoice with this manual. Write the invoice number on the inside of the front
cover. Keep the manual and invoice in a safe and dry place for future reference.
SAFETY WARNINGS AND PRECAUTIONS
1. AVOID SHARP EDGES WHEN ASSEMBLING.
2. KEEP PRODUCT USAGE AREA CLEAN.
3. ALWAYS CHECK DOOR LOCK AND ASSEMBLY LATCHES.
4. CHECK FOR DAMAGED PARTS. Before using this product, carefully check that it
will operate properly and perform its intended function. Check for damaged parts and
any other conditions that may affect its operation. Replace or repair damaged or worn
parts immediately .
5. REPLACEMENT PARTS AND ACCESSORIES. When servicing, use only identical
replacement parts.
6. USE EXTREME CAUTION when transporting animal in Wire Pet Cage. Do not lift cage
with animal inside cage. Could cause back injury or injury to animal.
7. DO NOT ALLOW CHILDREN TO STAND UPON OR CLIMB INTO WIRE PET CAGE.
Do not let children handle this product. Fingers can get pinched.
8. FOR SMALL ANIMALS ONLY. Maximum weight should not exceed 40 Lbs.
SKU 94444 PAGE 2 Rev 05/06
SKU 94444 PAGE 2
Page 3

ASSEMBLY AND CAUTIONARY INSTRUCTIONS
1. The Wire Pet Cage (#1) comes collapsed for transportation and storage. This strong,
durable steel Wire Pet Cage has good ventilation and visibility for your pet and is excellent
for home and travel use. (See Figure 1).
Figure 1
2. Open collapsed Wire Pet Cage (#1). Lift Back Side (#2) and snap into Latches (#5) securely.
(See Figure 2 & 3).
#5
#4
#7
Figure 2
Figure 3
Figure 4
3. Lay Tray (#8) on the bottom of the Cage and latch sides around Tray. Please
note that Tray MUST be inside Wire Pet Cage before the Cage is fully assembled.
4. Lift Front Side (#3) with Pet Cage Door (#7) and snap into Latch (#4) (See Figure 4).
Be sure all sides are snapped into place. (See Figure 7).
5. Familiarize yourself with the Spring Plastic Hook Latch (#6) before placing animal in Wire
Pet Cage (#1). Close Door (#7). Hook Latch (#6) points down. To lock and unlock, push
black Hook Latch, lift up and drop in place. Reverse to unlock. Always check to make sure
Door is properly closed and locked. (See Figure 5, 6 , 7).
#6
▼
▼
▼
Figure 5
Figure 6
Figure 7
6. This is a temporary animal Pet Cage only. Alwa ys check that Hook Latch (#6) is locked after
placing animal in Cage. Have water in Cage for your pet and never leave animal unattended in
hot car. A piece of carpet remnant or appropriate padding (not included) should always be used
to protect pet’s pa ws.
SKU 94444 PAGE 3 Rev 05/06
Page 4
PARTS LIST
PART # DESCRIPTION QTY
#8
1
2
3
4
5
6
7
8 Tray
#1
#2
Wire Pet Cage (Top/Bottom and 2 Sides)
Back Side
Front Side
Latch (Top of Cage)
Latches (Bottom of Cage)
Spring Plastic and Hook Latch
Pet Cage Door
#3
4
1
1
2
8
1
1
1
#4
8
#6
Not
Shown
NOTE: Tray not shown to scale.
Tray fits on the bottom of the
Pet Crate .
1 . For better and saf er perf ormance, keep all parts of this product clean and dry . Pet
Crate can be hosed off to clean.
2. Periodically check to see that all hardware is in place.
THE MANUFACTURER AND/OR DISTRIBUTOR HAS PROVIDED THE PARTS DIAGRAM IN THIS
MANUAL AS A REFERENCE TOOL ONLY. NEITHER THE MANUFACTURER NOR DISTRIBUTOR
MAKES ANY REPRESENTATION OR WARRANTY OF ANY KIND T O THE BUYER THAT HE OR SHE IS
QUALIFIED TO MAKE ANY REPAIRS TO THE PRODUCT OR THAT HE OR SHE IS QUALIFIED TO
REPLACE ANY PARTS OF THE PRODUCT. IN FACT, THE MANUFACTURER AND/OR DISTRIBUT OR
EXPRESSLY STATES THAT ALL REPAIRS AND PARTS REPLACEMENTS SHOULD BE UNDERTAKEN
BY CERTIFIED AND LICENSED TECHNICIANS AND NOT BY THE BUYER. THE BUYER ASSUMES
ALL RISK AND LIABILITY ARISING OUT OF HIS OR HER REPAIRS TO THE ORIGINAL PR ODUCT OR
REPLACEMENT PARTS THERET O , OR ARISING OUT OF HIS OR HER INSTALLATION OF REPLA CEMENT PARTS THERETO.
#8
#5
MAINTENANCE
PLEASE READ THE FOLLOWING CAREFULLY
#7
SKU 94444 PAGE 4 Rev 05/06
 Loading...