

Page 1
®
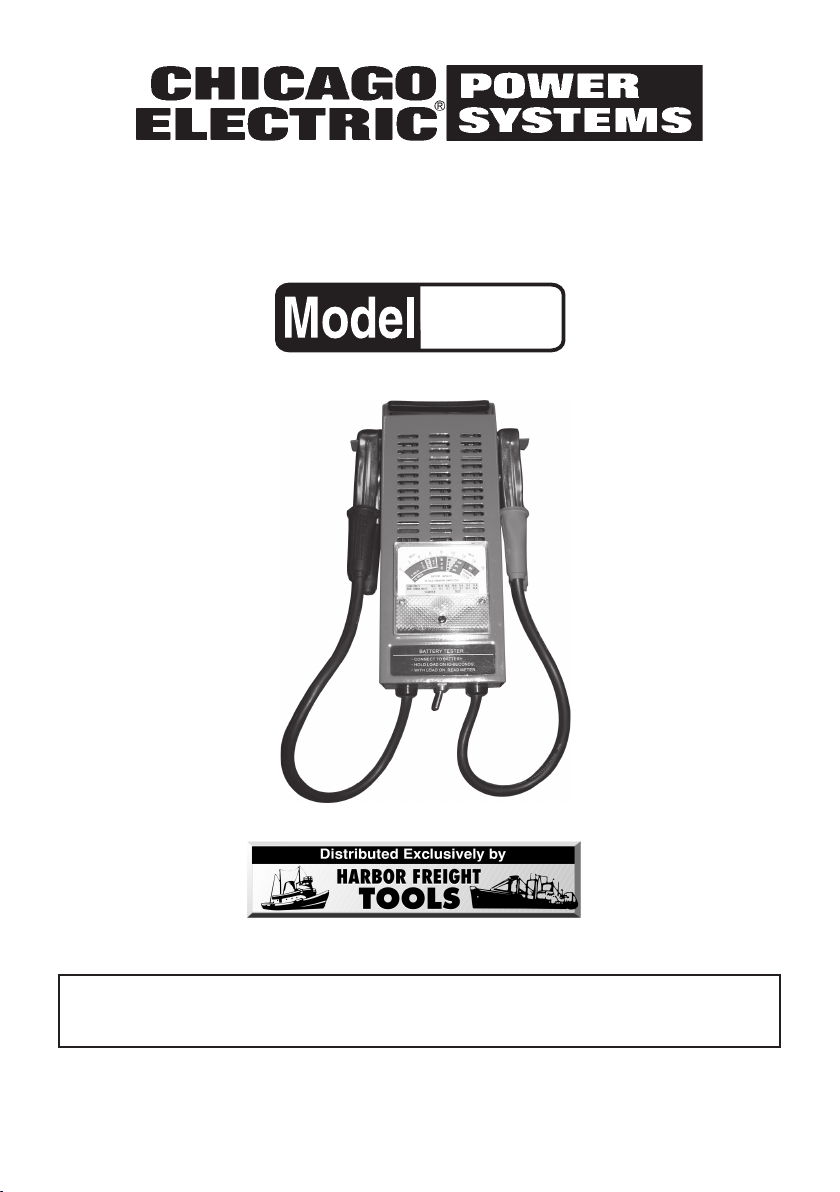
50 AMP LOAD - BA50 AMP LOAD - BA
50 AMP LOAD - BA
50 AMP LOAD - BA50 AMP LOAD - BA
CHARGING SYSTEM TESTERCHARGING SYSTEM TESTER
CHARGING SYSTEM TESTER
CHARGING SYSTEM TESTERCHARGING SYSTEM TESTER
TTERTTER
TTER
TTERTTER
Y ANDY AND
Y AND
Y ANDY AND
93784
OPERATING INSTRUCTIONS
Due to continuing improvements, actual product may differ slightly from the product described herein.
3491 Mission Oaks Blvd., Camarillo, CA 93011
Visit our Web site at http://www.harborfreight.com
TO PREVENT SERIOUS INJURY, READ AND UNDERSTAND
ALL WARNINGS AND INSTRUCTIONS BEFORE USE.
Copyright© 2005 by Harbor Freight Tools®. All rights reserved. No portion of this manual or any
artwork contained herein may be reproduced in any shape or form without the express written consent
of Harbor Freight Tools.
For technical questions and replacement parts, please call 1-800-444-3353.
Page 2
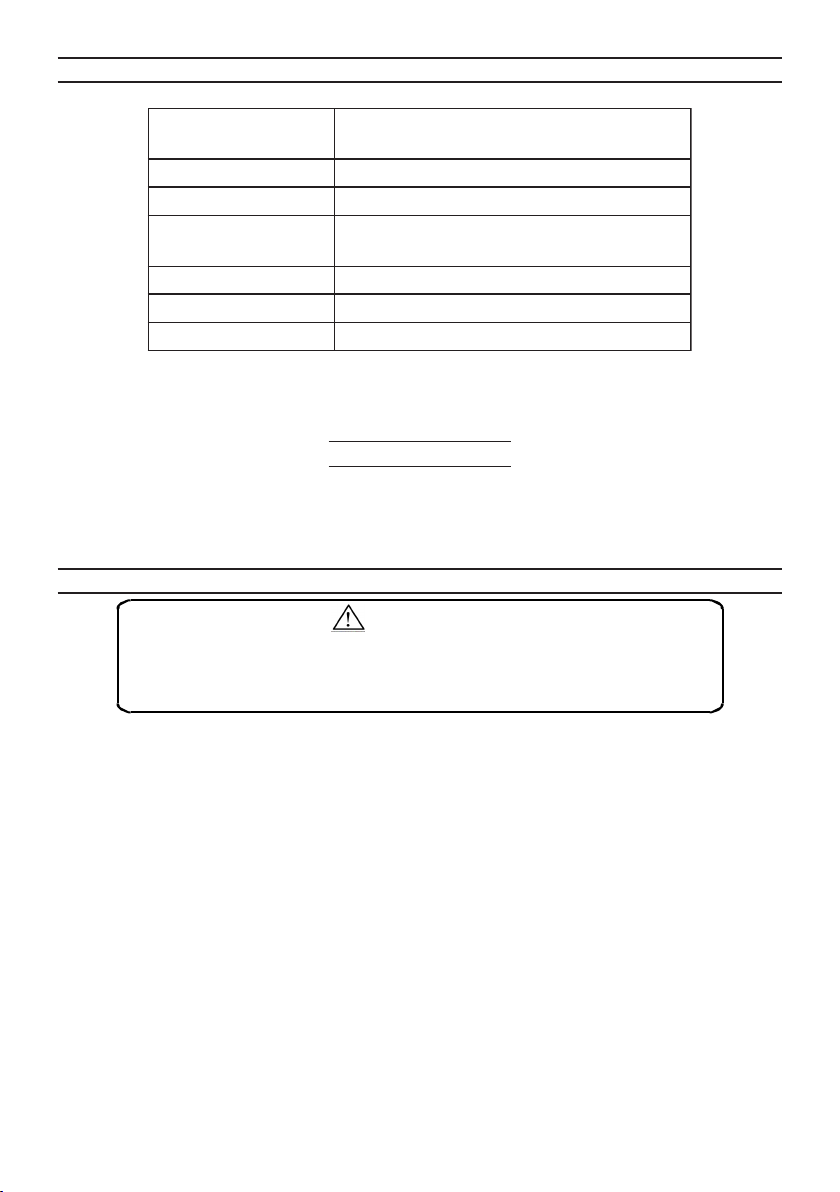
SPECIFICATIONS
ytilibapaC
yticapaCtseTdaoL spmAgniknarcdloc005-003;spmA05
reteMyalpsiD )mumixam(CDV61-0,golanA
elcyCtseT
spmalC/selbaCyrettaB 911/
snoisnemiDllarevO 111/
serutaeF teefrebburruofdnaeldnahgniyrraC
tuptuometsys
setunim5nistset3otpu
2
2
1
3xW"7xL"
/4D"
spmalcdetalp-reppoC;"
gnigrahchtiwretsetyrettabCDV21dna6
;nwodloocetunim1htiwtsetrepsdnoces01
Save This Manual
You will need the manual for the safety warnings and precautions, operating and
maintenance procedures. Keep your invoice with this manual in a safe and dry
place for future reference.
SAFETY PRECAUTIONS
WARNING!
READ AND UNDERSTAND ALL INSTRUCTIONS. Failure to follow all instructions listed below may result in electric shock, fire, and/or serious injury.
SAVE THESE INSTRUCTIONS
1. Keep your work area clean and well lit. Cluttered benches and dark areas invite
accidents.
2. Do not operate power tools in explosive atmospheres, such as in the presence
of flammable liquids, gases, or dust. Power tools create sparks which may
ignite the dust or fumes.
3. Keep bystanders, children, and visitors away while operating a power tool.
Distractions can cause you to lose control. Protect others in the work area from
debris such as chips and sparks. Provide barriers or shields as needed.
4. Do not force the tool. Use the correct tool for your application. The correct tool
will do the job better and safer at the rate for which it is designed.
SKU 93784 For technical questions, please call 1-800-444-3353. Page 2
Page 3

5. Do not use the power tool if the Power Switch does not turn it on or off. Any tool
that cannot be controlled with the Power Switch is dangerous and must be
replaced.
6. Store idle tools out of reach of children and other untrained persons. Tools are
dangerous in the hands of untrained users.
7. Maintain tools with care. Keep clean. Do not use a damaged tool. Tag damaged
tools “Do not use” until repaired.
8. Tool service must be performed only by qualified repair personnel. Service or
maintenance performed by unqualified personnel could result in a risk of injury.
9. Maintain labels and nameplates on this tool. These carry important information.
If unreadable or missing, contact Harbor Freight Tools for a replacement.
10. Always wear ANSI approved safety impact eye goggles and heavy
work gloves when using this tool. Using personal safety devices reduce
the risk for injury. Safety impact eye goggles and heavy work gloves
are available from Harbor Freight Tools.
Battery acid may cause severe injury to eyes; always wear ANSI
approved safety goggles. Avoid touching eyes while working with or
near a battery. In case of accidental contact, rinse eyes with clean
water for at least 5 minutes and see a doctor immediately.
11. Maintain a safe working environment. Keep the work area well lit. Make sure
there is adequate surrounding workspace. Always keep the work area free of
obstructions, grease, oil, trash, and other debris. Do not use this tool in areas
near flammable chemicals, dusts, and vapors. Do not use this product in a
damp or wet location.
12. People with pacemakers should consult their physician(s) before using this
product. Electromagnetic fields in close proximity to a heart pacemaker could
cause interference to or failure of the pacemaker.
Caution is necessary when near the coil, spark plug cables, or distributor of a
running engine. The engine should always be off if adjustments are to be made
to the distributor.
SKU 93784 For technical questions, please call 1-800-444-3353. Page 3
Page 4
13. When connecting the Battery Cables to the battery, avoid creating sparks (always
connect and disconnect clamps exactly as described in rule number 14, below,
and on page 4), especially when the battery is being charged. Explosive gases
are created during charging. Sparking could also damage the vehicle electrical
system.
14. Be certain of the test battery polarity before connecting the test Cable Clamps.
The red Cable Clamp (A) goes to the positive terminal of the battery. The black
Cable Clamp (B) goes to the negative terminal of the battery.
15. When placing the Battery Tester in the vehicle (on the frame, engine, or fender),
take special care that the metal housing of the Battery Tester does not come in
contact with either terminal of the battery or other electrical connections.
16. Do not drop the Battery Tester as it may affect proper operation.
17. Do not smoke or have open flames near the battery.
18. Reversing Battery Tester Cable Clamps on the battery will damage the tester.
19. Do not connect the Battery Tester to the battery while the battery is being charged.
Turn the engine off before connecting.
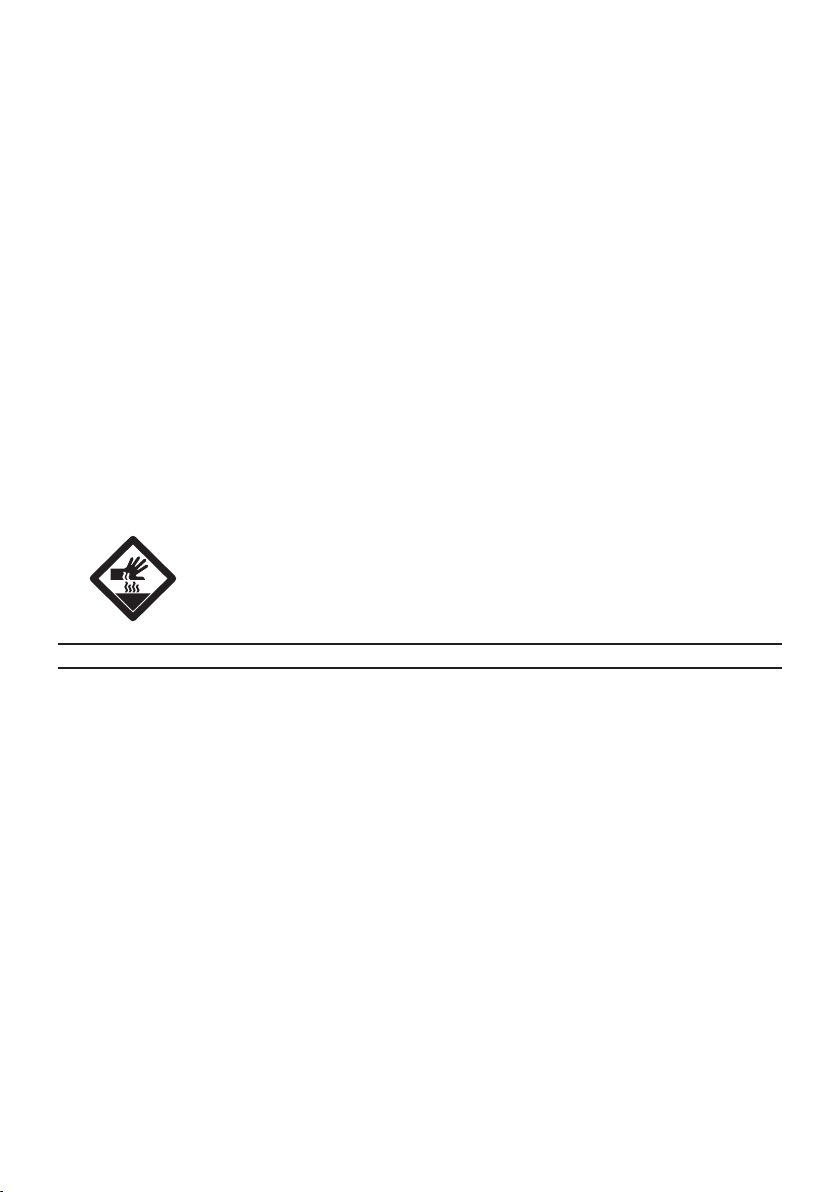
20. Do not touch the cooling vents on the Battery Tester immediately after
testing the battery. They become very hot.
UNPACKING
When unpacking, check to make sure that the product is intact and undamaged.
If any parts are missing or broken, please call Harbor Freight Tools at the number at
the bottom of the page as soon as possible.
SKU 93784 For technical questions, please call 1-800-444-3353. Page 4
Page 5
OPERATING INSTRUCTIONS
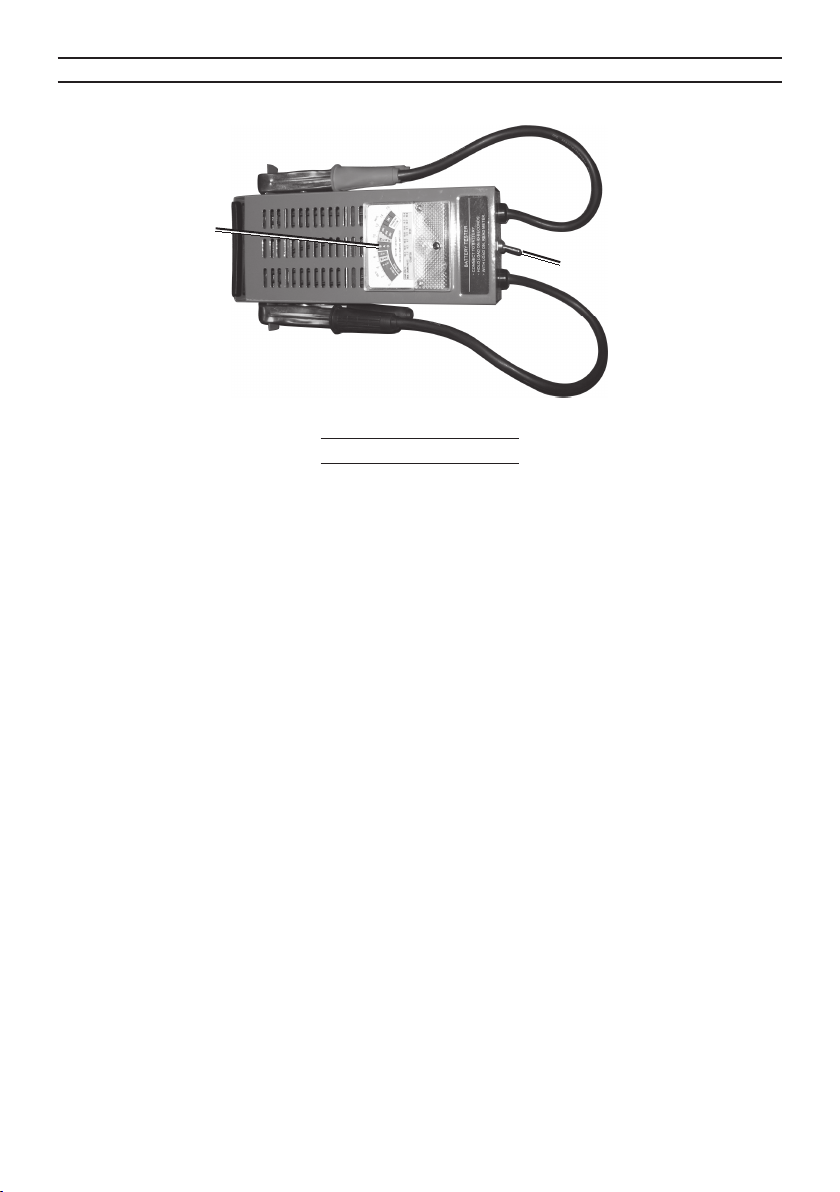
(A)
(D)
(C)
(B)
Testing the Battery
Undercharged lead-acid batteries will freeze during cold weather.
WARNING! NEVER TEST OR CHARGE A FROZEN BATTERY.
1. To help ensure a good connection, clean battery terminals with a solution of
baking soda and water, and wipe the battery terminals with a cloth to remove
any dirt and grease.
2. Connect the red (positive) Cable Clamp (A) to the positive terminal (+) on the 6
or 12 V lead-acid battery. (See photo above.)
3. Connect the black (negative) Cable Clamp (B) to the negative terminal (–) on the
battery. Turn clamps slightly to ensure a good connection.
4. With the clamps connected, the tester’s gauge will show the battery’s current
charge. If it is less than 12 V on a 12 V battery (or 6 V on a 6 V battery),
disconnect the battery and recharge before testing. If recharging will not bring
the reading above the appropriate voltage (noted above), the battery is defective.
If it shows no reading, verify that the tester is connected properly. If the tester
is connected properly, the battery is defective.
5. Press (and hold) the Toggle Switch (C) for at least 5 seconds to simulate an
actual load on the battery.
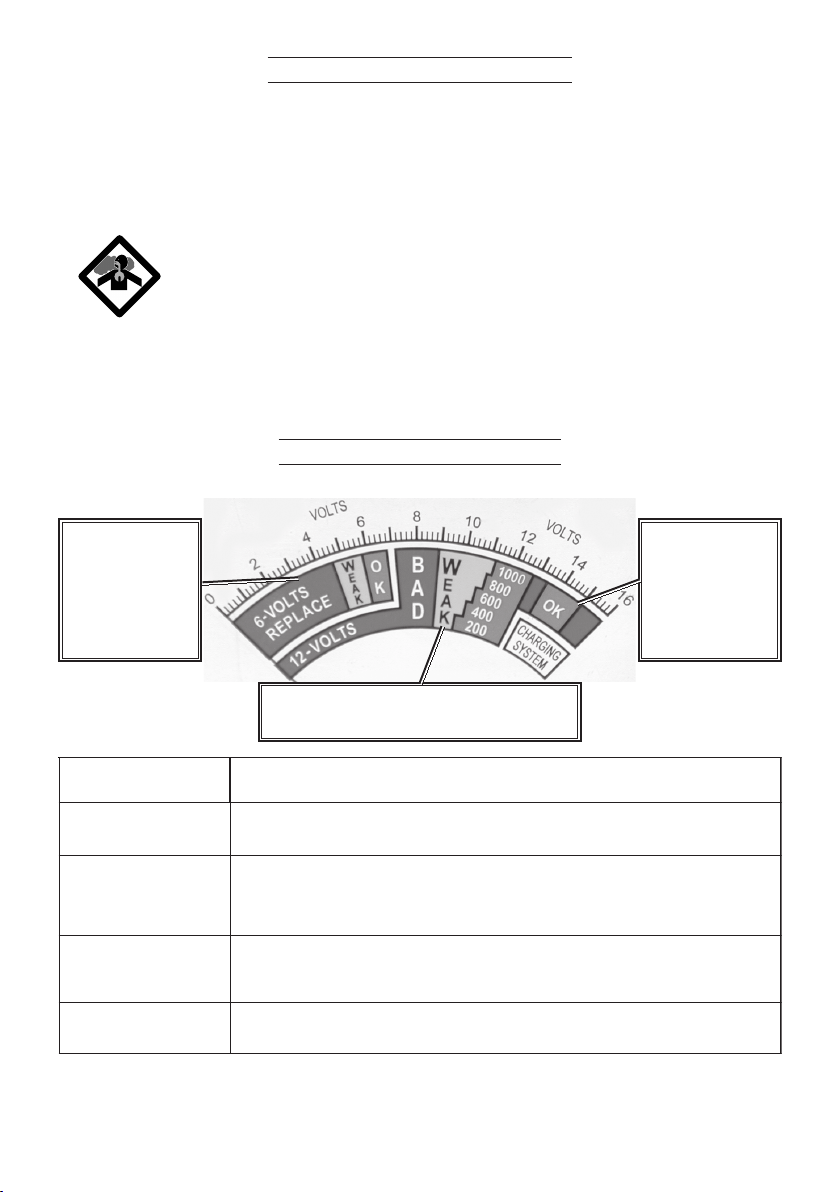
6. View the Meter Display (D) and read the battery condition. Refer to the “Battery
Condition Analysis” section on the next page.
7. Release the Toggle Switch (C) and remove the Cable Clamps from the battery.
SKU 93784 For technical questions, please call 1-800-444-3353. Page 5
Page 6
Testing the Charging System
Note: The engine should be at normal operating temperature during this test.
1. Connect the Cable Clamps (A, B) to the battery as previously described.
2. Outside, or in a well ventilated area, start the vehicle engine and run at fast idle
speed. Never start and run the vehicle’s engine in a closed garage.
WARNING: Avoid Carbon Monoxide poisoning. This gas comes from
the vehicle exhaust and is colorless and odorless. It can cause serious
injury or death if inhaled. Never run the vehicle’s engine inside a
garage or any other enclosed space.
3. View the Meter Display (D) and read the charging system condition (far right on
the gauge). Refer to the “Battery Condition Analysis” section below.
Caution: DO NOT press the Toggle Switch (C) during this test.
Battery Condition Analysis
When testing
a 6 V battery,
refer to this
area of the
gauge.
KO
KAEW
DAB
When testing
the charging
system, refer
to this area
of the gauge.
When testing a 12 V battery, refer to
this area of the gauge.
.ceS5/TSETDAOL
)gnidaeRyalpsiD(
)aeraneerg(
)aerawolley(
)aerader(
)aeraetihw(
ht
METSYSGNIGRAHC
.lairetamevitcastitsolsah
.levelllufotegrahceR.elbuortmetsys
SgnirbtonseodgnigrahcfI.degamadeb
yammetsysgnigrahc,saerader
NOITIDNOCYRETTAB
hc,egrahcllufnahtsselsiGSfI.retemordyHahtiw)GS(ytivarGcificepS
2revosllecneewtebGSniecnereffidasierehtfI.tset-erdna
baborpsiyrettabeht,sdnoceswefaylnoretfalaitnetop
.gninoitcnuflameb
2.1wolebfI.evitcefedsiyrettabeht,522.1revofI.GSkcehC.degrahcsidyltrap
gatlovfI.noitcaerreteMyalpsiDetondnahctiwSelggoTdaolehtesaeler
.tset-erdna,egrahcer,GSkcehC.nwodnurebylnoyamyrettabe
ehtgnitsetybetatsegrahcehtkcehC.degrahcyllufebtonyamroyaM.doogsiyticapacyrettaB
gnigrahcelbissoprofkce
roevitcefedebyamyrettaB.doogtonsiyticapacyrettabeht,ydaetssieldeenreteMyalpsiDehtfI
yrettabegrahcer,52
yamllecralucitrapa,)520.0(stniop
ro,detaflusrehtiesiyrettabneht,levelegrahcllufotG
,kcehckciuqaroF.llecdabasahroevitcefedsiyrettabeht,gnillafsieldeenreteMyalpsiDehtfI
llufstiotsrevocere
,ylwolssrevoceregatlovehtfI.evitcefedyl
hgihroderwolehtnosllaftifI.lanoitcnufsimetsysgnigrahc,KOsdaereldeenreteMyalpsiDehtfI
SKU 93784 For technical questions, please call 1-800-444-3353. Page 6
Page 7

Testing the Starter
Note: The engine should be at normal operating temperature and the battery
should be fully charged before doing this test.
1. Disable the ignition so the engine will not start. (Refer to your vehicle’s manual.)
2. Connect the Cable Clamps (A, B) to the battery as previously described.
3. Have an assistant crank the engine. Note the voltage reading during cranking.
4. View the Meter Display (D) and read the voltage. A reading of 9 volts or less
indicates excessive current draw for a 12 V system. This may be due to a poor
connection, a failing starter, or a battery of insufficient size for the motor.
Caution: DO NOT press the Toggle Switch (C) during this test.
INSPECTION, MAINTENANCE, AND CLEANING
1. Store in a clean and dry location.
2. Clean the outside of the unit with a damp cloth. Never use solvents to clean any
part of this tool. Use compressed air to blow out debris from the load vents.
3. After each use, clean the Cable Clamps of any possible battery electrolyte.
Apply a thin coat of silicon grease to prevent corrosion.
4. If needed, turn the black screw at the bottom center of the gauge to adjust the
needle so that it points exactly at the zero while the unit is disconnected.
REPLACEABLE PARTS
The Battery Tester has no replaceable parts.
SKU 93784 For technical questions, please call 1-800-444-3353. Page 7
 Loading...