

Page 1
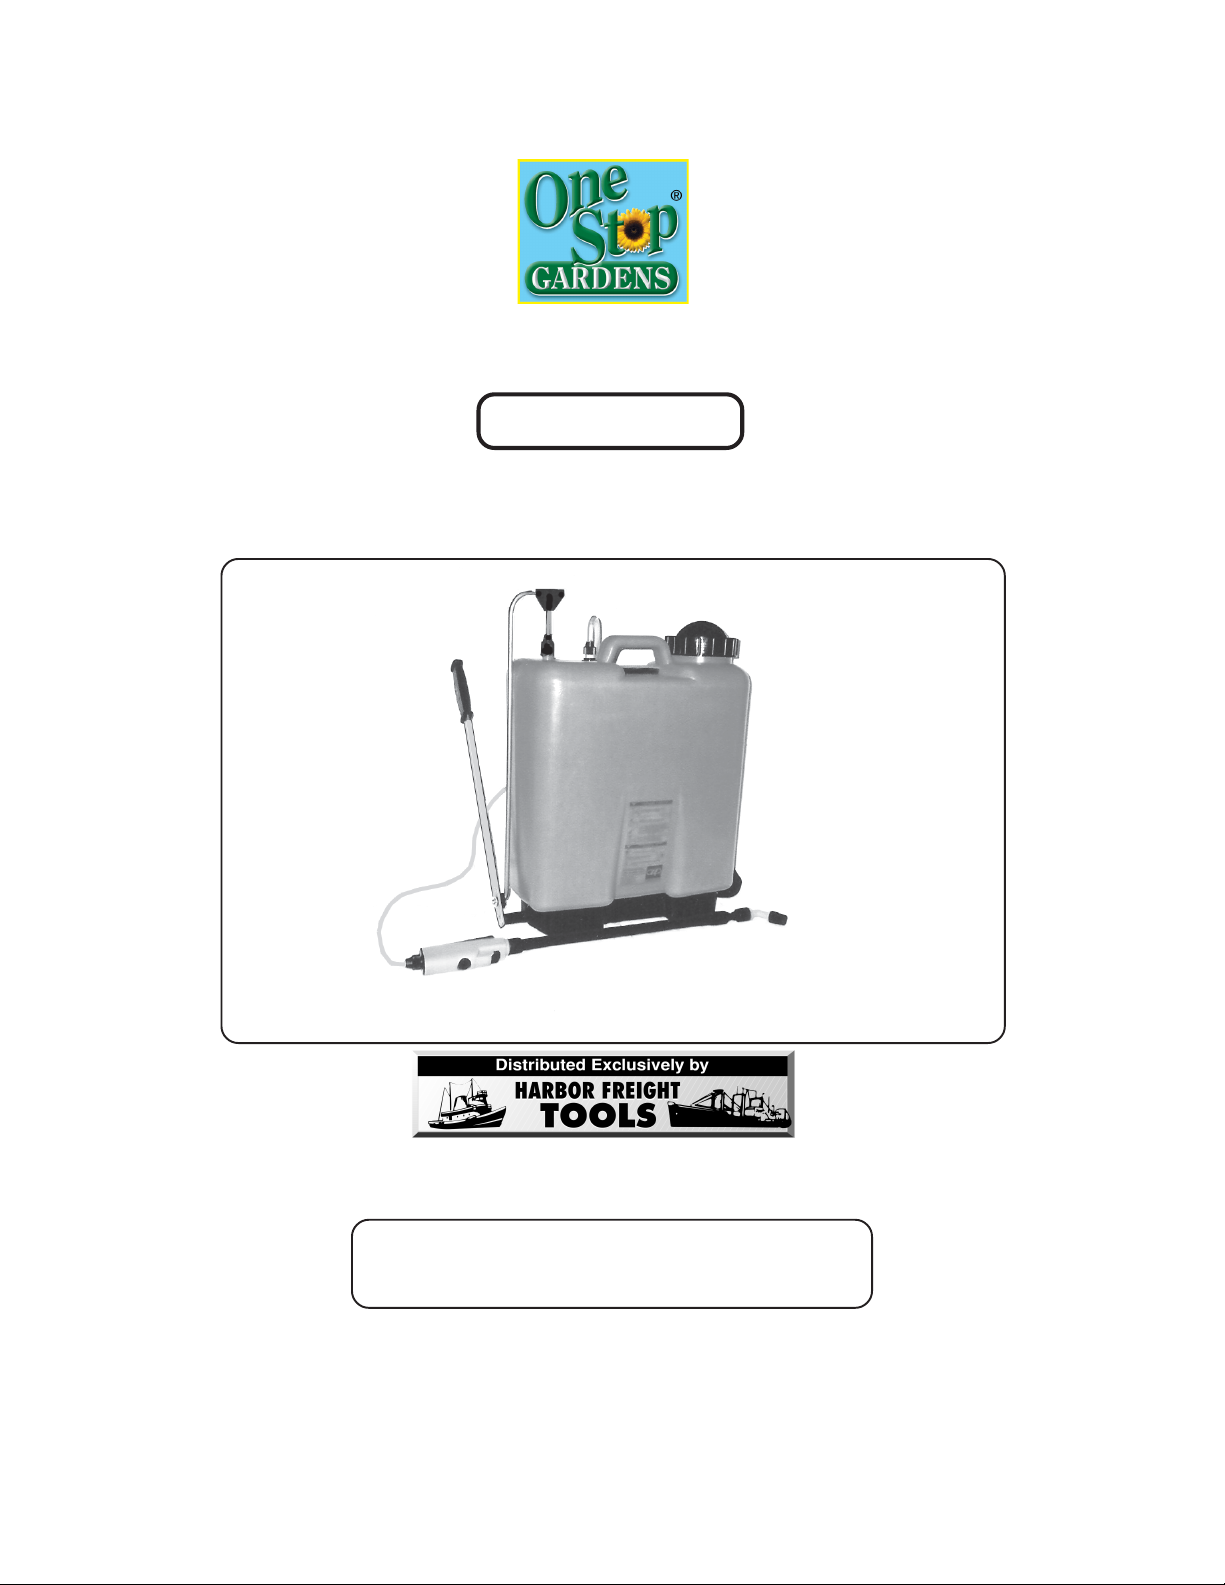
4 GALLON SPRAYER
®
Model 93302
ASSEMBLY AND OPERATING INSTRUCTIONS
Due to continuing improvements, actual product may differ slightly from the product described herein.
3491 Mission Oaks Blvd., Camarillo, CA 93011
Visit our Web site at: http://www.harborfreight.com
TO PREVENT SERIOUS INJURY,
READ AND UNDERSTAND ALL WARNINGS
AND INSTRUCTIONS BEFORE USE.
Copyright 2005 by Harbor Freight Tools®. All rights reserved. No portion of this
manual or any artwork contained herein may be reproduced in any shape or form
©
without the express written consent of Harbor Freight Tools.
For technical questions, please call 1-800-444-3353.
Page 2
PRODUCT SPECIFICATIONS
Item Description
Tank Capacity 4 Gallons
Product Compatibility For use with Water, Liquid Fertilizers,
Herbicides, and Pesticides only.
Pump Type Manual (Hand Operated Pi ston Pump)
Adjustable Spray Gun Assembly From 16-3/4” Long To 29-1 /4” Long
Overall Dimensions 16-1/2” W x 21” H x 7-1/4” Tall
Tank Fill Opening 3-3/4” Diameter (with Plastic Filter Insert)
Net Weight 8.0 Pounds (Empty)
SAVE THIS MANU AL
You will need this manual for the safety warnings and precautions, assembly, operating,
inspection, maintenance and cleaning procedures, parts list and assembly diagram.
Keep your invoice with this manual. Write the invoice number on the inside of the front
cover. Keep this manual and invoice in a safe and dry place for future reference.
GENERAL SAFETY RULES
When unpacking, check to make sure all the par ts shown in the Parts List on page 9
are included. If any par ts are missing or broken, please call Harbor Freight Tools at the
number shown on the front cover of this manual as soon as possible.
GENERAL SAFETY RULES
IMPORTANT SAFETY INSTRUCTIONS
WARNING!
READ AND UNDERSTAND ALL INSTRUCTIONS
Failure to follo w all instructions detailed in this manual may
result in serious personal injury .
SAVE THESE INSTRUCTIONS
WORK AREA
1. Keep your work area clean and well lit. Cluttered and dark work areas invite
accidents.
SKU 93302 For technical questions, please call 1-800-444-3353 PAGE 2
Page 3

2. Keep bystanders, children, and visitors away while operating the Sprayer.
Distractions can cause you to lose control.
PERSONAL SAFETY
3. Stay alert. Watch what you are doing, and use common sense when operating a
power tool. Do not use the Sprayer while tired or under the influence of drugs,
alcohol, or medication. A moment of inattention while operating power tools may
result in serious personal injury .
4. Dress properly. Do not wear loose clothing or jewelry. Cont ain long hair. Keep
your hair, clothing, and gloves away from moving parts. Loose clothes, jewelry, or
long hair can be caught in moving parts.
5. Do not overreach. Keep proper footing and balance at all times. Proper footing
and balance enables better control of the Sprayer in unexpected situations.
6. Always wear eye, breathing, and skin protection. Wear ANSI approved safety
impact goggles, an ANSI approved respirator, latex gloves, and proper safety
clothing when using this product.
TOOL USE AND CARE
7. Do not force the Sprayer. Use the correct product for your application.
The correct product will do the job better and safer at the rate for which it is
designed.
8. Store idle tools and equipment out of reach of children and other untrained
people. Tools and equipment are dangerous in the hands of untrained users.
9. Maintain the Sprayer with care. Keep this product clean. A properly
maintained tool is easier to control. Do not use damaged tools and equipment.
Tag damaged tools and equipment “Do not use” until repaired.
10. Check for misalignment or binding of mo ving parts, loose or broken parts,
and any other condition that may affect the Sprayer’s operation. If
damaged, have the Sprayer serviced before using. Many accidents are
caused by poorly maintained tools and equipment.
11. Use only accessories that are recommended by the manufacturer for your
model. Accessories that may be suitable for one product may become hazardous when used on another product.
SKU 93302 For technical questions, please call 1-800-444-3353 PAGE 3
Page 4

SERVICE
12. Product service must be perf ormed onl y by qualified service technician.
Service or maintenance performed by unqualified personnel could result in
a risk of injury.
13. When servicing the Sprayer, use only identical replacement parts.
Follow instructions in the
manual. Use of unauthorized parts or failure to follow maintenance instructions
may create a risk of electric shock or injury.
“Inspection, Maintenance, And Cleaning”
section of this
SPECIFIC SAFETY RULES
1. Maintain labels and nameplates on the Sprayer. These carry important
information. If unreadable or missing, contact Harbor Freight Tools for a
replacement.
2. Use the right product for the job. There are certain applications for which this
product was designed. Do not use small tools, equipment, or attachments to do
the work of larger industrial tools, equipment, or attachments. Do not use this
product for a purpose for which it was not intended.
3. Industrial applications must follow OSHA requirements.
4. Store idle tools. When not in use , store the Spra yer in a clean, dry, saf e
location out of reach of children.
5. Be careful when filling, so as not to splash liquids into face or eyes. Always
wear ANSI approved safety goggles.
6. This Sprayer is intended to be used only with water , liquid fertilizers, liquid
herbicides, and liquid pesticides. Never attempt to spray flammable,
combustible, or corrosive liquids with the Spray er .
7. Always f ollow all chemical label precautions and local EPA regulations
when using liquid chemicals. Do not touch harmful chemicals. After use,
clean the Sprayer thoroughly with agents recommended by the chemical
manufacturer. Alw ays consider contents of the Spray er to be poisonous due to
contamination, if previously used.
8. Never point the nozzle of the Spray Gun Assembly at yourself or other
people. Alwa ys be alert to the direction of the wind to insure contents of the
Sprayer are not blown back at the operator. Never spray if windy conditions are
present.
9. A note on Chemicals disposal: Ne ver attempt to burn unused fertilizers,
herbicides, pesticides, or any other types of chemicals. Make sure to check with
your local solid waste authorities for proper diposal procedures.
10. Always make sure children and animals do not have access to chemically
treated areas.
SKU 93302 For technical questions, please call 1-800-444-3353 PAGE 4
Page 5

11. Dry running will cause damage to the inner seals. Make sure the water or
liquid chemical supply used for the Sprayer is not dirty or sandy.
12. Do not pull or carry the Sprayer by its Spray Gun Assembly. Use the Handle
on the Sprayer to move the tool from one location to another.
13. The work area should have adequate drainage to reduce the possibility of
a fall due to slippery surfaces.
14. This product is designed for outdoor use only.
15. Keep the Cap and Spray Gun Assembly of the Sprayer connected to the
tool while the system is pressurized. Prior to refilling or emptying the Tank,
squeeze the Trigger on the Spray Gun Assembly to completely depressurize the
system.
16. Prior to starting the Spra yer in cold weather , c heck all of the parts of the
tool to make sure ice has not formed. Do not store the Sprayer where the
temperature will fall below 32 Fahrenheit.
o
17. Do not keep water or any liquid chemicals in the Sprayer after use.
18. Make sure to clean the Filter of the Sprayer before each use.
19. Never leave the Sprayer unattended. When finished using the Spr ayer, empty
the unit. Thoroughly clean the unit and store it in a clean, dry, safe location out
of reach of children.
20. WARNING! The warnings and cautions discussed in this manual cannot
cover all possible conditions and situations that may occur. It must be understood by the operator that common sense and caution are factors which cannot
be built into this product, but must be supplied by the operator.
ASSEMBLY AND OPERATING INSTRUCTIONS
1. Prior to use, the Wand of the Spray Gun Assembly (6) must be attached to the
Handle of the Spray Gun Assembly. To do so, simply screw the Wand firmly onto
the male threads of the Handle. (See Figure A.)
HANDLE
HOSE
FIGURE A
WAND
SPRA Y GUN ASSY.
(6)
NOZZLE ADJUSTMENT
SKU 93302 For technical questions, please call 1-800-444-3353 PAGE 5
Page 6

2. CAUTION! Always wear eye, breathing, and skin protection. W ear ANSI
approved safety impact goggles, an ANSI approved respirator, latex gloves, and
proper safety clothing when using this product.
3. Prior to filling the Tank (1) of the Sprayer with liquid, remove the Cap (2) and
check to make sure the Filter (3) is clear of dirt and debris. If necessar y, remove
the Filter and thoroughly clean. Next, insert the Filter back into the opening of
the Tank. Fill the Tank with up to 4 gallons of liquid. Then, replace the Cap on
the Tank. (See Assy. Diagram.)
4. NOTE: The Sprayer is heavy when completely filled with liquid. Always get
assistance when strapping the Sprayer onto your body. If necessary, adjust the
Strap Assembly (7) for comfort. (See Assy. Diagram.)
5. Always make sure other adults, children, and animals do not have access to the
area(s) in which you intend to chemically treat.
6. Grip the Handle of the Spray Gun Assembly (6) firmly with your right hand.
(See Assy. Diagram.)
7. With your left hand, pump the Hand Pump Assembly (5) to build up sufficient
pressure in the Sprayer system. Once the system is pressurized (as indicated
by an increased tension on the Hand Pump Lever), you may discontinue
pumping the Hand Pump Assembly. (See Assy. Diagram.)
8. Point the Nozzle of the Spray Gun Assembly (6) toward the area to be sprayed.
Then, squeeze the Trigger on the Spray Gun Assembly to begin spraying.
(See Assy. Diagram.)
9. NOTE: The Nozzle of the Spray Gun Assembly (6) may be adjusted for a
point
spray or a
10. As you spray, the system will begin to depressurize. When the distance of the
spray diminishes you will need to stop spraying momentarily. Then, resume
pumping the Hand Pump Assembly (5) to re-pressurize the system before spraying again. (See Assy. Diagram.)
11. If it becomes necessary to refill the Tank (1) of the Sprayer, continue squeezing
the Trigger on the Spray Gun Assembly (6) to completely de-pressurize the
system. Remove the Cap (2) from the Tank. Check to make sure the Filter (3)
is clear of dirt and debris. Refill the Tank with liquid, and replace the Cap. Pump
the Hand Pump Assembly (5) to pressurize the system, and continue spraying.
(See Assy. Diagram.)
12. When finished spraying, de-pressurize the system. Remove the Cap (2) from
fan
spray. (See Assy. Diagram.)
pin-
SKU 93302 For technical questions, please call 1-800-444-3353 PAGE 6
Page 7

the Tank (1) and empty any remaining liquid into a safe and secure container.
Clean the Sprayer thoroughly with agents recommended by the chemical manufacturer. Allow the unit to air-dry. Replace the Cap, and store the Sprayer in a
clean, dry, safe location out of reach of children. (See Assy. Diagram.)
TROUBLESHOOTING
Problem Possible Solution
Unit does not spray. Make sure there is an adequate amount of
liquid in the Tank.
Pump the Hand Pump Assy. to pressurize the
system. (Do not squeeze the Trigger on the
Spray Gun Assembly when performing this
procedure.)
Make sure the Cap is screwed on tightly.
Make sure all connections to the Tank are
secure.
Make sure all connections on the Spray Gun
Assy. are secure.
COLLAR (6)
Make sure the Nozzle on the Spray Gun Assy.
is clear of dirt and debris.
The spray pattern is undesirable. Adjust the Nozzle on the Spray Gun Assy. to a
“pinpoint” or “fan” pattern.
Make sure the Nozzle on the Spray Gun Assy.
is clear of dirt and debris.
INSPECTION, MAINTENANCE, AND CLEANING
1. CAUTION! Always de-pressurize the system before performing any
inspection, maintenance, or cleaning of the Sprayer.
2. Before each use, inspect the general condition of the Sprayer. Check for
misalignment or binding of moving parts, damaged or loose parts, dir t or debr is
in the Filter, and any other condition that may affect the tool’s safe operation. If
abnormal noise or vibration occurs, have the problem corrected before further
use. Do not use damaged equipment.
3. Periodically, lubricate all moving parts of the Handle Pump Assembly.
4. To clean: If using liquid chemicals, flush the interior and clean the exterior of the
SKU 93302 For technical questions, please call 1-800-444-3353 PAGE 7
Page 8

Sprayer and its Spray Gun Assembly thoroughly with cleaning agents recommended by the chemical manufacturer. Then, allow to air-dry. Do not use solvents.
5. When storing: Always completely empty the Sprayer of liquid. Frost will damage the Sprayer if the unit contains liquid. Store the Sprayer in an indoor area
such as a garage or shed. Make sure to store the Sprayer and any chemi-
cals in a safe, dry, clean location out of reach of children.
6. CAUTION! All maintenance, service, and repairs not discussed in this
manual should only be performed by a qualified service technician.
PLEASE READ THE FOLLOWING CAREFULLY
THE MANUFACTURER AND/OR DISTRIBUTOR HAS PROVIDED THE PARTS LIST AND ASSEMBLY
DIAGRAM IN THIS MANUAL AS A REFERENCE TOOL ONLY. NEITHER THE MANUFACTURER OR
DISTRIBUTOR MAKES ANY REPRESENTATION OR W ARRANTY OF ANY KIND T O THE BUYER THA T HE
OR SHE IS QUALIFIED TO REPLACE ANY PARTS OF THE PRODUCT. IN F A CT, THE MANUF A CTURER
AND/OR DISTRIBUTOR EXPRESSLY ST A TES THA T ALL REP AIRS AND P AR TS REPLACEMENTS SHOULD
BE UNDERTAKEN BY CERTIFIED AND LICENSED TECHNICIANS, AND NO T BY THE BUYER. THE BUYER
ASSUMES ALL RISKS AND LIABILITY ARISING OUT OF HIS OR HER REPAIRS TO THE ORIGINAL
PRODUCT OR REPLACEMENT PARTS THERET O, OR ARISING OUT OF HIS OR HER INST ALLATION OF
REPLACEMENT P AR TS THERET O.
SKU 93302 For technical questions, please call 1-800-444-3353 PAGE 8
Page 9

PARTS LIST AND ASSEMBLY DIAGRAM
Part # De scription Q ty. Part # De scription Q ty.
1 Tank 1 5 Hand Pump Assembly 1
2 Cap 1 6 Spray Gun Assembly 1
3 Filter 1 7 Strap Assembly 1
4 Tube 1
Includes Handle, Wand, and Hose.
*
FRONT VIEW
4
2
3:FILTER NOT SHOWN.
5
1
*
REAR VIEW
6
7
NOTE:
Some parts are listed and shown for illustration purposes only,
and are not available individually as replacement parts.
SKU 93302 For technical questions, please call 1-800-444-3353 PAGE 9
 Loading...