

Page 1
®
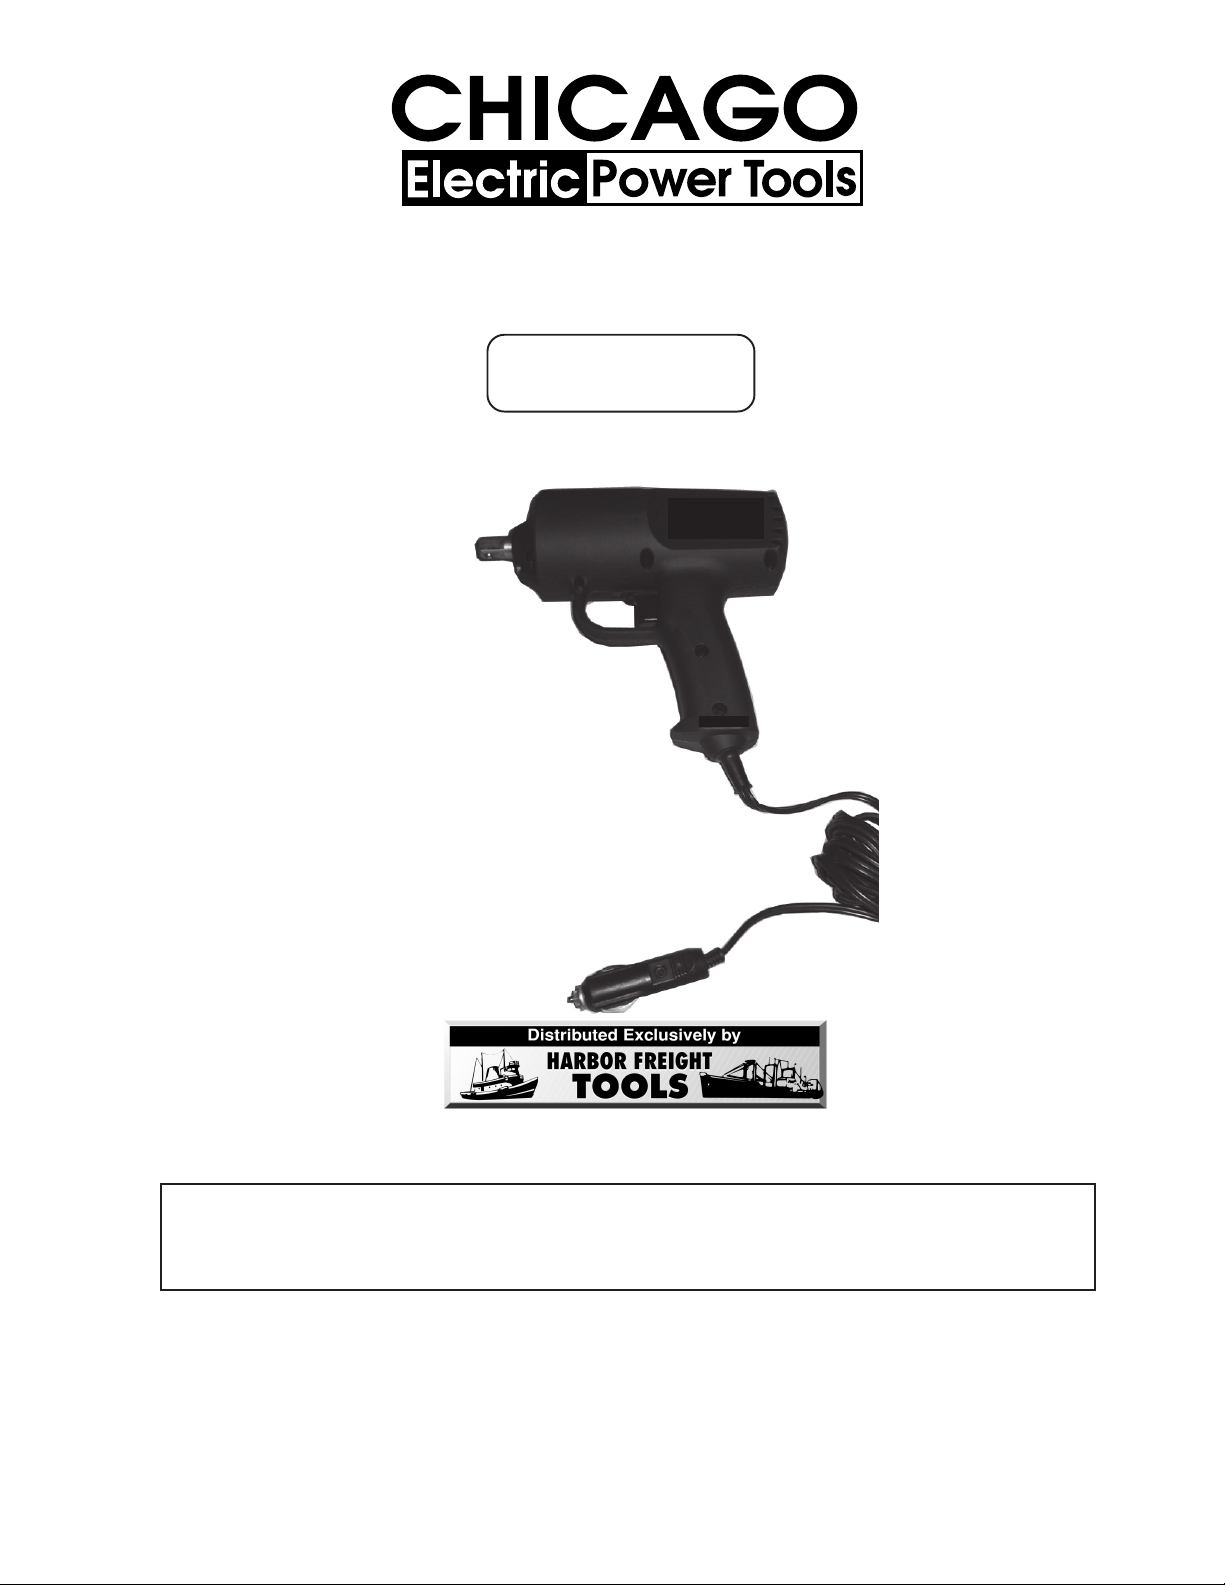
12 VOLT IMPACT WRENCH
Model 92349
ASSEMBLY AND OPERATING INSTRUCTIONS
3491 Mission Oaks Blvd., Camarillo, CA 93011
Visit our Web site at: http://www.harborfreight.com
TO PREVENT SERIOUS INJURY,
READ AND UNDERSTAND ALL WARNINGS
AND INSTRUCTIONS BEFORE USE.
Copyright© 2004 by Harbor Freight Tools®. All rights reserved. No portion of this
manual or any artwork contained herein may be reproduced in any shape or form
without the express written consent of Harbor Freight Tools.
For technical questions and replacement parts, please call 1-800-444-3353.
Page 2

Specifications
Maximum Torque 150 Ft. Lbs.
Drive Size
Blows Per Minute 30 to 40
Power Cord (12 Volt Plug In) 18 AWG X 2C SPT - 2, 11’ Long
Accessories 7/8”, 13/16”, 3/4”, & 11/16” Sock ets
1
/2” Square
NOTE: Unlike air-operated or 120V A C impact wrenches, this Wrenc h will build up inertia
before striking a blow. This is normal, and DOES NOT INDICATE A PROBLEM.
Save This Manual
You will need the manual for the safety warnings and precautions, assembly instructions,
operating and maintenance procedures, parts list and diagram. Keep your invoice with this
manual. Write the invoice number on the inside of the front cover. Keep the manual and
invoice in a safe and dry place for future reference.
Safety Warnings and Precautions
WARNING: When using tool, basic safety precautions should always be followed to
reduce the risk of personal injury and damage to equipment.
Read all instructions before using this tool!
1. Keep work area clean. Cluttered areas invite injuries.
2. Observe work area conditions. Do not use machines or power tools in damp or wet
locations. Don’t expose to rain. Keep work area well lighted. Do not use electrically
powered tools in the presence of flammable gases or liquids.
3. Keep children away. Children must never be allowed in the work area. Do not let
them handle machines, tools, or extension cords.
4. Store idle equipment. When not in use, tools must be stored in a dry location to
inhibit rust. Always lock up tools and keep out of reach of children.
5. Use the right tool for the job. Do not attempt to force a small tool or attachment to
do the work of a larger industrial tool. There are certain applications for which this tool
was designed. It will do the job better and more safely at the rate for which it was
intended. Do not modify this tool and do not use this tool for a purpose for which it
was not intended.
6. Dress properly. Do not wear loose clothing or jewelry as they can be caught in
moving parts. Protective, electrically nonconductive clothes and nonskid footwear are
recommended when working. Wear restrictive hair covering to contain long hair.
7. Use eye protection. Always wear ANSI approved impact safety goggles.
8. Do not overreach. Keep proper footing and balance at all times.
Page 2SKU 92349 For technical questions, please call 1-800-444-3353
Page 3

9. Maintain tools with care. Keep tools clean for better and safer performance. Follow
instructions for lubricating and changing accessories. Inspect tool cords periodically
and, if damaged, have them repaired by an authorized technician. The handle must
be kept clean, dry, and free from oil and grease at all times.
10. Disconnect power. Unplug tool when not in use.
11. Avoid unintentional starting. Be sure the Trigger is in the Off position when not in
use and before plugging in. Do not carry any tool with your finger on the trigger,
whether it is plugged in or not.
12. Stay alert. Watch what you are doing, use common sense. Do not operate any tool
when you are tired.
13. Check for damaged parts. Before using any tool, any part that appears damaged
should be carefully checked to determine that it will operate properly and perform its
intended function. Check for alignment and binding of moving parts; any broken parts
or mounting fixtures; and any other condition that may affect proper operation. Any
part that is damaged should be proper ly repaired or replaced by a qualified
technician. Do not use the tool if any Trigger does not operate properly.
14. Guard against electric shock. Prevent body contact with grounded surfaces such as
pipes, radiators, ranges, and refrigerator enclosures. Use caution near batteries and
starters.
15. Replacement parts and accessories. When servicing, use only identical
replacement parts. Use of any other parts will void the warranty. Only use accessories
intended for use with this tool. Approved accessories are available from Harbor
Freight Tools.
16. Do not operate tool if under the influence of alcohol or drugs. Read warning
labels if taking prescription medicine to determine if your judgment or reflexes are
impaired while taking drugs. If there is any doubt, do not operate the tool.
17. Maintenance. For your safety, service and maintenance should be performed
regularly by a qualified technician.
18. People with pacemakers should consult their physician(s) before using this
product. Electromagnetic fields in close proximity to a heart pacemaker could cause
interference to or failure of the pacemaker.
19. Use this tool with both hands. This tool requires the use of both hands when
operating. This helps maintain tool stability and keeps hands away from the working
area of the tool.
20. This unit should only be powered b y 12 Volt DC systems.
Note: Performance of this tool may vary depending on variations in battery power.
Warning: The warnings, cautions, and instructions discussed in this instruction manual
cannot cover all possible conditions and situations that may occur. It must be understood by the operator that common sense and caution are factors which cannot be
built into this product, but must be supplied by the operator .
Page 3SKU 92349 For technical questions, please call 1-800-444-3353
Page 4

Unpacking
When unpacking, check to make sure the parts listed on page 7 are included. If any parts
are missing or broken, please call Harbor Freight Tools at the number on the cover of this
manual as soon as possible.
Operation
WARNING! Running engines produce carbon monoxide, an odorless, colorless gas that is
extremely to xic. Exposure to carbon monoxide can result in headaches, dizziness, v omiting,
and even death. The engine must only be run in an open, well-ventilated place.
1. Prior to use, be sure that your vehicle or other work object is safely secured in preparation
for maintenance.
2. This tool operates on 12 Volts DC. Do not attempt to use this tool with any other v oltage .
3. You may connect to the 12 Volt power source by directly plugging in the 12 Volt Plug-In
(24) to the vehicle’s receptacle, or, you may use the Battery Adapter Cable. To use the
Battery Adapter Cable, simply insert the 12 V olt Plug-In into the Adapter . When it is saf e
to do so, connect the RED clamp to the POSITIVE terminal of a 12 volt battery. Connect
the BLACK clamp to a clean grounded part of the vehicle such as the engine block or
frame member . NEVER leave either c lamp attached to the vehicle while the impact
wrench is not being used; disconnect clamps
finished. Also, make certain that neither clamp can come into contact with any
other wire or metal portion of the vehicle’s engine. See FIGURE 1.
immediately as soon as work is
NOTE: If the engine is left running while performing this operation, be sure to avoid placing
any cables or clamps, or your hands, clothes, hair or any other appendage in close proximity
to the moving parts of the engine.
FIGURE 1
Clamp
Anvil (4)
Adapter (40)
12 Volt
Plug-In (24)
FIGURE 2
Trigger (26)
12 V olt
Plug-In (24)
Page 4SKU 92349 For technical questions, please call 1-800-444-3353
Page 5

Operation (continued)
WARNING: Working around vehicle engines whether running or not is inherently dangerous,
and extraordinary precautions outside the scope of this booklet are required. Refer to the
owner’s manual of your vehicle for more information.
4. NOTE: Unlike air-operated or 120V AC impact wrenches, this wrenc h will build up
inertia before striking a blow . This is normal, and DOES NO T INDICA TE A PROBLEM.
5. Make sure the vehicle is parked safely away from all other moving traffic. Be sure the
vehicle is parked on a flat, dry, level surface. Be sure the vehicle’s emergency brake is
set, and the tires have wheel blocks prev enting movement.
6. Select the appropriate size socket to fit the wheel lug nut. Attach the sock et to the Impact
Wrench by pressing them on to the Anvil (4). Only use impact soc kets and attachments.
7. Position an appropriate lift (not included) under the lift point for each wheel to be removed. (Follow the vehicle and lift manufacturer’s instructions for doing so.) Lift the
vehicle until the wheel is off the ground, and support the vehicle securely on jack stands
(not included).
8. The Impact Wrench is rev ersible. To operate the Impact Wrench in a f orward (tightening)
direction, set the Directional Lever toward the “R” symbol - see FIGURE 3. To operate
the Impact Wrench in reverse direction, set the Directional Lever toward the “L” symbol.
If the Directional Lev er is set in the middle, the unit will not turn in either direction. Using
the Impact Wrench in re verse, remo ve the wheel lug nuts according to the manuf acturer’s
recommendations. (In most cases, the manufacturer will recommend that you remove
the lugs in an alternate pattern, moving around the wheel.)
FIGURE 3
Note: For night use, this Impact
Wrench has a LED (27)
light. See FIGURE 4.
Directional
Lever
Trigger (26)
LED (27)
FIGURE 4
Page 5SKU 92349 For technical questions, please call 1-800-444-3353
Page 6

Operation (continued)
9. Occasionally, you will have to manually break a nut loose bef ore y ou can remo v e it with
the Impact Wrench. To do so, use a Breaker Bar (not included) and Socket to break the
nut loose. Then, proceed as discussed in number 8 on page 5.
10. Replace the wheel on the vehicle hub , aligning the wheel studs with the bolt holes in the
wheel.
11. Install the wheel lug nuts, following the vehicle manufacturer’s recommendations. To
avoid cross-threading the lug nuts, thread the nuts on by hand first, before using the
Impact Wrench.
CA UTION
Do not use the Impact Wrench to tighten the lug nuts.
The torque may e xceed the vehicle specifications and damage may result.
12. When the wheel is securely refastened, use a torque wrench (not included) to check the
torque on all bolts and ensure that the tightness meets the manufacturer’s recommendations. Check under the vehicle and remove any tools. Lower the vehicle, disconnect
the tool and replace the lift and the Impact Wrench to their storage places.
Maintenance
1. When not in use, store your Impact Wrench and its accessories in its case, in a secure, dry place. Protect it from water, moisture, oil, fuel, grease or other foreign
materials which may damage the case, moving parts, or electrical components.
2. This tool should only be repaired by a qualified technician.
3. The 12 Volt Plug-In (24) assembly has a fuse that will eventually need replacing.
Remove the Cap at the end of the Plug-In and replace the fuse making sure to replace the pieces below, in the exact same order as shown. Only replace the fuse
with another 12A-250V fuse of the same style.
12 V olt
Plug-In (24)
Fuse
Cap
Page 6SKU 92349 For technical questions, please call 1-800-444-3353
Page 7

Parts List
Part No. Description Part No. Description
1 Bearing 21 Bolt
2 Anvil Bearing 22 Cable Block
3 Radial Bearing 23 Cable Bushing
4 Anvil 24 12V Plug-In
5 Oil Bearing 25 Left Housing
6 Rachet Wheel Base 26 Trigger
7 Wheel 27 LED
8 Wheel Tray 28 Bolt
9 Pull Spring 29 Wheel
10 Wheel Brace 30 Pull Spring
11 Rachet Wheel Bearing 31 Bolt
12 Pedestal Bearing 32 Bolt
13 Gear 33 Pawl
14 Gear Shaft 34 Rod
15 Drive Wheel 35 7/8” Socket
16 Motor Gear Wheel 36 13/16” Socket
17 Gear Box Lid 37 3/4” Socket
18 Bolt 38 11/16” Socket
19 Right Housing 39 Bolt
20 Motor 40 Battery Adapt. Cable
PLEASE READ THE FOLLOWING CAREFULLY
THE MANUF ACTURER AND/OR DISTRIBUT OR HAS PRO VIDED THE PARTS DIAGRAM IN THIS
MANUAL AS A REFERENCE TOOL ONLY. NEITHER THE MANUFACTURER NOR DISTRIBUTOR MAKES ANY REPRESENTA TION OR W ARRANTY OF ANY KIND TO THE BUYER THA T HE
OR SHE IS QUALIFIED TO MAKE ANY REPAIRS TO THE PRODUCT OR THAT HE OR SHE IS
QUALIFIED TO REPLACE ANY PARTS OF THE PRODUCT. IN FACT, THE MANUFACTURER
AND/OR DISTRIBUTOR EXPRESSLY ST A TES THA T ALL REPAIRS AND P ARTS REPLA CEMENTS
SHOULD BE UNDERTAKEN BY CERTIFIED AND LICENSED TECHNICIANS AND NO T BY THE
BUYER. THE BUYER ASSUMES ALL RISK AND LIABILITY ARISING OUT OF HIS OR HER
REPAIRS T O THE ORIGINAL PRODUCT OR REPLACEMENT P AR TS THERET O , OR ARISING
OUT OF HIS OR HER INSTALLATION OF REPLACEMENT PARTS THERETO.
NOTE: Some parts are listed and shown for illustration purposes only and are not available
individually as replacement parts.
Page 7SKU 92349 For technical questions, please call 1-800-444-3353
Page 8

19
Assembly Drawing
23
24
18
17
16
14
13
12
11
9
10
7
8
6
5
4
32
15
29
30
31
20
28
38
22
21
25
26
27
37
33
3
2
1
35
Note: The Battery Adapter Cable (40) is not shown.
34
36
NOTE: Some parts are listed and shown for illustration purposes only, and are not
available individually as replacement parts.
39
Page 8SKU 92349 For technical questions, please call 1-800-444-3353
 Loading...