

Page 1
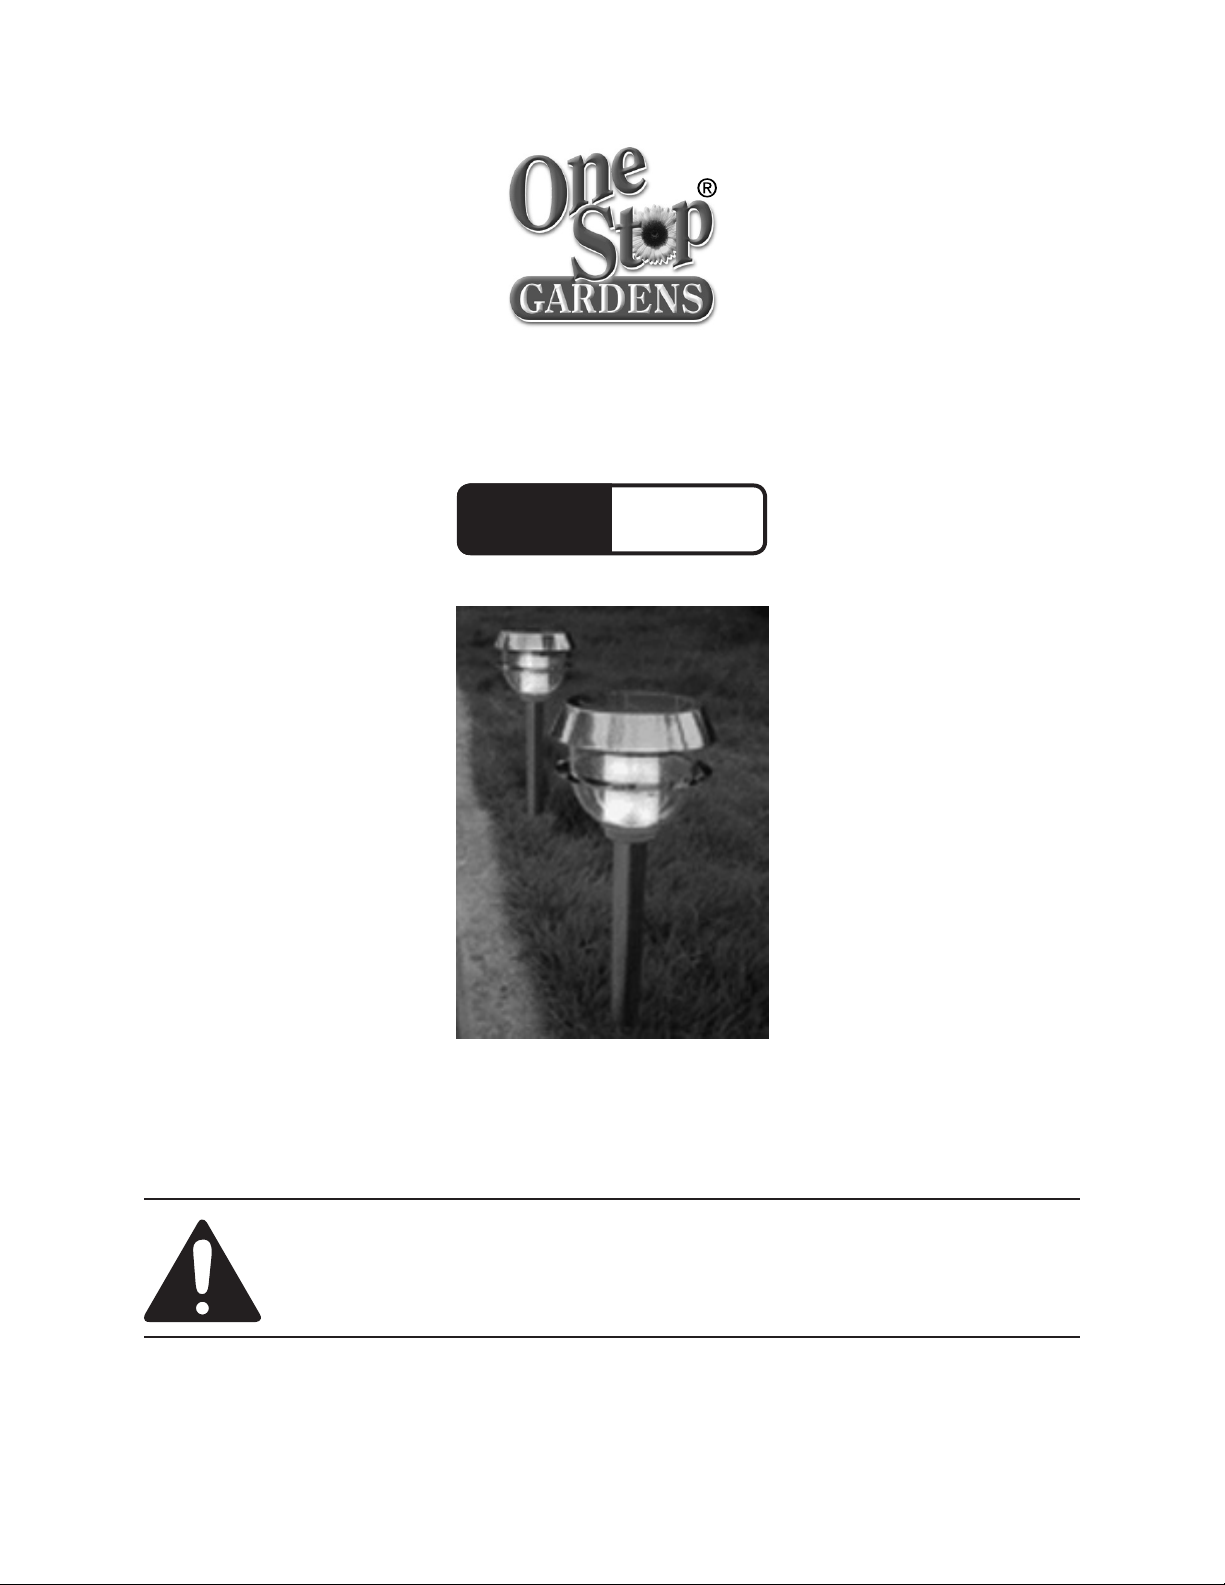
STAINLESS STEEL SOLAR
Model
92122
LIGHTS
SET UP AND OPERATING INSTRUCTIONS
Diagrams within this manual may not be drawn proportionally.
Due to continuing improvements, actual product may differ slightly from the product described herein.
Distributed exclusively by Harbor Freight Tools®.
3491 Mission Oaks Blvd., Camarillo, CA 93011
Visit our website at: http://www.harborfreight.com
Read this material before using this product.
Failure to do so can result in serious injury.
SAVE THIS MANUAL.
Copyright© 2007 by Harbor Freight Tools®. All rights reserved. No portion of this
manual or any artwork contained herein may be reproduced in any shape or form
without the express written consent of Harbor Freight Tools.
For technical questions or replacement parts, please call 1-800-444-3353.
Page 2
SAVE THIS MANUAL
Keep th i s manua l for the safety
warnings and precautions, assem b ly,
operating, inspection, maintenance and
cleaning procedures. Write the product’s
serial number in the back of the manual near
the assembly diagram (or month and year of
purchase if product has no number). Keep
this manual and the receipt in a safe and dry
place for future reference.
product that cannot be controlled
with the switch is dangerous and
must be repaired.
Disconnect the battery before b.
storing the Lights.
Maintain the Lights. Check for c.
misalignment or breakage of parts
and any other condition that may
affect operation. If damaged, have
the Light repaired before use.
General Safety Rules
WARNING! Read all instructions
Failure to follow all instructions
listed below may result in injury.
SAVE THESE INSTRUCTIONS
Work area safety1.
Keep work area clean and well a.
lit. Cluttered or dark areas invite
accidents.
Keep children and bystanders b.
away while servicing the Lights.
Distractions can cause you to
lose control.
Personal safety2.
Stay alert, watch what you are a.
doing and use common sense
when installing the Lights. Do not
install while you are tired or under
the inuence of drugs, alcohol or
medication.
Use safety equipment. Always b.
wear eye protection. Safety
equipment such as dust mask and
work gloves used for appropriate
conditions will reduce personal
injuries.
Service5.
Have your Lights serviced by a a.
qualied repair person using only
identical replacement parts.
Specic Safety Rules
Maintain labels and nameplates on 1.
the tool. These carry important safety
information. If unreadable or missing,
contact Harbor Freight Tools for a
replacement.
This product is not a toy. Keep it out 2.
of reach of children.
Dispose of batteries in a manner 3.
appropriate to their type according
to State, Local and Federal laws and
regulations.
The warnings, precautions, 4.
and instructions discussed in
this instruction manual cannot
cover all possible conditions and
situations that may occur. It must
be understood by the operator that
common sense and caution are
factors which cannot be built into this
product, but must be supplied by the
operator.
Light use and care3.
Do not use the Light if the switch a.
does not turn it on and off. Any
SAVE THESE
INSTRUCTIONS.
Page 2SKU 92122 For technical questions, please call 1-800-444-3353.
Page 3

SPECIFICATIONS
Battery Ni-cd, AA 1.2V, 600mAh (included)
Included 2 Stainless Steel Solar Lights
UNPACKING
When unpacking, check to make sure
that the item is intact and undamaged. If
any parts are missing or broken, please call
Harbor Freight Tools at the number shown
on the cover of this manual as soon as
possible.
best results, the Lights should be
placed in an area that receives at
least eight hours of direct sunlight per
day.
Place a Spike onto a Connector and 4.
then into the Shaft.
Push the unit rmly into the ground. 5.
The Solar Light can be placed on the 6.
Shaft now.
Repeat these steps to assemble the 7.
other light.
INITIAL SET UP
INSTRUCTIONS
Read all warning sections at the
beginning of this manual
including all text under
subheadings therein before set
up or use of this product.
Note: For additional information regarding
the parts listed in the following pages,
refer to the Assembly Diagram near
the end of this manual.
Unscrew the lens of the Head 1.
Fixture. Remove the four screws on
the bottom of the Fixture. Open the
battery compartment to verify that
battery polarity is correct. Be careful
not to pull on the wires connected to
the casing, damaging the wires will
render the unit dysfunctional. Close
the unit and replace the screws.
OPERATING INSTRUCTIONS
Allow the Light to charge for a full 1.
day in direct sunlight, before rst use.
Note: The on/off switch must be in
the ON position when charging.
The Solar Light will turn on 2.
automatically when it gets dark, and
provide illumination for up to eight
hours.
Do not install the Solar Light near a 3.
nighttime light source. A bright light
source will prevent the Light from
turning on at night.
To store the unit, turn off the Light 4.
and disconnect its power supply after
use. Clean, then store the Light
indoors out of children’s reach.
Push the power switch to the ON 2.
position. Replace the lens.
Examine the area where the Solar 3.
Light is to be placed. Make sure
there are no utility lines beneath the
surface that might be damaged. For
Page 3SKU 92122 For technical questions, please call 1-800-444-3353.
Page 4

MAINTENANCE AND SERVICING
Procedures not specically
explained in this manual
must be performed only by a
qualied technician.
Cleaning, Maintenance, and Lubrication
BEFORE EACH USE,1. inspect the
general condition of the tool. Check
for loose screws, misalignment or
binding of moving parts, cracked or
broken parts, damaged electrical
wiring, and any other condition that
may affect its safe operation.
shadow from trees, buildings, etc.
Make sure the lights are located in
an unobstructed location where they
can receive 8 hours of sunlight a day.
Allow the battery to recharge for 2 full,
sunny days. Overcast days will limit
performance.
Dirty solar panel (on top of the Cap). A 3.
dirty solar panel will not allow the unit
to charge and will shorten the life of the
battery. Use a soft, moist cloth to clean
the solar panel. Do not use bleaches or
detergents.
NO LIGHT:
Periodically, 2. clean external surfaces
of the Light with clean, moist cloth.
For best operation, clean the Solar
Panel on the top of the Cap, so that
the battery will charge efciently.
Change the battery every year.3.
Dispose of the battery in a manner 4.
consistent with State, Local and
Federal laws and regulations. Check
with your local hazardous waste
disposal facility for instructions.
TROUBLESHOOTING
The performance of solar light depends
on the amount of direct sunlight available
during daylight hours. If your solar light
does not operate properly, refer to possible
reasons listed below:
DIM LIGHT:
The On/Off switch contacts may 1.
be poor. Turn the switch on and off
several times to alleviate the problem.
The battery may be low or under-2.
charged. Shadows will prevent the
solar panel from fully absorbing
sunlight, such as tree branches, any
The On/Off switch may be in the OFF 1.
position. Turn it to the ON position.
An external light source (i.e. streetlight, 2.
porch light, ood light) may prevent
the light from automatically turning on
at night. Reposition the Solar Light.
Ensure the photocell of the solar light is
not affected by any other light sources.
Battery may need recharging. Check 3.
the battery to ensure it is connecting
with the terminals.
PLEASE READ THE FOLLOWING
CAREFULLY
The manufacturer and/or distributor has provided
the parts list and assembly diagram in this manual
as a reference tool only. Neither the manufacturer
or distributor makes any representation or warranty
of any kind to the buyer that he or she is qualied
to make any repairs to the product, or that he
or she is qualied to replace any parts of the
product. In fact, the manufacturer and/or distributor
expressly states that all repairs and parts
replacements should be undertaken by certied
and licensed technicians, and not by the buyer.
The buyer assumes all risk and liability arising
out of his or her repairs to the original product or
replacement parts thereto, or arising out of his or
her installation of replacement parts thereto.
Page 4SKU 92122 For technical questions, please call 1-800-444-3353.
Page 5

PARTS LIST
Part Description Qty
1 Fixture 2
2 Shaft 2
3 Connector 2
4 Spike 2
ASSEMBLY DIAGRAM
Record Product’s Serial Number Here:
Note: If product has no serial number, record month and year of purchase instead.
Note: Some parts are listed and shown for illustration purposes only, and are not
available individually as replacement parts.
Page 5SKU 92122 For technical questions, please call 1-800-444-3353.
 Loading...