

Page 1
Owner’s Manual & Safety Instructions
Save This Manual Keep this manual for the safety warnings and precautions, assembly, operating,
inspection, maintenance and cleaning procedures. Write the product’s serial number in the back of the manual
near the assembly diagram (or month and year of purchase if product has no number).
Keep this manual and the receipt in a safe and dry place for future reference.
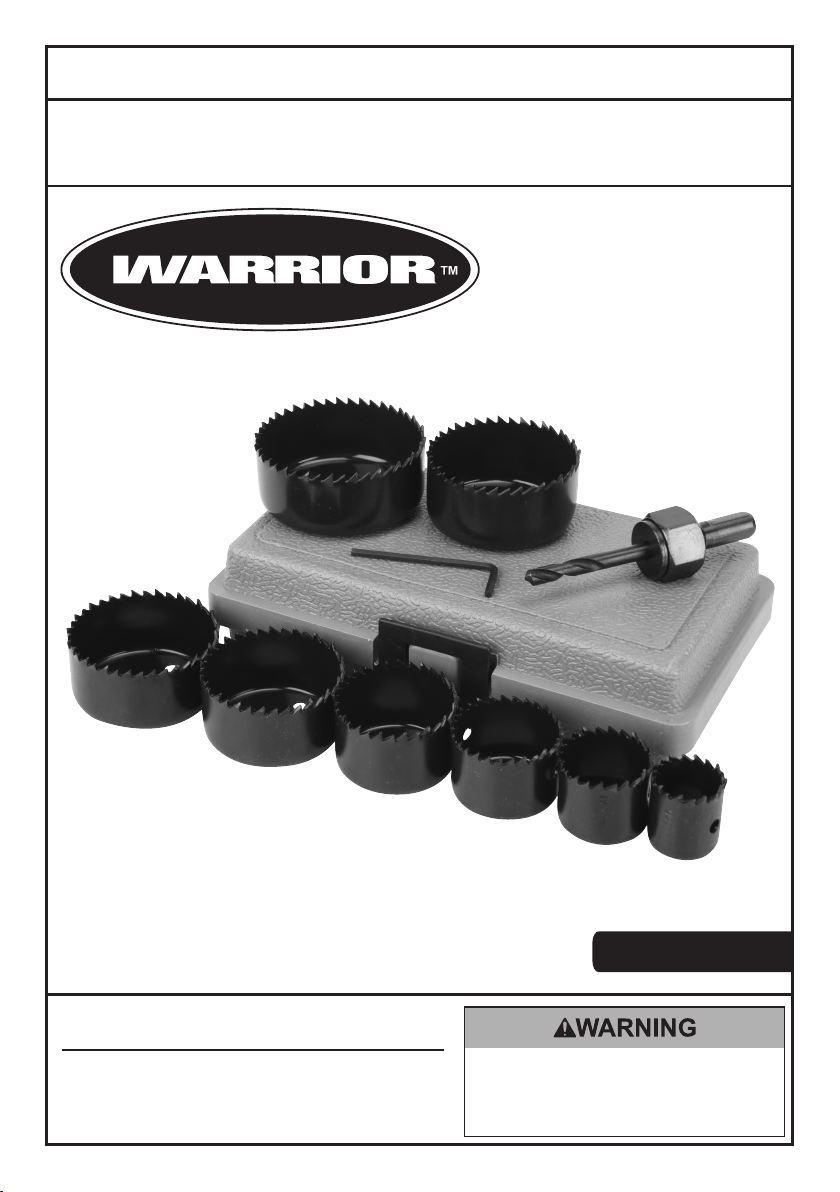
11 PIECE CARBON
STEEL HOLE SAW SET
Visit our website at: http://www.harborfreight.com
Email our technical support at: tech@harborfreight.com
When unpacking, make sure that the product is intact
and undamaged. If any parts are missing or broken,
please call 1-800-444-3353 as soon as possible.
Copyright© 2011 by Harbor Freight Tools®. All rights reserved.
No portion of this manual or any artwork contained herein may be reproduced in
any shape or form without the express written consent of Harbor Freight Tools.
Diagrams within this manual may not be drawn proportionally. Due to continuing
improvements, actual product may differ slightly from the product
described herein. Tools required for assembly and service may not be included.
ITEM 68114 69070
Read this material before using this product.
Failure to do so can result in serious injury.
SAVE THIS MANUAL.
Page 2

Specications
Type Carbon Steel
Piece Count 11
Saw Sizes
1″, 1-1/4″, 1-1/2″, 1-3/4″, 2″,
2-1/8″, 2-1/4″, 2-1/2″
Large Mandrel
Other Pieces
Pilot Drill Bit
Blow Molded Case
IMPORTANT SAFETY INFORMATION
1. Wear ANSI-approved safety goggles
and heavy-duty work gloves
during setup and use.
2. Set contains sharp blades.
Keep away from children.
3. Use correct size arbor for
selected Hole Saw.
4. Verify drill’s chuck is in good
condition and ts securely.
5. Do not use excessive pressure
when cutting a hole.
6. Use as intended only;
do not modify tools.
7. Inspect before every use; do not
use if parts are loose or damaged.
SAVE THESE INSTRUCTIONS.
8. Use both hands when drilling and
keep blade at 90° to workpiece.
9. Store saw blades in Case in secure
location away from children.
10. Read and adhere to all safety
warnings and operating instructions
of drill used with Set.
11. The warnings, cautions, and
instructions discussed in this
instruction manual cannot cover all
possible conditions and situations
that may occur. It must be understood
by the operator that common sense
and caution are factors which cannot
be built into this product, but must
be supplied by the operator.
Page 2 For technical questions, please call 1-800-444-3353. Item 68114/69070
Page 3

Setup
TO PREVENT INJURY:
Wear heavy-duty work gloves and ANSI-approved safety goggles
during setup and whenever handling the Hole Saws.
1. Select the desired size Hole Saw.
2. Unthread the Mandrel Nut from
the back of the Mandrel.
3. Insert the Mandrel through the center of
the Hole Saw, and secure in place using
the Mandrel Nut.
Make sure the Hole Saw is held
securely by the Mandrel Nut.
4. Open Jaws of Drill Chuck
(sold separately).
5. Place the Mandrel Shaft
completely into the Chuck and
securely tighten the Chuck.
Pilot
Drill Bit
Set
Screw
Mandrel
Hole
Saw
Mandrel
Nut
Page 3For technical questions, please call 1-800-444-3353.Item 68114/69070
Page 4

Operation
1. Holding the drill at 90° to the workpiece,
set the Hole Saw on the workpiece.
2. Press the drill’s trigger to turn it on.
3. If the drill is a variable speed type,
cut the workpiece slowly until a circle
groove is made in the workpiece.
Then cut faster.
4. When the hole is cut, release the
trigger and wait for the Hole Saw
to come to a complete stop before
5. When nished, remove
the Hole Saw from drill’s chuck.
6. Remove Hole Saw from the Mandrel
and clean off Hole Saw with a cloth.
7. Store the Hole Saws inside case,
out of reach of children.
8. Replace the Pilot Drill Bit if
dull or broken.
Make sure the Bit is securely held
in place after being reinstalled.
removing it from the workpiece.
Limited 90 Day Warranty
Harbor Freight Tools Co. makes every effort to assure that its products meet high quality
and durability standards, and warrants to the original purchaser that this product is free from
defects in materials and workmanship for the period of 90 days from the date of purchase.
This warranty does not apply to damage due directly or indirectly, to misuse, abuse, negligence
or accidents, repairs or alterations outside our facilities, criminal activity, improper installation,
normal wear and tear, or to lack of maintenance. We shall in no event be liable for death,
injuries to persons or property, or for incidental, contingent, special or consequential damages
arising from the use of our product. Some states do not allow the exclusion or limitation of
incidental or consequential damages, so the above limitation of exclusion may not apply to you.
THIS WARRANTY IS EXPRESSLY IN LIEU OF ALL OTHER WARRANTIES, EXPRESS OR
IMPLIED, INCLUDING THE WARRANTIES OF MERCHANTABILITY AND FITNESS.
To take advantage of this warranty, the product or part must be returned to us with transportation
charges prepaid. Proof of purchase date and an explanation of the complaint must accompany
the merchandise. If our inspection veries the defect, we will either repair or replace
the product at our election or we may elect to refund the purchase price if we cannot readily
and quickly provide you with a replacement. We will return repaired products at our expense,
but if we determine there is no defect, or that the defect resulted from causes not within
the scope of our warranty, then you must bear the cost of returning the product.
This warranty gives you specic legal rights and you may also
have other rights which vary from state to state.
3491 Mission Oaks Blvd. • PO Box 6009 • Camarillo, CA 93011 • (800) 444-3353
 Loading...