

Page 1
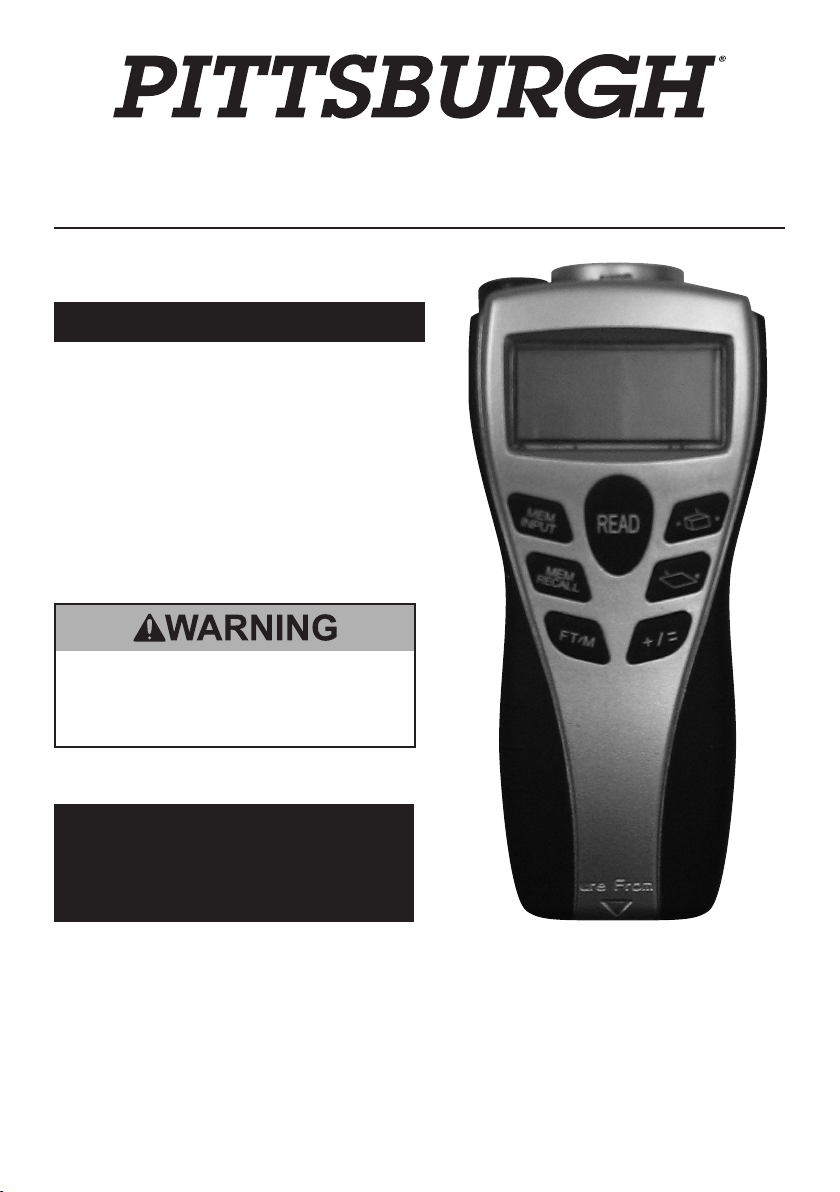
Laser Range Finder
Item 67802
INSTRUCTIONS AND
PRECAUTIONS
Visit our website at:
http://www.harborfreight.com
Read this material before using
this product. Failure to do so
can result in serious injury.
SAVE THIS MANUAL.
When unpacking, make sure that the
product is intact and undamaged.
If any parts are missing or broken,
please call 1‑800‑444‑3353
as soon as possible.
Copyright© 2011 by Harbor Freight Tools®. All rights reserved. No portion of this document
or any artwork contained herein may be reproduced in any shape or form without the
express written consent of Harbor Freight Tools. Diagrams within this document may not be
drawn proportionally. Due to continuing improvements, actual product may differ slightly from
the product described herein. Tools required for assembly and service may not be included.
For technical questions, please call 1‑800‑444‑3353.
Page 2
Specications
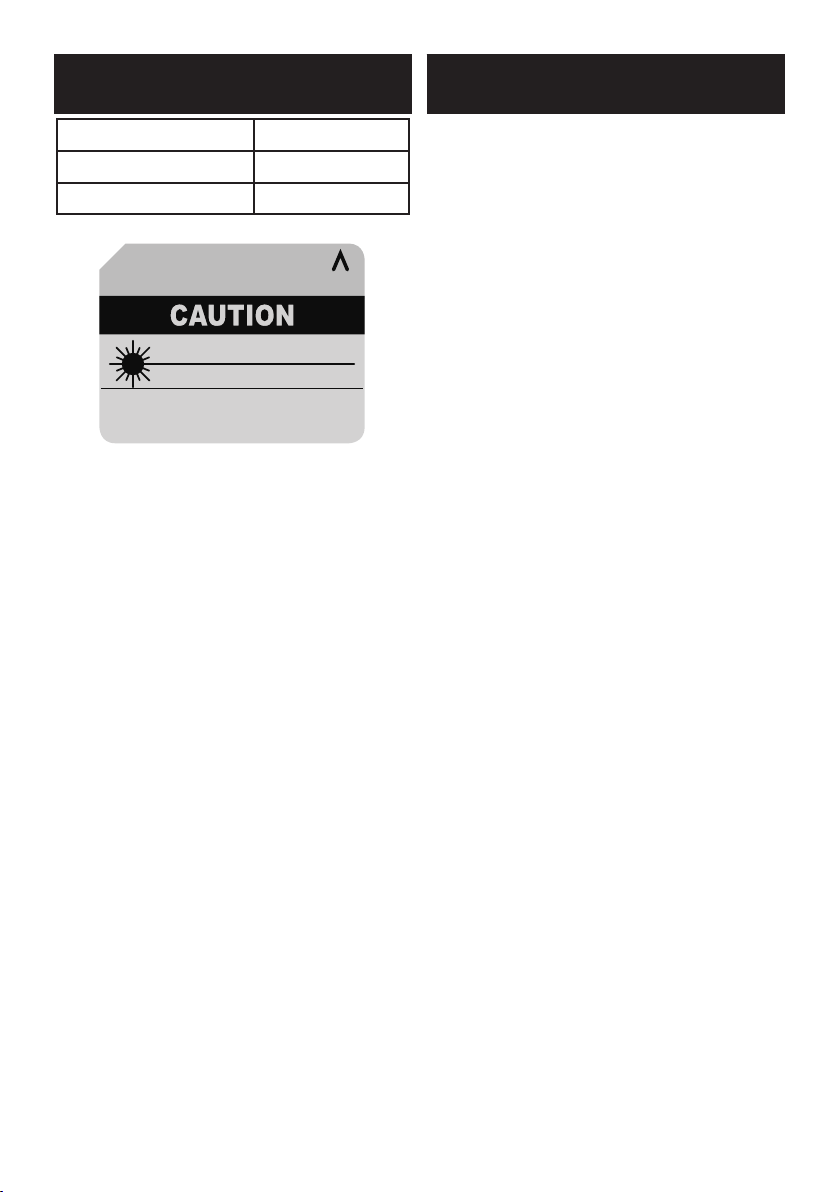
LASER LIGHT
DO NOT STARE INTO BEAM
Max. Output: 1 mW, Wavelength: 650 nm
CLASS II LASER PRODUCT
This product complies with 21 CFR 1040.10 and 1040.11
Laser Diode Mfr: Sean & Stephen Corp.,
4F, NO3, Ln. 335, Sec 4, Hsin-Yi Rd., Taipen, China
Manufacture Date: ___________ , __________________
Important Safety Information
Working Range 32′
Accuracy ±2%
Battery 1x 9V
Product Label
Laser light is emitted from this aperture.
RANGE FINDER ITEM 67802
AVOID EXPOSURE
1. Never attach or use any other form
of optical device with this product.
Use as intended only.
2. Do not modify in any way as
this may result in hazardous
radiation exposure.
3. This product is not a toy.
Do not allow children to play
with or near this item.
4. Inspect before every use; do not
use if parts are loose or damaged.
5. Maintain product labels and
nameplates. These carry important
safety information. If unreadable
or missing, contact Harbor Freight
Tools for a replacement.
Page 2 For technical questions, please call 1‑800‑444‑3353. SKU 67802
Page 3

Battery Installation
/ Replacement
Before rst use or if the Battery Indicator
shows empty, then replace the battery:
1. Slide the Battery Cover down
and off the back of the Meter.
2. Remove the old connected Battery.
3. Disconnect the old Battery.
Dispose of it properly or
recharge if rechargeable.
4. Reconnect new 9V Battery.
It will properly attach only one way.
5. Insert connected Battery
into compartment.
6. Slide the Battery Cover closed.
Page 3For technical questions, please call 1‑800‑444‑3353.SKU 67802
Page 4

Components
READ
MEM
INPUT
MEM
RECALL
FT / M
+/=
1
1. Laser Opening:
Laser light comes from this opening
during use. Point away from eyes.
2. Sensor:
This measures the location
2
aimed at with the laser.
Do not cover during use.
3. Display:
3
4
Measure From Here
5
Figure A: Components
a
e
a. Area/Volume:
Shows whether area or volume
is being measured, and
what part is being measured
(Length, Width, or Height).
b. Addition:
A + here means that the
next measurement will be
added to the current one.
c. Current Result:
The distance last measured or
currently being measured.
d. Battery Indicator:
The estimated battery charge level.
See “Battery Installation /
Replacement” on page 3.
e. Memory:
MEM means a measurement
is stored in memory.
f. Total Result:
Total area, volume, or
result of addition.
b
c
f
Figure B: Display
d
Page 4 For technical questions, please call 1‑800‑444‑3353. SKU 67802
Page 5

4. Buttons:
a
b e
MEM
INPUT
READ
c f
MEM
RECALL
d g
FT / M
+/=
Figure C: Buttons
a. Read:
Takes a measurement.
b. MEM Input:
Stores current measurement
to memory.
c. MEM Recall:
Displays stored
measurement from memory,
then clears it from memory.
d. FT / M:
Toggles between foot and
meter units of measure.
5. Measurement Base:
Rest this base against the surface
you want to measure from
before taking a measurement.
e.
Volume calculation mode.
f.
Area calculation mode.
g. + / =
Toggles addition mode.
Page 5For technical questions, please call 1‑800‑444‑3353.SKU 67802
Page 6

Instructions
Read the ENTIRE
IMPORTANT SAFETY
INFORMATION section
at the beginning of this
document before set up
or use of this product.
Distance Measurement
1. Place measurement base against
object to measure from.
2. Point at target and press READ.
Laser will show only while
READ is pressed.
3. For a continuous measurement,
press and hold READ while moving.
4. Each measurement erases
the previous one.
5. Measured distance is displayed as
Current Result at top of the Display.
6. Unit automatically turns off after
30 seconds of inactivity.
7. TIPS:
• There must be no objects in
the measurement path.
• For accuracy, choose a target
that is at and large with hard
surfaces or put a piece of
cardboard in front of the target.
• The meter will only measure up
to glass, but not through it.
Addition
Note: Addition can be used for
distance, area, or volume
measurements.
However, those measurements
are different units (for example,
feet, square feet, and cubic feet)
and cannot be added together.
1. Take rst measurement
as explained under
“Distance Measurement”.
2. Press + / = button.
A + will appear above and to
the left of the Current Result.
3. Take another measurement
as explained under
“Distance Measurement”.
4. Press + / = button again.
Combined measurement is
displayed as Total Result at
the bottom of the display.
5. Steps 3 and 4 can be repeated
to add more measurements.
Page 6 For technical questions, please call 1‑800‑444‑3353. SKU 67802
Page 7

Memory
Note: Memory can be used for
distance, area, or volume
measurements.
1. Press MEM INPUT to store
displayed Total Result in memory.
If only a Current Result is
displayed, it will be stored instead.
MEM will appear on Display.
2. Press MEM RECALL later to
display stored memory and clear it.
MEM will disappear from Display.
3. MEM RECALL can be used in
steps 1 or 3 of “Addition” instead
of taking new measurements.
Area/Volume
Calculation
Note: Area/volume calculation
cannot be exited before
calculation is complete.
1. Press button to enter
area calculation mode or
press button to enter
volume calculation mode.
2. The L will blink.
Take measurement for
length as explained under
“Distance Measurement”.
3. Then, the W will blink.
Take measurement for
width as explained under
“Distance Measurement”.
4. For area calculation, the H
will blink. Take measurement
for height as explained under
“Distance Measurement”.
5. The area/volume is displayed
as Total Result at the
bottom of the display.
6. The Current Result will display
the last measurement taken.
Press READ briey to cycle
through the measurements taken.
7. Press or button to take
another area or volume calculation.
8. Press and hold READ button
for a few seconds to exit
area/volume calculation.
Page 7For technical questions, please call 1‑800‑444‑3353.SKU 67802
Page 8

Record Serial Number Here:
Note: If product has no serial number, record
month and year of purchase instead.
Note: Replacement parts are not available for this item.
3491 Mission Oaks Blvd. • PO Box 6009 • Camarillo, CA 93011 • (800) 444-3353
 Loading...