

Page 1
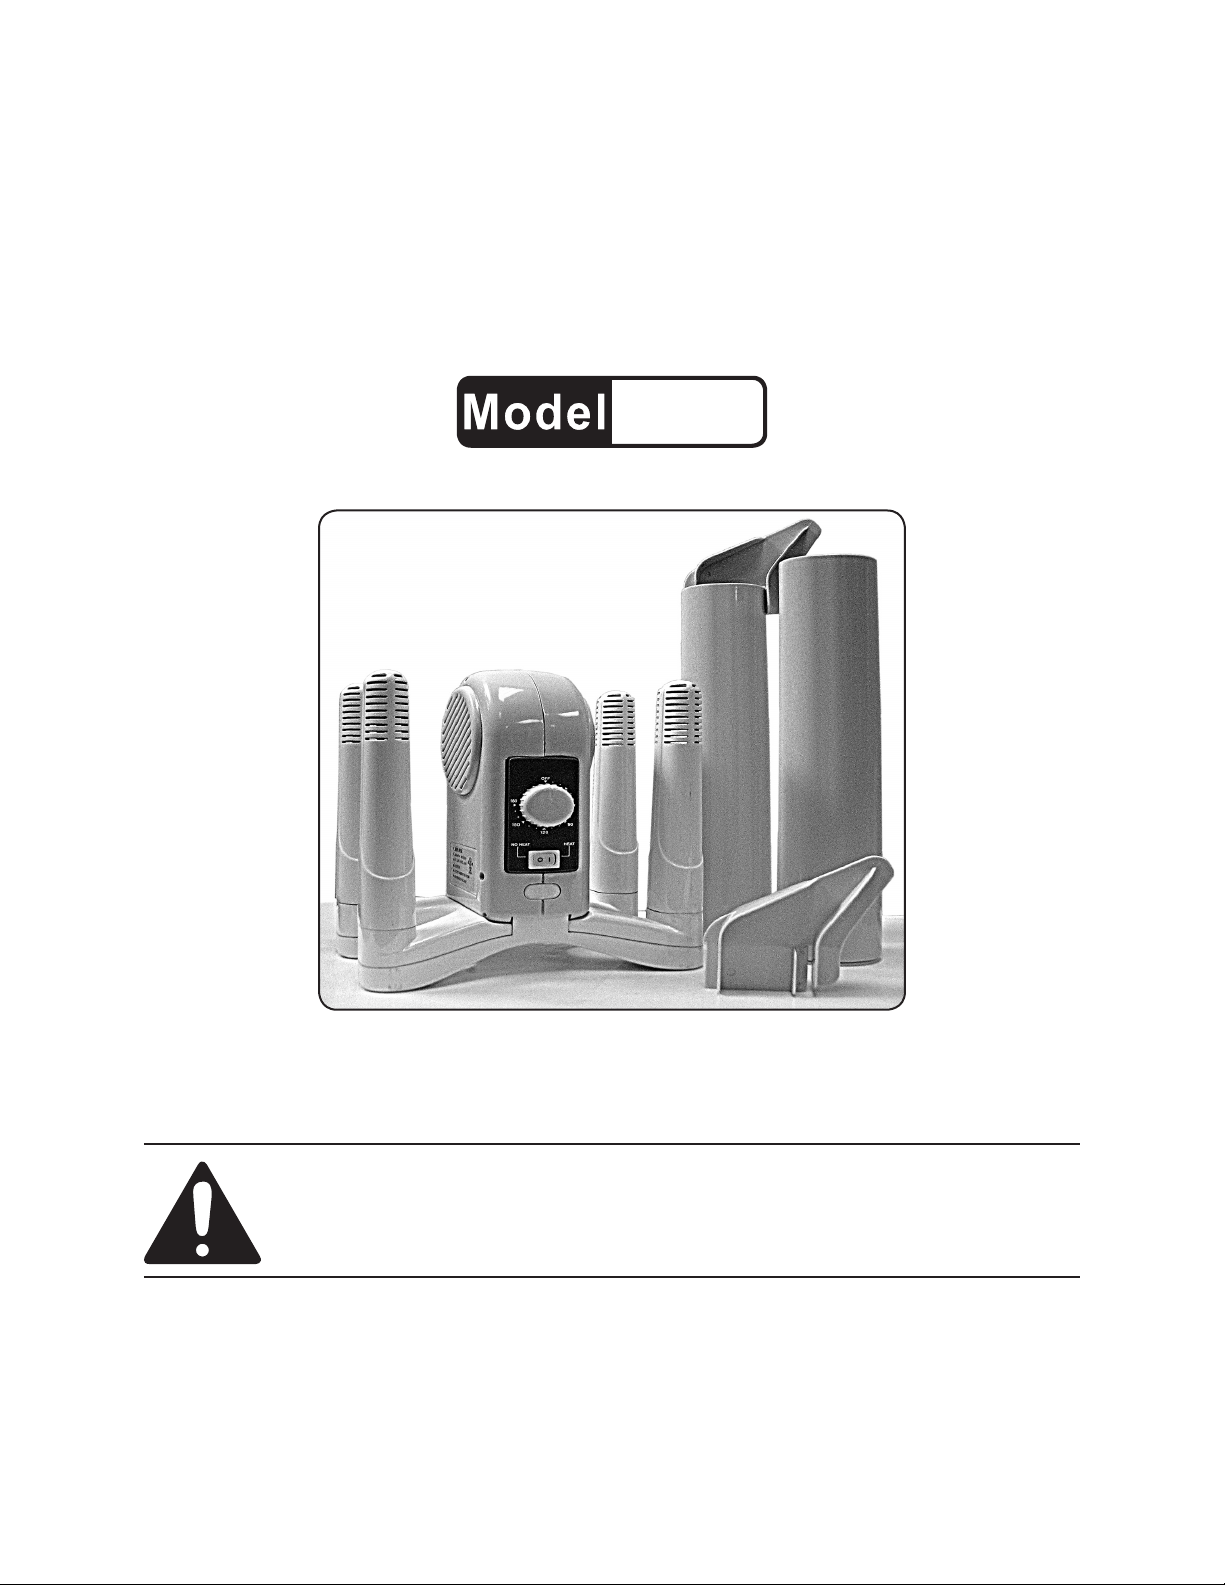
FOUR POST
BOOT & GLOVE DRYER
67326
SET UP AND OPERATING INSTRUCTIONS
Distributed exclusively by Harbor Freight Tools®.
3491 Mission Oaks Blvd., Camarillo, CA 93011
Visit our website at: http://www.harborfreight.com
Read this material before using this product.
Failure to do so can result in serious injury.
SAVE THIS MANUAL.
Copyright© 2009 by Harbor Freight Tools®. All rights reserved. No portion of this manual or any artwork
contained herein may be reproduced in any shape or form without the express written consent of
Harbor Freight Tools. Diagrams within this manual may not be drawn proportionally. Due to continuing
improvements, actual product may differ slightly from the product described herein. Tools required for
assembly and service may not be included.
For technical questions or replacement parts, please call 1-800-444-3353.
Page 2
SAVE THIS MANUAL
Keep this manual for the safety
warnings and precautions, assembly,
operating, inspection, maintenance and
cleaning procedures. Write the product’s
serial number in the back of the manual
near the assembly diagram (or month
and year of purchase if product has no
number). Keep this manual and the
receipt in a safe and dry place for future
reference.
Safety Symbols
NOTICE is used to
address practices
not related to personal injury.
CAUTION, without
the safety alert
symbol, is used to address
practices not related to
personal injury.
IMPORTANT
SAFEGUARDS
In this manual, on the labeling,
and all other information
provided with this product:
This is the safety alert
symbol. It is used to alert
you to potential personal
injury hazards. Obey all
safety messages that
follow this symbol to avoid
possible injury or death.
DANGER indicates
a hazardous
situation which, if not
avoided, will result in death or
serious injury.
WARNING
indicates a
hazardous situation which, if
not avoided, could result in
death or serious injury.
CAUTION
READ THESE INSTRUCTIONS
WARNING
To reduce the risk of re or electric 1.
shock, do not use this Dryer with
any solid-state speed control
device.
This appliance has a polarized 2.
plug (one blade is wider than
the other). To reduce the risk
of electric shock, this plug is
intended to t into a polarized
outlet only one way. If the plug
does not t fully in the outlet,
reverse the plug. If it still does not
t, contact a qualied electrician.
Do not change the plug in any way.
Do not attempt to defeat this safety
feature.
CAUTION, used
with the safety
alert symbol, indicates a
hazardous situation which, if
not avoided, could result in
minor or moderate injury.
Do not leave Dryer running while 3.
unattended.
Always connect to a GFCI 4.
protected outlet.
Read all Instructions.5.
Page 2For technical questions, please call 1-800-444-3353.SKU 67326
Page 3

Use appliance only for it’s intended 6.
use, Household use only. Do not use
outdoors.
To reduce the risk of electric shock, 7.
do not immerse the appliance in
water or other liquids.
Never yank cord to disconnect from 8.
outlet; instead, grasp plug and pull
to disconnect. Do not use cord as
a handle or pull cord around sharp
edges or corners. Keep cord away
from heated surface. Loop cord
loosely around appliance when
storing.
Always disconnect from electrical 9.
outlet when not in use.
Do not operate with a damaged cord, 10.
or if the appliance has been dropped
or damaged. To reduce the risk of
electric shock, do not disassemble
or attempt to repair the appliance,
take it to a qualied service person
for examination and repair. Incorrect
re-assembly or repair could cause
a risk of re, electric shock, or injury
to persons when the appliance
is used. Use only manufacturer’s
recommended accessories.
throw rugs, runners or similar
coverings. Arrange cord away from
trafc area and where it will not be
tripped over.
Use only in dry environments. Do not 16.
use in bathrooms, laundry area, near
sinks or other sources of water.
This product is not a toy. Keep it out 17.
of reach of children.
WARNING: Handling cord on this 18.
product will expose you to lead,
a chemical known to the State of
California to cause cancer, and birth
defects or other reproductive harm.
Wash hands after handling.
(California Health & Safety Code §
25249.5, et seq.)
The warnings, precautions, and 19.
instructions discussed in this
instruction manual cannot cover all
conditions and situations that may
occur. It must be understood by
operator that common sense and
caution are factors which cannot be
built into this product, but must be
supplied by operator.
Do not put any object into openings.11.
This appliance is not for space 12.
heating purposes.
DO NOT IMMERSE IN WATER. NE 13.
PAS IMMERGER.
Maintain labels and nameplates on 14.
the tool. If unreadable or missing,
contact Harbor Freight Tools for a
replacement.
Do not run Power Cord under 15.
carpeting. Do not cover cord with
SAVE THESE
INSTRUCTIONS.
Page 3For technical questions, please call 1-800-444-3353.SKU 67326
Page 4

SPECIFICATIONS
Electrical Requirements
Settings
HOUSEHOLD USE ONLY
UNPACKING
120 V~ / 60 Hz / 230 W
with heat, 30 W without
heat
Rocker Switch:
No Heat / Heat
Timer Switch:
Off, variable to 3
hours, with 10 minute
increments, up to 180
minutes
E224797
Control
Knob
(13)
Heat
Switch
(14)
Figure 2
When unpacking, make sure that the
item is intact and undamaged. If any parts
are missing or broken, please call Harbor
Freight Tools at 1-800-444-3353 as soon
as possible.
COMPONENTS & CONTROLS
Long Tube (2)
Wind Tube (17)
Control Knob (13)
Toe Support (3)
SET UP & OPERATION
Read the ENTIRE RULES FOR
SAFE OPERATION section at
the beginning of this manual
including all text under
subheadings therein before set
up or use of this product.
TO PREVENT
SERIOUS INJURY
FROM ACCIDENTAL
OPERATION OR ELECTRIC
SHOCK:
Before assembly, cleaning or
adjustment, make sure the
cord is unplugged, and the
unit has cooled.
Note: For additional information regarding
parts listed, refer to Assembly
Diagram at back of manual.
Heat Switch (14)
Figure 1
Short Tube (1)
(Inside Long Tube)
This dryer is for drying socks, gloves
and mittens as well as footwear and
boots.
Page 4For technical questions, please call 1-800-444-3353.SKU 67326
Page 5

Set Up
For smaller items, place the item
directly over the Wind Tube (17).
Pull the wrist area of gloves up over
the gloves to prevent them from
restricting airow.
For tall items, such as boots, set up
the two Long Tubes (2) as follows:
Slide the Short Tube (1) inside the a.
large end of the Long Tube (2).
Fit the Toe Support (3) onto the b.
remaining end of the Long Tube,
sliding the Tube edge into the slot on
the Toe Support.
To Safely balance the unit, slide the c.
Tube assemblies over diagonally
opposite Wind Tubes (17). The Short
Tube holes are off center, so check
to make sure that the thinner side
of the tube is closest to the center
of the unit so you will have plenty of
room to slide the boot in place.
When the items are dry, remove 5.
them, unplug the unit and store in a
dry location away from children.
Note: Drying time will vary depending on
temperature and humidity.
Smaller items will dry faster than
larger items.
Footwear should be dried after every
use to prevent bacteria or fungus
growth.
Slide the boot over the Tube d.
assemblies, making sure that the
entire unit is balanced so it will not
tip over during use.
Operation
Place the dryer on a at, level 1.
surface. Set the control knob to the
off position.
Plug the unit into a 120V outlet.2.
Select Heat or No Heat with the Heat 3.
Switch (14).
Set the Control Knob (13) to the 4.
desired drying time. To set the time
to less than one hour, turn the Knob
past the one hour mark, then return it
to the desired time.
Page 5For technical questions, please call 1-800-444-3353.SKU 67326
Page 6

INSPECTION AND
MAINTENANCE
TO PREVENT
SERIOUS INJURY
FROM ACCIDENTAL
OPERATION OR ELECTRIC
SHOCK:
Before appliance inspection or
maintenance, make sure the
cord is unplugged, and the unit
has cooled completely.
TO PREVENT SERIOUS INJURY
FROM APPLIANCE FAILURE:
Do not use damaged
appliances. If abnormal noise
or vibration occurs, have the
problem corrected before
further use.
BEFORE EACH USE,1. inspect
condition of the dryer. Check for loose
screws, cracked or broken parts, and
any other condition that may affect its
safe operation.
Clean regularly to prevent dust from 2.
accumulating on surfaces. Use a
damp cloth to clean, then dry before
use.
3. WARNING! If the supply cord
of this tool is damaged, it must
be replaced only by a qualied
service technician.
Page 6For technical questions, please call 1-800-444-3353.SKU 67326
Page 7

PARTS LIST
Part Description Qty
1 Short Tube 2
2 Long Tube 2
3 Toe Support 2
4 Power Cord 1
5 Right Enclosure 1
6 Power Cord Connector 1
7 Motor Bracket 1
8 Motor 1
9 Fan 1
10 Left Enclosure 1
11 Timer 1
12 Control Panel 1
13 Control Knob 1
14 Heat Switch 1
15 Heater Assembly 1
Part Description Qty
16 Wire Mesh 1
17 Wind Tube 4
18 Top Stand 1
19 Bottom Stand 1
20 Right Plate 1
21 Right Mica Plate 1
22 Heating Element 1
23 Side Mica Plate 2
24 Side Plate 2
25 Middle Mica Plate 2
26 Thermostat 1
27 Fuse 1
28 Left Mica Plate 1
29 Left Plate 1
10
9
8
7
4
5
6
3
29
28
27
26
Heater Assembly (15)
12
13
14
15
16
25
11
24
23
22
21
2
17
1
18
20
19
Page 7For technical questions, please call 1-800-444-3353.SKU 67326
Page 8

PLEASE READ THE FOLLOWING CAREFULLY
THE MANUFACTURER AND/OR DISTRIBUTOR HAS PROVIDED THE PARTS LIST AND ASSEMBLY DIAGRAM
IN THIS MANUAL AS A REFERENCE TOOL ONLY. NEITHER THE MANUFACTURER OR DISTRIBUTOR MAKES
ANY REPRESENTATION OR WARRANTY OF ANY KIND TO THE BUYER THAT HE OR SHE IS QUALIFIED
TO MAKE ANY REPAIRS TO THE PRODUCT, OR THAT HE OR SHE IS QUALIFIED TO REPLACE ANY PARTS
OF THE PRODUCT. IN FACT, THE MANUFACTURER AND/OR DISTRIBUTOR EXPRESSLY STATES THAT
ALL REPAIRS AND PARTS REPLACEMENTS SHOULD BE UNDERTAKEN BY CERTIFIED AND LICENSED
TECHNICIANS, AND NOT BY THE BUYER. THE BUYER ASSUMES ALL RISK AND LIABILITY ARISING OUT OF
HIS OR HER REPAIRS TO THE ORIGINAL PRODUCT OR REPLACEMENT PARTS THERETO, OR ARISING OUT
OF HIS OR HER INSTALLATION OF REPLACEMENT PARTS THERETO.
PARTS LIST AND ASSEMBLY DIAGRAM
Record Product’s Serial Number Here:
Note: If product has no serial number, record month and year of purchase instead.
Note: Some parts are listed and shown for illustration purposes only, and are not available individually as
replacement parts.
Page 8For technical questions, please call 1-800-444-3353.SKU 67326
 Loading...