

HANTZ + PARTNER
The Upgrade Company! www.hantz.com
Q
uii
Q
u
For Mac OS X 10.2 (Jaguar) and Mac OS X 10.3 (Panther)
Software Version 2.3
c
c
k II
k
n
n
stt
s
allll
a
G
G
uii
u
d
d
e
e
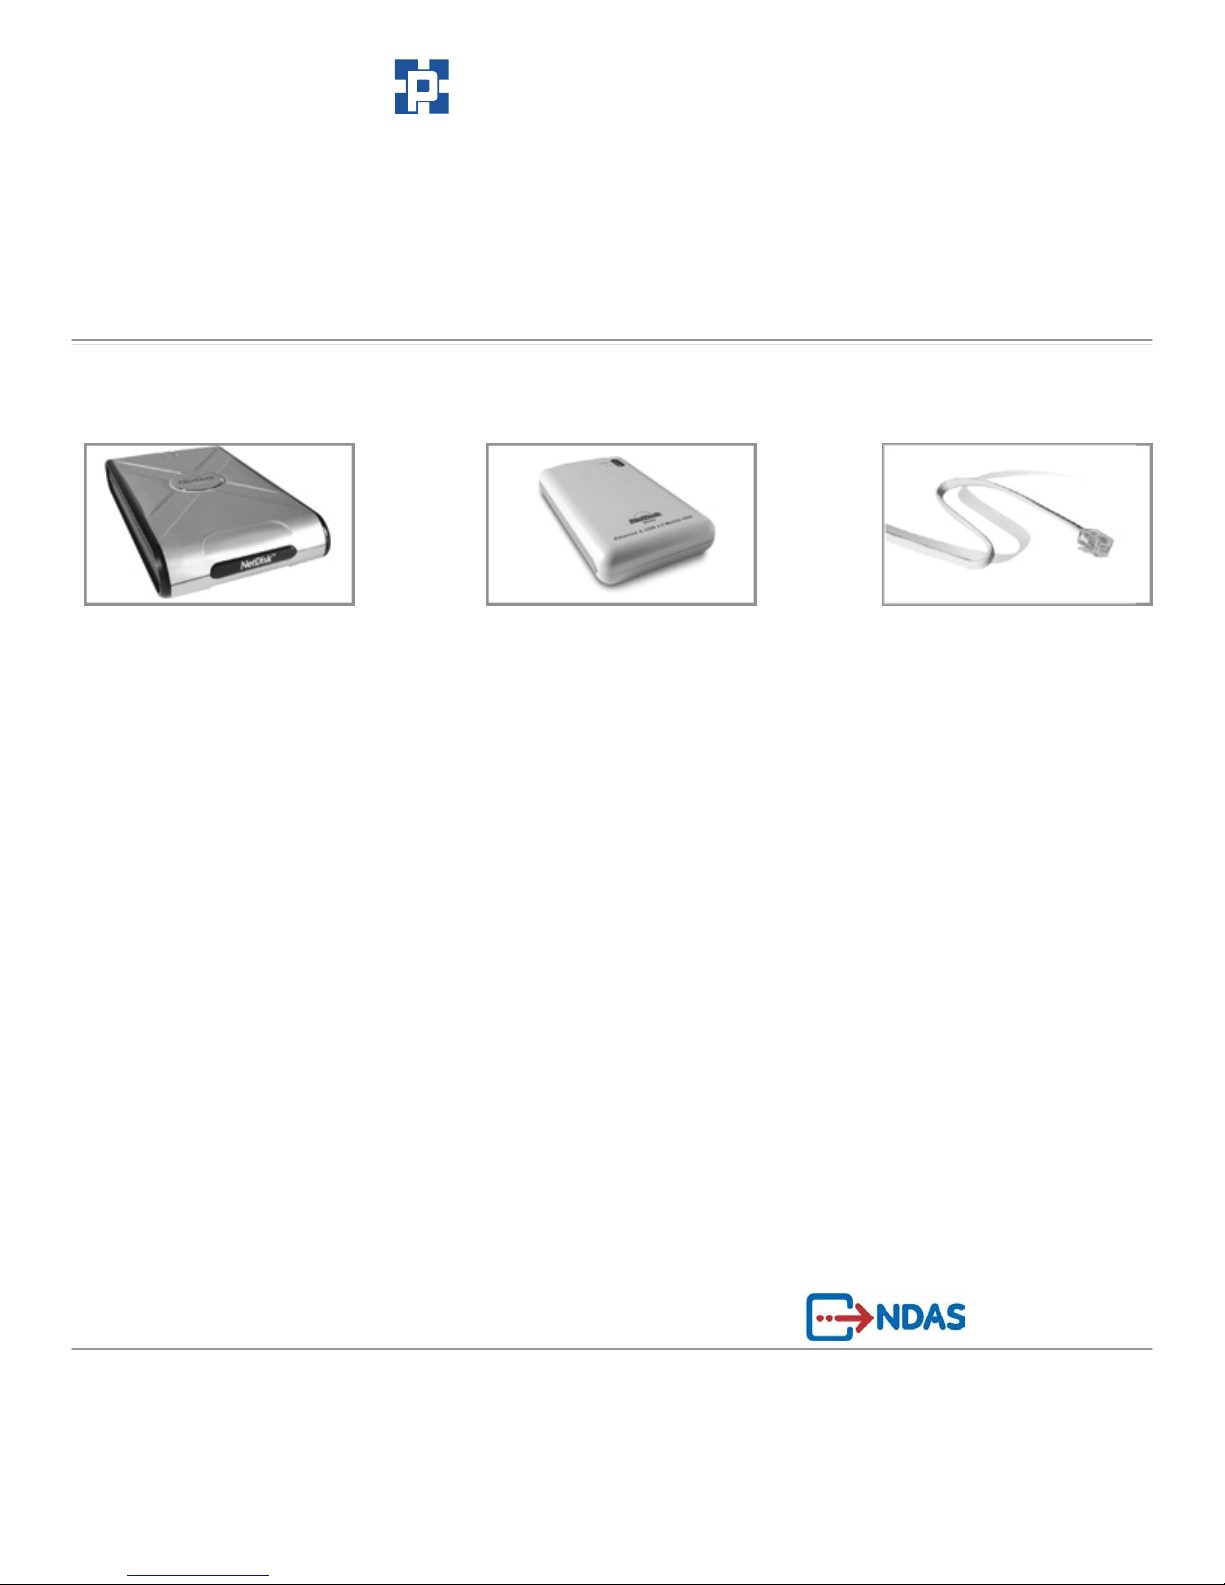
NetDisk™, NetDisk™ Mini & NetDisk™ Office
Powered by Technology
www.ximeta.de

NetDisk™ User Manual Network Direct Attached Storage / NDAS™
—————————————————————————————————————————————
HANTZ + PARTNER
The Upgrade Company! www.hantz.com
Introduction
XIMETA, Inc.
15251 Alton Parkway
Irvine, CA 92618
Software Release Statement
NetDisk™ Quick Install Guide for Mac OS X 10.2 and Mac
OS X 10.3, Software Version 2.3, Released November 2003,
Made in the U.S.A.
Trademark Statement
NetDisk™, NetDisk™ Mini, NetDisk™ Office and XIMETA
are trademarks of XIMETA, Inc., registered in the U.S.A and
other countries.
All other trademarks are the property of their respective
owners.
Copyright Statement
Copyright © 2003 – 2004 XIMETA, Inc. All rights reserved
world. Reproduction, translation, transformation or adaptation
in any manner without prior written permission of XIMETA,
Inc. is strictly prohibited.
License Statement
The software described in this document is furnished under a
license agreement. The software may be used only in
accordance with the terms of the license agreement
Warranty Statement
XIMETA, Inc. reserves the right to revise this publication and
to make changes to the content hereof without the obligation
of XIMETA, Inc. to notify any person of such revision or
changes. XIMETA, Inc. provides this publication “as is”
without warranty of any kind, either express or implied,
including but not limited to the implied warranties of
merchantability or fitness for a particular purpose.
Congratulations on your purchase of NetDisk™ /
NetDisk™ Mini / NetDisk™ Office - Network Direct
Attached Storage (NDAS™) Solution!
NetDisk™ Quick Install Guide
This NetDisk™ Quick Install Guide is intended to help you
install the product quickly and easily.
This NetDisk™ Quick Install Guide is intended for users who
need to install and support one or more NetDisk™ /
NetDisk™ Mini / NetDisk™ Office on their Personal
Computer or Ethernet Network.
This NetDisk™ Quick Install Guide assumes the user has a
basic understanding of Computers and Networks.
NetDisk™ / NetDisk™ Mini / NetDisk™ Office Models
Covered By This NetDisk™ Quick Install Guide
This NetDisk™ Quick Install Guide includes information on
the following models:
NetDisk™
NDU10-80 •
•
NDU10-120
•
NDU10-160
•
NDU10-250
NetDisk™ Mini
•
MNU10-40
NetDisk™ Office
• NOU10-250
www.XIMETA.de
—————————————————————————————————————————————
2
NetDisk™ User Manual Network Direct Attached Storage / NDAS™
—————————————————————————————————————————————
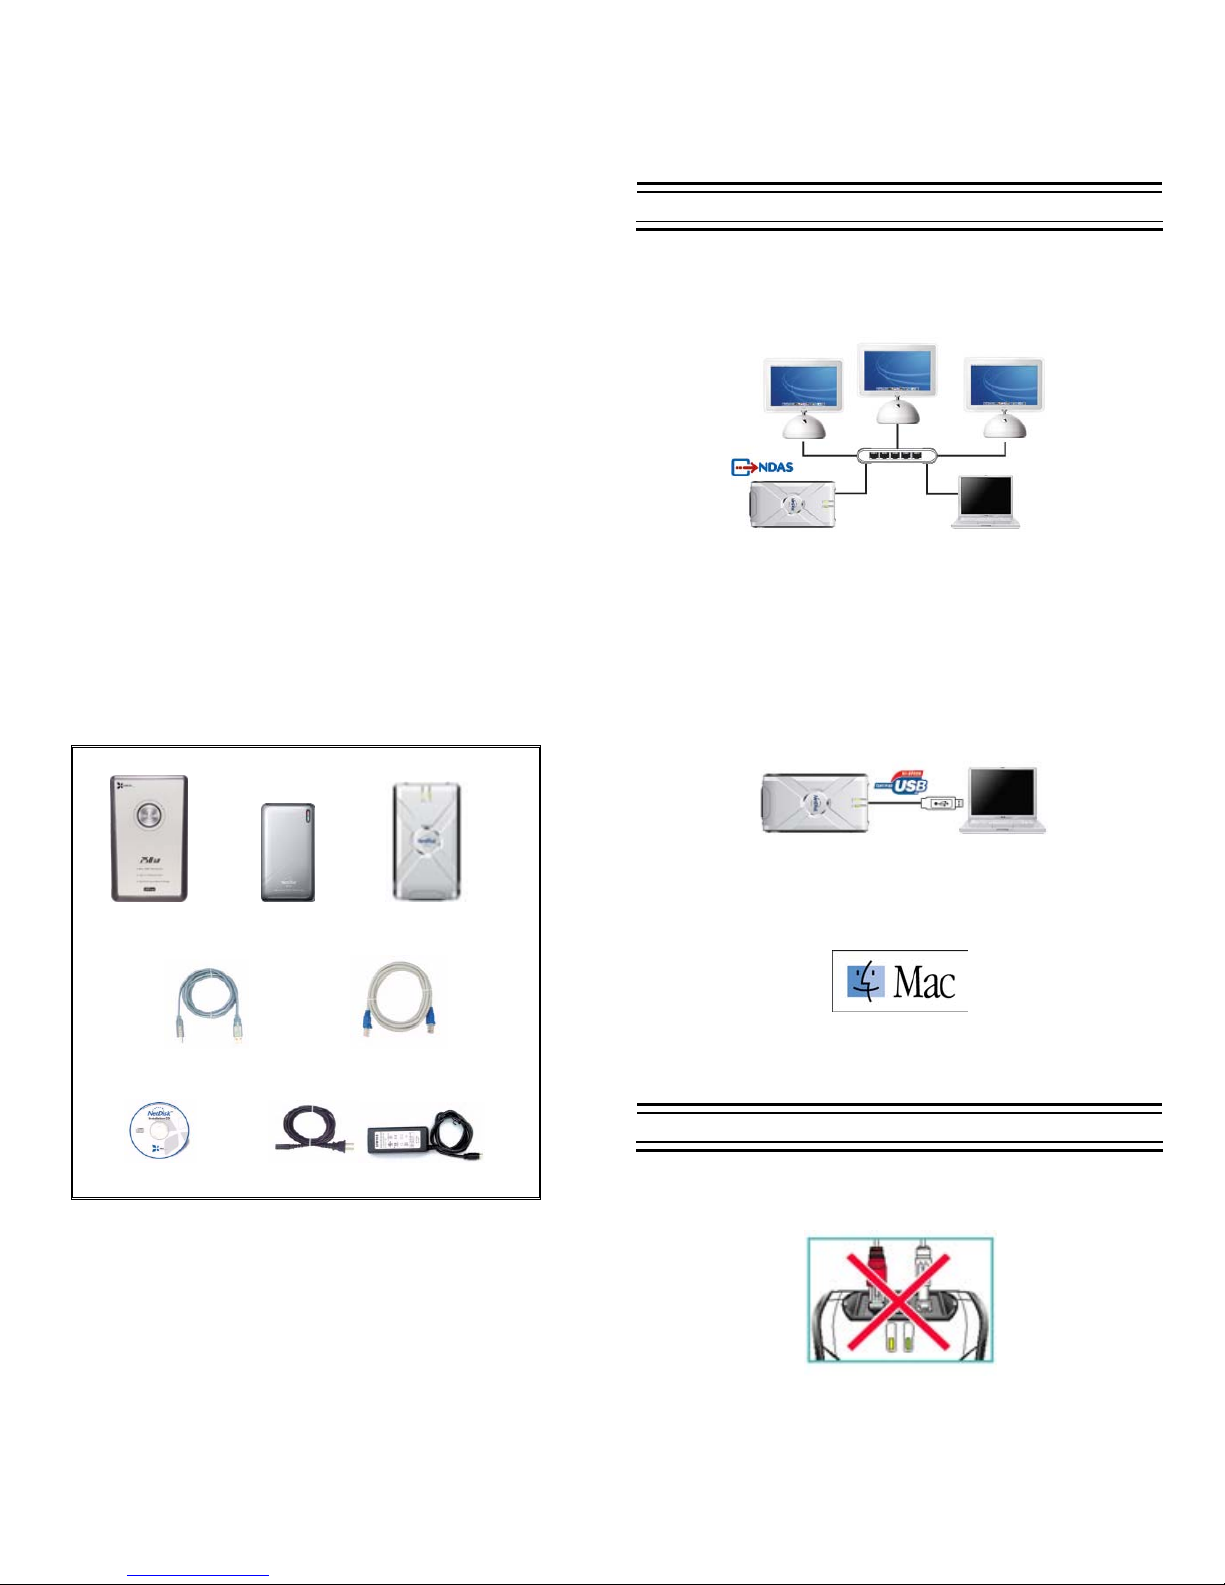
NetDisk™, NetDisk™ Mini / NetDisk™ Office Modes
NDAS™ Mode •
In NDAS™ Mode, NetDisk™ / NetDisk™ Mini /
NetDisk™ office is directly attached to a 100MB/
Full Duplex Fast Ethernet Switch or Wireless Access
Point (Wireless Access Point applies to NetDisk™
and NetDisk™ Mini only). Each user on the network
can use NetDisk™ / NetDisk™ Mini / NetDisk™
Office as if it was a local disk drive.
•
USB 2.0 Mode
In USB 2.0 Mode, NetDisk™ / NetDisk™ Mini /
NetDisk™ Office is directly attached to a computer’s
USB 2.0 Port.
Package Contents
The following items are included in the NetDisk™ /
NetDisk™ Mini / NetDisk™ Office package:
Requirements
Hardware Requirements
NDAS™ Mode
• Fast Ethernet -100BASE-T / Full Duplex / 802.3u,
for wired configuration.
• Wireless - 802.11a, 802.11b or 802.11g, for wireless
configuration.
(Wireless applies to NetDisk™ and NetDisk™ Mini
Only)
USB Mode
or or
NetDisk™ NetDisk™ NetDisk™
Office Mini
Ethernet Cable USB Cable
Installation CD Power Adapter and Power Cord
• USB 2.0
Software Requirements
Mac OS 10.2.X and Mac OS 10.3
Cable Installation
Do not connect USB cable and Ethernet cable at the •
same time.
Warning
www.XIMETA.de
—————————————————————————————————————————————
3

NetDisk™ User Manual Network Direct Attached Storage / NDAS™
—————————————————————————————————————————————
NetDisk™ Cable Installation
• Newer NetDisk™ does not have dip switches on
them.
• Newer NetDisk™ has the capability of automatically
recognizing NetDisk™ Mode without the dip switch.
In such case, please skip step 1 (dip switch setting)
from the instructions below.
NDAS™ Mode
Flip both dip switches down for NDAS™ Mode. •
Make sure the power connector is connected firmly. •
NetDisk™ Mini Cable Installation
• Turn on NetDisk™ Mini by sliding On/Off Switch to
ON position.
Connect NetDisk™ to your switch (100 Base-TX)
•
with included Ethernet cable.
• For wireless users - Connect NetDisk™ to your
wireless router or access point with included Ethernet
cable.
Make sure the power connector is connected firmly. •
NDAS™ Mode
Connect NetDisk™ Mini to your switch (100 Base-
•
TX) with included Ethernet cable.
• For wireless users - Connect NetDisk™ Mini to your
wireless router or access point with included Ethernet
cable.
•
Make sure the power connector is connected firmly.
USB Mode
•
Connect NetDisk™ Mini directly to your Computer’s
USB port using included USB cable.
NetDisk™ Office Cable Installation
USB Mode
Flip both dip switches up for USB Mode. •
Connect NetDisk™ directly to your Computer’s USB
•
port using included USB cable.
• Turn on NetDisk™ Office by sliding On-Off Switch
to ON position.
NDAS™ Mode
• Connect NetDisk™ Mini to a switch (100 Base-T)
with included Ethernet cable.
• Wireless users: Connect NetDisk™ Mini to your
wireless router or access point with included Ethernet
cable.
• Make sure the power connector is connected firmly.
www.XIMETA.de
—————————————————————————————————————————————
4

NetDisk™ User Manual Network Direct Attached Storage / NDAS™
—————————————————————————————————————————————
USB Mode
• No power adaptor needed for NetDisk™ Mini when
connected to your computer/laptop through USB.
• Connect NetDisk™ Mini directly to your Computer’s
USB Port using included USB cable.
Note: From this point forward, NetDisk™ will be used to
represent NetDisk™, NetDisk™ Mini, and NetDisk™
Office.
NetDisk™ Software Installation
Installation of NetDisk™ software is simple and easy. Insert
the included “NetDisk™ Installation CD” into your CD-ROM
Drive. Easy and simple instructions will guide you through
the installation.
• Authenticate
- Enter Admin Name and Password. Then click
OK.
• Software License Agreement
- Click Continue.
• If you want to continue installation please click
Agree. Otherwise click Disagree.
• Welcome to the NetDisk™ Installer
- Click Continue.
• Important Information
- Click Continue.
www.XIMETA.de
—————————————————————————————————————————————
• Select a Destination
- Click Continue.
5

NetDisk™ User Manual Network Direct Attached Storage / NDAS™
—————————————————————————————————————————————
• Easy Install
- Click Upgrade.
NetDisk™ needs to be formatted before you can start using it.
A warning window will appear reminding you to format
NetDisk™ before using it. Go to Formatting NetDisk™
Section for instructions.
To add a new NetDisk™ repeat Add / Register a NetDisk™
steps.
Formatting NetDisk™
• Install Software
- When software successfully finishes install, click
Close.
Once NetDisk™ software is installed, NetDisk™ needs to be
Added / Registered to your computer before you can start
using NetDisk™.
• Add / Register a NetDisk™
- Double click Macintosh HD icon on the
desktop.
- Double click Applications folder.
- Double click NDAdmin icon.
- NetDisk™Admin window will appear.
You will need to format NetDisk™ before you can start using
it. NetDisk™ comes pre-formatted in NTFS File System
Format.
• Mac OS 10.3
- To write to a NetDisk™, NetDisk™ needs to be
formatted in Mac OS, Mac OS Extended or
FAT32 File System Formats.
- Mac OS 10.3 will only allow users to read from
a NetDisk™ that is formatted in NTFS File
System Format.
• Mac OS 10.2.X
- To write to a NetDisk™, NetDisk™ needs to be
formatted in Mac OS, Mac OS Extended or
FAT32 File System Formats.
- Mac OS 10.2.X does not recognize NTFS File
System Format.
Mac OS File System Format
Once NetDisk™ registration is completed, warning
•
window will appear.
- Enter NetDisk™ ID and Write Key.
- Click Add.
www.XIMETA.de
—————————————————————————————————————————————
- Click Initialize to format/partition the
NetDisk™.
- If warning window does not appear, you can
manually access Disk Utility.
- Double click Macintosh HD icon on the
desktop.
- Double click Applications folder.
- Double click Utilities folder.
- Double click Disk Utility icon.
6

NetDisk™ User Manual Network Direct Attached Storage / NDAS™
—————————————————————————————————————————————
•
Disk Utility window will appear.
- Select a NetDisk™ from the window on the left.
- Select Erase Tab
NetDisk™ will appear on the desktop. If you partitioned the
NetDisk™, each of the partitioned sections will appear as a
hard disk on desktop.
Format
- Select a file system.
- We recommend Mac OS Extended or
default file system.
Size
- Do not need to change the size.
Click Partition button.
-
Using NetDisk™Admin
Volume Format
- Select a file system.
- We recommend Mac OS Extended or
default file system.
Name
- Name is optional.
- Click Erse button.
- Select Partition tab.
Volume Scheme
- Select number of partitions.
Name
- Name is optional.
NetDisk™Admin •
- Double click Macintosh HD icon on your
desktop.
- Double click Applications folder.
- Double click NetDisk™Admin icon.
- NetDisk™Admin window will appear.
•
NetDisk™Admin has six different functions:
- Add - Add / Register a NetDisk™ to your
computer.
- Delete - Delete a NetDisk™ from your
computer.
- Disable - Disable Reading and Writing to
NetDisk™.
- Enable RW- Enable NetDisk™ into Read/Write
Mode.
- Enable RO - Enable NetDisk™ into Read Only
Mode.
- Quit - End NetDisk™Admin.
•
NetDisk™ IDs Window
- Displays all the NetDisk™ that are registered in
the computer.
www.XIMETA.de
—————————————————————————————————————————————
7

NetDisk™ User Manual Network Direct Attached Storage / NDAS™
—————————————————————————————————————————————
• Configuration Window Changing from Read/Write to Read Only •
- Displays NetDisk™ status user wants to achieve
for that NetDisk™.
Status Window •
- Displays current status of NetDisk™.
Using NetDisk™
Now that you have successfully installed NetDisk™, it’s time
to familiarize yourself on using the NetDisk™. NetDisk™
can be found on the desktop.
Here are few examples of uses for NetDisk™.
• You can use NetDisk™ like any other hard drive on
your system.
• Drag and drop files into NetDisk™.
• Copy and paste data to NetDisk™.
• Make and delete folders.
• Share files and folders.
• Backup files to NetDisk™.
NetDisk™ provides users with two basic functions; Read Only
and Read / Write.
• Read Only Mode
- Any number of users or applications can read
from a NetDisk™.
• Read/Write Mode
- Only one user or application can write to a
specific NetDisk™ at a time.
- No other users or applications can write to
NetDisk™ until Read / Write Access is
transferred.
If NetDisk™Admin window is not already opened, double
click Macintosh HD icon on your desktop, double click
Applications folder and double click NetDisk™Admin icon.
- Select a NetDisk™ from NetDisk™ IDs window.
- Click Enable RO button.
- Both Configuration and Status will change to Read
Only.
- Now NetDisk™ is in Read Only Mode.
• Changing from Read Only to Read / Write
- Select a NetDisk™ from NetDisk™ IDs window.
- Click Enable RW button
- If Write Key was not entered during registration, a
warning window will appear.
- Close the warning window.
- Fill in the Write Key.
- Click Enable RW button.
- If no other users or applications are using Read /
Write Access, both Configuration and Status will
change to Read / Write. Otherwise, the
Configuration will change to Read / Write and
Status will stay as Read Only.
- Until both the Configuration and Status display
Read / Write, NetDisk™ is still in Read Only
Mode. Status of NetDisk™ will changed to Read /
Write only after Read / Write Access is transferred.
- Once both Configuration and Status displays Read /
Write, NetDisk™ is in Read / Write Mode.
Using NetDisk™ in Mac OS and
Windows Environment
Mac OS and Windows users can easily share the same
NetDisk™ on a local area network.
• Connect NetDisk™ to a 100BASE-T / Full Duplex
Switch.
• NetDisk™ and computers that need to use NetDisk™
must be on the same subnet.
• On Windows, install Windows Install CD and on Mac,
install Mac Install CD.
• Register NetDisk™ onto Windows and Mac computers.
Older NetDisk™ default file system is NTFS File System
Format. To share NetDisk™ in a Mac OS and Windows
Environment, NetDisk™ must be formatted in FAT32 File
System Format. NetDisk™ can be formatted to FAT32 in
Windows.
www.XIMETA.de
8
—————————————————————————————————————————————

NetDisk™ User Manual Network Direct Attached Storage / NDAS™
—————————————————————————————————————————————
Newer NetDisk has a default file system of FAT32. In such
case, you do not need to re-format your NetDisk.
• Formatting NetDisk™ to FAT32 File System from
Windows
- Right click My Computer.
- Select Manage.
- Go to Disk Management.
- Find NetDisk™ and right click on it.
- Select Delete Partition.
- Wait until partition is deleted. It will be indicated by
the word Unallocated.
- Right click unallocated NetDisk™ and select Create
Partition.
- Welcome to the Create Partition Wizard will
appear. Click Next.
- Select Primary Partition. Click Next.
- Type 32768 into Amount of disk space to use.
Click Next.
- For drive letter, use assigned drive letter or select a
new drive letter. Click Next.
- Select Format this partition with the following
settings.
- Select FAT32 for File system to use.
- Select Default for Allocation unit size.
- Name is optional.
- Check Perform a Quick Format. Click Next.
- Completing the Create Partition Wizard will
appear. Click Next.
•
A section of NetDisk™ will be partitioned in to 32 GB
FAT32.
• Repeat Formatting NetDisk™ to FAT32 File System
from Windows for each NetDisk™ that requires FAT32
File System format.
Changing FAT32 File System Format
to NTFS File System Format
- Right click My Computer.
- Select Manage.
- Double click Disk Management.
- Find NetDisk™ from the button window and
right click on it.
- Select Delete Partition.
- Delete primary partition window may appear.
Click Yes.
- Delete all the partitions.
- Once all of the partitions are deleted, right click
unallocated NetDisk™ and select New
Partition.
For additional information, frequently asked questions or
troubleshooting help, please refer to the NetDisk™ User
Manual.
Assistance is also available by contacting XIMETA, Inc.
Whenever you contact XIMETA, Inc. for technical support,
please have the following information available:
How to Contact XIMETA, Inc.:
Technical Support by Telephone:
Technical Support: 949-753-7983
Fax: 949-753-7887
Technical Support by E-Mail:
Our e-mail address for technical support is
support@ximeta.com.
Technical Support on the Internet:
For the latest information on NetDisk™ / NetDisk™ Mini /
NetfDisk Office and FAQ, visit our website at
www.ximeta.com.
- Welcome to the New Partition Wizard will
appear. Click Next.
- Select Primary Partition. Click Next.
- Use the given Partition size in MB. Click Next.
- For drive letter, use assigned drive letter or select
a new drive letter. Click Next.
- Select Format this partition with the following
settings.
- Select NTFS for File system
- Select Default for Allocation unit size.
- Volume label is optional.
- Check Perform a quick format. Click
Next.
- Completing the New Partition Wizard will
appear. Click Finish.
Additional Information and Assistance
•
Product Name
•
Model
•
Serial Number
•
Software Version
HANTZ + PARTNER
The Upgrade Company! www.hantz.com
Deutschland:
Tel.: 0761 / 592100
Fax: 0761 / 585228
Schweiz:
Tel.: 061 / 27311-31
Fax: 061 / 27311-39
Österreich:
Tel.: 01 / 51474-415
Fax: 01 / 51474-337
 Loading...