

Page 1
Page 2

l Handpoint Mobile POS l www.handpoint.com l [email protected] l
2
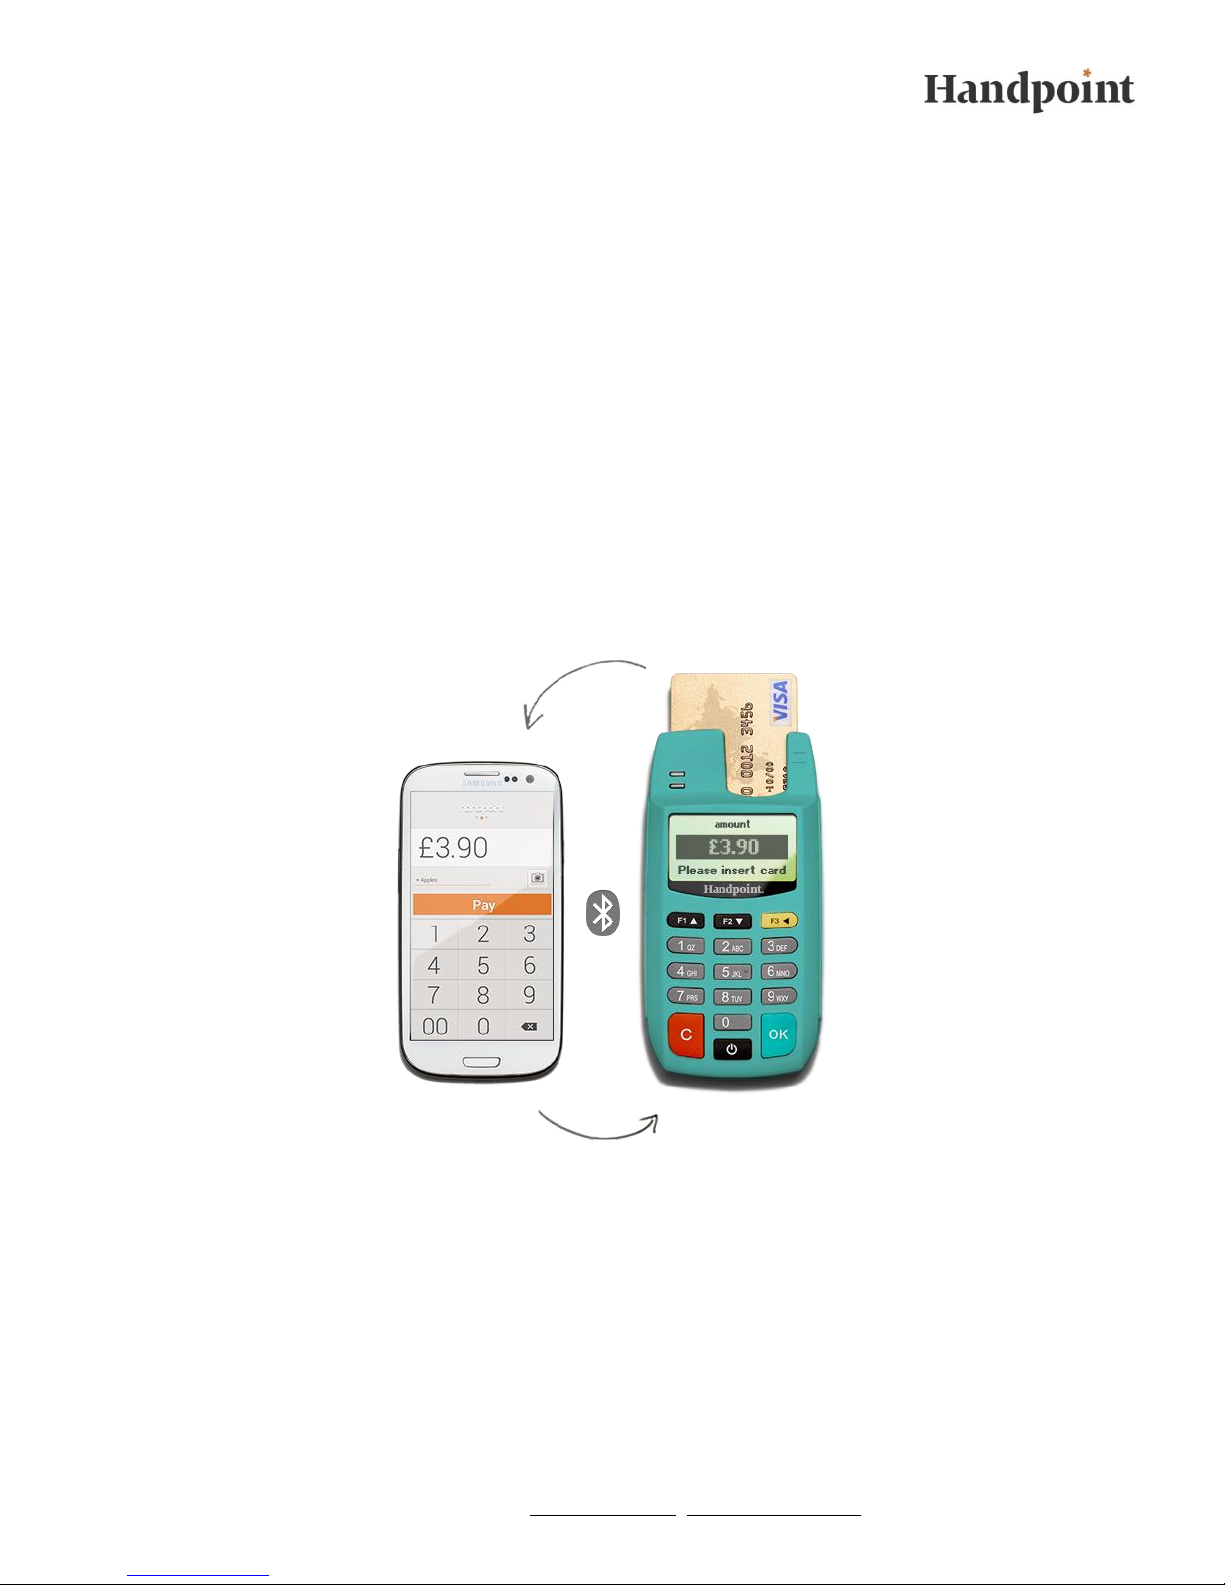
Congratulations on your new Mobile POS
Welcome to Handpoint!
Before you start using your new mobile payment
solution you need to go through five simple setup
steps. Just follow the instructions provided below.
We recommend that you test your card reader and get
familiar with the Handpoint payment app before you
start using the payment solution. You can find
instructions on how to make a sale, refund, void and
change settings below the setup steps.
If you have any questions or need further assistance please contact the Handpoint
Support Team: [email protected]
Card reader: Also
known as a mobile POS
(point of sale) or PED
(pin entry device).
Contact us: Contact
[email protected]
m for assistance.
Page 3
l Handpoint Mobile POS l www.handpoint.com l [email protected] l
3
1. Downloading the Handpoint App
The first step that needs to be taken is to download
the Handpoint App onto your smartphone. Just
search for „Handpoint“ and the app should appear at
the top of the list.
1. Play store for Android
2. App Store for iOS
If you do not have access to Play
Store / App Store, you will have to start by creating
an account to be able to download the app.
The Handpoint App
allows merchants to
accept chip & pin and
magstripe payments,
refund transactions, send
receipts to customers
and view transaction
history. The app is
compatible with Android
2.3.6 + and iOS 4.0.
Page 4
l Handpoint Mobile POS l www.handpoint.com l [email protected] l
4
2. Log-in for the Handpoint App
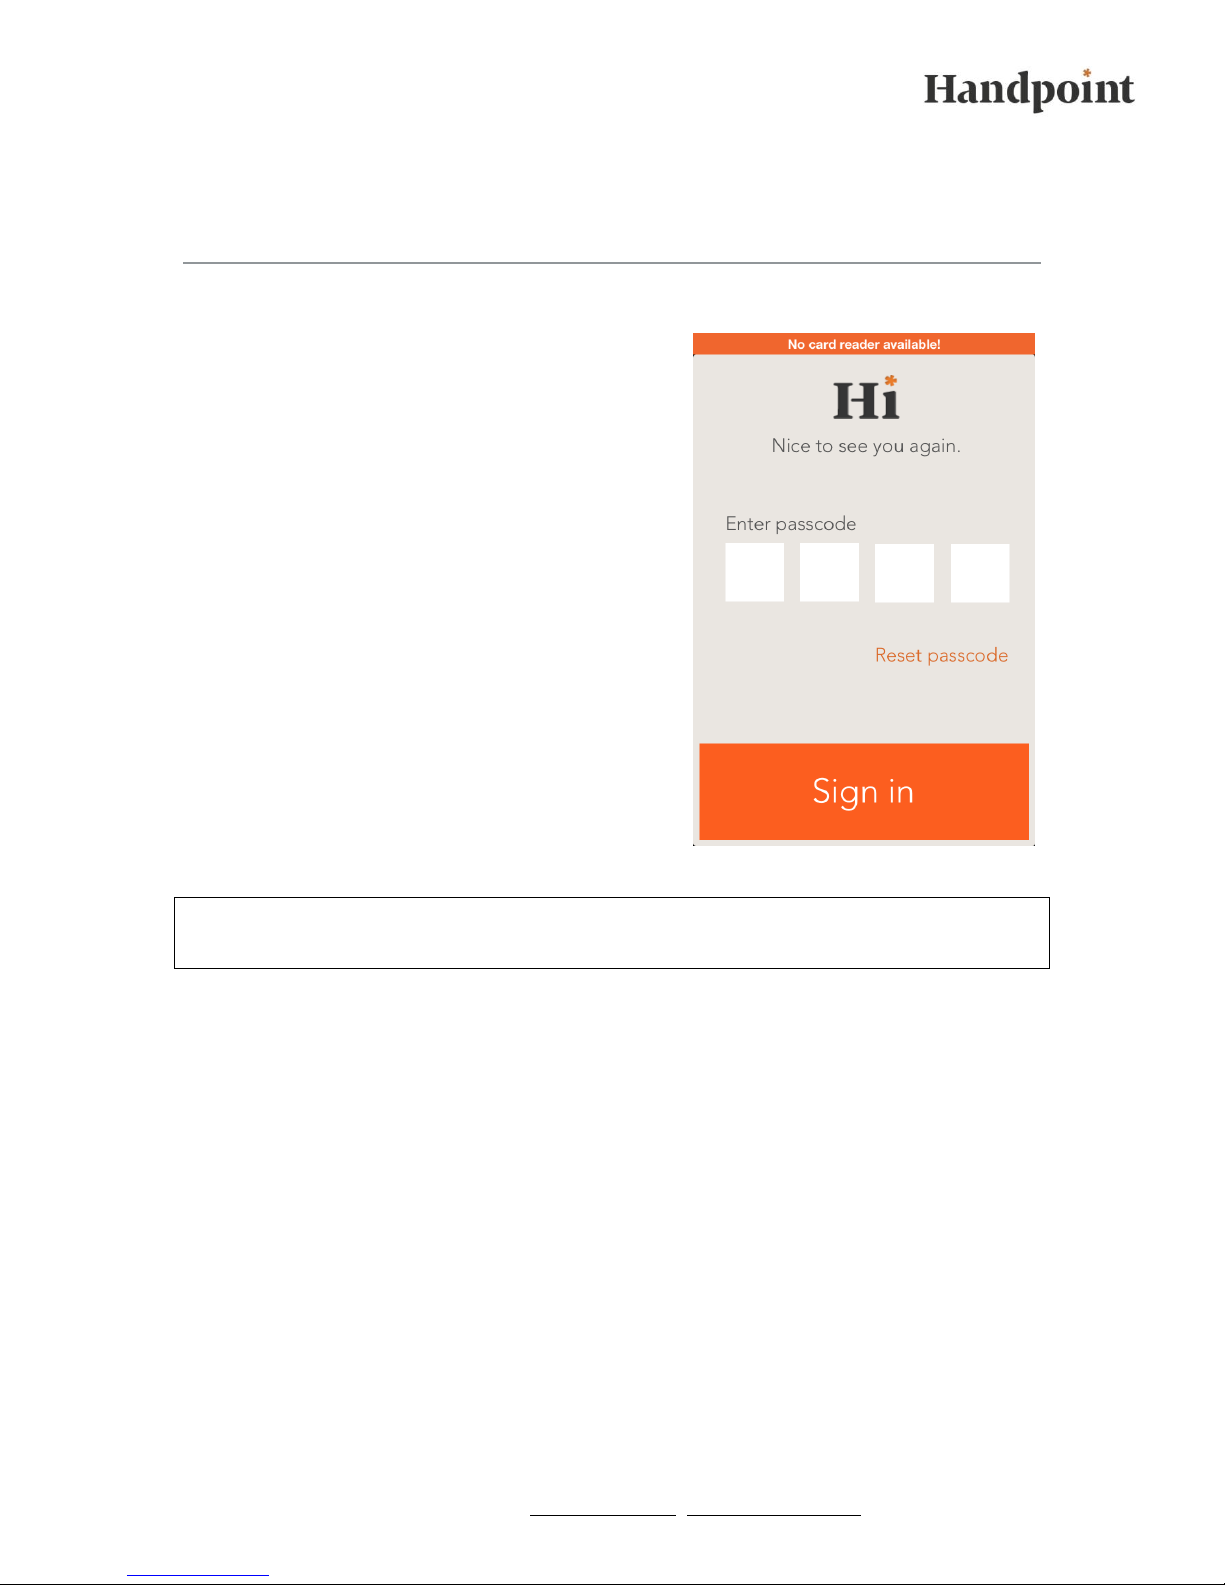
The first time the Handpoint App is opened, a
log-in passcode must be created. This passcode
will be used to log-in to the Handpoint App. The
passcode can be changed at any time under
„settings“ in the Handpoint App.
It is possible to switch between the Handpoint
App and other applications in the smartphone
by pressing the back button / home button
without logging out of the Handpoint App. It is
however recommended that users log out of the
app when the app is not in use.
FORGOTTEN PASSCODE
If the passcode is forgotten it is possible to
create a new one by pressing the „Reset your
passcode“ link on the Login screen of the app.
Please note that resetting your passcode will cause the app to wipe all data and
settings.
Page 5

l Handpoint Mobile POS l www.handpoint.com l [email protected] l
5
3. Activating your Shared Secret
The shared secret is a code that activates the connection between the card reader
and Handpoint´s payment gateway. The shared secret is sent to your email address
by Handpoint. The shared secret code is activated by opening the file through the
email client on your smartphone or tablet. If you are using an Android device it is
necessary to completely close and log out of the Handpoint app before activating
the shared secret. Activating the shared secret is easy:
1. Open the e-mail from Handpoint using the email client in your smartphone /
tablet, click the attachment and choose the Handpoint app to open it.
2. The app will ask: „do you want to activate your shared secret?“ (android) or
„shared secret saved“ (iOS). Choose „OK“.
3. Log in to the Handpoint app with your four digit passcode to finalise the
activation.
Now the shared secret has been activated. You can use your card reader with any
Android or iOS device you like. Just forward your shared secret to the device you
would like to use and follow the three steps above.
Page 6
l Handpoint Mobile POS l www.handpoint.com l [email protected] l
6
4. Connecting your Card Reader and App
The next step is to connect your card reader to your
smartphone / tablet. You only need to do this once,
after which the two devices will connect
automatically when the Handpoint app is run (as
long as the card reader is turned on).
IPHONE / IPAD
1. Make sure bluetooth is turned on.
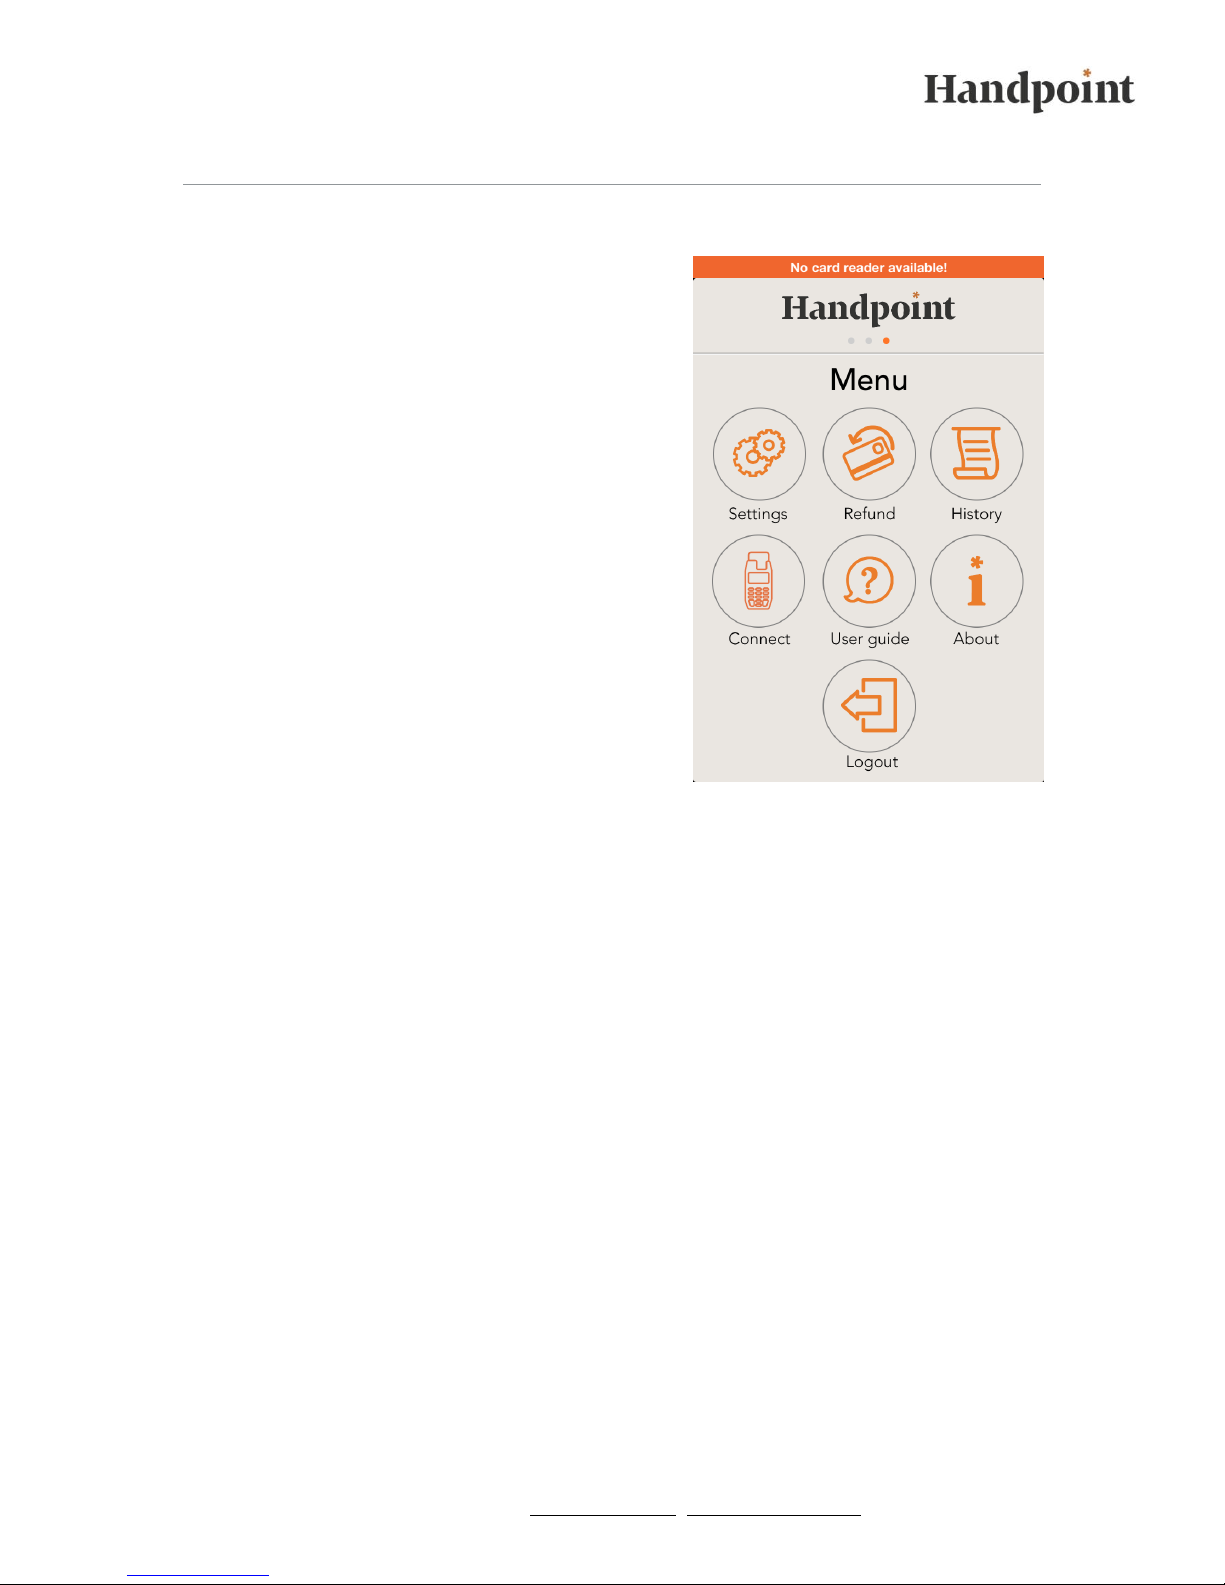
2. Go to the menu screen and select „Connect“.
3. In the upper right corner select „Discover“.
Your device will now search for the card
reader.
4. Select your card reader from the list.
5. Select „Pin Pad“.
The card reader should now connect to your iOS
device automatically.
Note: If you would like to switch between
smartphones / tablets when using your card reader, the quickest method is to switch
bluetooth off on the iOS device that is no longer being used with the card reader. When you
switch bluetooth off, other smartphones / tablets with bluetooth switched on will be able to
connect to the card reader.
ANDROID DEVICES
1. Go to the menu screen and select „Connect to Card Reader“.
2. Make sure bluetooth is turned on.
3. Select „Bluetooth Settings.“
4. Select the card reader of the list that appears.
5. Your device will ask you if you are sure you want to pair the devices, Select „Pair“.
The card reader should now connect to your android device automatically. A small blue POS
symbol will appear in the upper left corner of your device.
Page 7
l Handpoint Mobile POS l www.handpoint.com l [email protected] l
7
5. Card Reader Initialization
The next step is to update the settings on the
card reader. To perform this update all that is
needed is to make a transaction. When the first
transaction is made, the card reader will
automatically update itself. This process will
take one and a half minute.
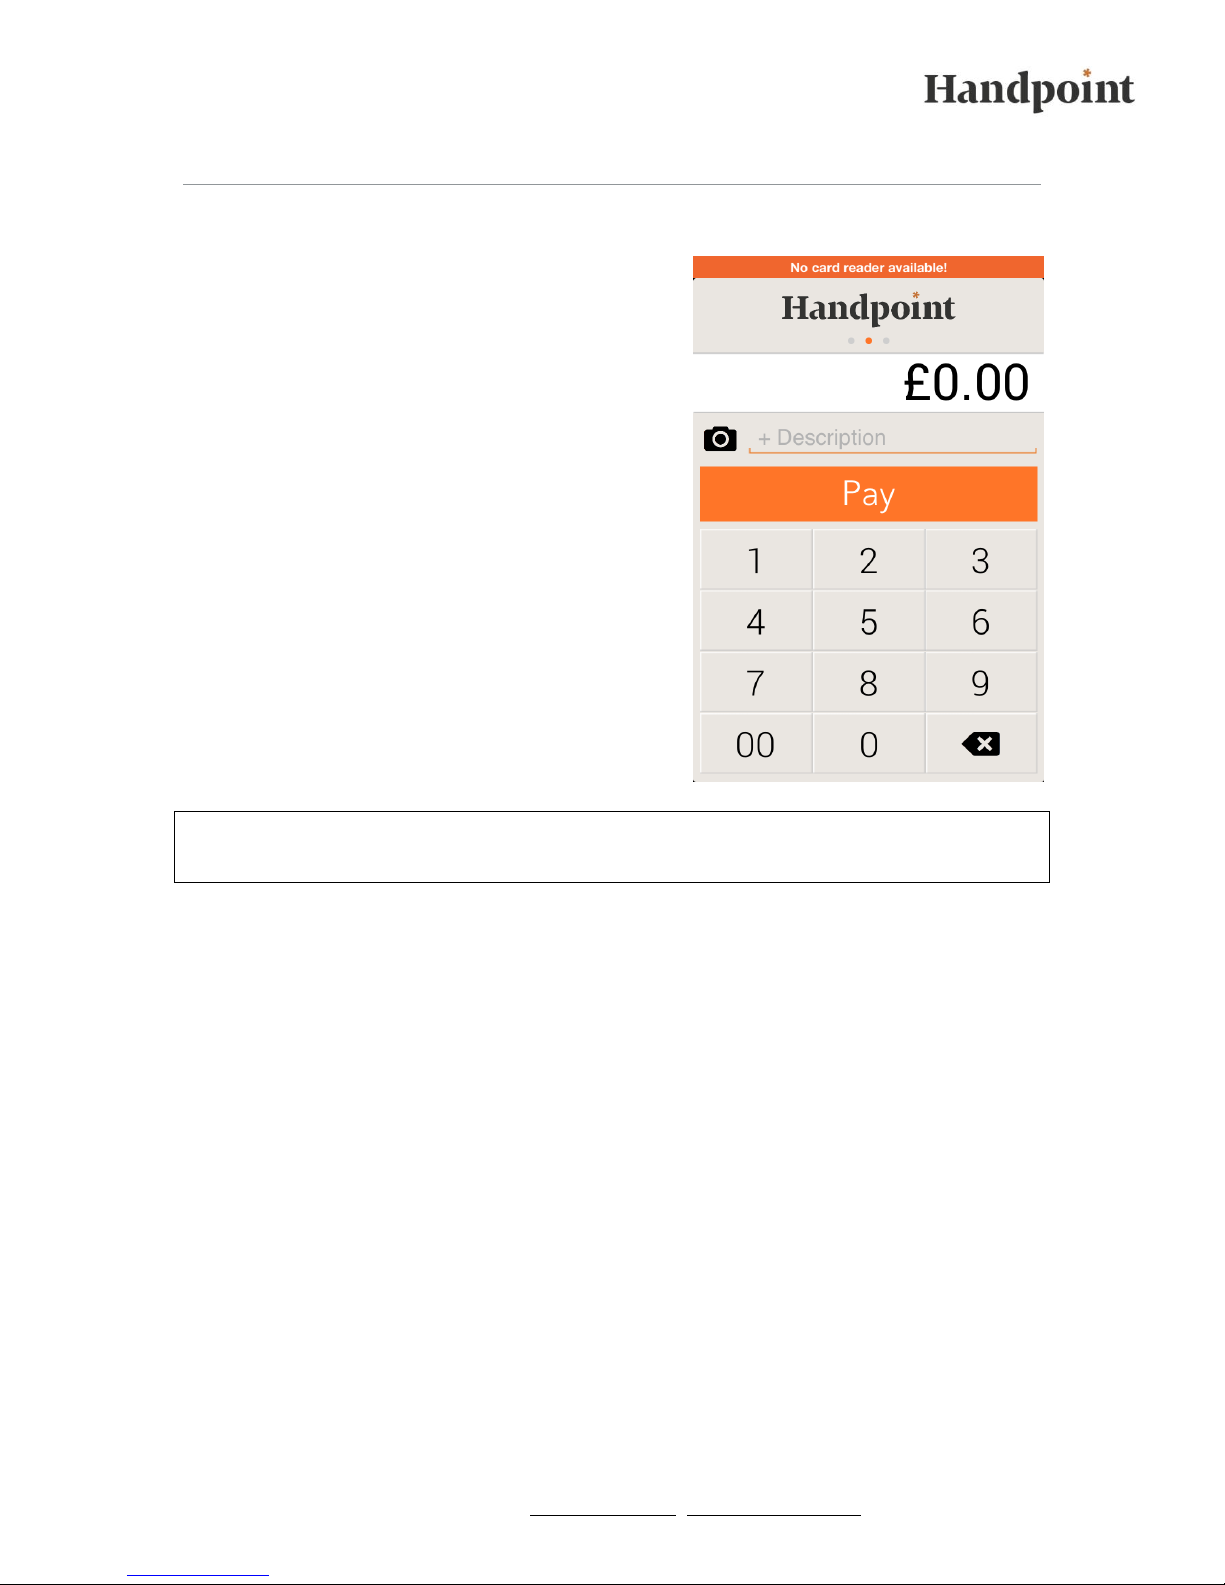
1. Enter an amount onto the payment
screen on the Handpoint app and press
„Pay“.
2. The card reader will now start the update.
It will turn off and on in during the
process and display various messages.
When the
process is finished the message:
„Parameters updated“ will display on the
screen.
The connection between the devices will be lost during this update process. The
connection will be re-established when the next transaction is made.
Page 8
l Handpoint Mobile POS l www.handpoint.com l [email protected] l
8
Settings
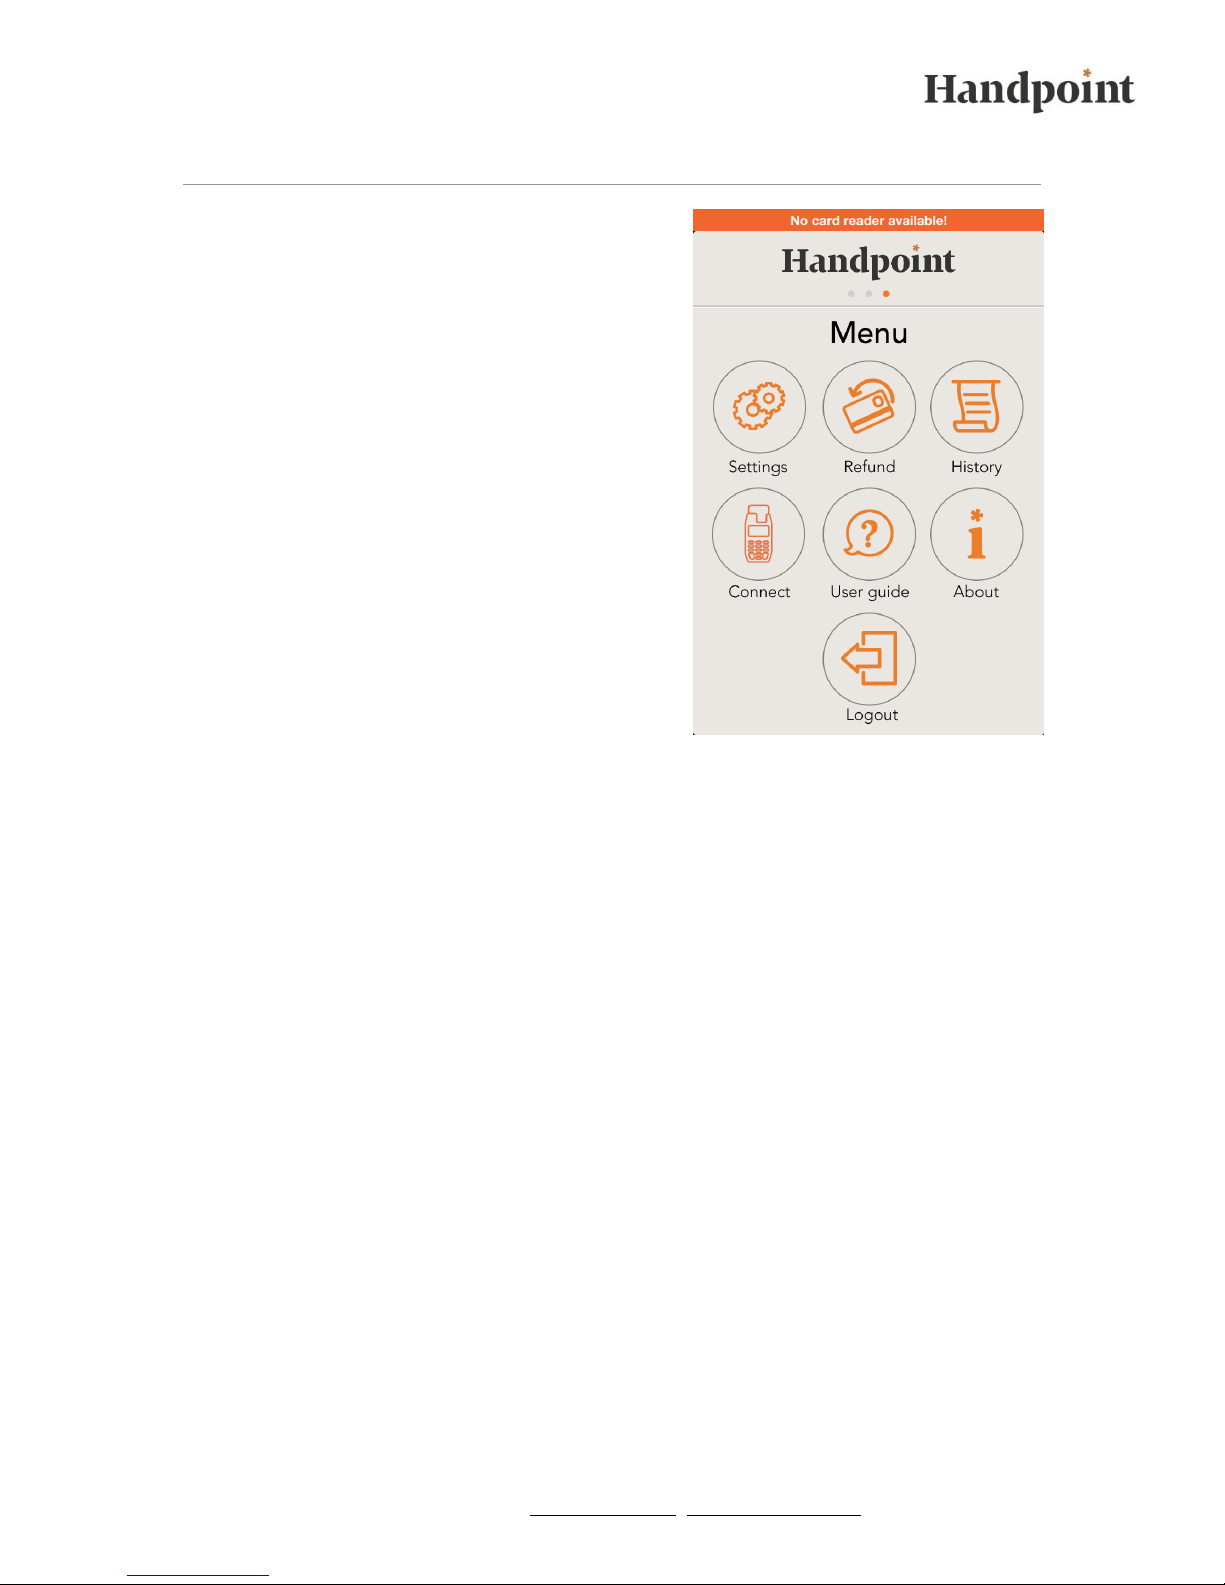
Settings can be configured in the Handpoint app
on the Menu Screen. To access the Menu
Screen, swipe to the right from the main
Payment Screen.
SETTINGS
Currency – Different currencies can be selected
under the „Currency“ menu. Note that only the
currency provided by the acquiring contract will
be supported.
Check for Card Reader Update – When
Handpoint releases new updates the card reader
will automatically be updated. It is also possible
to check the Handpoint Server for Card Reader
updates by selecting this action.
MERCHANT SETTINGS
Merchant Name – Merchants can enter the merchant name that should appear on
the Handpoint app. Note that this does not affect the name that appears on
receipts.
Merchant Email Server Settings – The Handpoint App is configured to use Gmail
email accounts for sending of reciepts. If you would like to use another email
account for such actions you will need to configure the email server settings for the
email account in use.
SECURITY
Passcode – This field allows the passcode used to login to the Handpoint App to be
changed.
App Lock Timeout – This field allows the delay before the app automatically locks to
be adjusted as required.
Page 9
l Handpoint Mobile POS l www.handpoint.com l [email protected] l
9
Accepting Payments
Accepting payments with the Handpoint Card
Reader and App is easy:
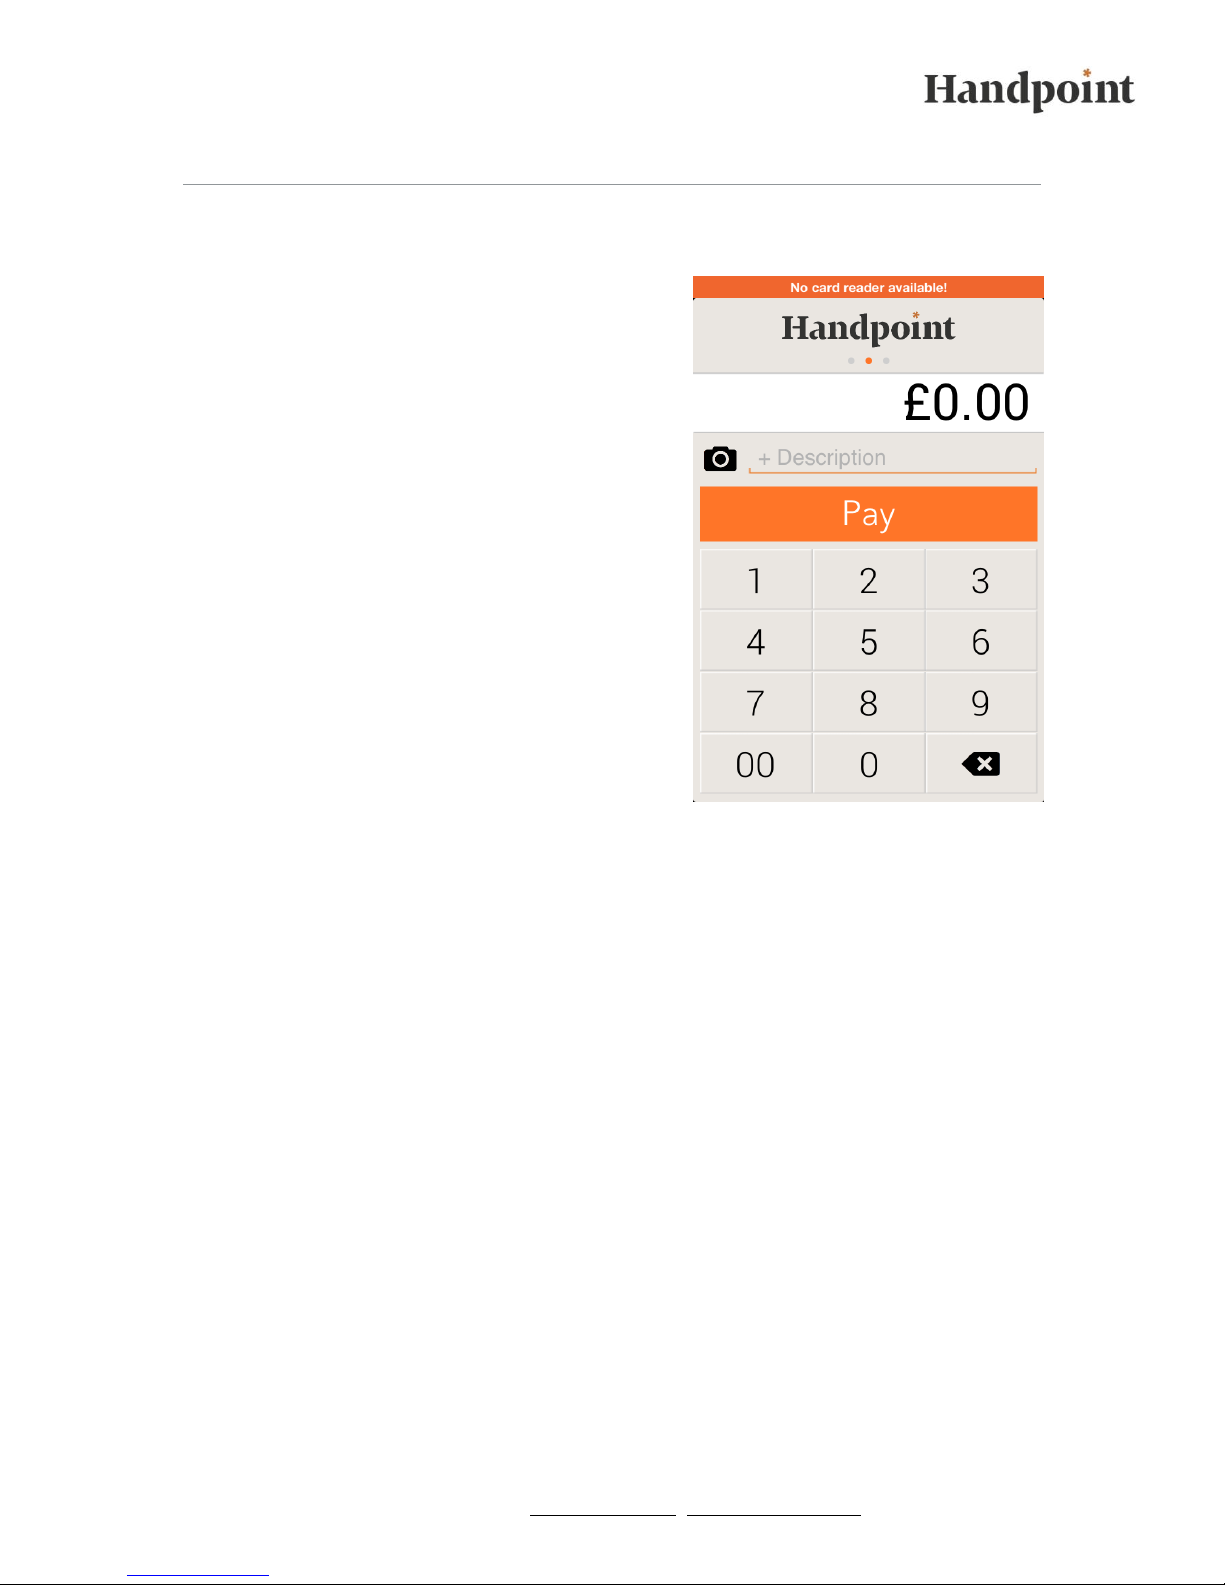
1. Enter the amount to be paid in the app
a. Optional: Take a picture
b. Optional: Enter a description
2. Press „Pay"
3. The cardholder inserts the card into the
card reader, enters the PIN number and
presses „OK“.
4. The payment will now be processed and
either be „authorised“ or „declined“.
The receipt will appear in the Handpoint App
and can be sent by email or text message (see
instructions below).
If the card is a magnetic stripe card, the
customer will be prompted to sign the screen of
the app to confirm the payment.
Page 10

l Handpoint Mobile POS l www.handpoint.com l [email protected] l
10
Sending Receipts
When a payment has been made a receipt will automatically open in the Handpoint
App. If the customer would like a receipt it is possible to send it by email or text
message.
1. Ask the customer for an email address or phone number
2. Enter the details into the corresponding field in the app.
3. Press the arrow to send.
4. If the receipt is being sent by email, you will need to select the email
application to use for sending the receipt. When this has been selected, press
„send“.
5. If the receipt is being sent by text message, the text message window will
open automatically. Just press „send“ to send the receipt
Page 11

l Handpoint Mobile POS l www.handpoint.com l [email protected] l
11
Refund
It is easy to refund transactions using the Handpoint Card Reader and App. Note
that to be able to refund a transaction, the cardholder and card must be present.
1. Go to the Menu Screen and select „Refund“.
2. Enter the amount to be refunded.
3. Press „Refund“
4. The customer then enters his card into the card reader, enters the PIN
number and presses „OK“.
To go back to the „Pay“ screen, go to the Menu Screen and select „Pay“.
Void / Reversal
It is possible to void / reverse a transactions within the same day that the
transaction is made.
1. Swipe to the left from the Payment Screen to go to the Transaction History
Screen.
2. Select the transaction to be reversed.
3. Press „Reverse“.
Note! A reversal is final and can not be changed back into a transaction.
Page 12

l Handpoint Mobile POS l www.handpoint.com l [email protected] l
12
Support Mode
If the solution is not functioning correctly it can be useful for Handpoint Support to
receive detailed information (logs) from the app to be able to investigate the issue at
hand. To enable the collection of logs Support Mode needs to be turned on.
To enable Support Mode:
1. Go to the Menu Screen and select „Settings“
2. Check the Support Mode box under „Support“.
3. Now your devices will gather detailed information on the actions performed in
the Handpoint solution.
4. Perform the action that is not functioning correctly.
5. Go to „Settings“ and select „Contact Support“
6. Select your email client and press „Send“.
7. The details will be sent automatically to Handpoint Support,
 Loading...