

Page 1
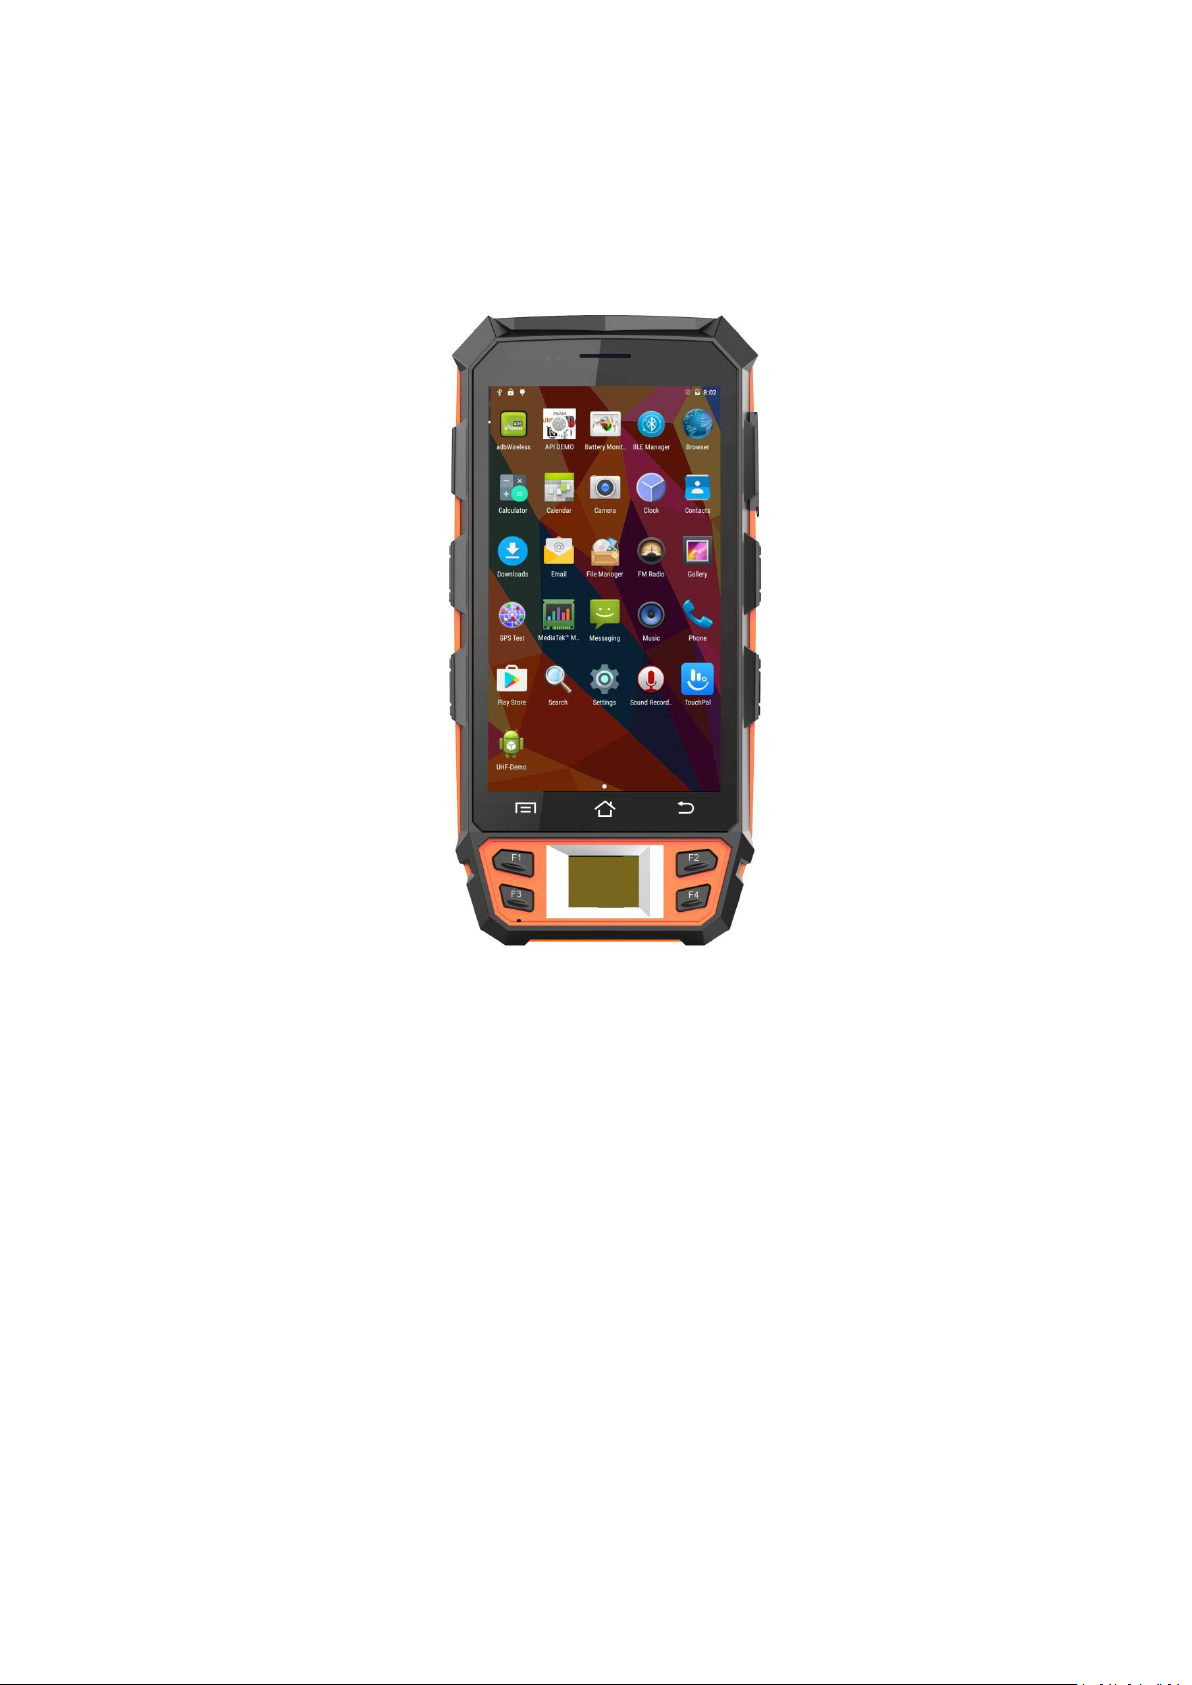
C5000 Quick Manual
Page 2

Quick Manual Hardware Description
Contents
1 Features and Structure
2 Basic Operation
2.1 Wake up
2.2 Shutdown
.....................................................................................................................................................
.................................................................................................................................................................
...............................................................................................................................................................
.............................................................................................................................................................
2.3 Software Installation and Data Transfer with a PC
2.4 Uninstall Apps
2.5 Add Google Playstore Account
2.6 Remove Google Playstore Account
2.7 Remove WLAN Access
3 Demo Software
3.1 Demo-Software KeyTest51
4 Technical Data
...................................................................................................................................................................
5 Device Charging
......................................................................................................................................................
............................................................................................................................
.....................................................................................................................
.........................................................................................................................................
.................................................................................................................................................................
..................................................................................................................................
................................................................................................................................................................
5.1 Connect the device with the power adapter via DC cable;
5.2 Connect the device with PC via USB cable;
.........................................................................................................
5.3 Use the charging cradle to charge the device via DC cable;
6 Troubleshooting
................................................................................................................................................................
..............................................................................................
.................................................................................
...............................................................................
3
3
3
3
3
4
4
4
4
5
5
6
8
8
8
8
9
6.1 Camera already in use by other app
....................................................................................................................
9
Page 2 of 9 Handheld Terminal
Page 3
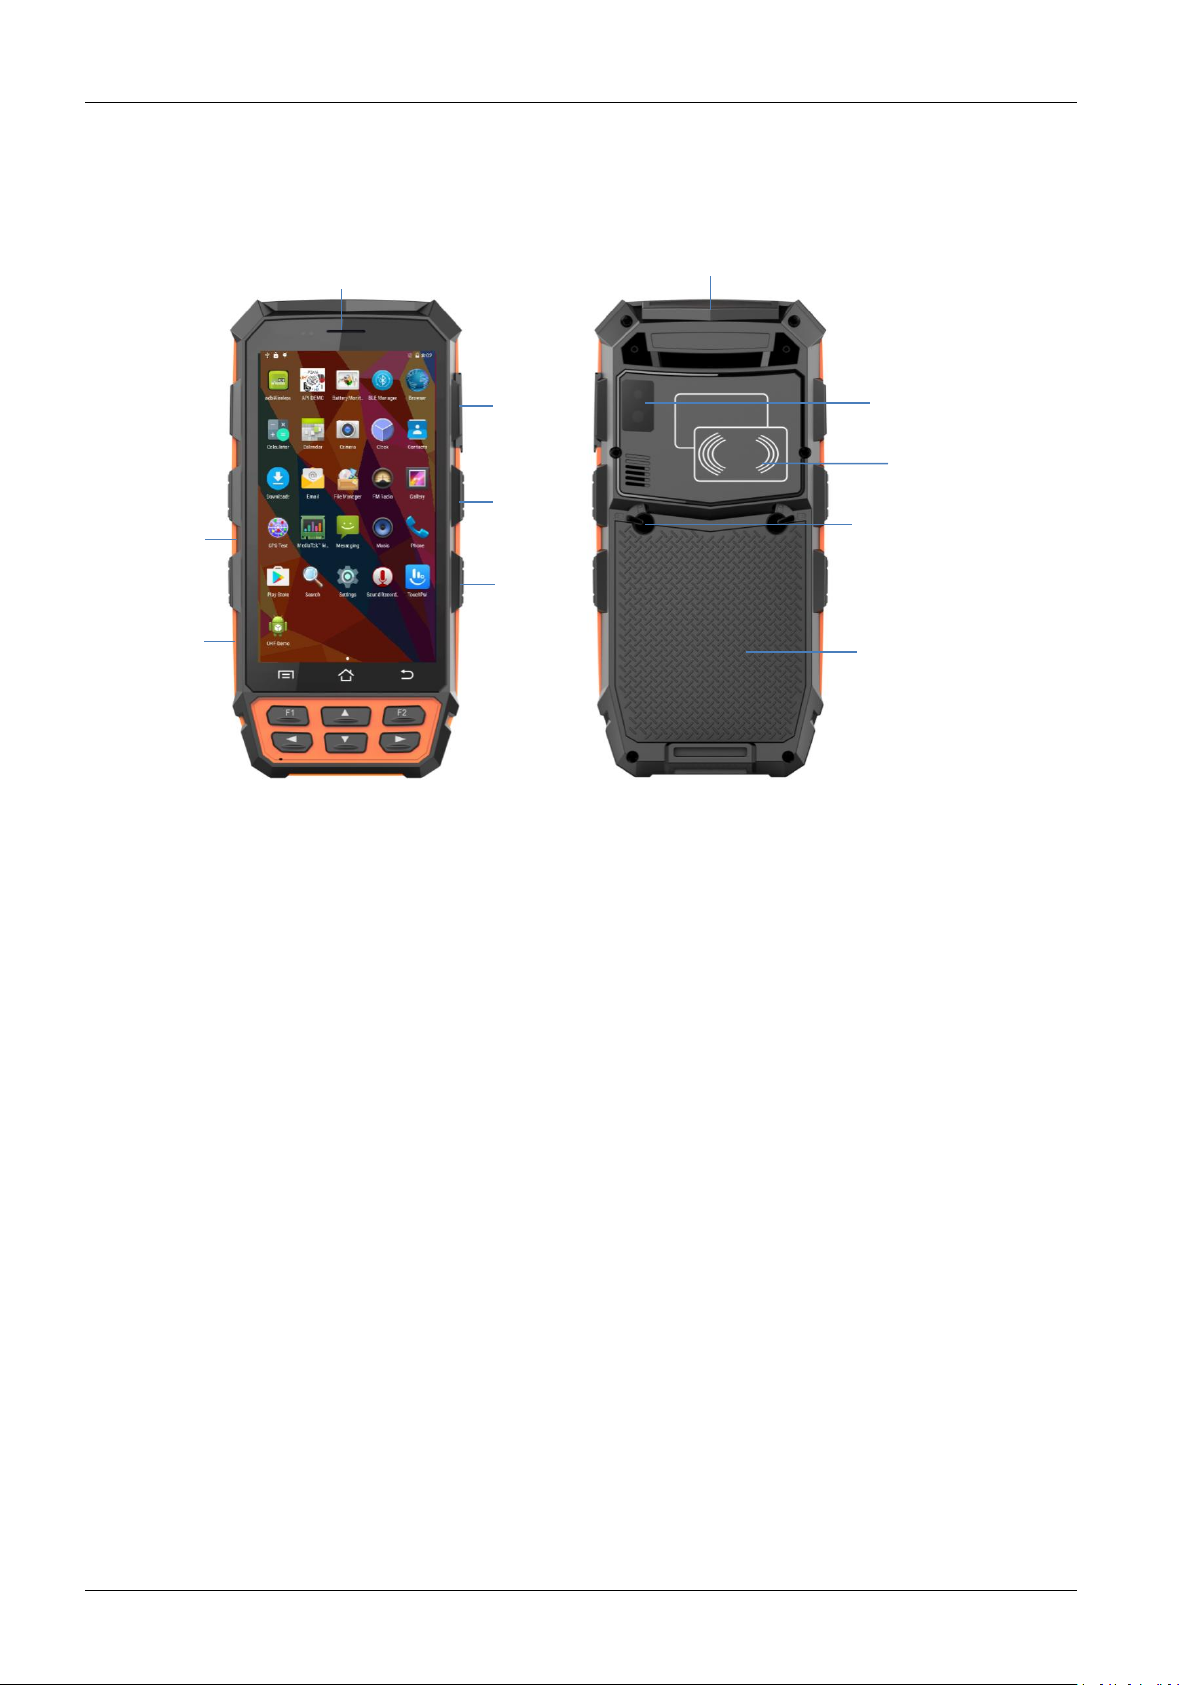
1 Features and Structure
DC/USB Port
Power Button
Right Button
Volume Button
Left Button
Barcode Scan Window
Camera
RFID Sensor Zone
Battery Locker
Battery Cover
Barcode Scan Window
Quick Manual
2 Basic Operation
2.1 Wake up
System would enter standby mode automatically after the default 1 minute idle status, or we can press the power button
to enter the standby mode forcedly; For tablets in standby mode, please the power button slightly to wake it up;
2.2 Shutdown
Press the power button for seconds and select the option of “Power off” to shutdown the terminal. Please save the data
before shutting down the system, otherwise the unsaved data would be lost.
2.3 Software Installation and Data Transfer with a PC
Plug in the USB connection and select the model of USB storage mode. You can also try to pull this information from the
top of the screen. Double touch on this information; this will open the USB computer connection settings.
Only MTP and PTP provide read/write access from your PC to the device. The device will appear in Windows Explorer as
portable device labelled “full_rlk6735m_65c_1_I1”.
MTP allows access to a number of folders.
PTP allows access only to the folders “DCIM” and “Pictures”.
Mobile RFID Device Page 3 of 9
Page 4

Quick Manual Hardware Description
Copy software installation file (e.g. “UhfSDKdemo.apk”) in any of these folders (e.g. “Download”).
Open the “File Manager” app, navigate to the folder “Download”. Select the software installation file; this will lead to an
installation screen.
2.4 Uninstall Apps
Open “Settings” => go to section “Device” => open “Apps” => select desired app, this will open an information and action
screen.
2.5 Add Google Playstore Account
If you open Google Playstore for the first time, you are requested to input the e-mail address and password of your
Google Playstore account. Next step is to provide your payment method. Do not ignore this step! Otherwise Google
Playstore may crash. Select “Remind me later” if you don’t want to set your payment method.
2.6 Remove Google Playstore Account
Open “Settings” => go to section “Personal” => open “Accounts” => open "Google" => click on first entry with E-Mail
Now you should see the settings of your google account sync settings.
Open right top Menu [Remove Account]
2.7 Remove WLAN Access
Open “Settings” => select “Wi-Fi” => click on connected network => select [FORGET] in bottom left corner
Page 4 of 9 Handheld Terminal
Page 5

3 Demo Software
3.1 Demo-Software KeyTest51
Let you test the left/right buttons and the 6 keypad buttons.
Quick Manual
Mobile RFID Device Page 5 of 9
Page 6

Quick Manual Hardware Description
Physical Characteristics
Dimension
170 × 85 × 23 ±2 mm (H × W × D)
Weight
Net Weight :370 g (including battery & wrist strap)
Display
Gorilla Glass 3 9H 5.0 in. TFT-LCD (720 × 1280) touch screen with backlight
Backlight
LED backlight
Keypads
3 TP keys, 6 function keys, 4 side buttons
Expansions
2 PSAM, 1 SIM, 1 TF
Battery
Rechargeable li-ion polymer, 3.7 V, 4500 mAh
Performance Characteristics
CPU
Quad A53 1.3 GHz quad-core
Operating System
Android 7.0
Storage
2 GB RAM, 16 GB ROM, MicroSD (max 32 GB expansion)
Environmental Conditions
Operating Temperature
-20 to +50 °C
Storage Temperatur
-20 to +70 °C
Humidity
5 to 95 % relative humidity (non-condensing)
Drop Specifications
5 ft./1.5 m drop to concrete across the operating temperature range
Sealing
IP65, IEC compliance
ESD
±15 kV air discharge, ±8 kV direct discharge, ±8 kV indirect discharge
Development Environment
SDK
HHW Software Development Kit
Language
Java
Environment
Android Studio or Eclipse
Data Communication
WWAN
GSM850/PCS1900/GPRS850/GPRS1900/EDGE850/EDGE1900
UMTS FDD Band II/ V
WLAN
2.4 GHz Dual Frequency, IEEE 802.11 b/g/n
WPAN
Bluetooth Class v2.1+EDR, Bluetooth v4.0
GPS
GPS(embedded A-GPS), accuracy of 5 m
Accessories
Standard
1 × Power Supply
1 × Lithium Polymer Battery
1 × DC charging cable
1 × USB data cable
Optional
Carrying case;
Charging cradle;
4 Technical Data
Page 6 of 9 Handheld Terminal
Page 7

Data Capturer
Barcode Reader (Optional)
1D Barcode
1D laser engine
Honeywell N4313
Symbologies
All major 1D barcodes
2D Barcode
2D CMOS Imager
Honeywell N6603 or Newland EM3396
Symbologies
PDF417, MicroPDF417, Composite, RSS, TLC-39,
Datamatrix, QR code, Micro QR code, Aztec, MaxiCode,
Postal Codes, US PostNet, US Planet, UK Postal,
Australian Postal, Japan Postal, Dutch Postal. etc.
Color Camera
Resolution
8.0 megapixel
Lens
Auto-focus with LED flash
RFID Reader (Optional)
LF RFID
Frequency
134.2 kHz
Modulation Type:
ASK
Quick Manual
Mobile RFID Device Page 7 of 9
Page 8

Quick Manual Hardware Description
5 Device Charging
5.1 Connect the device with the power adapter via DC cable;
5.2 Connect the device with PC via USB cable;
5.3 Use the charging cradle to charge the device via DC cable;
Page 8 of 9 Handheld Terminal
Page 9

Quick Manual
6 Troubleshooting
6.1 Camera already in use by other app
This happens because Honeywell N6603 2D and camera share the same physical hardware connection, so they cannot be
open at the same time. You need to close one hardware module before opening the other one. This limitation exists in all
Honeywell N6603 2D devices including devices from the other manufacturers.
Mobile RFID Device Page 9 of 9
Page 10

FCC Statement
This equipment has been tested and found to comply with the limits for a Class B
digital device, pursuant to part 15 of the FCC rules. These limits are designed to
provide reasonable protection against harmful interference in a residential
installation.
This equipment generates, uses and can radiate radio frequency energy and, if not
installed and used in accordance with the instructions, may cause harmful
interference
to radio communications. However, there is no guarantee that interference will not
occur in a particular installation. If this equipment does cause harmful interference
to
radio or television reception, which can be determined by turning the equipment off
and on, the user is encouraged to try to correct the interference by one or more of
the
following measures:
-Reorient or relocate the receiving antenna.
-Increase the separation between the equipment and receiver.
-Connect the equipment into an outlet on a circuit different from that to which the
receiver is connected.
-Consult the dealer or an experienced radio/TV technician for help.
To assure continued compliance, any changes or modifications not expressly
approved by the party.
Responsible for compliance could void the user’s authority to operate this
equipment. (Example- use only shielded interface cables when connecting to
computer or peripheral devices).
This equipment complies with Part 15 of the FCC Rules. Operation is subject to
the following two conditions:
(1) This device may not cause harmful interference, and
(2) This device must accept any interference received, including interference that
may cause undesired operation.
The device complies with the RF specifications when the device is used near your
ear or at a distance of 10 mm from your body. Ensure that the device accessories
such as a device case and a device holster are not composed of metal components.
Keep your device 10 mm away from your body to meet the requirement earlier
mentioned.
This device was tested for typical body-worn operations. To comply with RF
exposure requirements, a minimum separation distance of 10 mm must be
maintained between the user’s body and the handset, including the antenna.
Third-party belt-clips, holsters, and similar accessories used by this device should
not contain any metallic components. Body-worn accessories that do not meet
these requirements may not comply with RF exposure requirements and should be
avoided. Use only the supplied or an approved antenna.
 Loading...