

Page 1
ALGIZ 7
Manual
Page 2
2
ALGIZ 7 Manual
Item Description Note
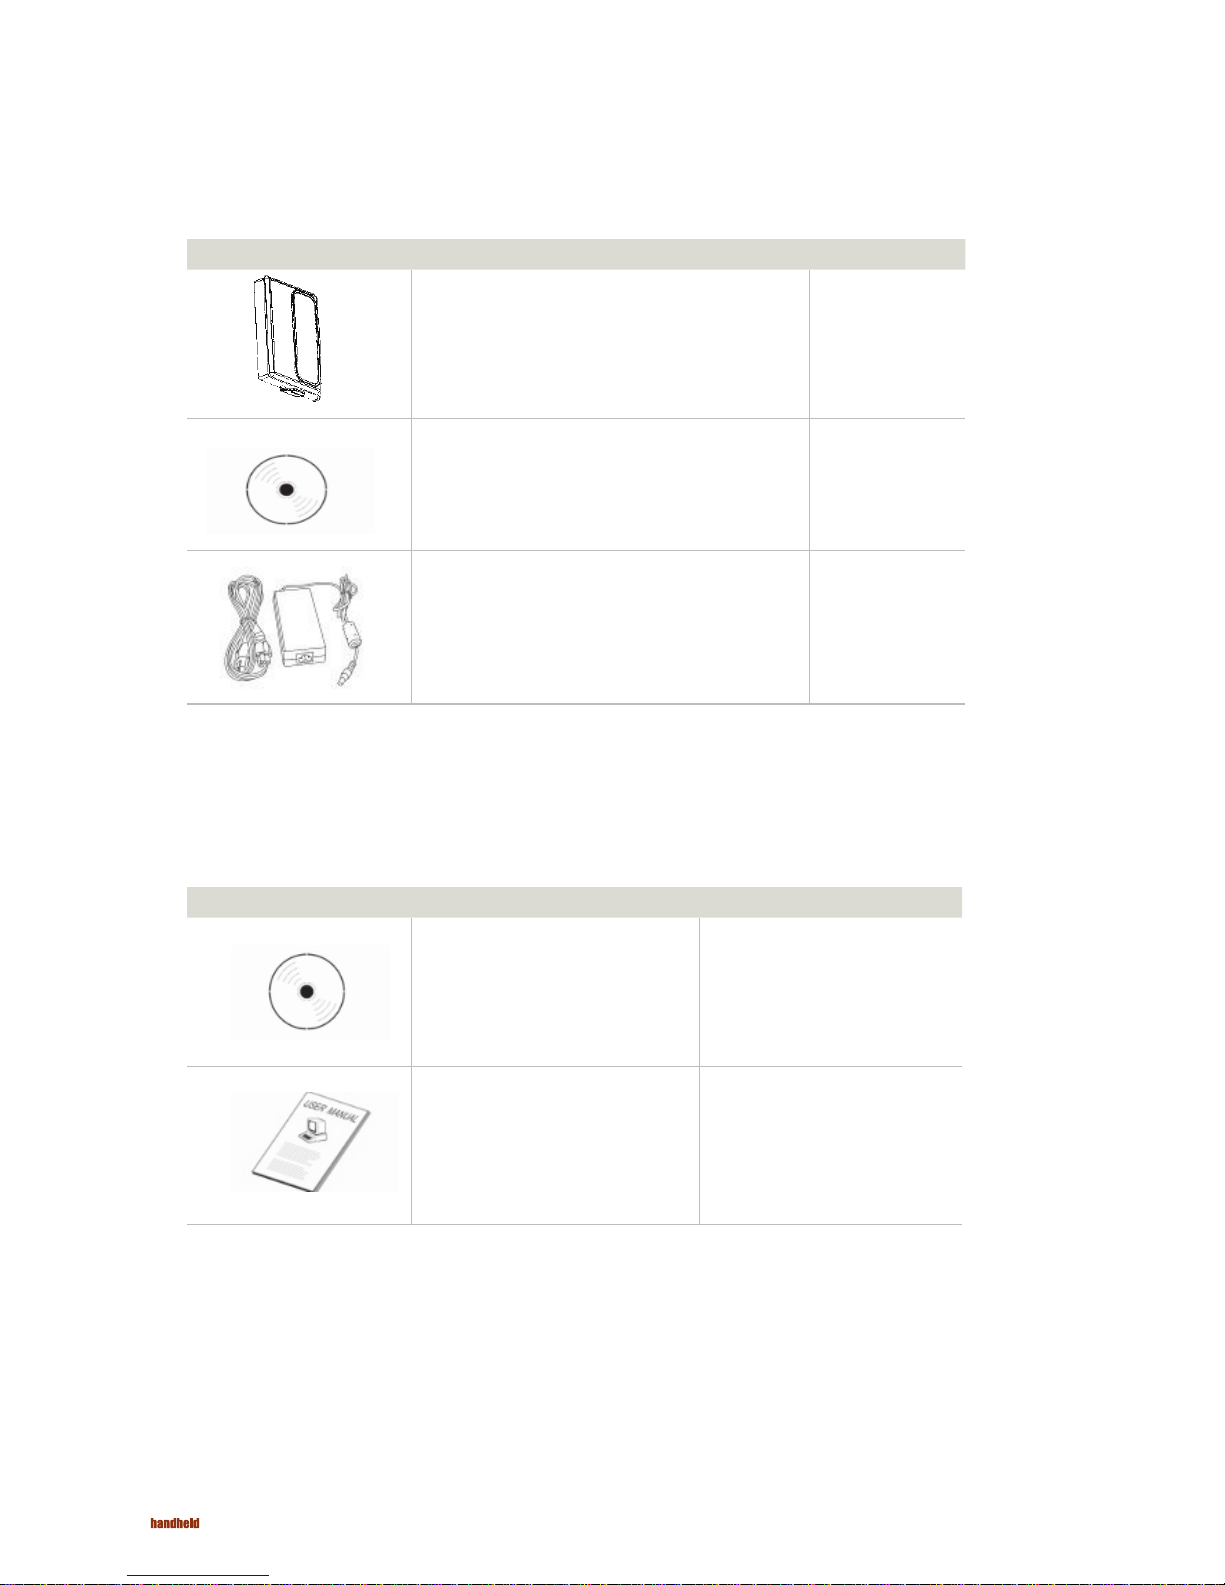
2 Cell Li-Polymer Battery Packs
Hot-swappable for
battery change
1 CD for System Driver Utility.
1 12V Adapter w/ Standard Power Cord.
Euro / U.S. Std type, 1.8m
Item Description Note
1 Recovery DVD for the Operating System
(Windows 7).
1 Windows 7 Recovery User’s Guide.
Accessories
Page 3

3
ALGIZ 7 Manual
Trademark Acknowledgement
Disclaimer
Warranty
Copyright © 2010 Handheld Group AB, ALL RIGHTS RESERVED. No part of this document may be reproduced, copied,
translated, or transmitted in any form or by any means, electronic or mechanical, for any purpose, without the prior written
permission of the original manufacturer.
Handheld Group AB reserves the right to make any product changes without notice, including circuits and/or software
described or contained in this manual in order to improve design and/or performance. Handheld Group AB assumes no
responsibility or liability for the use of the described product(s), conveys no license or title under any patent, copyright,
or masks work rights to these products, and makes no representations or warranties that these products are free from
patent, copyright, or mask work right infringement, unless otherwise specified. Applications that are described in this
manual are for illustration purposes only. Handheld Group AB makes no representation or warranty that such application
will be suitable for the specified use without further testing or modification.
Handheld Group AB warrants that each of its products will be free from material and workmanship defects for a period
of one year from the invoice date. If the customer discovers a defect, Handheld Group AB will, at its option, repair or
replace the defective product at no charge to the customer, provided it is returned during the warranty period of one year,
with transportation charges prepaid. The returned product must be properly packaged in its original packaging to obtain
warranty service.
Brand and product names are trademarks or registered trademarks of their respective owners.
Copyright Notice
Page 4

4
ALGIZ 7 Manual
Support for most of the problems are provided as per the following steps:First, visit our website at www.handheldgroup.
com to find updated information about the product. Secondly, contact your distributor, sales representative, or our
customer service center for technical support if you need additional assistance. You might need to have the following
information ready before you call:
• Product’s serial number
• Peripheral attachments
• Software (OS, version, application software, etc.)
• Description of complete problem
• The exact wording of any error messages with print screen images
In addition, free technical support is available from our engineers during working hours. We are always ready to give
advice on application requirements or specific information on the installation and operation of any of our products. Please
do not hesitate to call or e-mail us.
Manufacturer: Handheld Group AB
Address: Handheld Group AB, Kinnegatan 17 A, S-531 33, Lidköping, Sweden
TEL: +46 (0) 510-54 71 70
FAX: +46 (0) 510-282 05
Customer Service
Page 5

5
ALGIZ 7 Manual
Always disconnect the power cord from the unit whenever you work with the hardware. Do not plug
the device into the power socket when the device’s power is on. Sensitive electronic components
can be damaged by sudden power surges. Only experienced personnel should open the unit’s
mechanical housing.
Always ground yourself to remove any static charge before touching the CPU card. The electronic
devices are very sensitive to static electricity. As a safety precaution, use a grounding wrist strap all
the time. Place all the electronic components in a static-dissipative surface or static-shielded bag
when they are not in the chassis.
Warning!
Cauiton!
Safety Precautions
Page 6
6
ALGIZ 7 Manual
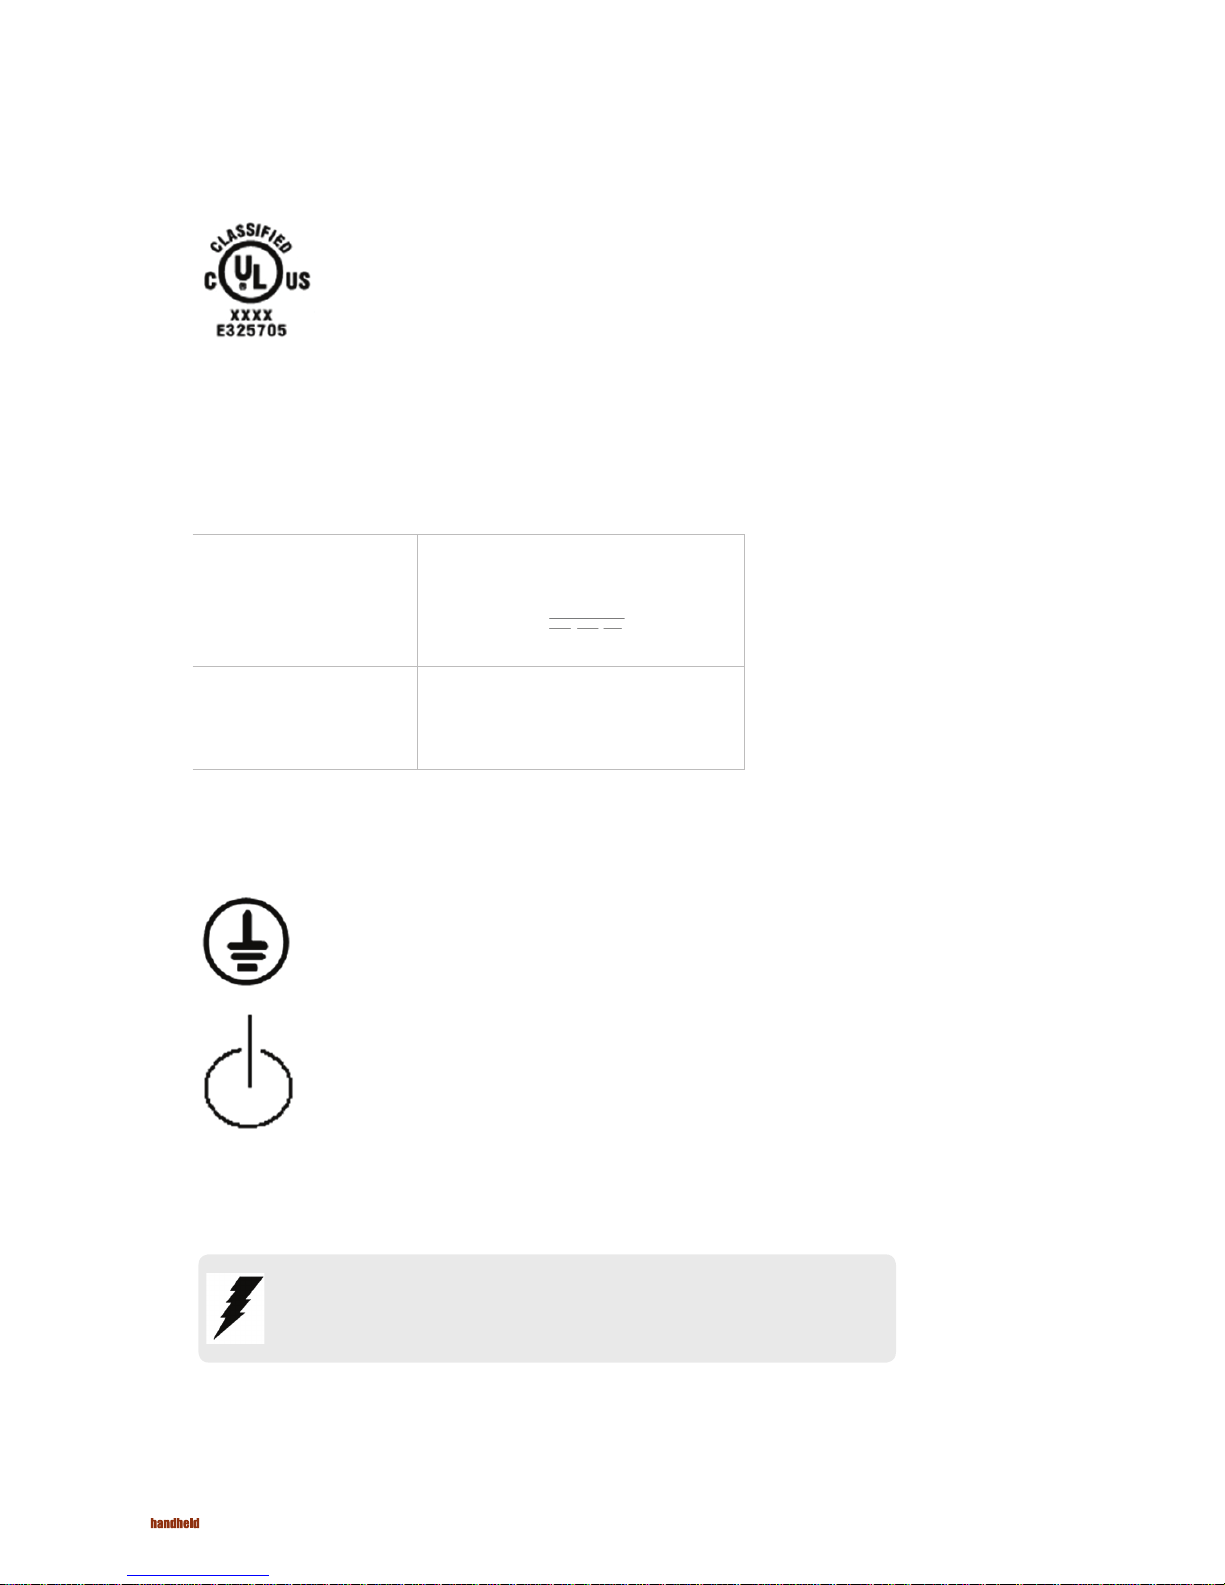
Power Supply Announcement
UL Safety Approved
Power Notice!
Battery Notice!
UL Classification: Class I mark: with respect to electronic shock; Fire and
hazardous material conforms to the requirements of UL-60950 and CAN/CSA
C22.2 No. 601.1.
(1) The power ecord of the adapter should be earthed.
(2) Power Standby mode:Push the power button for at least 4 seconds to go to
standby. (See Chapter 2.1 Turning the Tablet PC On and Off)
The Handheld Rugged Tablet PC Power Supplies include Power Adapter and Battery Pack. The power rating and manufacturer
information is listed as below.
Power Adapter Manufacture: EDAC Power Electronics Co Ltd
Model: EA1050C-120
Input Rated: 100-240Vac, 1.8A, 50-60Hz.
Output Rated: DC 12V,4.16A.
Battery Pack Manufacture: JHT energy International Co Ltd
Model: RTB-1
Rated: 2600mAh DC 7.4V
WARNING:
Do not repair or replace battery, it may cause explosion! Only use the specified battery by
following the manufacturer’s instruction.
Page 7

7
ALGIZ 7 Manual
Content
CHAPTER 1 - SPECIFICATION
1.1 SYSTEM SPECIFICATION ...................................................................................................... 9
1.2 HOW TO USE THE TABLET PC............................................................................................. 10
1.3 LED INDICATOR .................................................................................................................11
1.4 USING THE BATTERY PACKS .........................................................................................12-14
1.5 THE BATTERY LIGHT SIGNAL INSTRUCTION ........................................................................ 15
1.5.1 Battery Charging Mechanism: ..................................................................................... 15
1.5.2 Battery Discharging Mechanism: ...........................................................................16-17
CHAPTER 2 - USING THE SOFTWARE
2.1 TURNING THE TABLET PC ON AND OFF .............................................................................. 19
2.1.1 Turning on the Tablet PC ............................................................................................. 19
2.1.2 Turning off the Tablet PC ............................................................................................. 19
2.2 HOW TO USE THE SOFTWARE ............................................................................................ 20
2.3 HOT TAB SOFTWARE UTILITY FUNCTIONS .....................................................................21-24
2.4 GPS SETUP ........................................................................................................................ 25
2.5 SIM INSTALLATION GUIDE ............................................................................................. 26-27
2.6 WAN SOFTWARE ................................................................................................................ 28
Page 8

8
ALGIZ 7 Manual
Chapter 1
Specification
This User Manual describes the use of an Algiz 7 with Microsoft Windows 7 OS,
but other operating systems can also be used. Please contact your supplier for
further information.
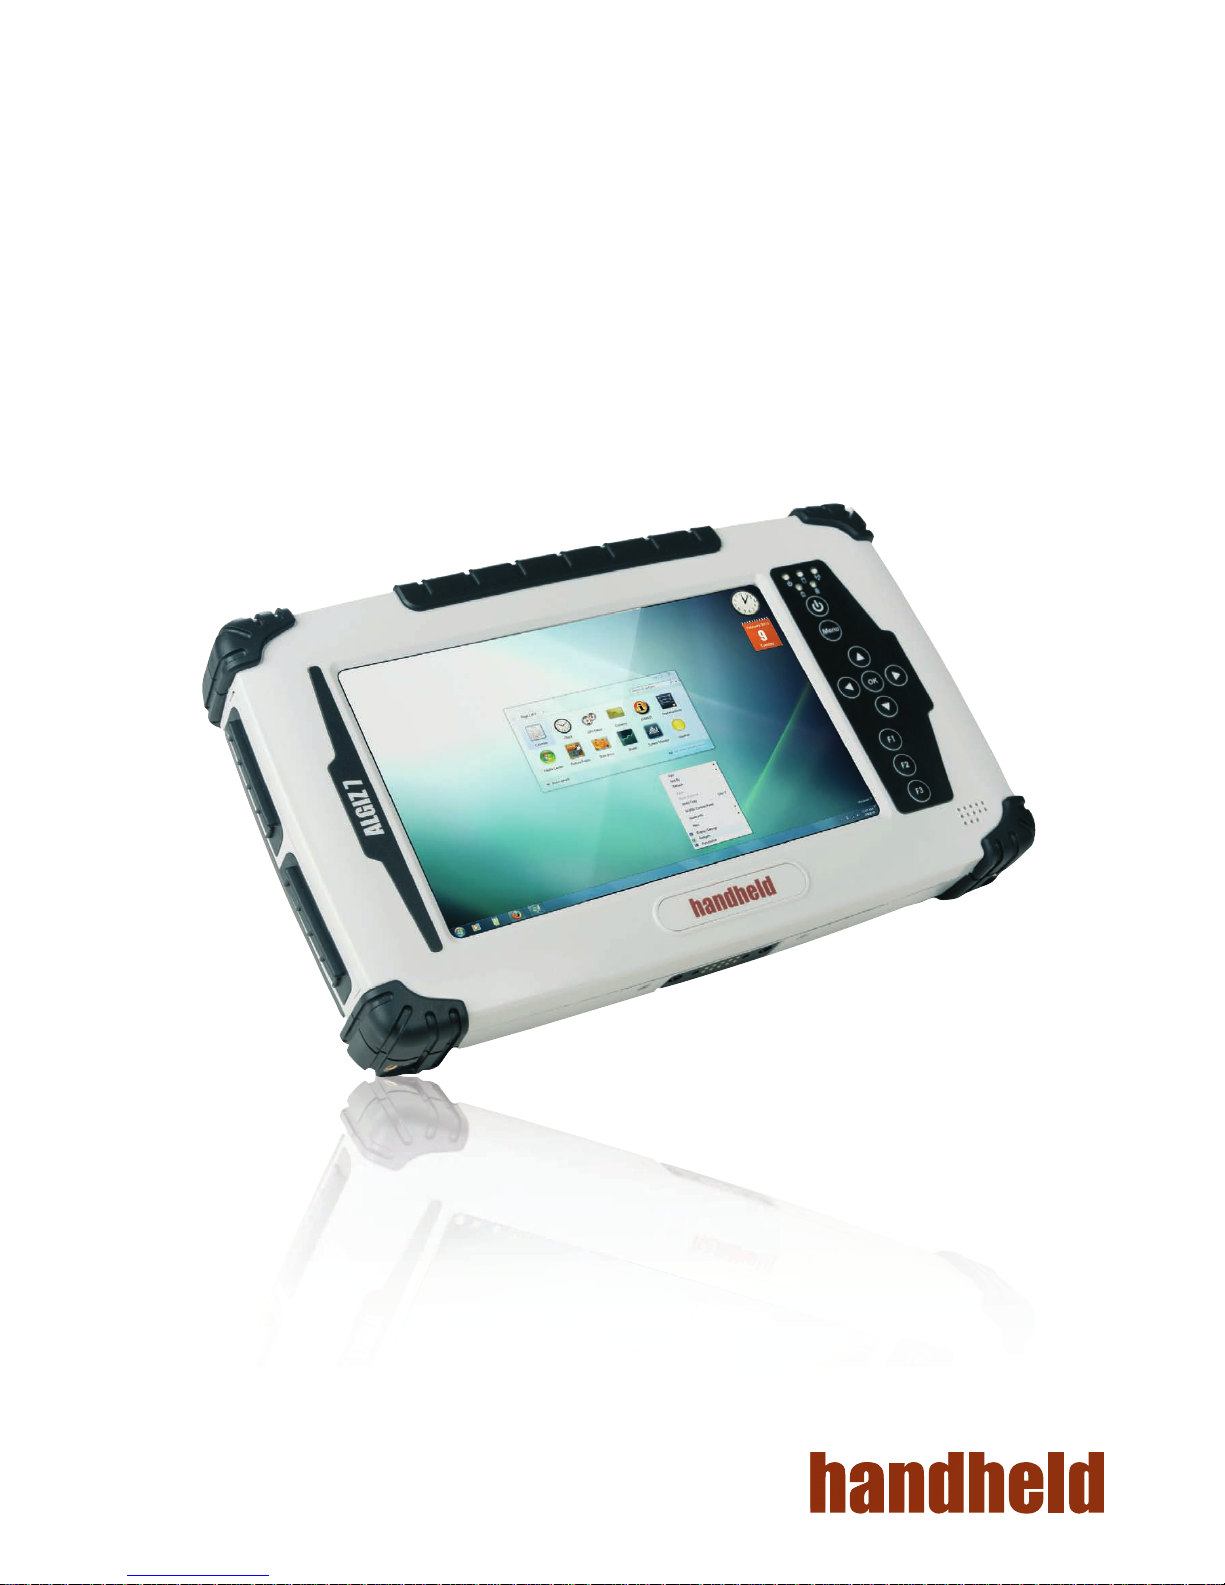
The Algiz 7 is a compact high performance, low weight rugged Tablet PC designed for outdoor & fieldwork usage. The Algiz 7 can withstand
severe environmental conditions including vibration, shock, moisture and temperature variations. The Algiz 7 is suitable for use in harsh
environments such as construction sites, warehouses, military, manufacturing andfield service. The Algiz 7 tablet pc is delivered with two
batteries and an AC power adapter.
This Chapter details the specification for the 7” Handheld Tablet PC Aligiz 7.
Page 9

9
ALGIZ 7 Manual - Chapter 1
1.1 System Specification
System
Processor Intel® ATOM™ Z530
BIOS AMI System BIOS
Chipset Intel US15W
Memory 1 x SODIMM, Max 2GB DDR2 400/533 (Default 2GB)
LAN Controller Realtek RTL811B Chipset, 10/100/1000 Mbps
Storage PATA interface support Mini-PCIe interface SSD (Default 64GB)
Audio Audio out for headset, Micro-in for microphone jack,1.5W Speaker (Internal)
I/O Connectors
Left I/O Port 1x Micro-In, 1x Audio Out,1x Giga LAN, 1x USB, 1x DC Power Jack
Right I/O Port 1x RS232, 1x USB (IP67 Sealed)
In Front Control
Control Button
1x Power On/Off, 1x Menu, 1x Up, 1x Down, 1x Left, 1x Right
3x Programmable Hotkeys
LED indicator 1x Power Status, 1x HDD Status, 2x Battery Status, 1x Wireless Status
Display Specification
Size 7” (16:9)
Resolution 1024x600
Brightness 600 nit Maxview Technology
Touch 4 Wire Resistive Touch
Power Management
Power Input 12 V DC @ 4.16A
Power Consumption 6-9W
Battery Li-Polymer 7.4V 2S1P, 2600mAh
Adapter 100-240V, 50-60Hz, 12VDC
Page 10

10
ALGIZ 7 Manual - Chapter 1
1.2 How to Use the Tablet PC
Ref Component Description
Power On
Button
PUSH for 4 seconds to turn on the tablet pc
LED Indicator
Shows the Power Status, HDD Status, Left and Right Battery Status, and Wireless Status
Menu
Push Menu to show Brightness, Volume,Battery status and Wireless Enable/Disable.
F1 – F3 Hotkey
6 programmable Hot-key functions for user to define by application, default first short push
key (F1 short) will turn-on help Menu
Up/Down/
Left/ Right/OK
Button
Use the UP, DOWN, LEFT, RIGHT and ENTER keys to navigate.
1
2
3
1
2
3
5
5
4
4
This section describes how to use the Tablet PC.
Page 11

11
ALGIZ 7 Manual - Chapter 1
1.3 LED Indicator
LED Term Indicator Status Description
Power mode
Green: System is On.
No Light : System is Off
Battery Status
No Light: fully charged or power on with AC adapter
Orange Light: on charging
Red Light: Low Battery warning < 3% , or dead battery.
No Light: fully charged or power on with AC adapter
Storage Status
Blinking green Light: HDD is reading/writing data
Wi status
Green Light blinking: Wifi is using
No Light: Wifi is not working
Page 12

12
1.4 Using the Battery Packs
Charging the Battery Pack
Battery Care
Battery Power System
Charging the Battery Pack
ALGIZ 7 Manual - Chapter 1
This section describes the charging the battery pack.
Before you use your Handheld tablet PC, you need to charge the battery pack. The battery pack begins to charge as soon as the
Handheld tablet PC is connected to the external power source. Please fully charge the batteries before using them for the first time.
The new battery packs must be fully charged before the tablet PC is disconnected from the external power source. The battery
pack is fully charged when the battery light indicator turns OFF. It takes about a couple of hours to fully charge the battery when the
Handheld tablet PC is turned OFF.
The Handheld tablet battery pack, like all rechargeable batteries, has a limit on the number of times it can be fully recharged. Fully
draining and charging the battery once a day will make the batteries last over a year, but rechargeable time limits are based on your
environmental temperature, humidity, and how your tablet PC is used. The ideal environment temperature range is between 10°C
and 29°C (50°F and 85°F).
This tablet PC is designed to work with two removable battery packs placed inside the battery pack compartment. The fully charged
battery packs will provide several hours of battery life, which can further be extended by using power management features through
the BIOS setup. The system includes a power management software which allows the battery to accurately report the amount of
charge percentage left in the battery.
You can charge the battery pack by using the power adapter. When the power adapter is plugged in, the inserted battery packs
automatically recharges whether your tablet PC is in the ON or OFF mode. It takes about a couple of hours for the battery to be fully
charged when the power is OFF but takes twice as long when the tablet PC is in use. When the red charger LED indicator indicates
orange, charging is required. The battery is charging when the red LED is solid. When the LED is turned OFF, the battery pack is fully
charged.
Page 13

13
Insert the battery pack
ALGIZ 7 Manual - Chapter 1
Insert the battery pack into the battery slot.
Press down the compression lock into the
tablet pc.
1
2
Press the latch down to fasten the battery on
the tablet PC
3
Page 14

14
ALGIZ 7 Manual - Chapter 1
To remove the Battery
Push up the lock from the tablet pc.
Take out the battery pack from the
battery slot.
Slidethe latch up to release the battery
cover
2
3
1
Page 15

15
1.5 The Battery Light Signal Instruction
1.5.1 Battery Charging Mechanism:
Charging procedure for the two battery packs. When the tablet pc is connected to the power source, the battery packs start
charging.
a. If the first battery’s power level is 5% more than the second battery , the PC will charge the lower power battery first.
b. If the first battery’s power level is more than the second battery by less than 5%, the PC will charge both the batteries.
c. If both the batteries’ power level is below 10%, the PC will charge both the batteries together.
d. If both the batteries’ power level is more than 10%, the PC will change the charging mode to the balance charging mode.
e. If one battery is fully charged, the other is at a low power level, the PC will charge the battery which is at a low power level.
f. If both the batteries are fully charged, the PC will switch off the charging current.
Balance of Battery Charging Mode:
Both the battery packs are at a low power level which is about 5%
Dual Battery Charging Mode:
Both the battery packs are at a low power level which is about 10%
Battery Light Signal
ALGIZ 7 Manual - Chapter 1
Page 16

16
1.5.2. Battery Discharging Mechanism:
Battery discharging mechanism is showed as following:
a. Left Battery / Right Battery are locatedat the rear side.
b. The left battery status shows as discharged and the OSD indicator shows the discharging status as shown in the
following pictures.
ALGIZ 7 Manual - Chapter 1
Touch Pen
Left Battery Right Battery
Page 17

17
1.5.2. Battery Discharging Mechanism:
d. The discharging status of the right battery is shown on
both the screen and the OSD indicator.
e. Critical battery level: 3% below
The system is not allowed to switch the discharge status
between left & right battery.
f. The left battery is discharging and the right battery is in
the critical battery status.
g. The right battery is discharging and the left battery is in
the critical battery status.
h. Both the left right batteries are in the critical battery status.
(L: green / R: red)
(L: red / R: green)
(L/R: both red)
c. Give a long push to the <F3 > button to switch the
discharging status between left and right battery
ALGIZ 7 Manual - Chapter 1
Page 18

18
Chapter 2
Using the Software
This Chapter will guide you how to operate the Tablet PC, including starting / shutting
down the PC, and how to use the menu function including basic hardware function
adjustment and the Hot Tab hotkey utility software that is very easy & helpful for operating
the computer.
ALGIZ 7 Manual - Chapter 2
Page 19

19
2.1 Turning the Tablet PC On and Off
2.1.1 Turning on the Tablet PC
2.1.2 Turning off the Tablet PC
a. Place your tablet PC on a flat and stable surface or hold the tablet PC in your hand.
b. Make sure the tablet PC is either connected with the AC power adapter or the batteries are charged up.
c. Press the power button for at least 4 seconds to turn it on.
Your device has a SD (Secure Digital) card slot where you can insert an SD/SDHC memory card or SDIO card. To insert an SD card:
Turn off the tablet PC by using the “Shut Down” command of your operating system.
CAUTION: If you have to turn the tablet PC on again immediately after turning it off, please wait for at
least five seconds. Turning the tablet PC off and on in rapid succession can damage the whole device.
ALGIZ 7 Manual - Chapter 2
Power On/Off
Page 20

20
2.2 How to use the software
Hot-Tab Hotkey Function
PUSH
Menu Button
Function Description Function Adjustment
1st Time Show Current Brightness Click “Left/ Down”
button to increase
brightness (Or
Drag by Touch)
Click ”OK” to save
the changes and
exit UI.
Click “Right/
Up” to decrease
brightness(Or Drag
by Touch)
Click ”OK” to save
the changes and
exit UI.
2nd Time Show current Volume
3rd Time Show current Battery Usage and Battery status for both the batteries
4th Time Show the status of the Wireless communication function Use the touch button to select the
wireless communication. Then select
Enable/ Disable
5th Time Show the software version of
a. Hot TAB Utility version
b. BIOS / EC version
PRESS for 4 sec Lock/Unlock buttons
Press for 4 seconds to Lock buttons**(not including Touch)
Press for 4 seconds to Unlock buttons
ALGIZ 7 Manual - Chapter 2
Page 21

21
2.3 Hot TAB Software Utility Functions
F1 Hot TAB functions shows four functions
a. The first is a virtual mouse
b. Screen rotation
ALGIZ 7 Manual - Chapter 2
Page 22

22
2.3 Hot TAB Software Utility Functions
c. Onscreen Keyboard
d. F2 andF3 hotkeys
You can use “browse” and select the desired program file.
ALGIZ 7 Manual - Chapter 2
Page 23

23
2.3 Hot TAB Software Utility Functions
e. Power Management Display System Information
f. System Information
When you press menu for the 3rd time, you can see the system information.
ALGIZ 7 Manual - Chapter 2
Page 24

24
2.3 Hot TAB Software Utility Functions
g. Touch Lock:
Select the touch lock icon to lock the touchscreen. Use the onscreen slide to unlock.
h. Low battery warning notice:
ALGIZ 7 Manual - Chapter 2
Page 25

25
2.4 GPS Setup
a) Click on “Menu” four times on the right keypad of the Algiz 7 and make sure that the “GPS” box is checked.
b) Click on MiniGPS_1.41 – Shortcut on your desktop.
c) Set the COM port to COM 3 and the baud rate to 38400.
d) Click “Open”
e) Done
ALGIZ 7 Manual - Chapter 2
Page 26

26
2.5 SIM Installation guide
a) Start by unscrewing the 4 screws on the back as described below, using a screwdriver.
b) Unscrew the small silver screw in the lower
left corner on the WLAN card.
c) Lift the WLAN card (gently) and pull it out
towards yourself.
ALGIZ 7 Manual - Chapter 2
Page 27

27
2.5 SIM Installation guide
e) Insert the SIM card and lock it in place as
described on the SIM card holder.
g) Replace the back cover and tighten the 4 screws
and you are done.
f) Place the WLAN card back to its original position
by inserting it in its connector and gently hold
down the card while you attach the silver screw.
d) Gently turn the card to the left and open the
SIM card holder.
ALGIZ 7 Manual - Chapter 2
Page 28

28
2.6 WAN Software
a) Insert the SIM card before proceeding.
b) Click on “Menu” four times on the right
keypad of the Algiz 7 and make sure
that the box “3G” is checked.
c) Once the modem has been activated,
click on “OneClick Internet” shortcut
on your desktop.
d) Press connect and the software will
automatically load the required settings,
please hold until it indicates connected.
e) You are now connected and can use
Internet Explorer to access the internet. ‘
f) If it does not load the correct settings,
press on the button “Settings” and select
the correct settings manually.
g) Save the profile and connect again.
ALGIZ 7 Manual - Chapter 2
 Loading...