

Page 1
Repeat Playback
To Repeat all tracks on a disc
1. Push Repeat button twice. Repeat Indicator (REPEAT ALL) lights up.
2. Push Play/pause button to begin repeat playback. When the end
of the last track is reached, the selection returns to track 1 for repeat
play all tracks. To release Repeat function. Push Repeat button. Repeat
indicator goes o. When the end of the last track is reached, the play
stops automatically.
To repeat a track on a disc :
1. Push the forward skip button until the desired track number
appears in the Track Number Display.
2. Push Repeat button. Repeat Indicator (REPEAT 1) lights up.
3. Push Play/pause button to begin repeat playback. When the end of
the track is reached, the playback of the track is repeated.
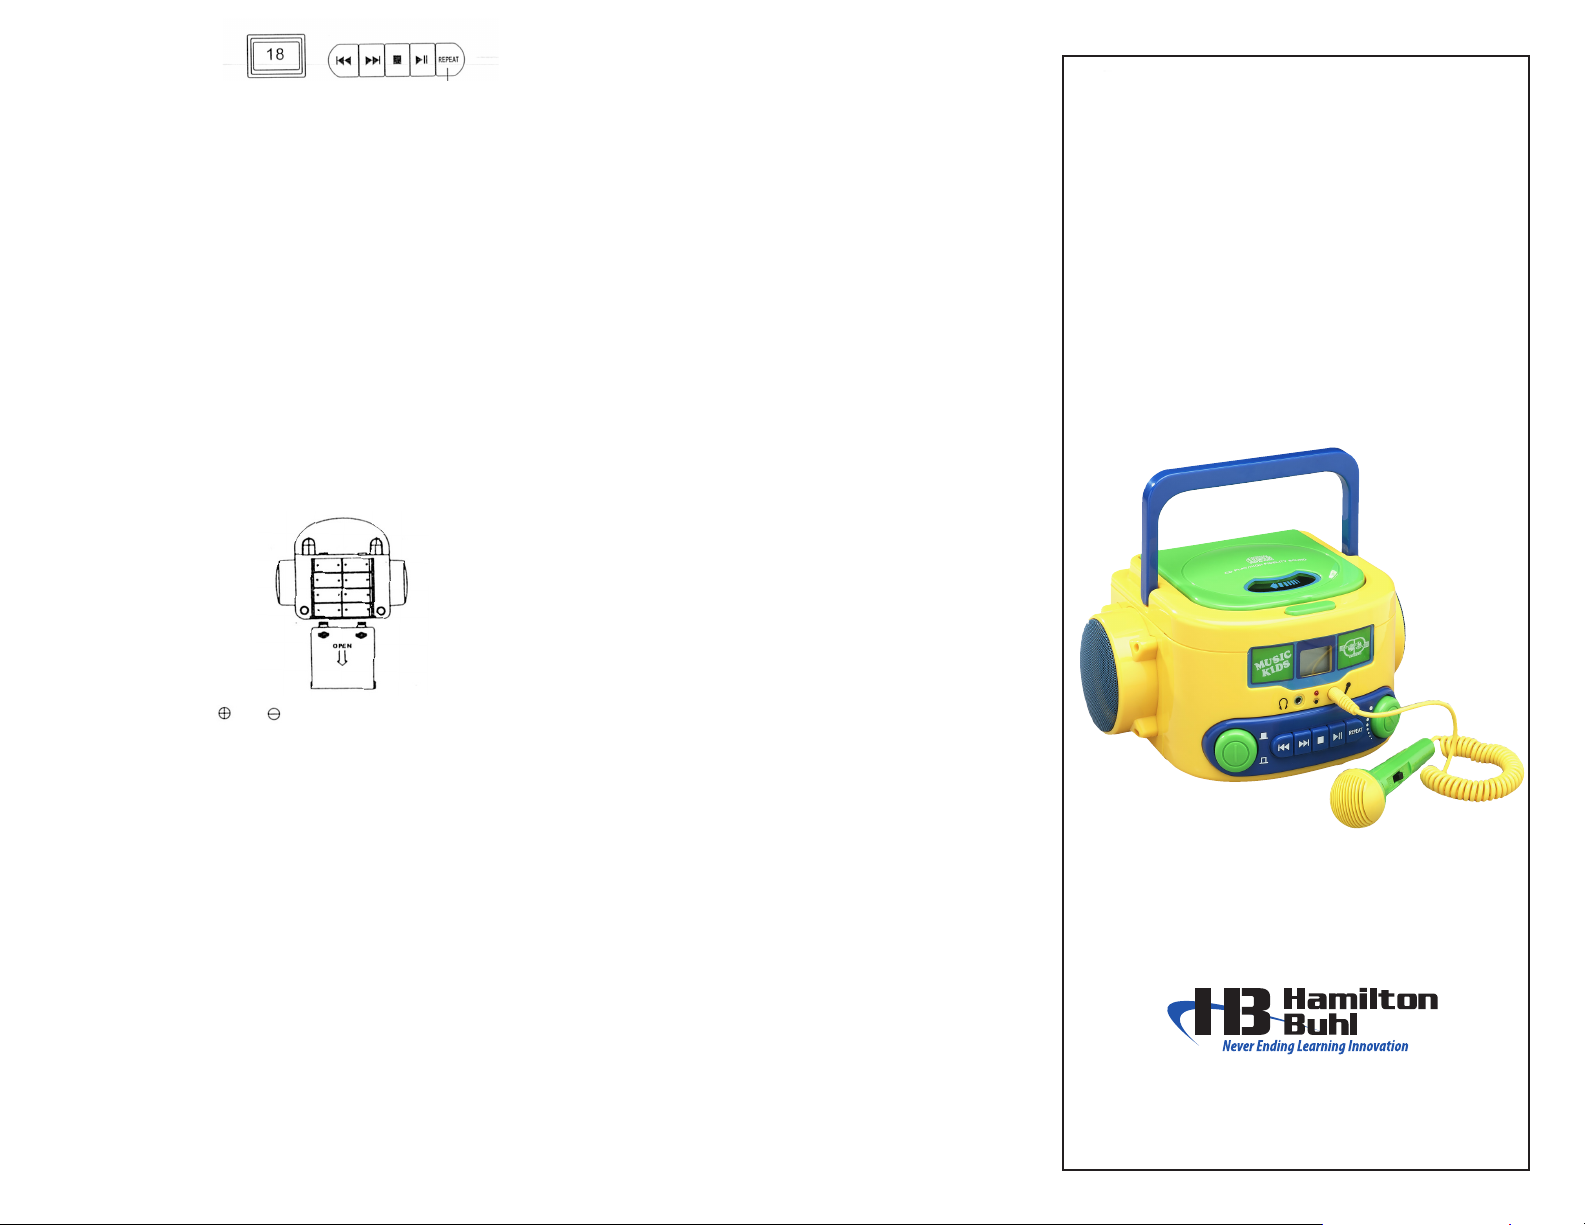
Installing Batteries:
You will need 8 “C” size batteries. (1.5V x 8)
NOTE: Alkaline batteries will normally last longer and reduce the
possibilty of battery leakage.
1.Open Battery Door
2. Install Batteries As Shown
The use of the Microphone
1. Plug the tail-end of the Handy Microphone into the Mic jack
(No.10 on diagram).
2. When using the Microphone turn the switch to on position.
3. Speak in normal voice about 2 inches from the Microphone.
4. Avoid placing Microphone close to speakers of the unit to
prevent squeaking noise due to feedback from speakers.
5. When not using Microphone always disconnect it from the
unit.
Specications
General
Power Source: DC12V “C” Size battery x8, (UM2, IEC R14)
Output power: 1.5w + 1.5W
Speakers: (3”) Full range Speaker x 2
Load Impedance: Headphones 16-50 ohms
(Recommended 32 ohms)
Dimensions: 255mm(L) X 190mm(W) X 120mm(H)
Weight: 1.2 KG
CD Play
Type: Compact Disc player
Audio Channels: 2
Wow And Flutter: Unmeasurable (Less than 0.001% W.Peak).
KIDS-CD20
SING-A-LONG
PORTABLE STEREO
WITH COMPACT DISC
DIGITAL PLAYER
NOTE: Watch carefully the and ends of the batteries If you don’t
install batteries correctly the set will not work.
NOTE: If the sound becomes weak and unclear, the batteries may be
weak. Replace all eight batteries at once.
NOTE: Remove batteries if unit is not to be used for a long period of
time (about 30 days or more ) to prevent battery leakage and possible
damage to the unit.
BATTERY INSTRUCTIONS
Do not mix old and new batteries.
Do not mix alkaline, standard (carbon-Zinc) or rechargeable (NickelCadmium) batteries.
Non- rechargeable batteries are not to be recharged.
Rechargeable batteries are to be removed from the toy before being
charged.
Only batteries of the same or equivalent type as recommended are to
be used.
Batteries are to be inserted with the correct polarity.
Exhaused batteries are to be removed for the toy.
The supply terminals are not to be short-circulted.
CAUTION
IT IS IMPORTANT TO CHECK REGULARLY FOR DAMAGE TO THE
CORD PLUG ENCLOSURE OR OTHER PARTS OF THE ADAPTOR TO
PREVENT FROM POTENTIAL HAZARDS.
THE TRANSFORMER USED WITH THE TOY MUST COMPLY WITH
THE REQUIREMENT OF EN60742
PRODUCT SUPPORT
For technical support, contact us:
Web: www.HamiltonBuhl.com
Email: techsupport@hamiltonbuhl.com
Phone: 1-800-631-0868
Instruction Manual
™
www.HamiltonBuhl.com
Page 2
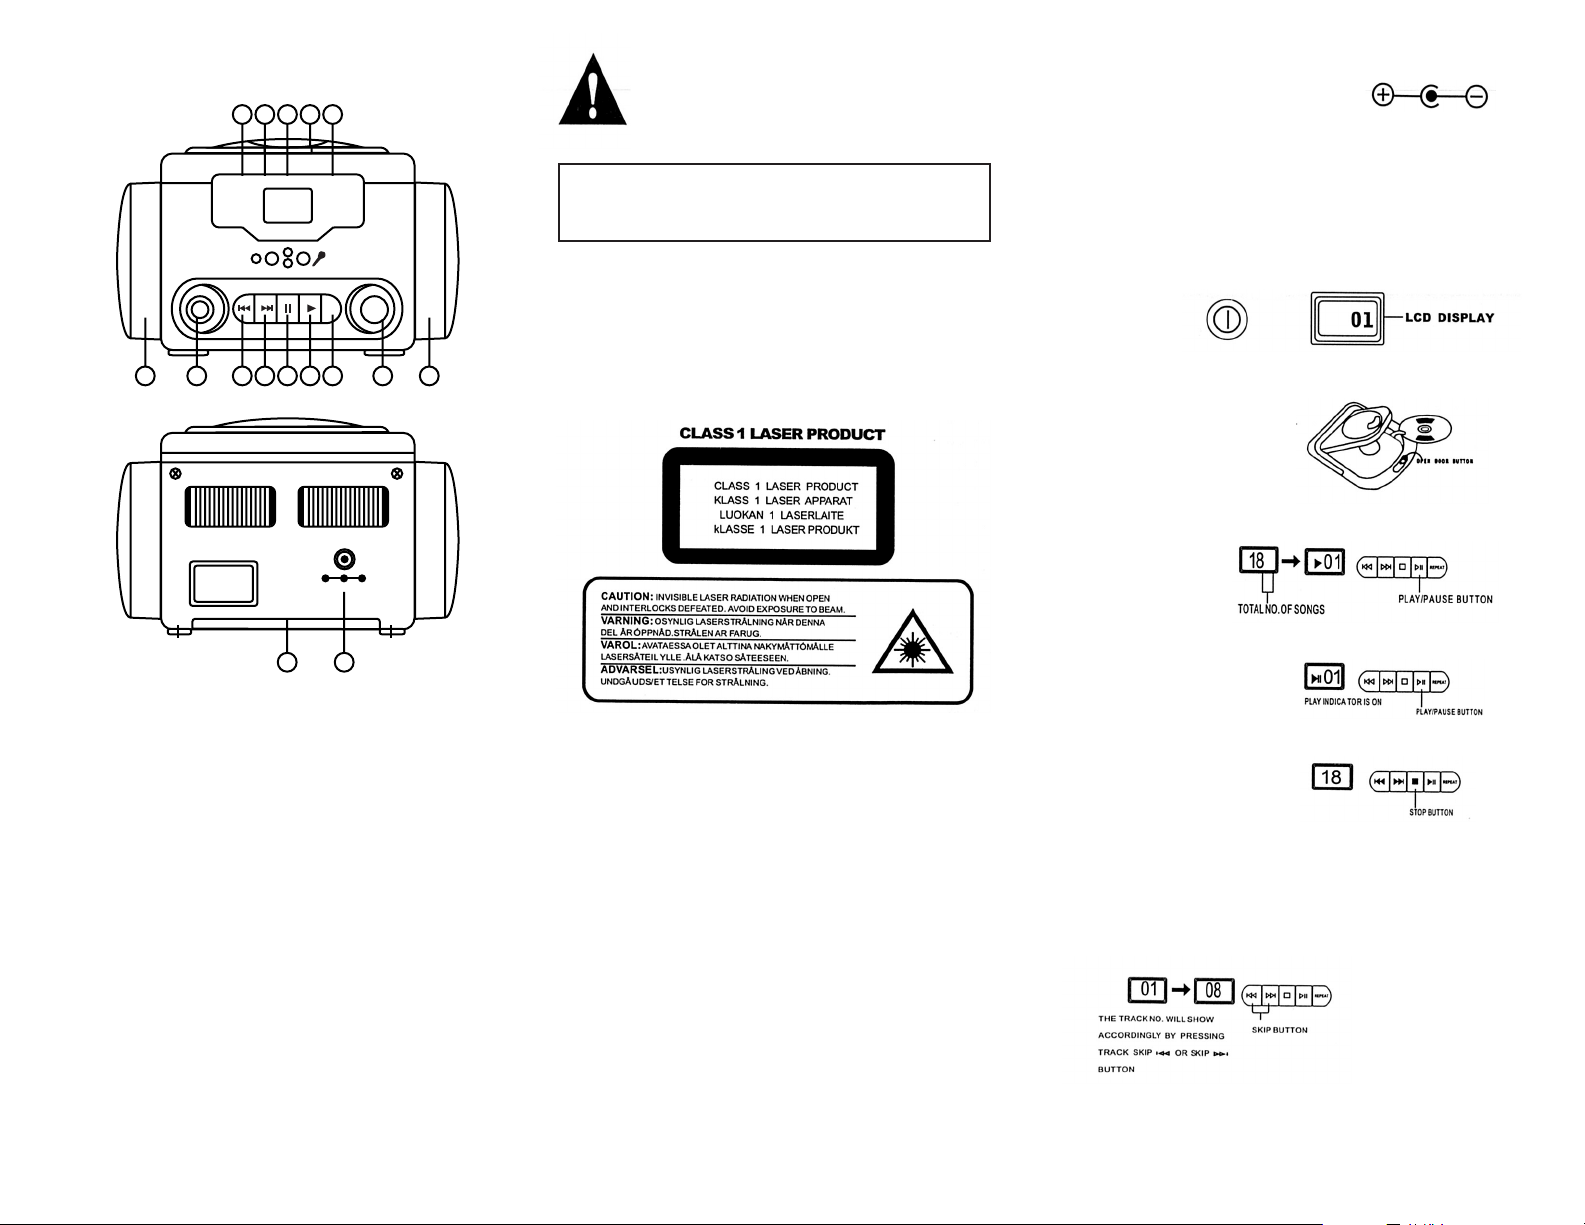
Features And Controls
11 10121314
PLAY
5
REPLAY
3456789
1516
1. Right Speaker
2. Volume Control Knob
3. Repeat Button
4. Play/Pause Button
5. Stop Button
6. Skip/ Search Button
7. Skip/ Search Button
8. Power On/O Button
9. Left Speaker
10. Mic Jack
11. Open Door Button
12. Power Indicator
13. LCD Display
14. Phone Jack
15. DC Jack
16. Battery Compartment
12
The Owner’s Manual contains important operating and
maintenance instructions. For your safety, it is necessary
to refer to the manual.
WARNING: TO PREVENT FIRE OR SHOCK HAZARD. DO NOT
EXPOSE THIS APPLIANCE TO DRIPPING OR SPLASHING.
NOTE:
This unit will become warm used for a long period of time. This is
normal and does not indicate a problem with the unit.
This CD Player includes micro-processors which may malfunction as
a result of external electrical Interference or noise. If the CD Player
is not working properly, disconnect the power source (batteries, AC
household power or DC car adaptor) and then reconnect it.
This product contains a low power laser device.
The product you have purchased has been carefully engineered and
manufactured to give you reliable operation. Read this manual before
operating the unit to become familiar with its features.
IMPORTANT NOTES:
• Keep instructions- The safety and operating instructions should
be retained for future reference.
• Make sure not to obstruct the ventilation openings.
• When using with batteries, make sure that they are installed
correctly before turning the power on.
• Store your CDs in a cool area to avoid damage from heat.
POWER SUPPLY
1. Battery Operation - Release battery cover by pressing the two clips
downwards and pulling the battery cover towards you and remove.
Insert 8 C size (UM2) batteries as indicated (batteries not included).
Please observe the correct battery polarities or the set will not operate.
2. AC Operation - When using an AC adaptor (included) specication is 12V
DC BOOMA with the polarity as follows:
Plug the tail - end of the AC Adaptor into the DC socket (No. 15 on diagram).
Then insert the Main Adaptor into your AC supply, the set is now ready to
operate on AC power.
TO LISTEN TO A CD
1. Push the power knob
2. Press “DOOR OPEN” button to open the door and insert the CD with label
facing up and close the door.
OPEN DOOR BUTTON
3. Press the “PLAYPAUSE” button once to start the playback of CD from track
number 01.
4. To “PAUSE” during play back press the pause button
5. To “STOP” during playback press the stop button.
THE DISPLAY WILL SHOW THE TOTAL NO. OF SONGS
TO LISTEN TO A CHOSEN TRACK
1. In stop mode press one of these keys until you search the selected track.
 Loading...