

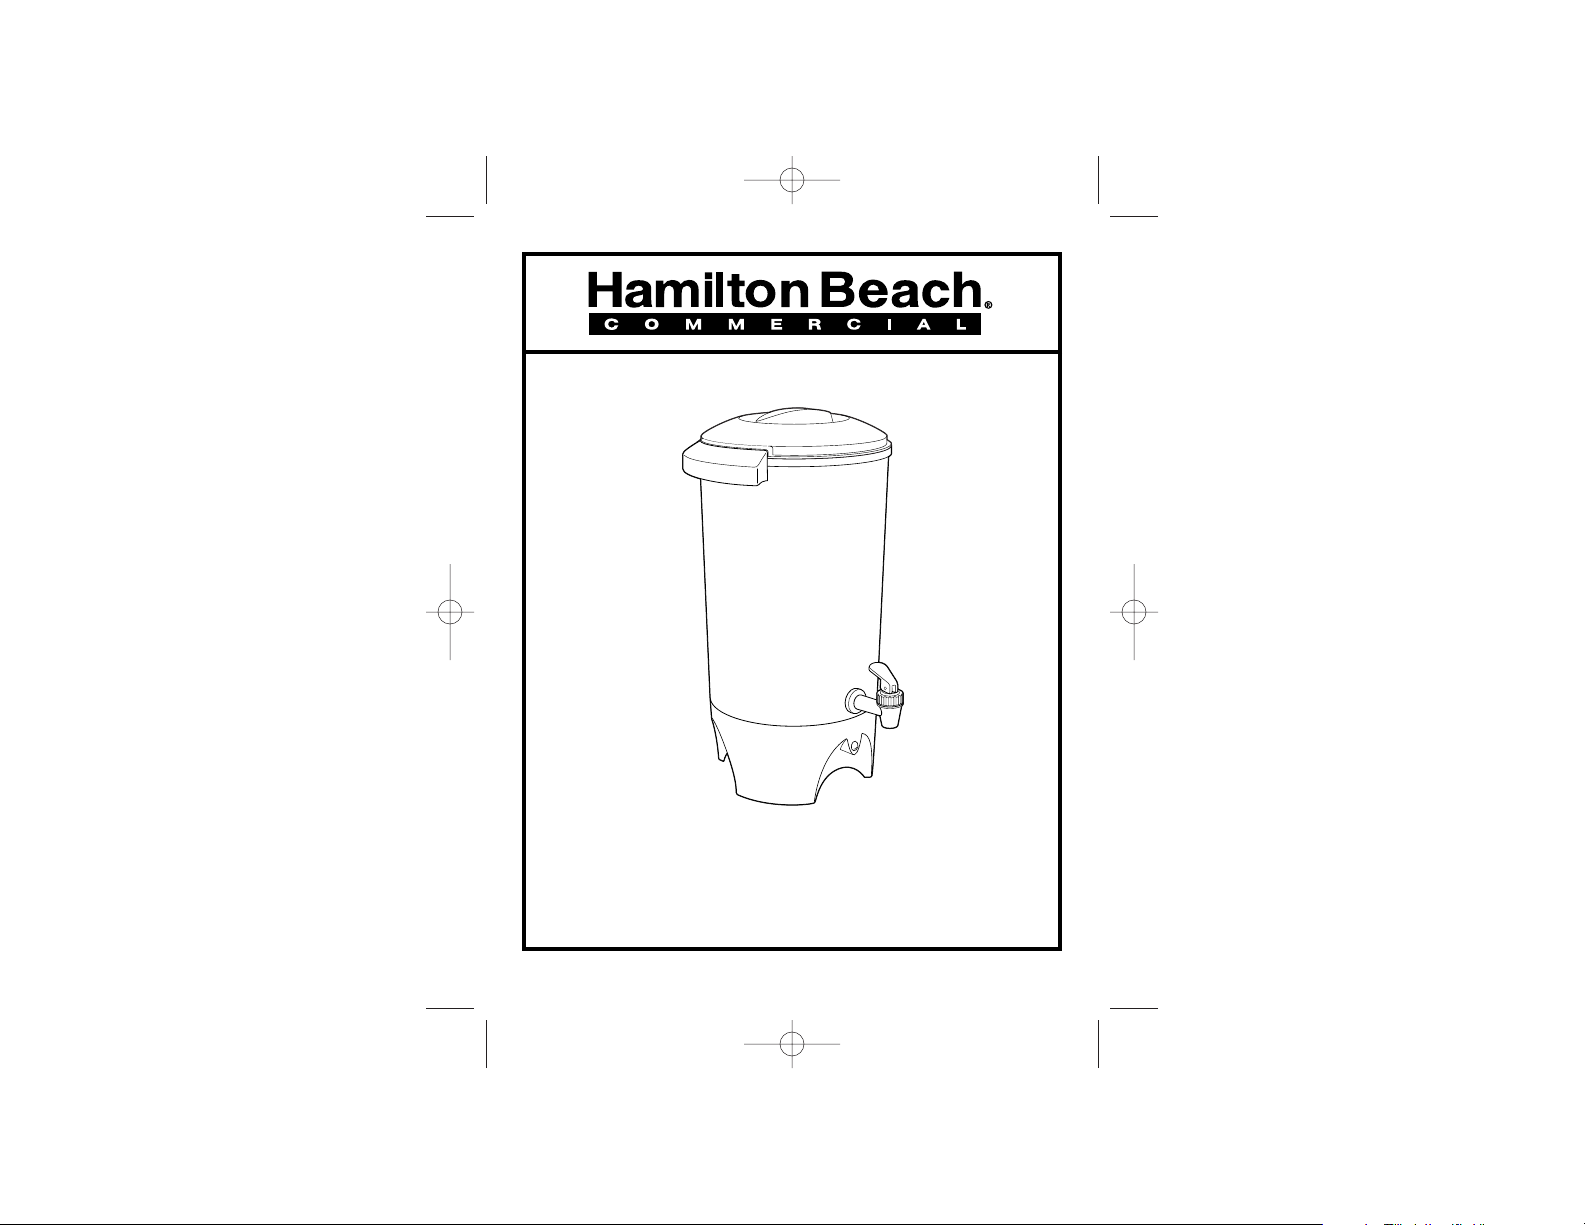
Hamilton Beach Commercial D50042 SERVICE MANUAL
840110000
English .................................. 2
Français ..................................9
840110000 Ev01.qxd 1/10/03 3:30 PM Page 1
Digitally signed by Elizabeth DeMerchant
cn=Elizabeth DeMerchant, o=Hamilton Beach / Proctor-Silex, c=US
Date: 2003.01.20 15:00:33 -05'00'
Reason: I am approving this document
4.25 X 5.5", 16 page, English/French, Black Ink, No Bleeds, Map

2
This appliance is intended for commercial and household use
only.
This appliance is equipped with a grounded-type 3-wire cord
(3-prong plug).The plug will only fit into an electrical outlet made
for a 3-prong plug. This is a safety feature. If the plug should fail
to fit, contact an electrician to replace the obsolete outlet. Do not
attempt to defeat the safety purpose of the grounding pin, part of
the 3-prong plug.
To avoid an electrical circuit overload, do not use a high wattage
appliance on the same circuit with your coffee urn.
This appliance has a short cord to reduce the hazards of becoming
entangled or tripping over a longer cord. A grounded-type 3-wire
extension cord (3-prong plug) may be used if the electrical rating of
the extension cord is greater than the rating of the coffee urn. Use
only an extension cord rated 10 amperes or greater. Care must be
taken to arrange the extension cord so that it will not drape over the
countertop or tabletop where it can be pulled on by children or
tripped over.
NOTE: For best results, allow the coffee urn to cool for 60 seconds
between brewing cycles.
When using electrical appliances, basic safety precautions should
always be followed to reduce the risk of fire, electric shock, and/or
injury to persons, including the following:
1. Read all instructions.
2. Do not touch hot surfaces. Use handles or knobs. Care must be
taken, as burns can occur from touching hot parts or from
spilled, hot liquid.
3. To protect against fire, electric shock, and injury to persons do
not place cord, plug or coffee urn in water or other liquid.
4. Close supervision is necessary when any appliance is used by
or near children.
5. Unplug from outlet when either the coffee urn is not in use and
before cleaning. Allow to cool before putting on or taking off parts
and before cleaning the appliance.
6. Coffee urn must be operated on a flat surface away from the
edge of counter to prevent accidental tipping.
7. Do not operate any appliance with a damaged cord or plug, or
after the appliance malfunctions or is dropped or damaged in
any manner. Call our toll-free customer service number for
information on examination, repair, or adjustment.
8. The use of accessory attachments not recommended by
Hamilton Beach Commercial, Inc. may result in fire, electrical
shock or personal injury.
9. Do not use outdoors.
10. Do not let cord hang over edge of table or counter or touch hot
surfaces, including stove.
11. Be certain cover is securely in place during brew cycle and
when serving coffee. Scalding may occur if cover is removed
during brew cycle.
12. Do not place coffee urn on or near a hot gas or electric burner or
in a heated oven.
13. Always attach plug to appliance first, then plug cord into wall
outlet. To disconnect coffee urn, remove plug from wall outlet,
then unplug from coffee urn.
IMPORTANT SAFEGUARDS
14. Warning: To reduce the risk of fire or electric shock, do not
remove the bottom cover. No user serviceable parts are inside.
Repair should be done by authorized service personnel only.
15. Do not use appliance for other than intended use.
SAVE THESE INSTRUCTIONS!
CONSUMER SAFETY INFORMATION
3
840110000 Ev01.qxd 1/10/03 3:30 PM Page 2
5
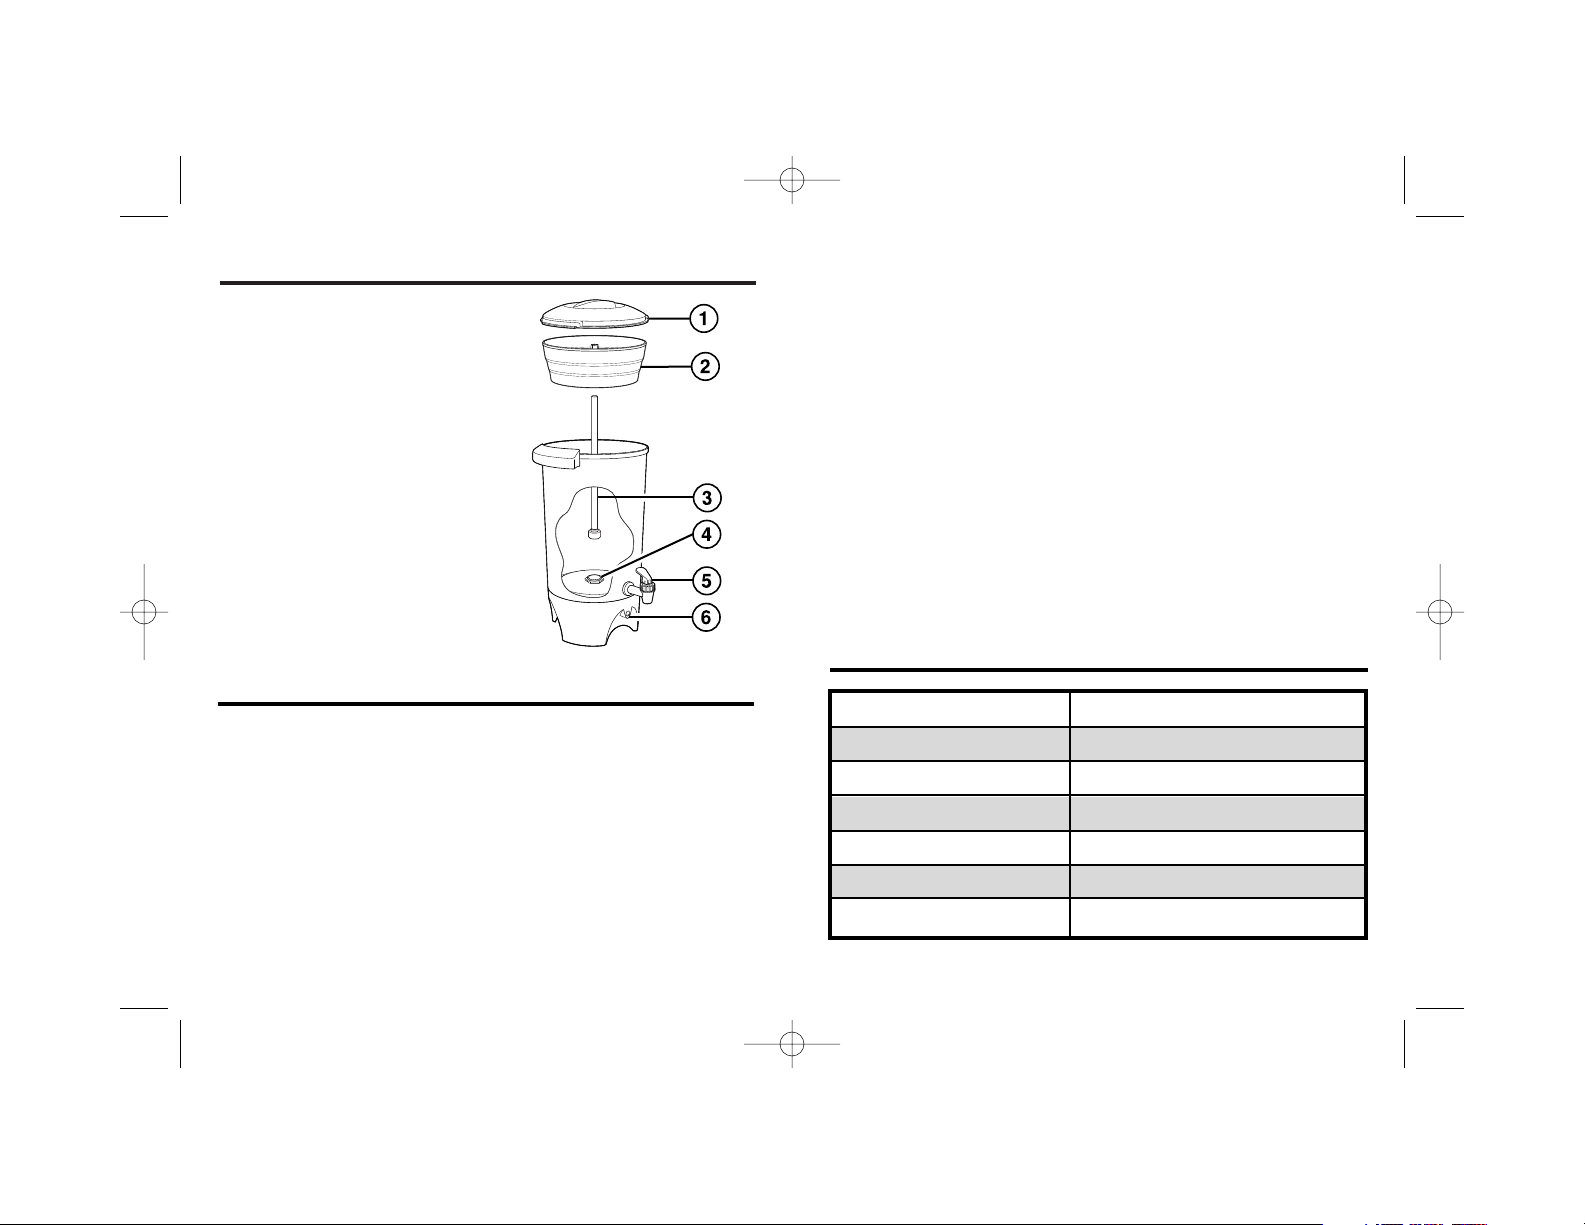
Parts and Features
1. Cover
2. Coffee Basket
3. Stem
4. Heating Unit Well
5. Serving Spout
6. Ready Light
4
4. Place cover onto coffee urn and turn to lock.
5. Plug cord into the coffee urn then plug the cord into
electrical outlet. The unit automatically turns on.
6. The coffee urn will stop automatically when the coffee has
finished brewing, and the Ready light will glow. Allow about
1 minute per cup for brewing time.
7. Using a hot mitt, remove cover then carefully remove coffee basket with HOT grounds and stem. Replace cover.
8. The coffee urn will remain at serving temperature until it is
unplugged. To serve, place a cup under the serving spout.
Push down and hold the lever until the cup is filled, then
release the lever. For a constant flow, to empty the urn, or
fill a carafe, lift the lever straight up. The lever will stay in
the open position until the lever is pushed down.
9. When finished serving coffee, unplug the coffee urn from
the electrical outlet. Then remove cord from the coffee urn.
Before First Use: Clean the coffee urn by following the steps
in “How To Clean.”
1. To make coffee, remove cover, coffee basket and stem. Fill
coffee urn with cold water to desired level as indicated by
numbered servings on inside of urn.
2. Place stem into coffee basket. Then holding the center
post of the coffee basket place large end of stem into
heating unit well.
3. Measure ground coffee into coffee basket. Avoid getting
ground coffee in the stem. Refer to the Coffee Making
Chart that follows. Spread coffee evenly in basket.
Coffee Making Chart
To Make Coffee
Water Level
42 cups
36 cups
30 cups
24 cups
18 cups
12 cups
Amount of Ground Coffee
2
1
⁄2 cups
21⁄4
cups
1
3
⁄4 cups
11⁄2 cups
1 cup
3
⁄4 cup
840110000 Ev01.qxd 1/10/03 3:30 PM Page 4
 Loading...